Anidees AI Crystal Tempered Glass Chassis Review
Peter Donnell / 7 years ago
A Closer Look – Interior
With the side panel removed, we can see that there’s a huge amount of space on the interior of the AI, and with all the HDD bays tucked under the shroud or behind the motherboard tray, we have the full length of the chassis for massive expansion cards and other cool hardware. There’s a good size cut-out behind the motherboard, and plenty of cable routing spaces too, so the build should be pretty straight forward.
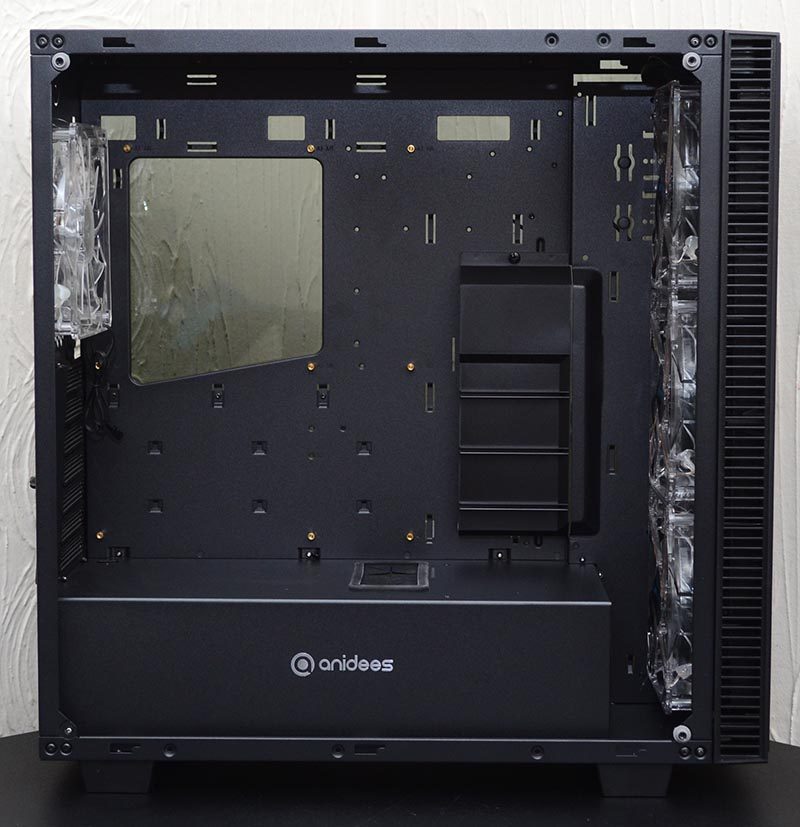
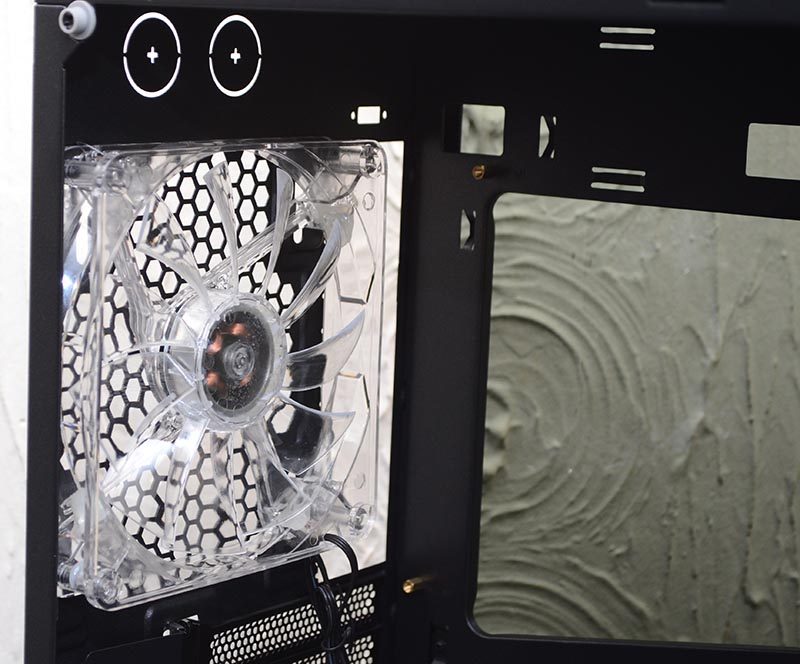
There’s good clearance about the motherboard for fans/radiators in the top, although you’ll likely want to stick with thinner radiators.

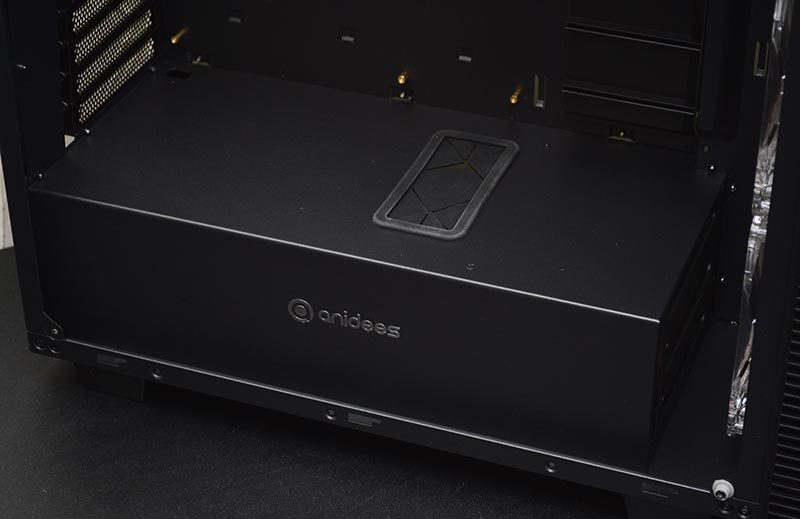
There’s a large PSU shroud to hide all of your cable gore neatly out of sight, but also a horizontal cable routing grommet to ensure you can pass cables to the GPUs too.
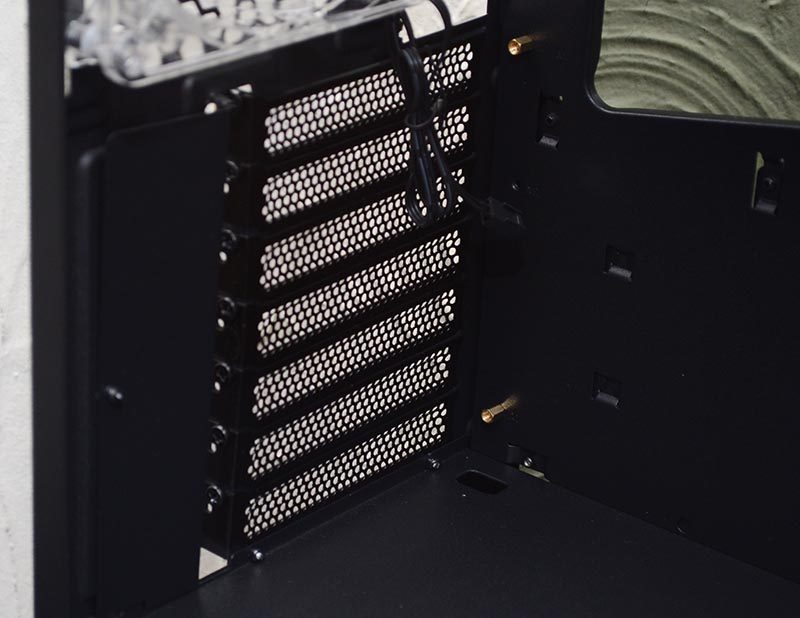
In the back, you’ll find seven expansion slots, so more than enough room for a couple or double slot graphics cards or any other expansion card for that matter.
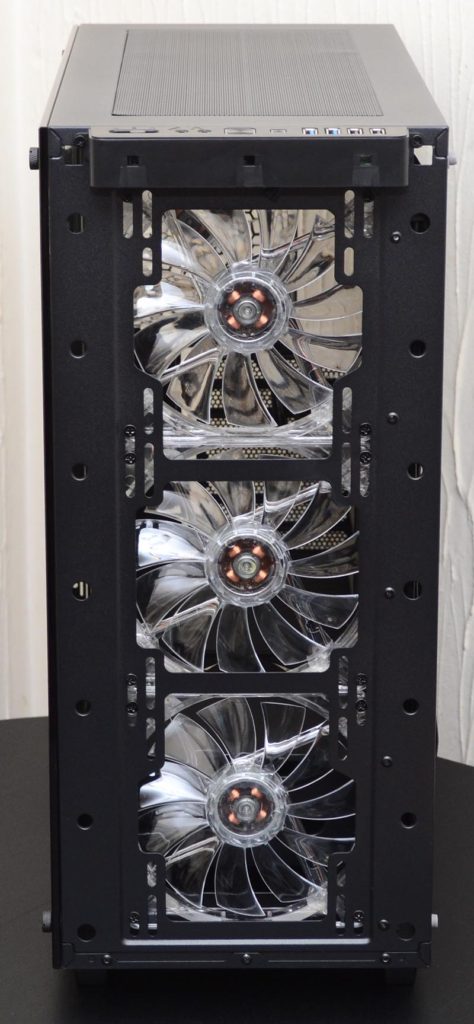
There are four pre-installed fans in this chassis, all of them are clear finish and feature white LED lighting, which I expect will look stunning through the glass side panels.
There are three more in the front, although you could easily swap these out for 120mm fans, or up to a 280/360mm radiator if you wanted.
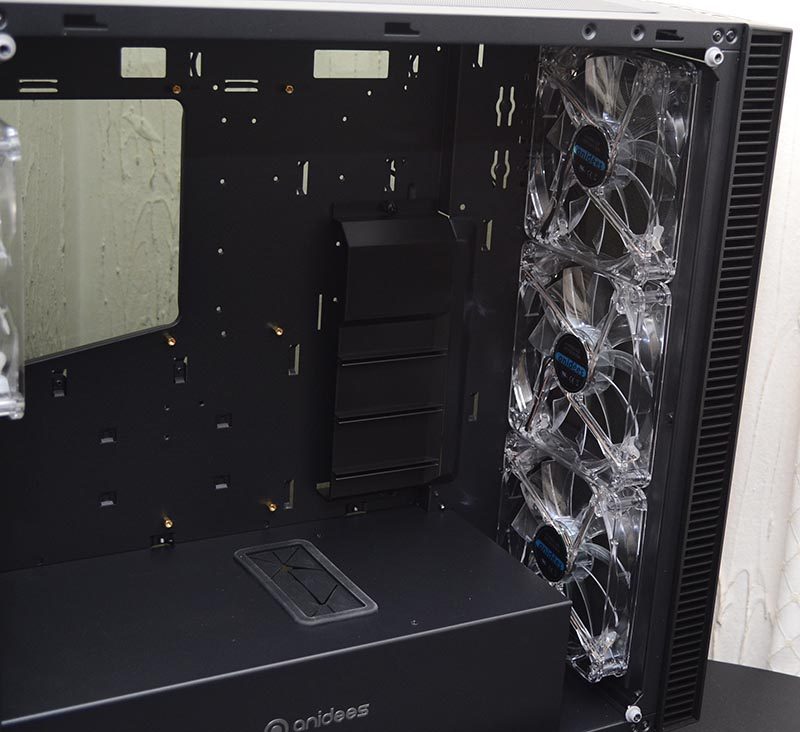
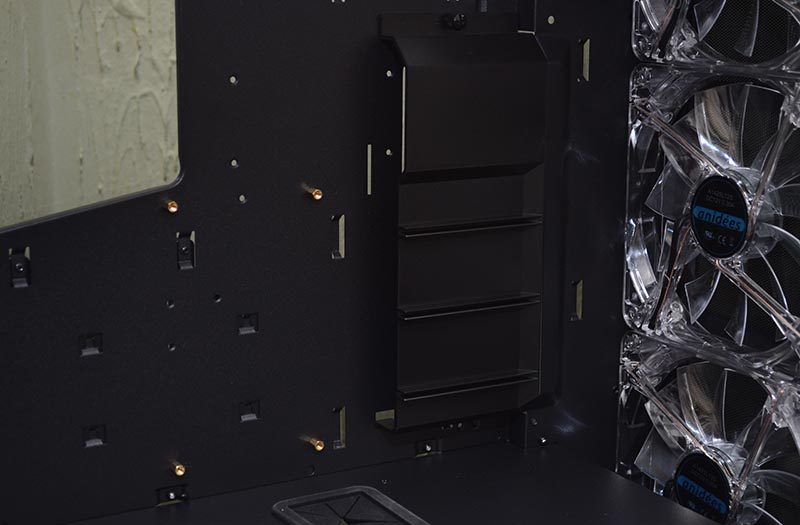
Instead of the usual cable grommets, there’s a cable shroud with a pass through on the left, so it should be nice and easy to get neat looking cable management here.
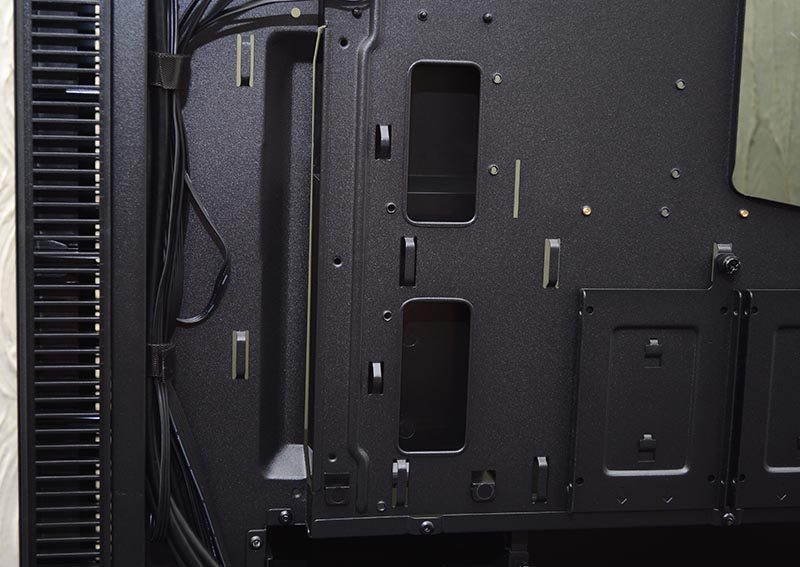
There’s a lot going on around the back too, with plenty of room for cable management, especially with that area in the base of the chassis to hide excess cables.
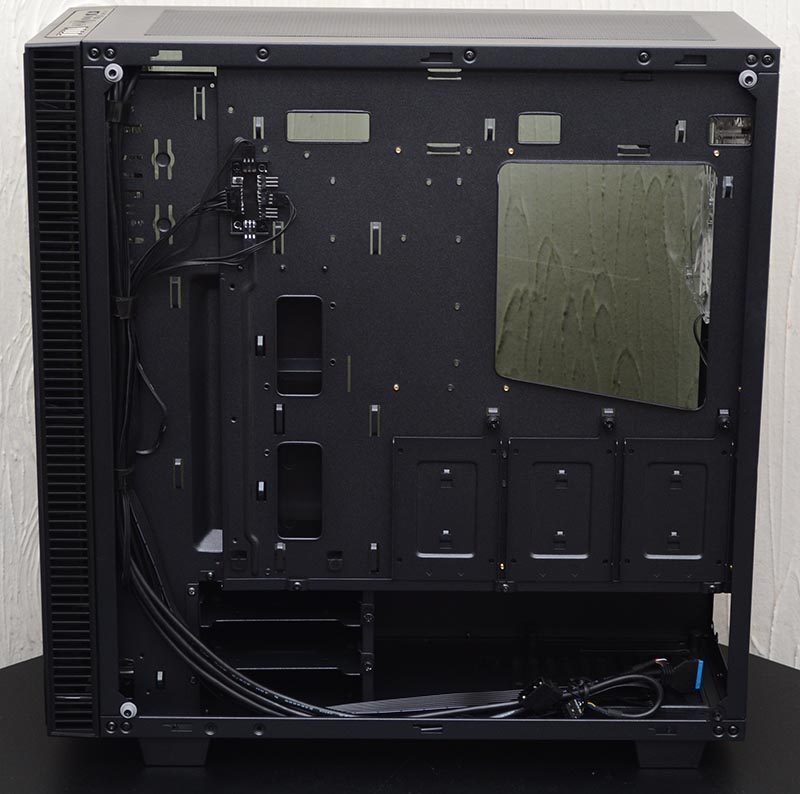
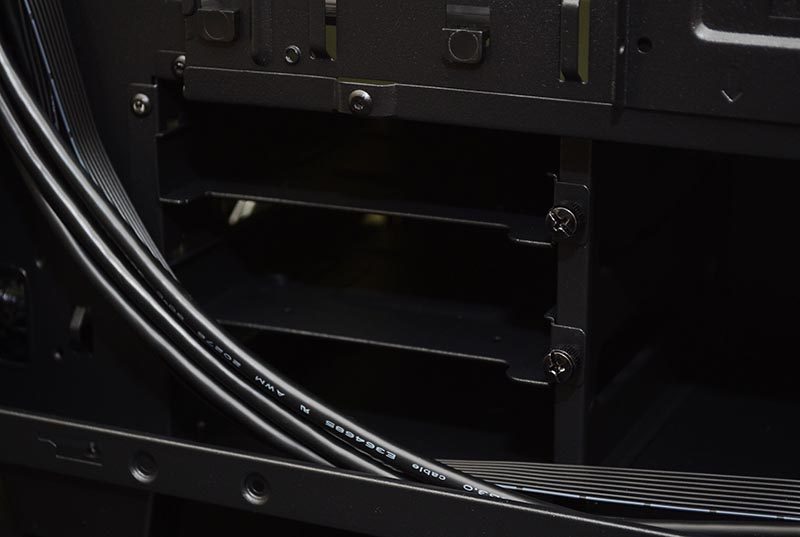
Towards the front, there are two 3.5″ HDD bays, with durable mounting screws to keep them firmly in place.
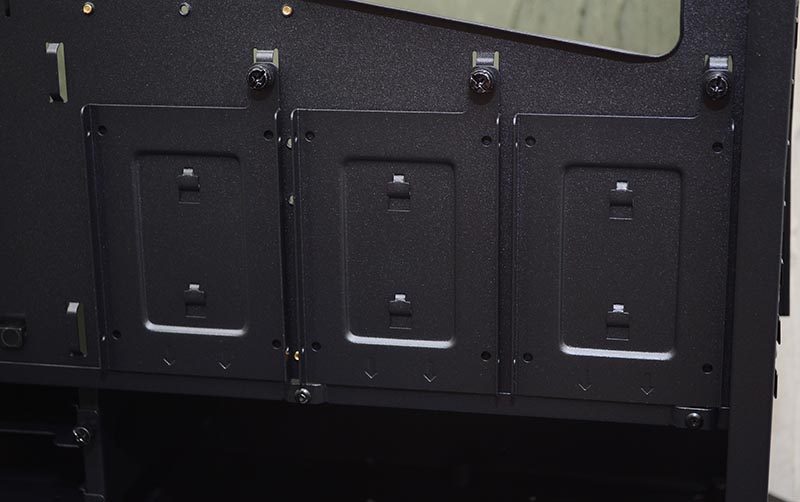
Behind the motherboard, you’ll find three 2.5″ HDD mounts, each with removable brackets for easy installation.
Cable routing should be nice and easy, and to keep any trailing cables in check, you’ll find plenty of cable tie loops too.
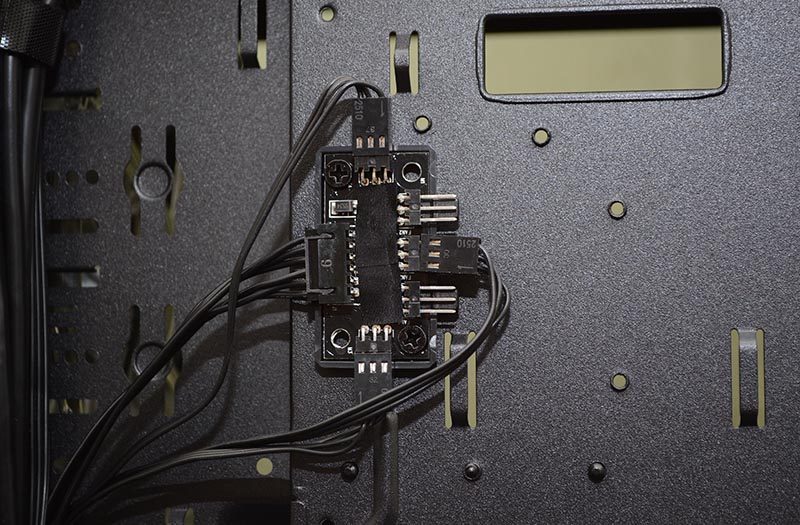
Up top, you’ll find a small fan hub which is powered by a Molex connector, and it hooks up to the front panel 3-speed controller so you can balance acoustic and cooling performance.
Remove the front panel by pulling it off from the front, and you’ll find another large magnetic dust filter.
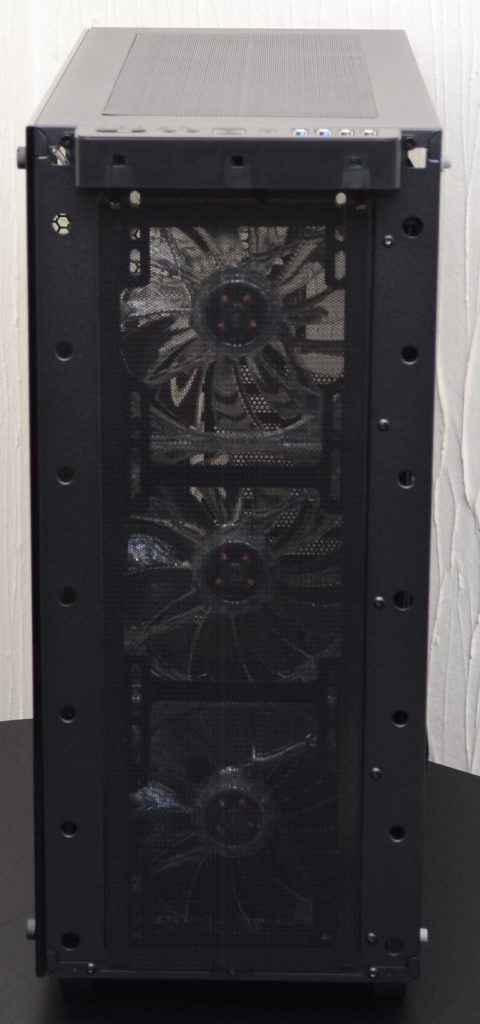
Remove the filter, and you can easily access the front fan mounts. I’m sure some will swap these fans out, but I think they look pretty great.