Antec Neptune 240 AIO Liquid Cooler Review
Mike Sanders / 4 years ago

Installation
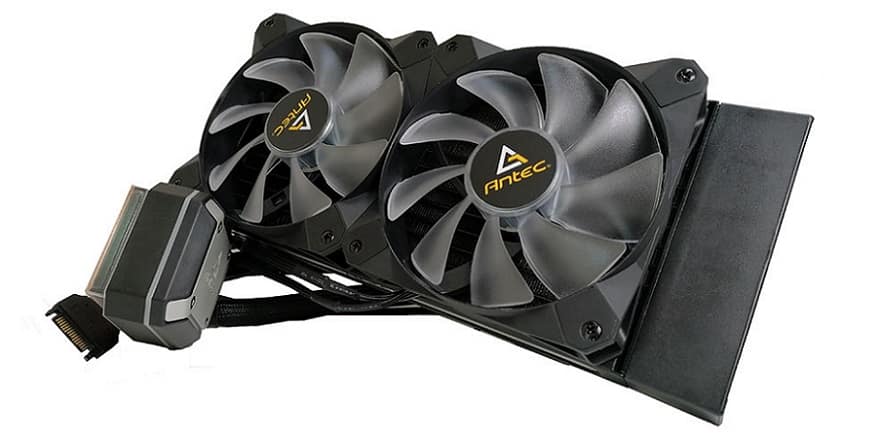
While the design and aesthetics are, of course, important, if you want an excellent looking cooler to match your overall system design, it is important to know just how easy (or hard) it is to live with. Particularly if you’re a regular tinkerer inside your system.
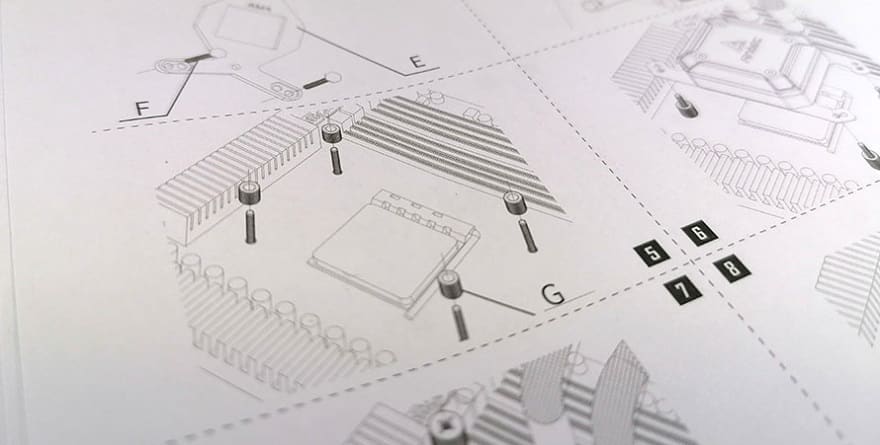
Starting with one of the most basic aspects, while you are provided with a manual, it is, in truth, not particularly good. While you are given a number of diagrams and part descriptions, it is (more often than not) rather vague on the details. A matter that becomes a lot harder when you have a number of very similar components that may, of course, not quite be the right ones you need for your socket platform.
While localization is always an issue (and diagrams are better than words) this would’ve benefited from a little more clarification on the individual parts. Particularly since the manual bears little resemblance to the itemized packages your parts are contained within.
Mounting
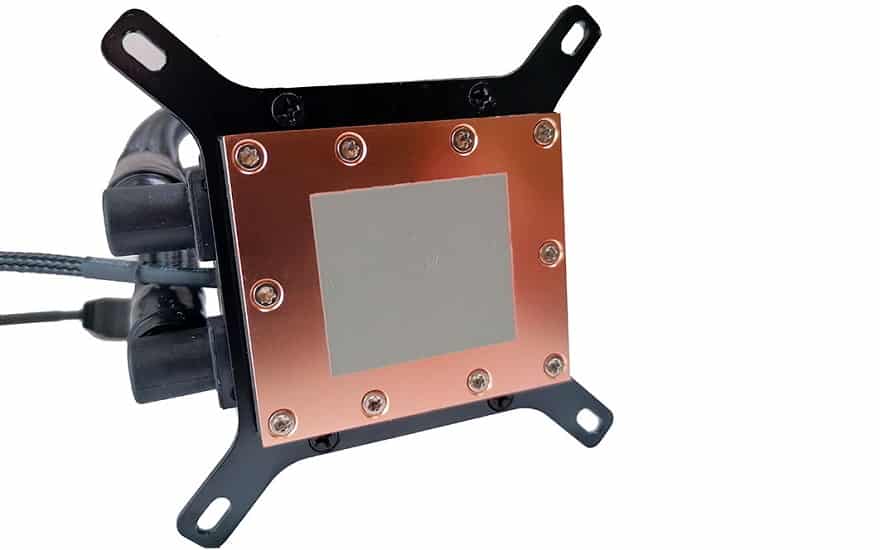
Fortunately, most of the main installation methods used on the Antec Neptune 240 are largely ‘standard’ and as such, anyone with even a little experience shouldn’t have too much of an issue figuring out what needs to go where. Even the mount to the pump head is quite simplistic with it being attached by 4 screws.
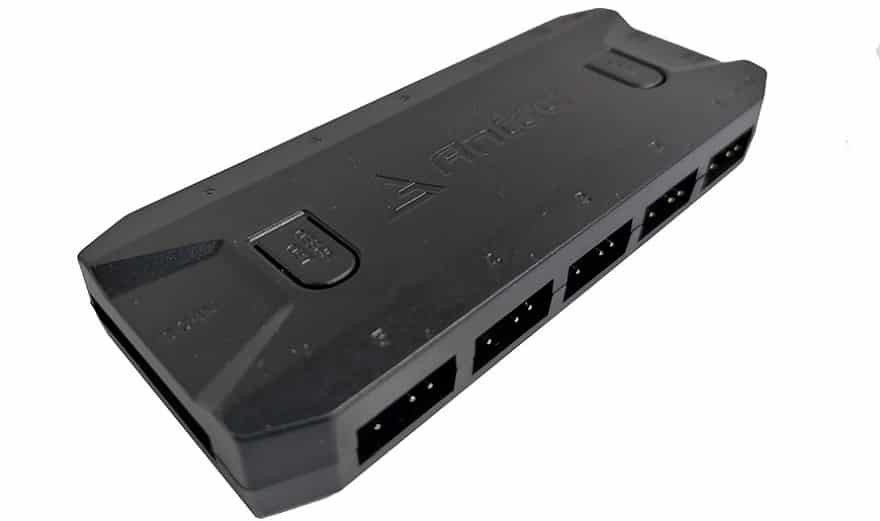
That being said, there is a very important factor we should note in regards to the installation. If you recall earlier in this review, we noted that the Antec Neptune 240 does come with an RGB hub that you can connect the fans to. Put simply, while you’re welcome to use this to hook up your lighting, we strongly recommend against fitting the fans to this controller.
Why? Well, if you do, it basically defaults the fans to run at their maximum speed which is entirely unnecessary based on the overall performance of this design. In a nutshell, while the option is there if you have spare fan-headers on your motherboard, you are far better off, in terms of noise output and automated PWM control, simply connecting the fans to those.
We should note that, in the test results which are coming up shortly, we did not use the hub to control the fans as this wouldn’t give ‘fair’ acoustic results.
Overall Thoughts
From out of the box and onto our test bench, the Antec Neptune 240 took us around 20 minutes to install. This is, if we’re being honest, a little longer than it would usually take us to fit most AIO coolers. So, why is this the case here? Well, the single largest factor is the rather crude instruction manual. With it being so unclear on a number of very important aspects, we had to scrutinize it quite thoroughly to make certain we used all of the correct parts.
While this cooler is still more than suited for an experience or first-time installer, we strongly advise you to take your time. The information is all there, but we suspect that mistakes are possible along the way if you’re not careful and, if you did make an error, we certainly wouldn’t blame you.