AORUS AD27QD Gaming Monitor Review
Peter Donnell / 5 years ago
Performance
Gaming
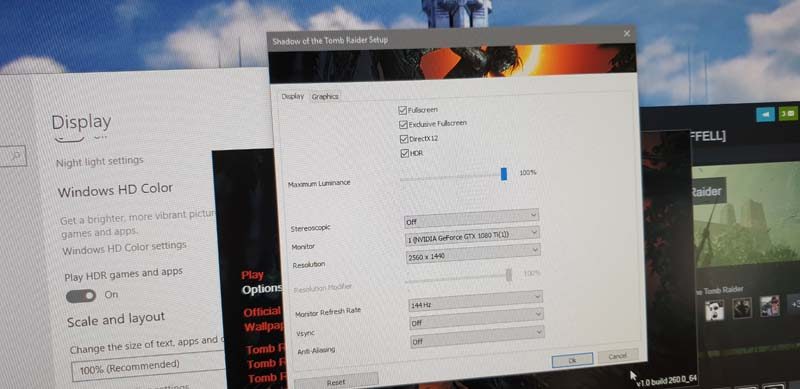
Well, we know this isn’t any standard gaming monitor, so a little extra setup is required. Firstly, make sure you set the resolution to the max, 2560 x 1440. Of course, you’ll want to max out that frame rate too. 144Hz 4 Life Yo!

The same goes for your games, you may need to turn on things like HDR, FreeSync, and 144Hz in their options too. Once all that’s done, dial in some fancy graphics and get to it.
144 Hz – Smoother Than Warm Butter
Without a doubt, the combination of this fast refresh rate and a 1ms response time is staggering. I’ve used quite a few high refresh rate monitors over the years. However, this one feels especially responsive and pleasing to the eye. It has a plethora of options too (more on those in a moment), that can fine tune the responsiveness of the screen to suit your taste.
With fantastic colour reproduction from that IPS panel, the picture is something to behold in its own right. It’s not up there with professional editing monitors that cost thousands. However, it’ll put up a fight with any high-end monitor this side of a £/$1000. It’ll certainly provide enough colours and pixels for those doing a bit of photo and video editing though, as one would expect of a fairly expensive panel anyway.
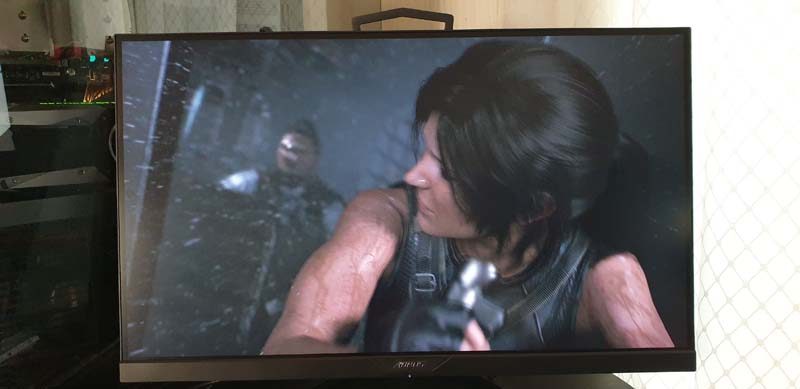
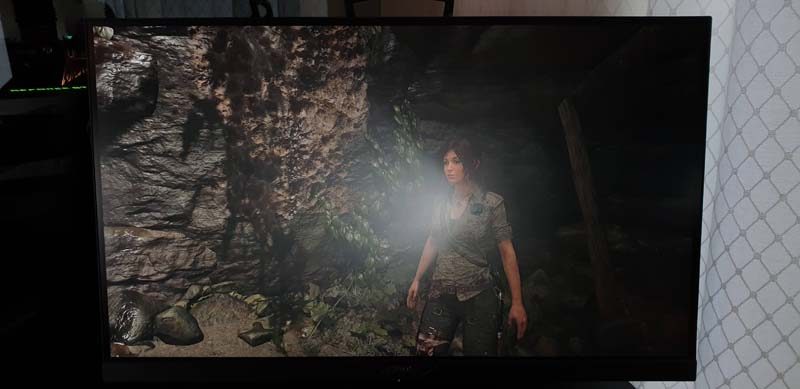
When it comes to gaming, Shadow of the Tomb Raider looked stunning. The rich colours are pushed even further thanks to the monitors HDR mode. Inky black and crystal clear highlights. I couldn’t see any edge lighting issues either, so another big win for AORUS. Rest assured, the real-life image in HDR looks better than I can show in an 800px wide jpeg.
Productivity
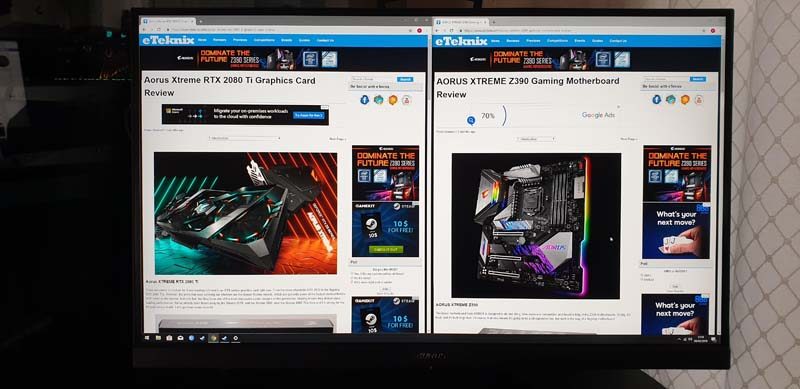
I’m a 4K fanatic, but 1440p is hardly a big compromise for productivity. It’s got more than enough workable space for putting two web pages side by side, and the text is nice and clear without needing additional scaling or zooming. I would like a larger panel, but 27″ is plenty for most desktop environments and gaming scenarios.
Again, those fantastic colours and jet black blacks look superb both in and out of gaming.

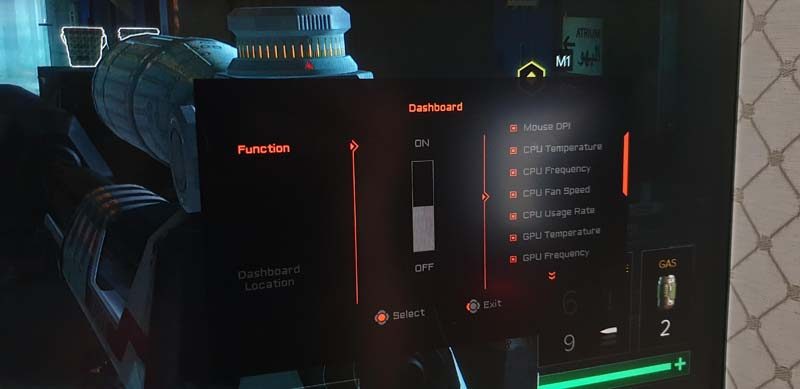
OSD OMG
So, this monitor is fantastic for work, movies, gaming, and beyond. There’s no doubting that, but it has a LOT more to offer to anyone who buys one. A lot more. Did I say a LOT? A LOT. Open up the OSD, and you’re presented with four shortcuts to dashboard, settings, game assist, and power. You can even change these to your favourite options if you so desire.

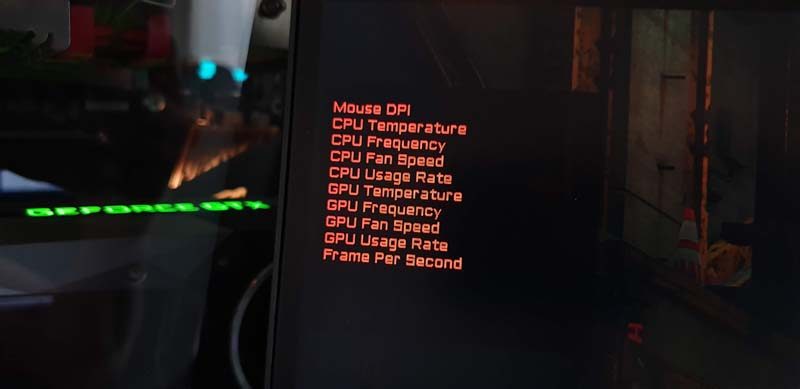
Dive into Dashboard, and you can overlay DPI, temperature, CPU usage, GPU temperature and more on the display. Now, this information comes from the desktop software. However, it’s overlayed on the monitor, not from the GPU output. This means that you can bypass games that don’t allow an overlay. Furthermore, it won’t cause any conflicts, even with anti-cheat systems.
GameAssist
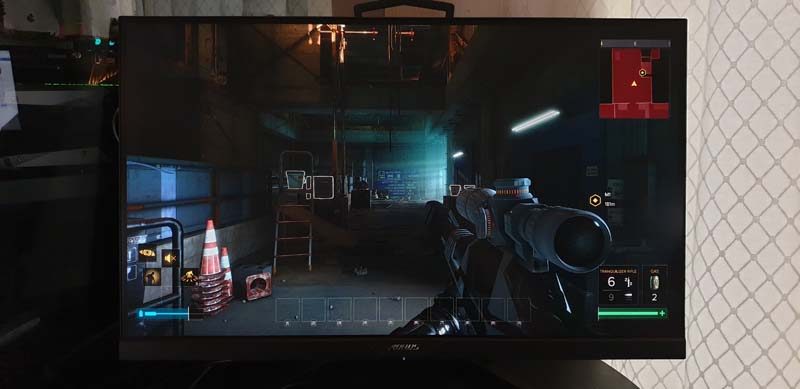
But wait, there’s a (lot) more. Game assist allows you to overlay customisable crosshairs on the display. Tired of missing those 360-no-scopes? Well, now you can force that crosshair on the monitor and stick it to the game designers.
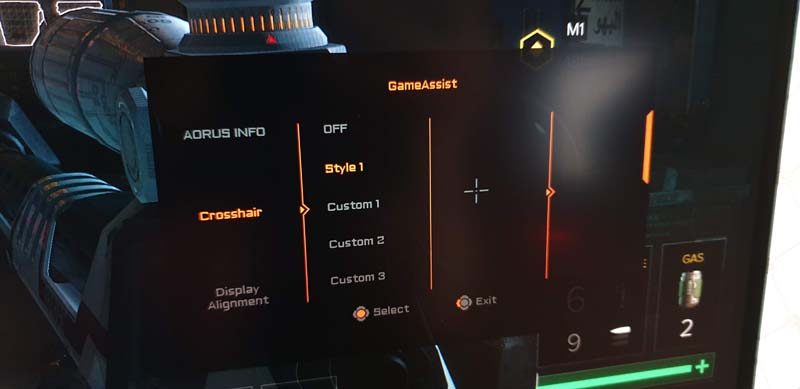
See, sniper rifle, no scope, but I now have a cross hair to rain terror on my enemies.

Timers
Count down, count up, count all around. You can keep track of all kinds of timings here, and even view your FPS. All of this can be very handy for competitive gaming and MOBA titles.

…Yes There’s More
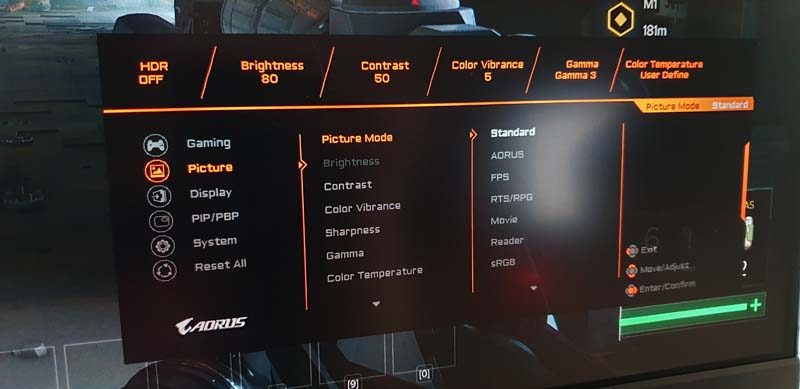
Then you get into the very in-depth gaming, picture and display settings. From here, I can adjust aim stabilizer (which is kinda like a deinterlacer to smooth things out), black levels, upscaling and more. These are all subjective qualities and personally, I think the default settings were great. However, depending on your room, media, and eyeballs, you might find settings that you prefer buried in here.

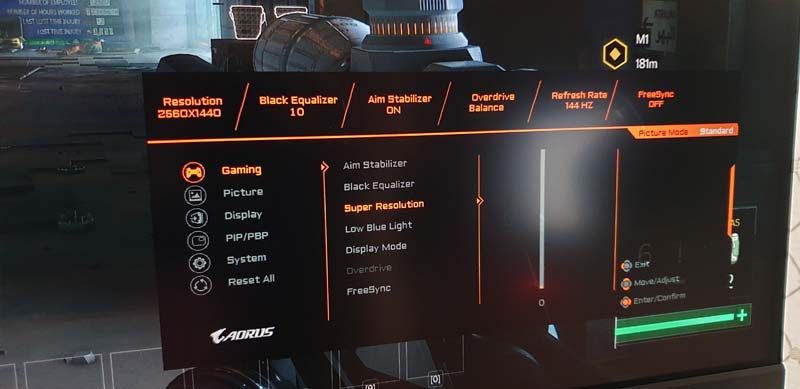
The only thing I changed while using it was the picture mode. The Standard, FPS and Movie modes were delivering great results for desktop use, gaming, and obviously movies.
Warm Please
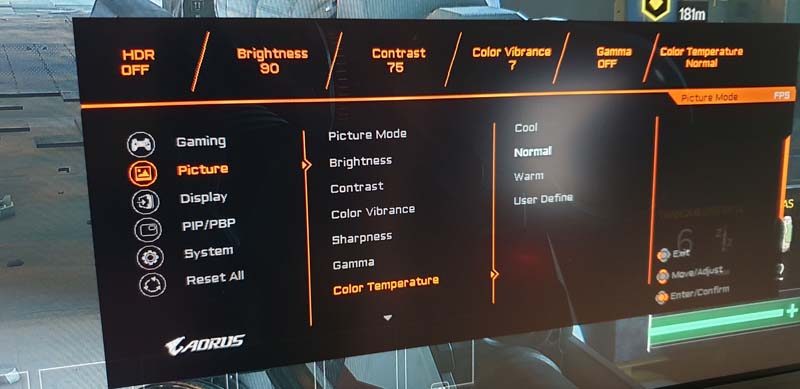
The one thing I would suggest is setting the colour to either normal or warm. I prefer a slightly warmer image, but this can vary depending on your room lighting and ambient room colour too.
Audio
The party tricks just keep coming too, as you can plug your headset and microphone right into the monitor. With this, you can use the built-in USB Codec AMP on the monitor. It’ll allow you to use noise cancellation technology that features several levels. Some are better at blocking general background noise. However, their custom ones are great at blocking your mic from hearing the sharp random taps of mechanical keyboards. Handy for your teammates, that’s for sure.


