Arctic Cooling Freezer 13 CPU Cooler Review
Andy Ruffell / 13 years ago
A Closer Look
[COLOR=#000000]The fan is probably the first this you notice when comparing the new Freezer13 to the Freezer7 series. The old caged fan on rubber mountings has been replaced by an unguarded fan with brand new blade design on a solid mounting. The diameter of the fan has remained at 92mm but the blades have increased in number from 7 to 9 and have a more slender, swept shape. This new design along with a lower rotational speed has helped drop the noise levels from 0.8Sone to 0.5Sone. [/COLOR]
[COLOR=#000000]The fan mounting clips over the full face of the cooler and acts as a shroud, channeling the air over the fins. Something that’s not immediately obvious until its pointed out is the way the ends of the fins have been turned downwards. This creates a solid side to the cooler and forces the high pressure air from the fan to flow across the fins and around the heatpipes rather than leaking out the sides. A simple modification that shows the amount of thought that has gone in to the design.
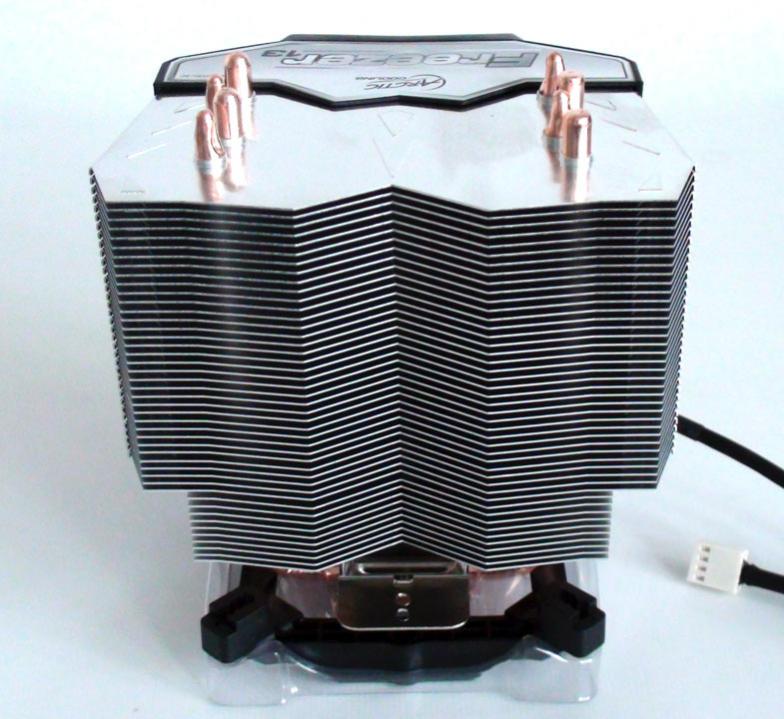
At the back of the cooler we see the 45 fins and the rather attractive and interesting V-shape cut into them. I’m going to be honest with you dear reader, with the product sat on the desk I spent some time pondering the function of this Vee. My favourite explanation was that it increased aerodynamic efficiency behind the dead spot of the fan. Then again, perhaps it was purely aesthetic, a decision taken by designers in trendy thick rimmed spectacles. It was only when I installed the cooler using the AMD brackets that I realised it was to allow you to access the screw heads with a screw driver. Sometimes the simplest explanation is the best!
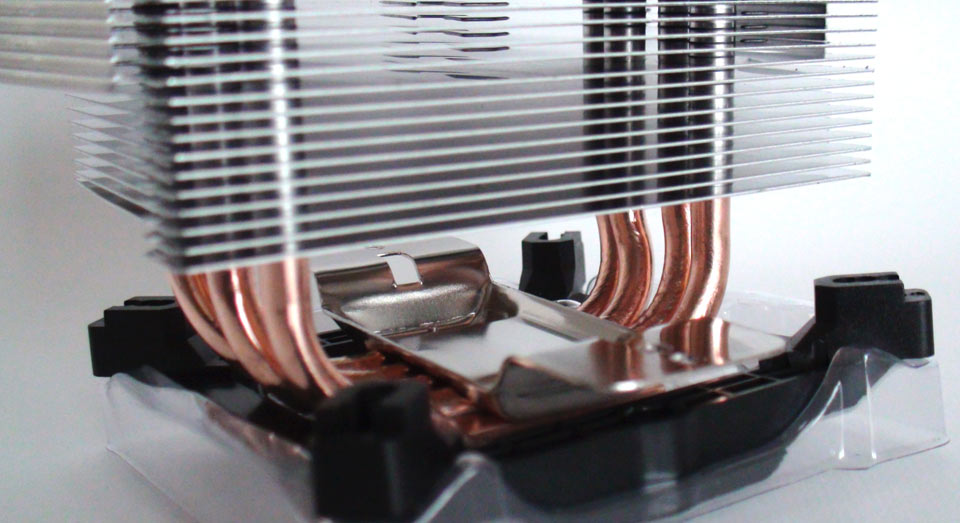
Looking at the base we can see the heatpipes and the universal mounting system (shown here with Intel bracket in place). The Freezer13 has four heatpipes versus the Freezer7’s three which helps it achieve the 200 Watt cooling capacity.
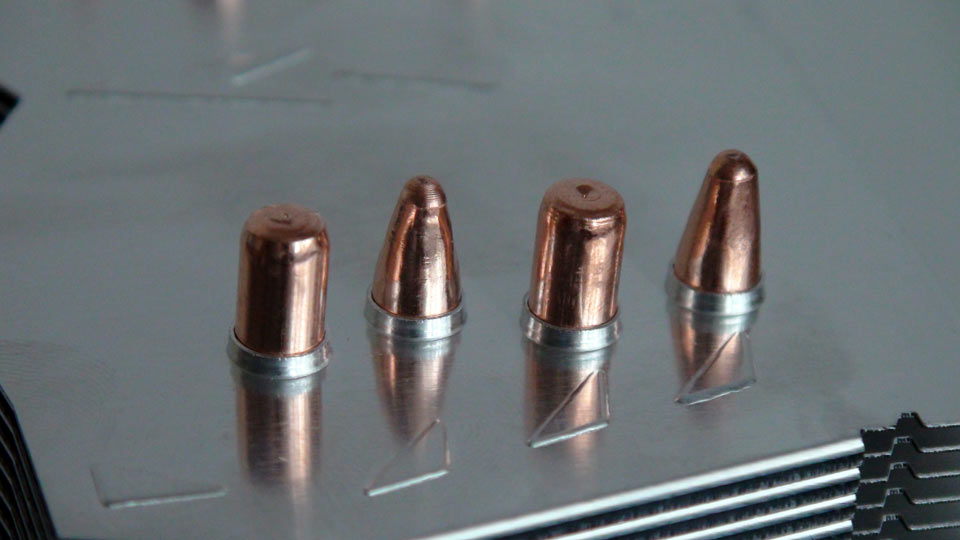
Here we have removed the Intel bracket to make it easier to see the copper heat plate and heatpipes. A generous layer of Arctic’s MX-4 thermal compound is pre-applied. The pipes are soldered onto the copper plate and a slightly staggered as they pass through the fins. This prevents the heatpipe closest to the fan shadowing the others behind. This can also be seen in the image below.


