ASUS ROG Z690-I Gaming WiFi Motherboard Review
Peter Donnell / 3 years ago
A Closer Look
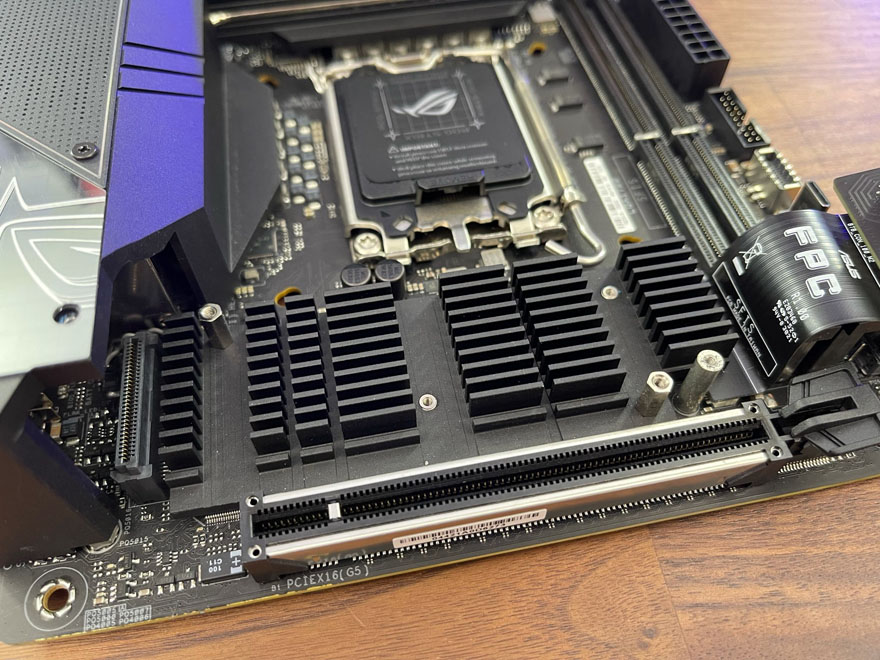
The board looks really cool, it has huge heatsinks and armour colouring virtually all of PCB! Of course, there is a large opening in the middle, as you’ll need that room to install your CPU cooler, but otherwise, it’s all built up with multiple layers of hardware and heatsinks, and it looks pretty awesome too.
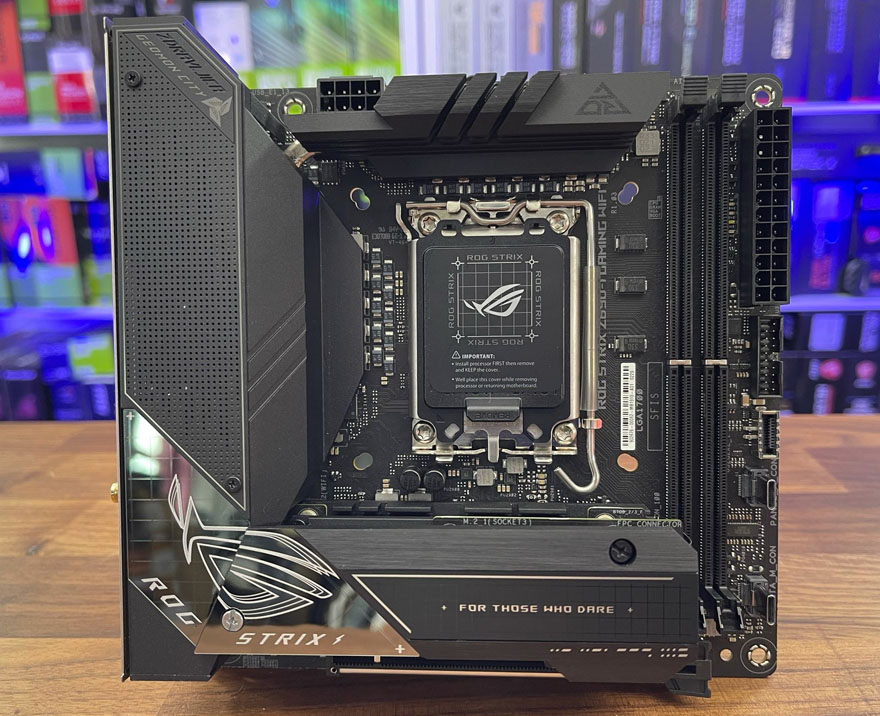
The board obviously has to trim down some features so it can maintain that mini-ITX form factor. Trimming down the VRM a little is an obvious place to start. However, ASUS still managed to cram in an impressive 10+1 105A Power Stage configuration and some surprisingly large heatsinks. The heatsink to the left is huge and joins the top one via a significantly thick heat pipe. However, given that the Z590 only had an 8+2 configuration and smaller heatsinks, I can’t help but be impressed by the new one.
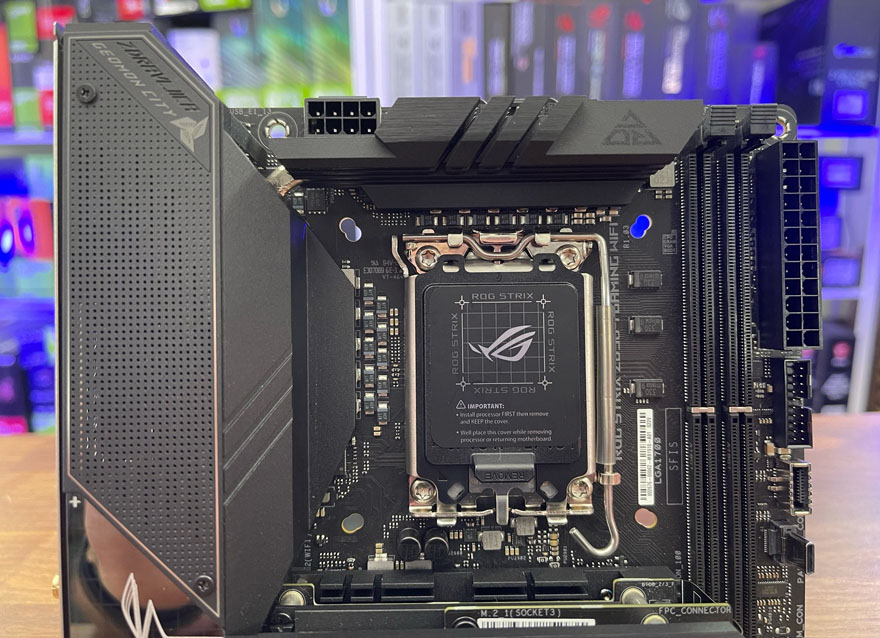
The power comes from the ProCool II 8-pin header, which comes with a special reinforced design to improve heat dissipation.

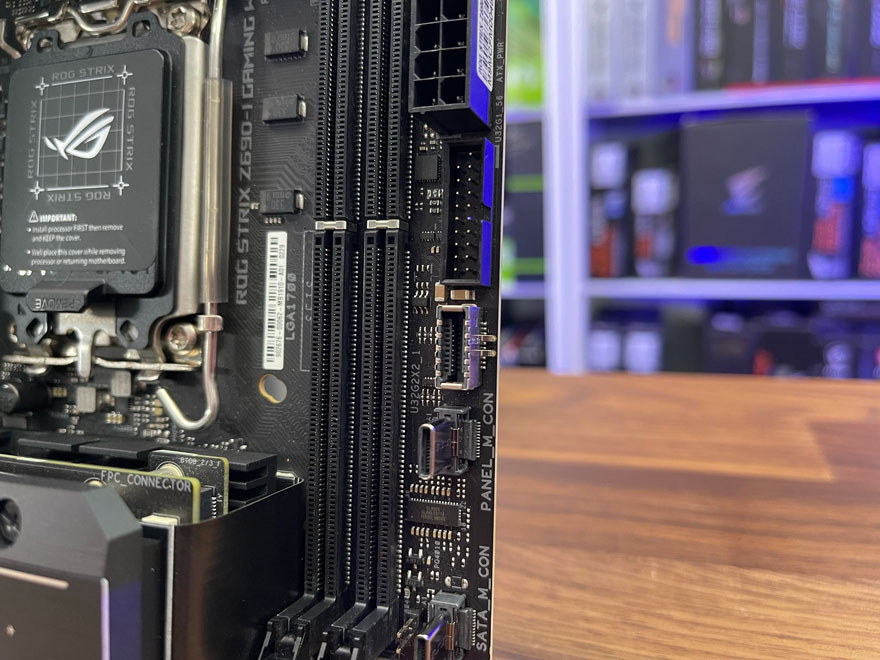
Down the right side, you’ll find two DDR5 DIMMS, which will support XMP 3.0 configurations of up to DDR5 6400. However, you can exceed that with overclocking, if your memory is fit for the job.
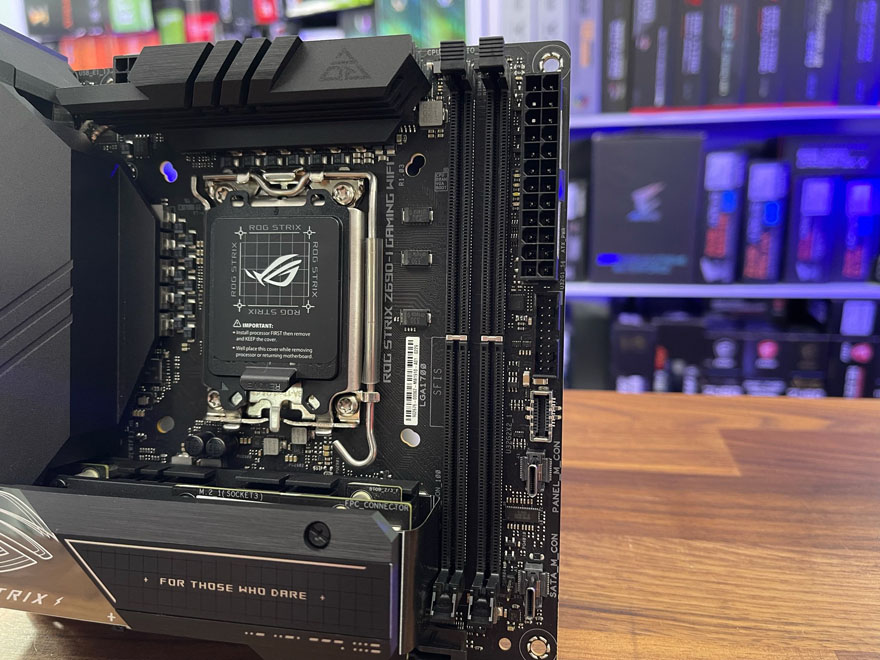
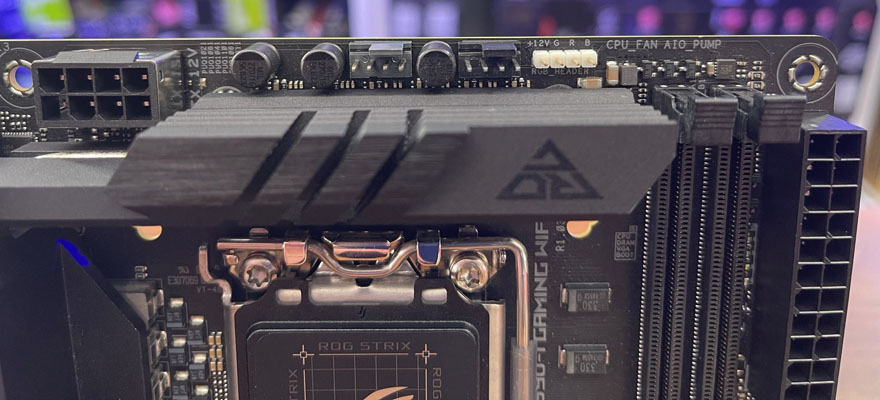
All the usual headers are here, with a good number of fan headers and an AIO pump fan header too. There’s also built-in RGB headers, allowing you to easily expand your lighting configuration.
Headers for USB 3.0 and front panel 3.2 Gen 2.0.
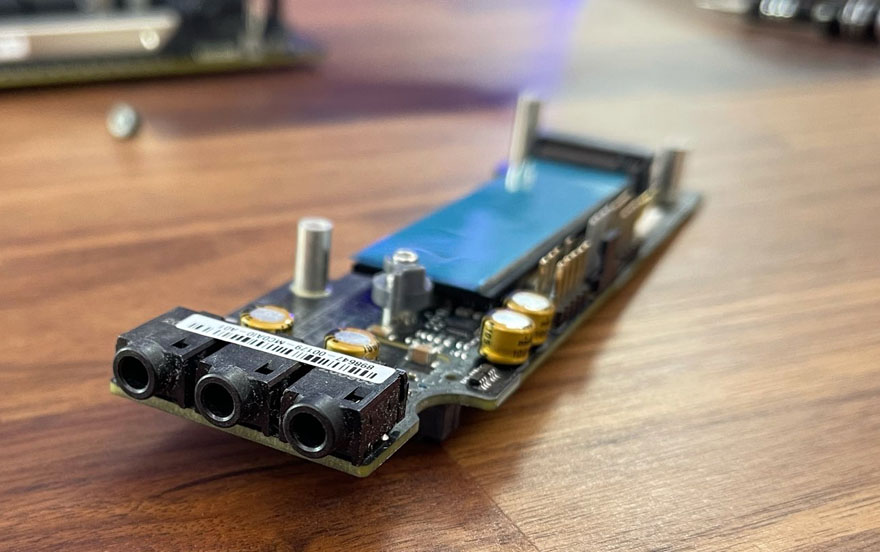
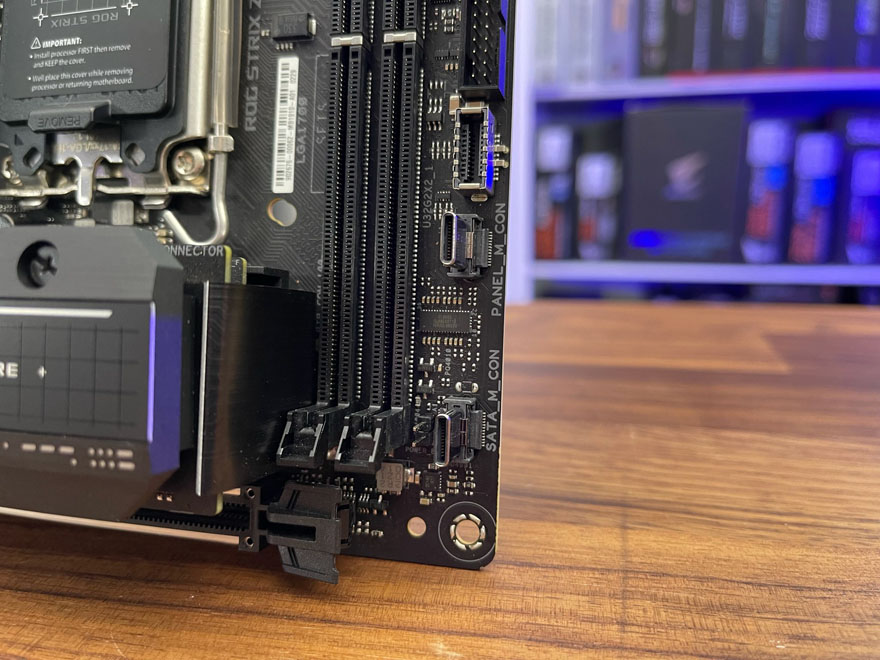
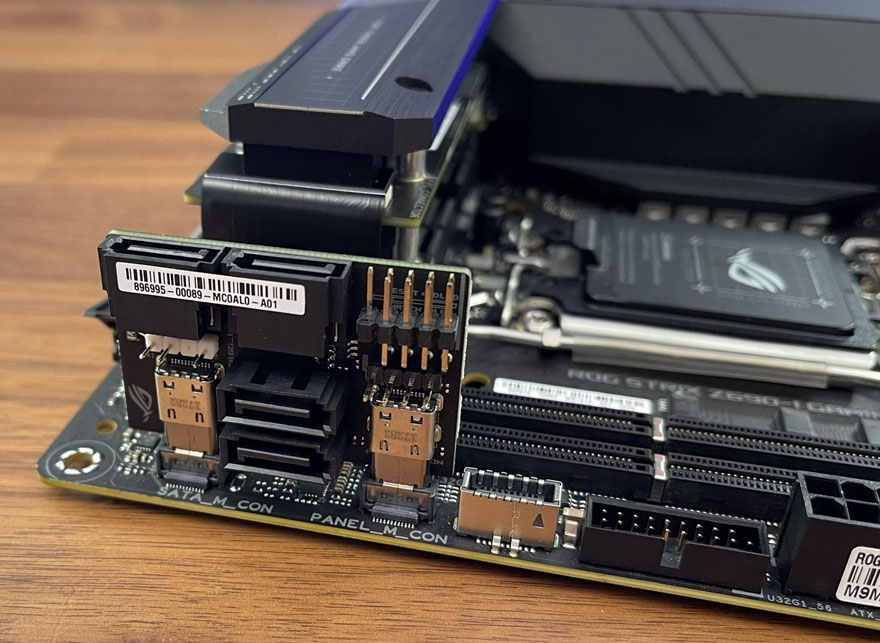
This funky looking USB-C combo down here is for adding in the ROG Front Panel SATA Card.
This little card adds four SATA ports, one ARGB header, and a front panel audio connector.
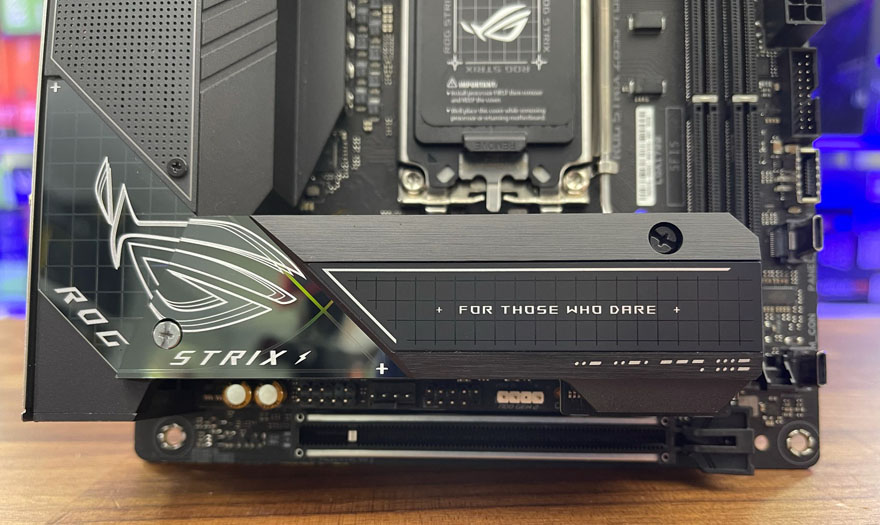
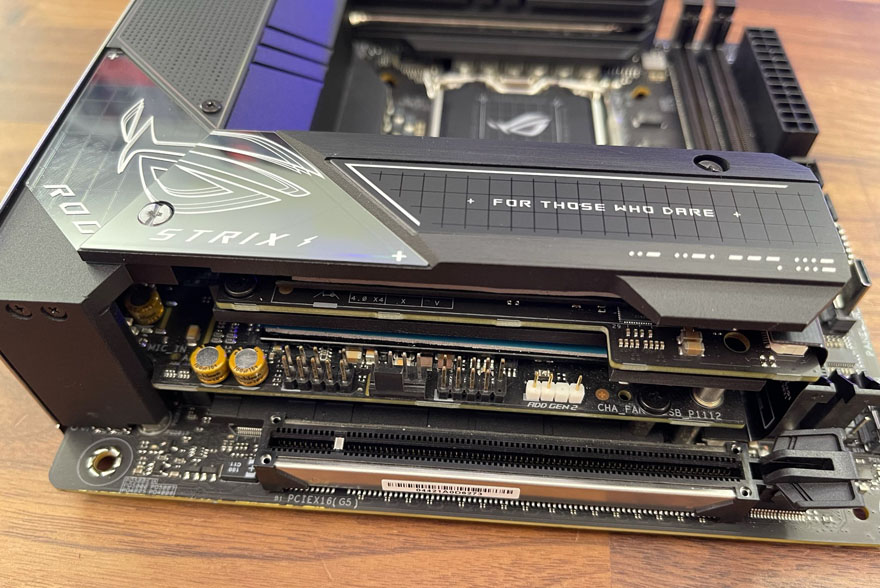
There’s a lot going on in the lower half of this board. For starters, you get that gorgeous top cover made from aluminium. There’s also a glossy mirror section with built-in ARGB which just looks awesome! Sitting just below it, you’ll find the new PCIe 5.0 slot, with a heavily armoured design that’s built to last.
However, if you look down the side of it, you can see that it’s made of many stacked layers!
Under the first heatsink, an M.2 mount.
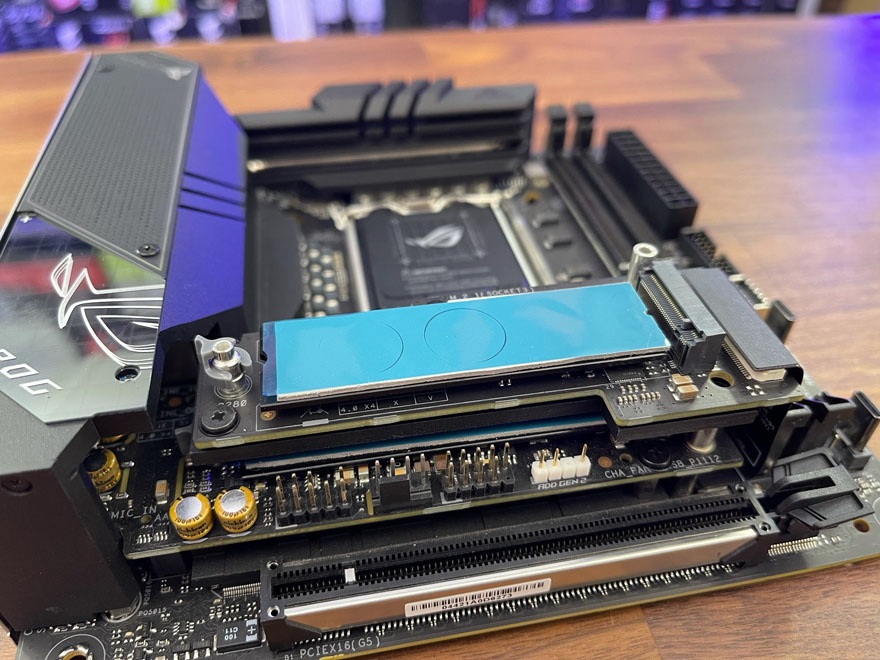
Then another heatsink.
And another M.2 mount below that. There’s also the gold capacitors for the audio amplification, a range of headers for audio, fans and ARGB here too.

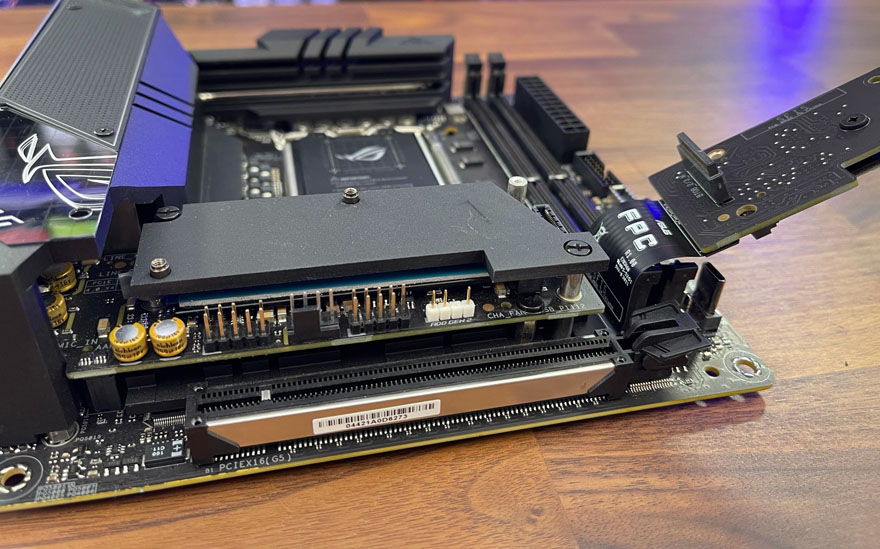
Below that, it’s another very robust heatsink with lots of fins.
The layer I just removed actually has the audio jacks on the back of it.
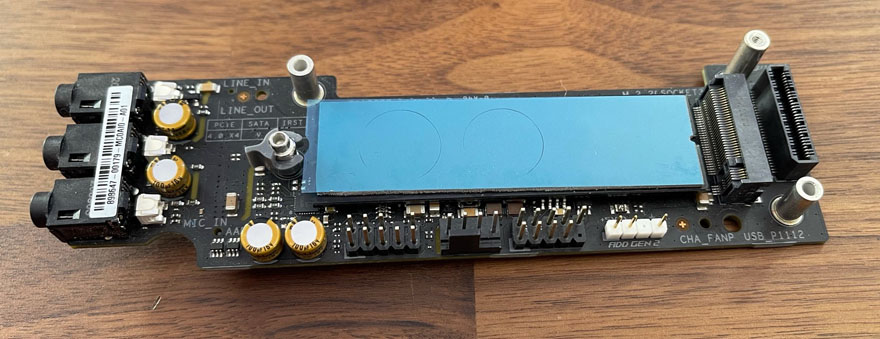
These are LED-lit too, so will glow when the board is powered on.