ASUS RP-AC87 Wireless AC2600 Dual-Band Repeater Review
Bohs Hansen / 7 years ago
Browser GUI: Bridge Mode
The three different modes offer slightly different interface options. That’s naturally down to the available settings for each mode, but it also means that we’ll cycle through some of them multiple times on the following pages. The first mode I’m going through is the Bridge mode.
However, it should be said that you won’t spend a lot of time in this user interface. Once you’ve set up the operating mode and network settings, you’ll forget the device and just enjoy the functionality.
In Media Bridge mode, the RP-AC87 can turn any Ethernet-compatible device into one with Wi-Fi capabilities. This could be PCs, consoles, media players, or smart TVs.
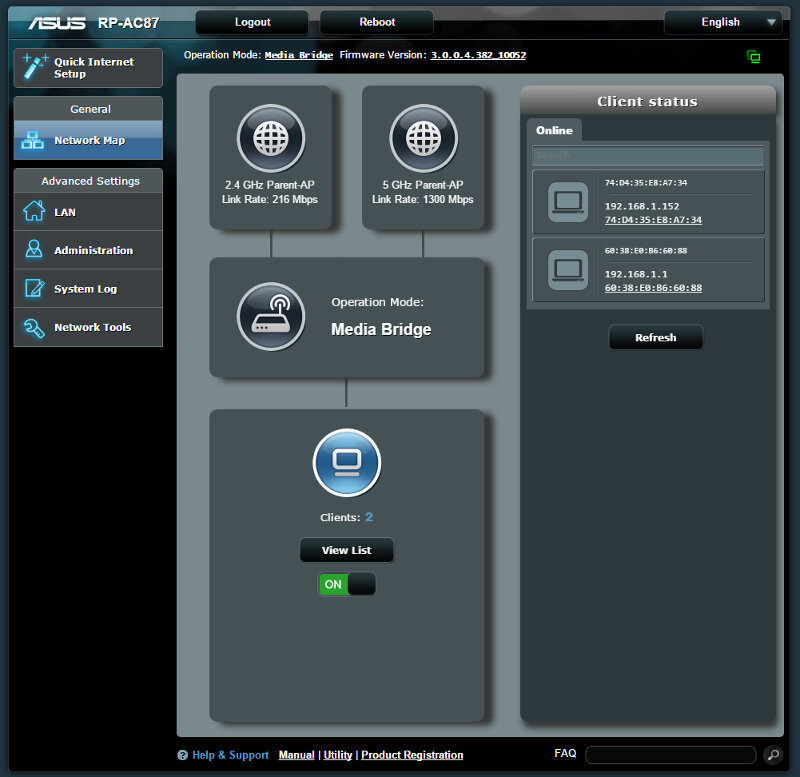
Network Map
The network map is more a welcome page or dashboard, and while I think it could have been named differently, it’s a very useful page. You can access pretty much any of your settings and check up on the status with just a few clicks in the proper field.
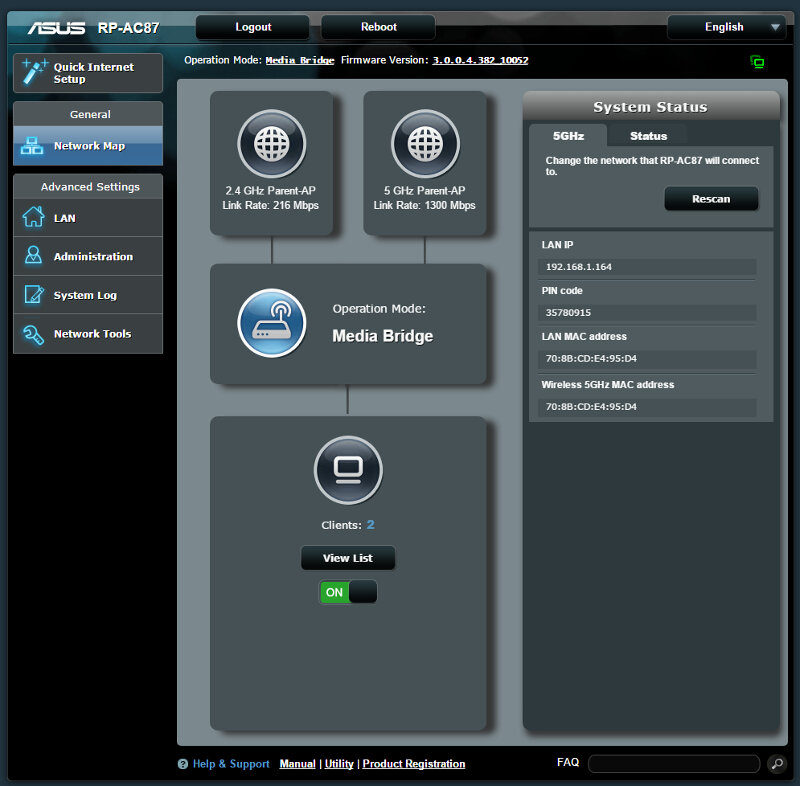
The right most panel will show details depending on your current selection in the middle panel. Above is the general system status from the operating mode and below we’re viewing the connected client list.
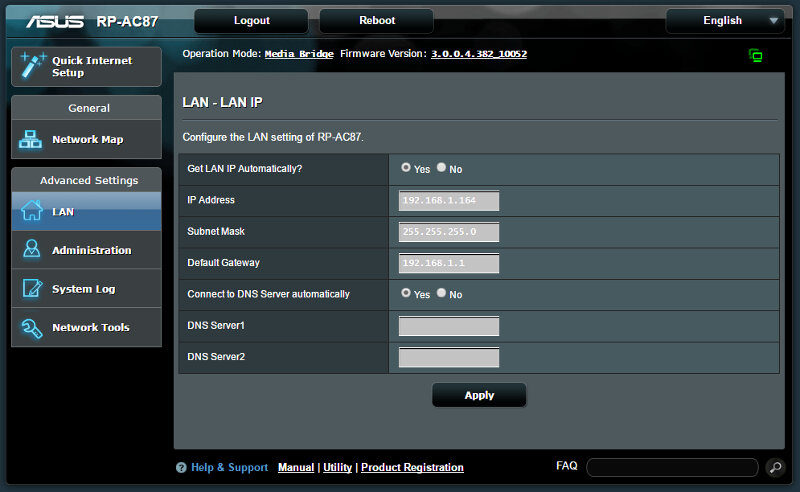
LAN Settings
Most people will want a DHCP setup for their LAN connected devices and that’s set by default. If you don’t want this, then there are options for all the basic IP settings.
Administration
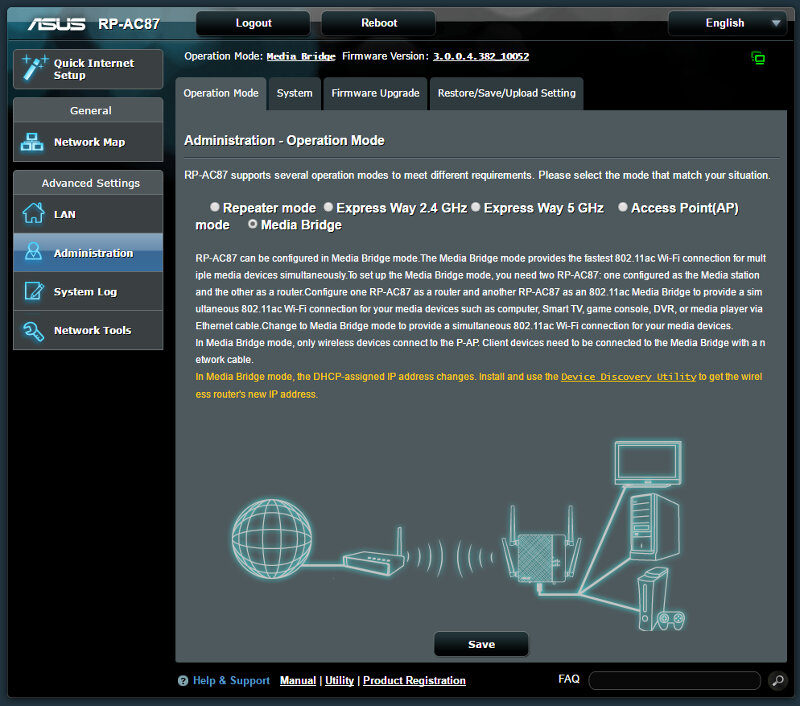
The administration page has a couple of function you’ll most likely need at least once. The first page allows you to set the operation mode of the device. The modes are described for easy choice-making and selecting a mode will update the diagram to help you pick.
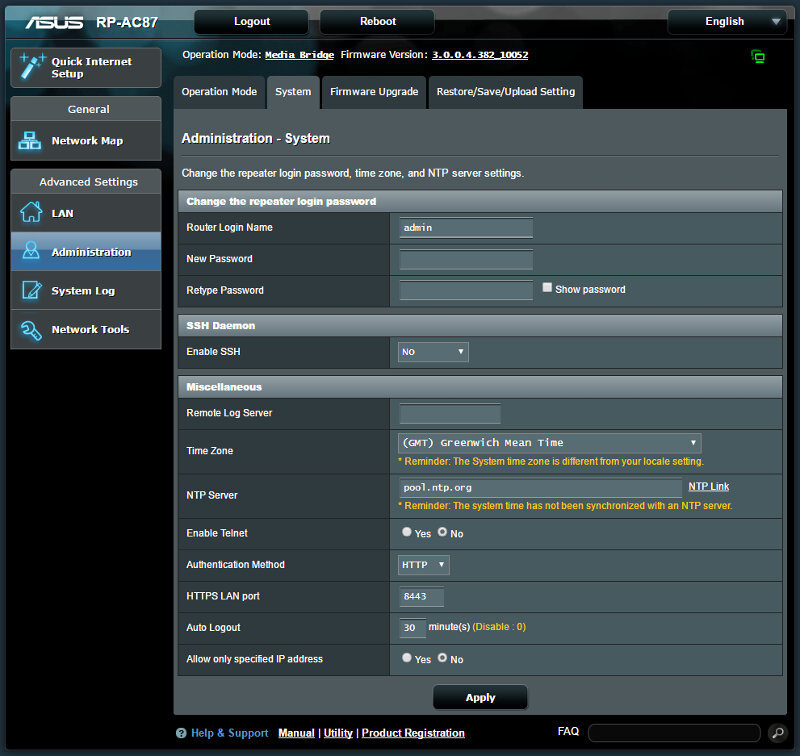
The repeater has its own little system and that includes some settings. We have the general administrator details to log in and manage the device, but also time settings and a few login method options.
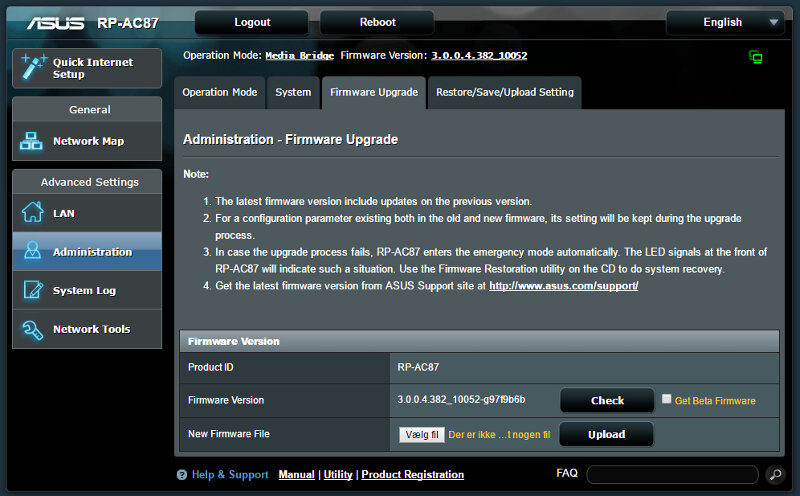
The firmware upgrade page is the first page you should visit. In some cases and generally for devices like this one, there is the risk that settings will be reset to defaults after a firmware upgrade. So, it’s best to do this first and not having to do it multiple times. While this isn’t as big an issue as it was a couple of years ago, the risk is still there. As with any update of any device. Long story short, check for updates and apply them if there are any.
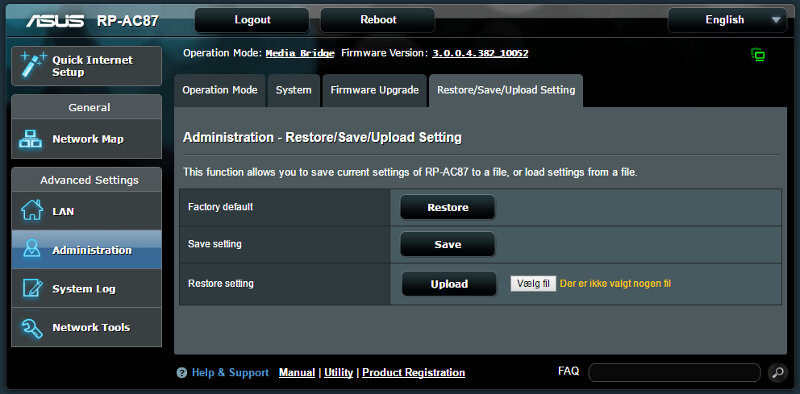
Last but certainly not least, you can restore the device to default settings as well as import and export the settings.
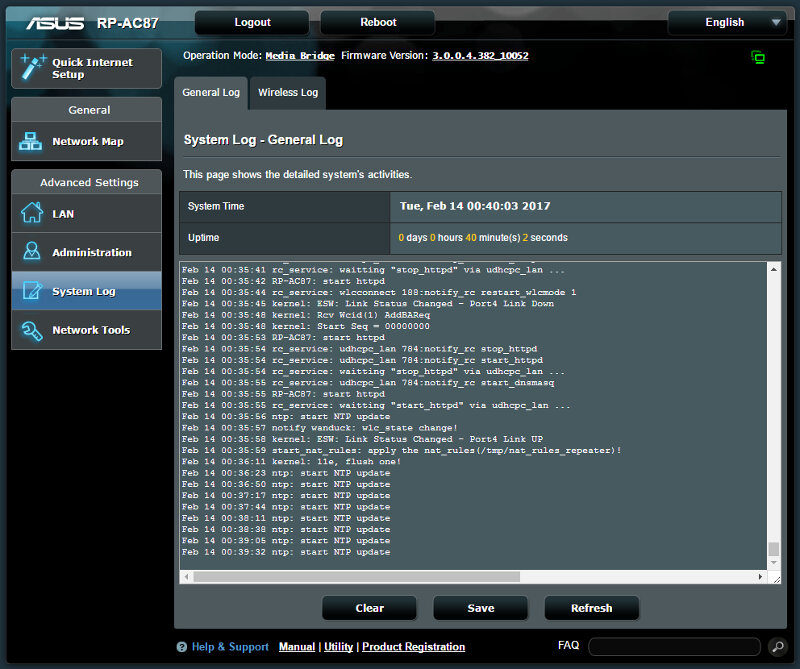
System Log
There are two pages within the system logs, one for general happenings and one for the wireless bands.
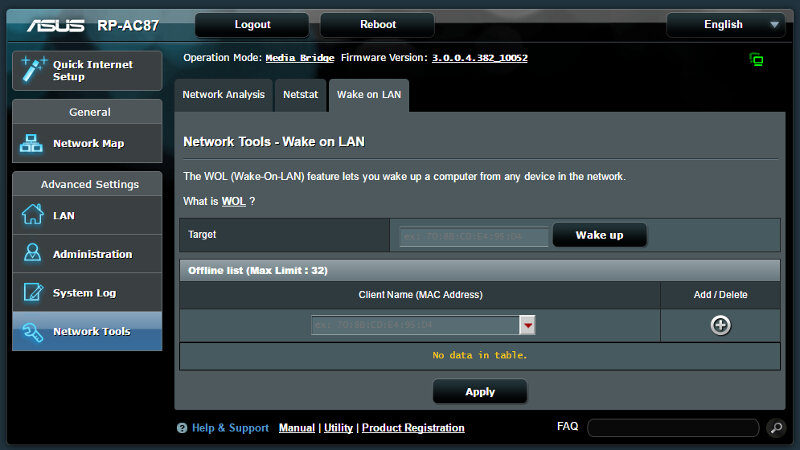
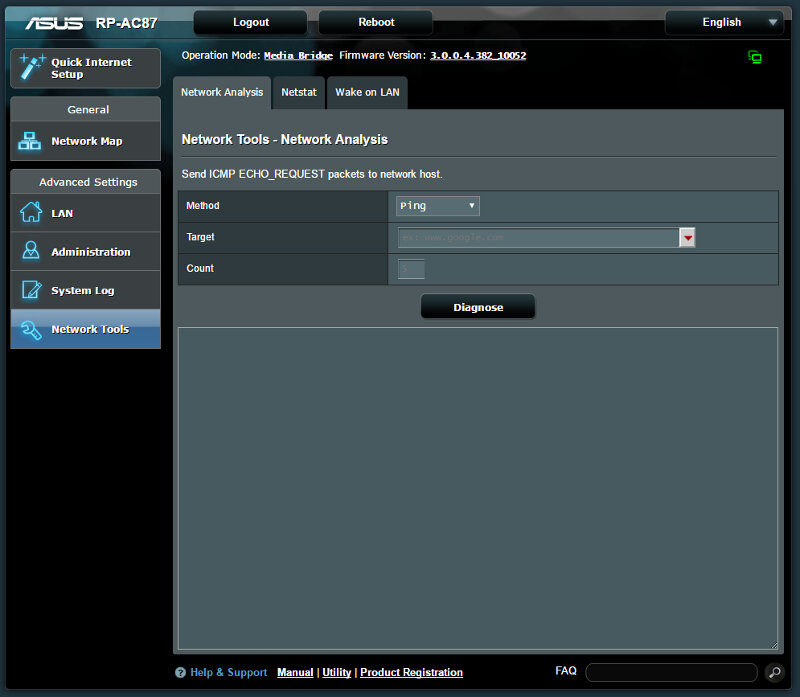
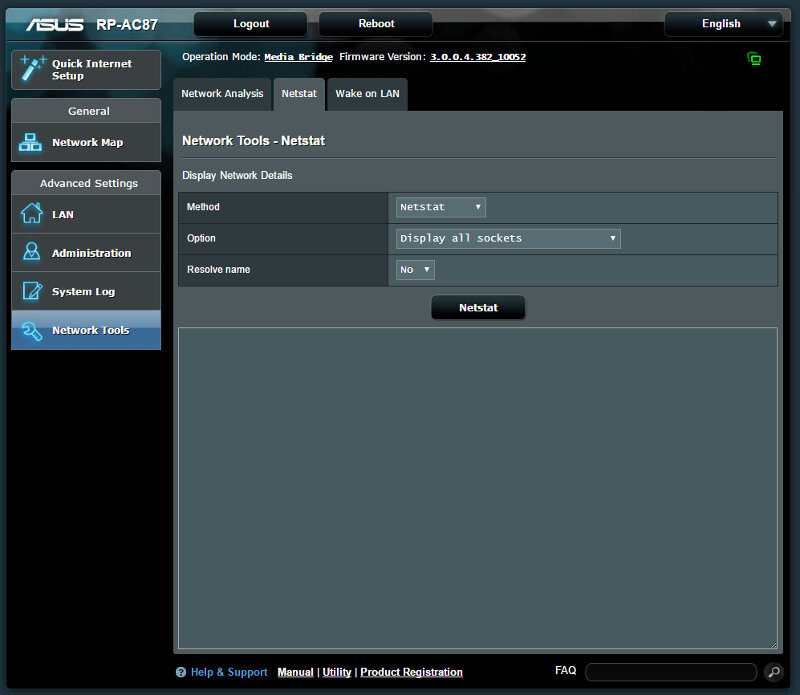
Network Tools
There are a few network tools too, such as basic ping and traceroute functions.
But, netstat is also included.
And there is a Wake On LAN (WOL) wake feature.