ASUS STRIX X99 Gaming Broadwell-E Motherboard Review
John Williamson / 8 years ago
BIOS and Overclocking
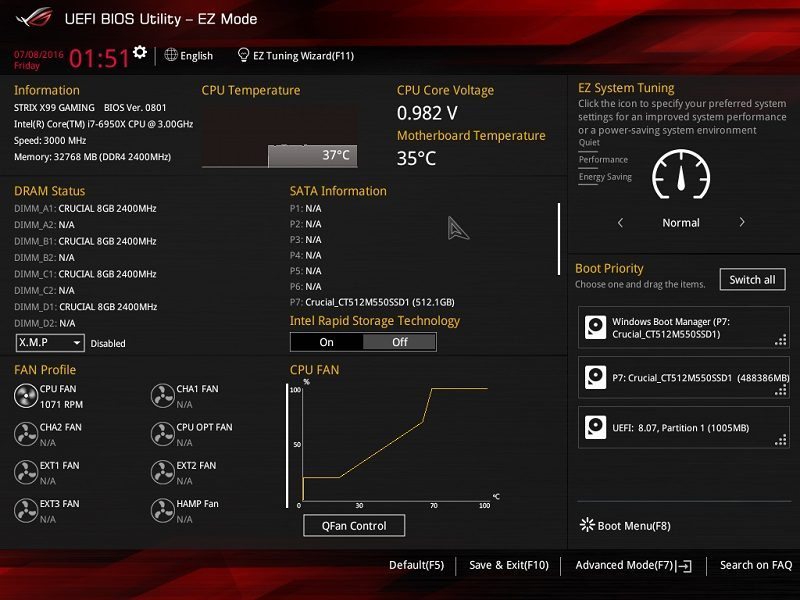
ASUS’ UEFI BIOS is brimming with options to tweak every aspect of your system and presented using a slick user-interface. The BIOS is divided into two modes; the EZ BIOS for beginners, and an advanced section which caters to users with a high level of technical expertise. The EZ mode’s main page lists essential system parameters, allows you to adjust the cooling RPM values and set an XMP profile. It’s also really simple to modify the boot order and select from a number of pre-configured performance settings. Here we can see the classic ROG theme which employs a clear white font and makes everything extremely easy to read from a distance.
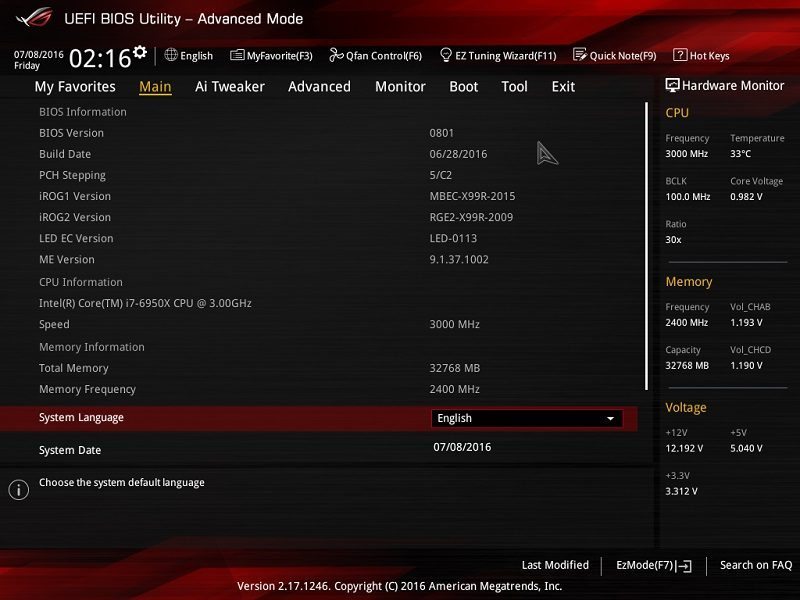
The advanced mode contains a huge selection of variables which provides everything you need to customise the system to your specific requirements. On the main page, you can view essential system information such as motherboard model, BIOS version, CPU ID and much more.
ASUS’ AI Tweaker is the section you need to navigate to when setting the XMP profile, adjusting BCLK frequency and other overclocking alterations. The hardware monitor and target frequency details help to keep an eye out for the effect of manual tweaks. When installing a Broadwell-E processor like the 6950X, the target CPU @ AVX frequency is also displayed.

Another interesting feature Broadwell-E brings to the table is the ability to set varying multipliers for each core. Additionally, Intel flags which core has the strongest performance and you might want to focus your efforts on setting a higher frequency to enhance single-threaded results. Of course, achieving a high multiplier on our sample which is Core 8 requires sacrifices on the other cores.
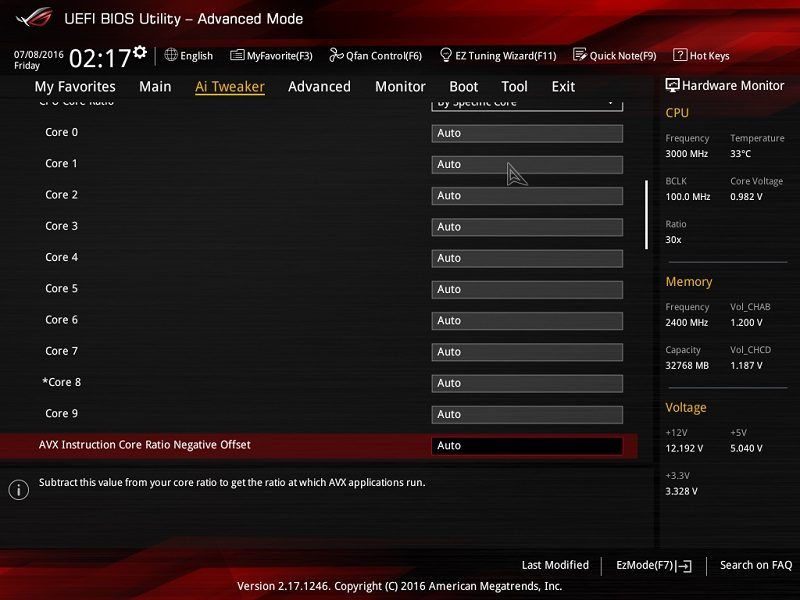
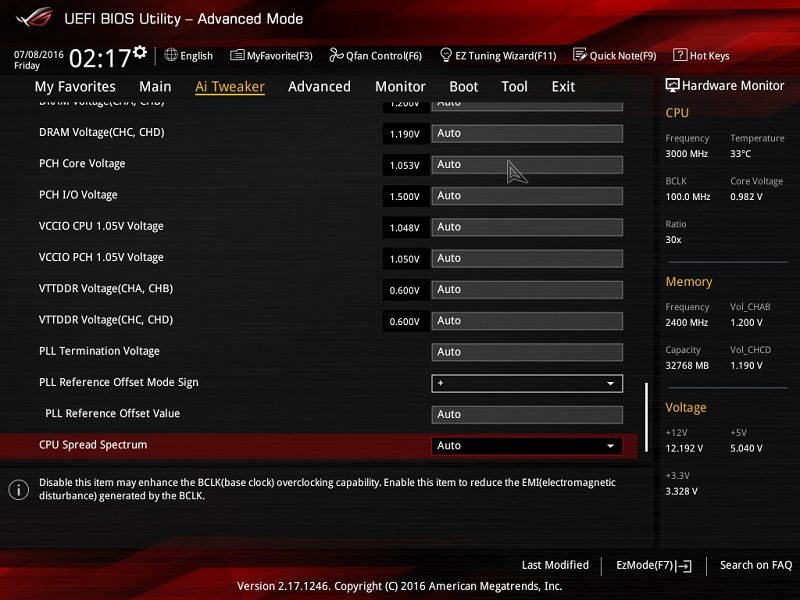
The AI Tweaker also houses an abundance of voltage settings to get the most out of your CPU and attain the highest performing stable overclock.
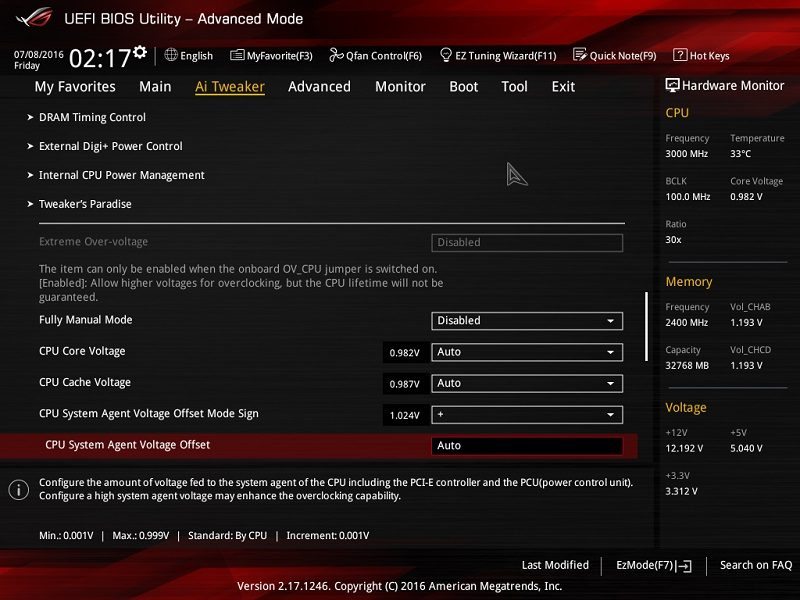
Further down is the voltage area for the CPU, DRAM, VCCIO, PCH and much more. The majority of users will simply need to adjust the CPU Core voltage to correspond with multiplier changes.
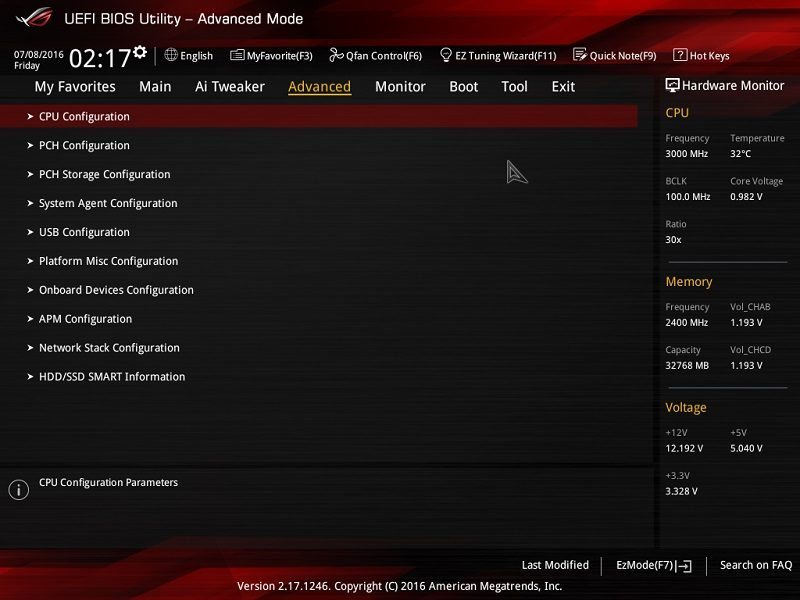
The advanced tab lists a large number of sub-menus to change the chipset settings, USB configuration and even display your storage’s SMART status.
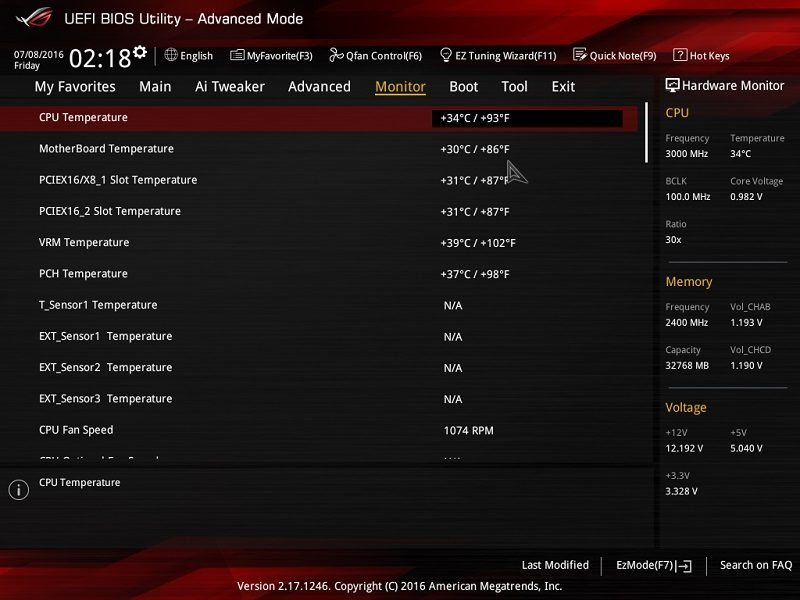
Next up, is the monitor section which allows you to manually configure RPM values for each fan or initiate the Q-Fan tuning utility. This detects the CPU’s thermal output under load and finds a suitable balance between temperatures and noise output.
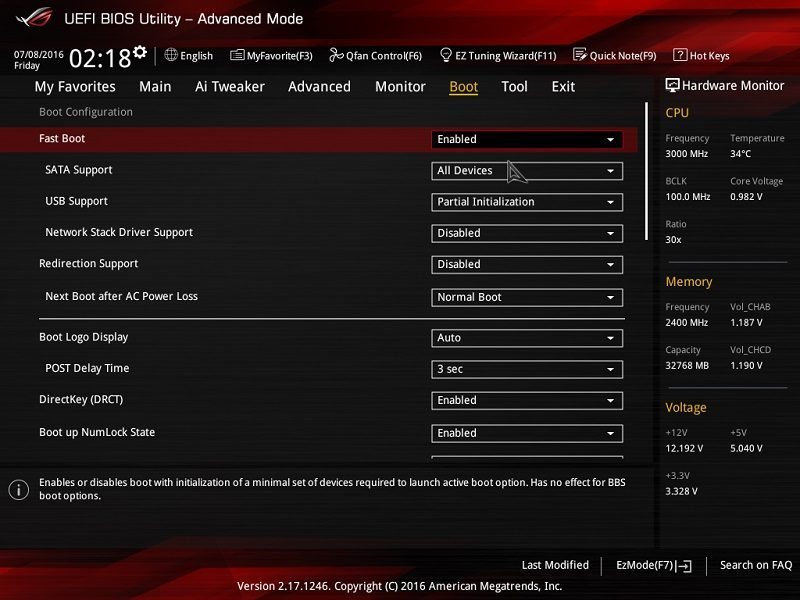
Here we can see the boot tab which houses various options to enable/disable fast boot, change the POST delay time and more. Honestly, you shouldn’t have to alter any of these variables as the default values will be perfectly fine in the majority of usage scenarios.
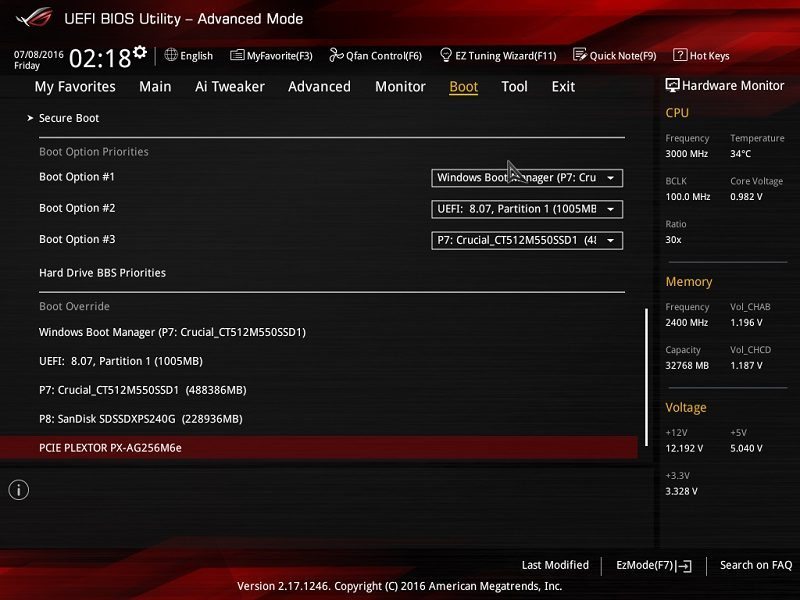
If you want to configure multiple storage devices with different operating systems on, it’s possible to dismiss the default boot order and boot from a secondary drive.
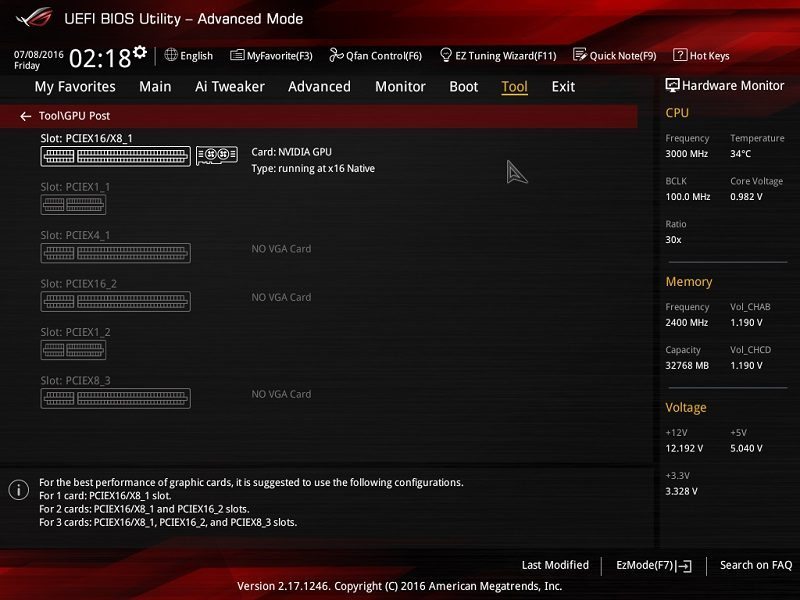
On the tool page, you can access the BIOS update utility, securely erase sensitive data and even investigate the current PCI-E configuration.

The GPU Post screen provides a wonderful visual indication of the current PCI-E setup and informs the user of each card’s operating speed.
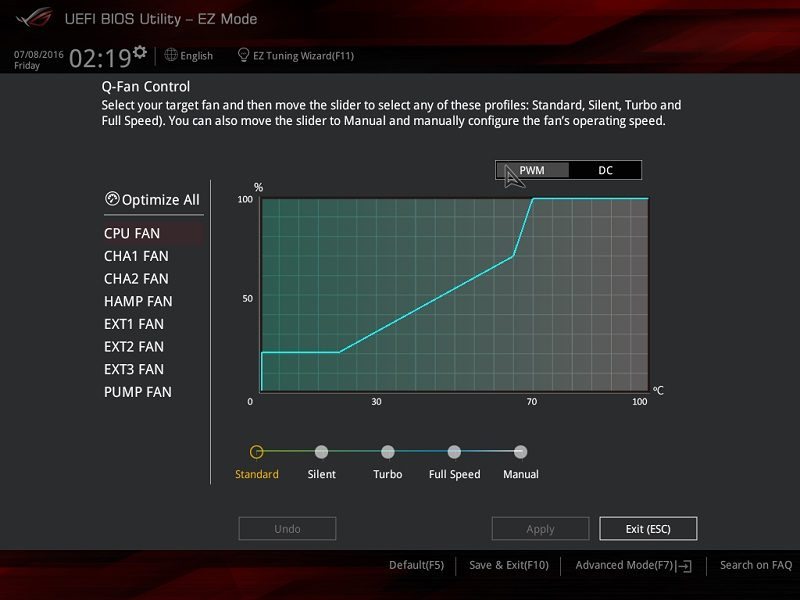
ASUS’ Q-Fan control is incredibly useful to set an RPM fan curve, choose from various presets or allow the BIOS to detect your cooling hardware and optimise the fan speeds.
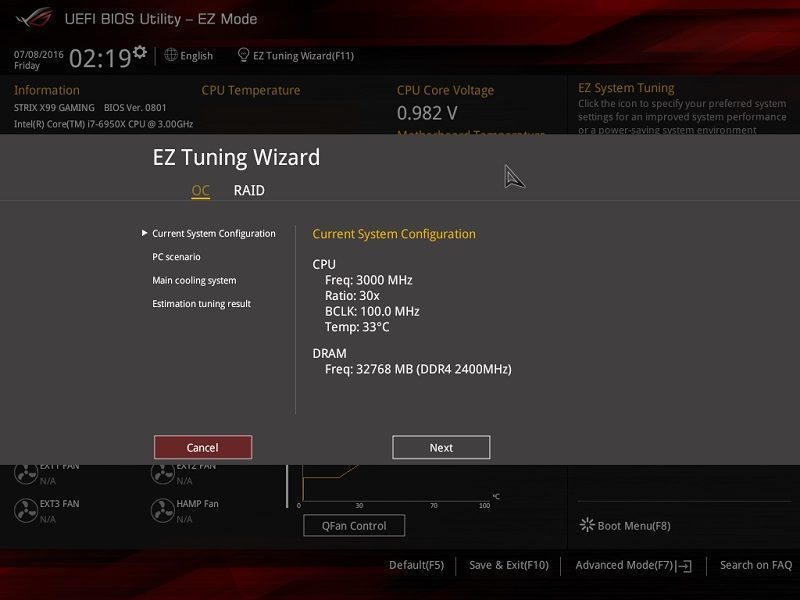
The EZ Tuning Wizard is a wonderful concept and asks you some rudimentary questions about your cooling hardware to accurately gauge the optimal settings for an automated overclock. This is very useful for users who want to leverage extra performance but feel intimated by the overclocking procedure.
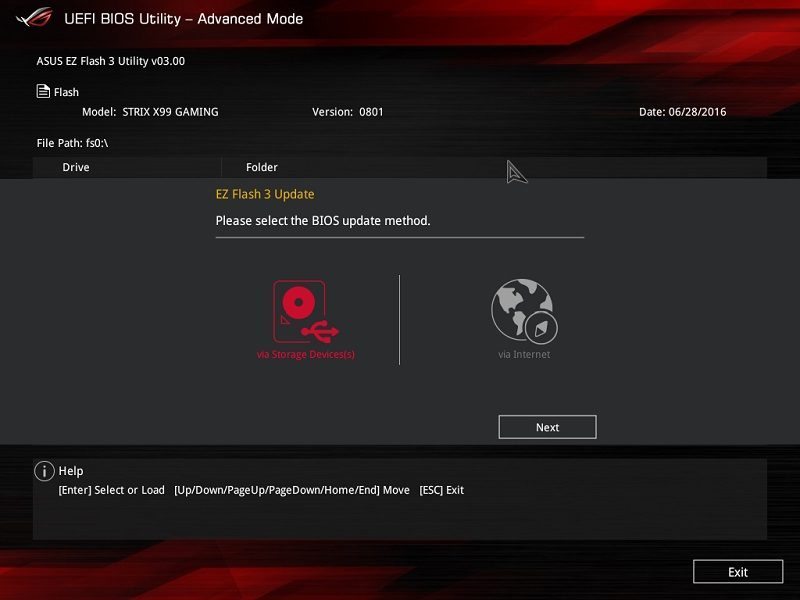
ASUS’ EZ Flash 3 Utility makes updating the BIOS an absolute breeze either via a downloaded file or direct network connection.
Overclocking
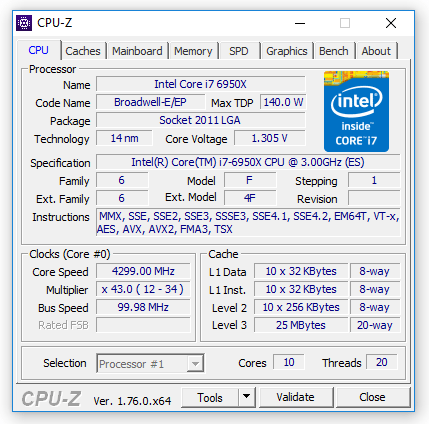
Overclocking the 6950X is a difficult task due to the thermal output across 10 cores. From my experience thus far, there’s a huge increase in temperatures once you surpass 1.3V even when using extremely good cooling hardware. Unfortunately, our review sample requires just over 1.3V to keep a 4.3GHz frequency stable. Of course, your mileage may vary but it’s very unlikely you’ll post a result beyond 4.4GHz. Please note, the CPU was able to complete benchmarks on the settings provided below, but it was really close to the maximum thermal threshold. This means I wouldn’t recommend using so many volts for 24/7 operation.