ASUS STRIX Z270F GAMING LGA1151 Motherboard Review
John Williamson / 7 years ago
BIOS and Overclocking
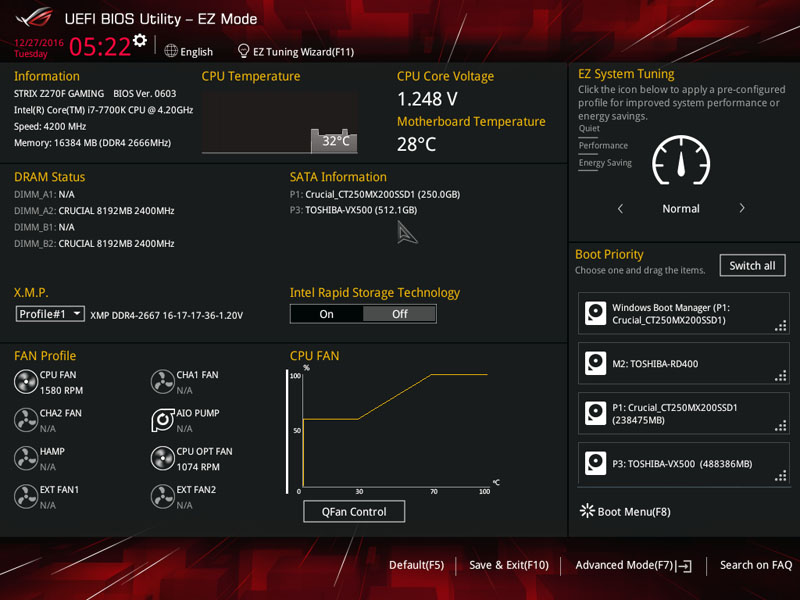
ASUS’ UEFI BIOS is brimming with options to tweak every aspect of your system and presented using a slick user-interface. The BIOS is divided into two modes; the EZ BIOS for beginners, and an advanced section which caters to users with a high level of technical expertise. The EZ mode’s main page lists essential system parameters, allows you to adjust the cooling RPM values and set an XMP profile. It’s also really simple to modify the boot order and select from a number of pre-configured performance settings. Here we can see the classic ROG theme which employs a clear white font and makes everything extremely easy to read from a distance.
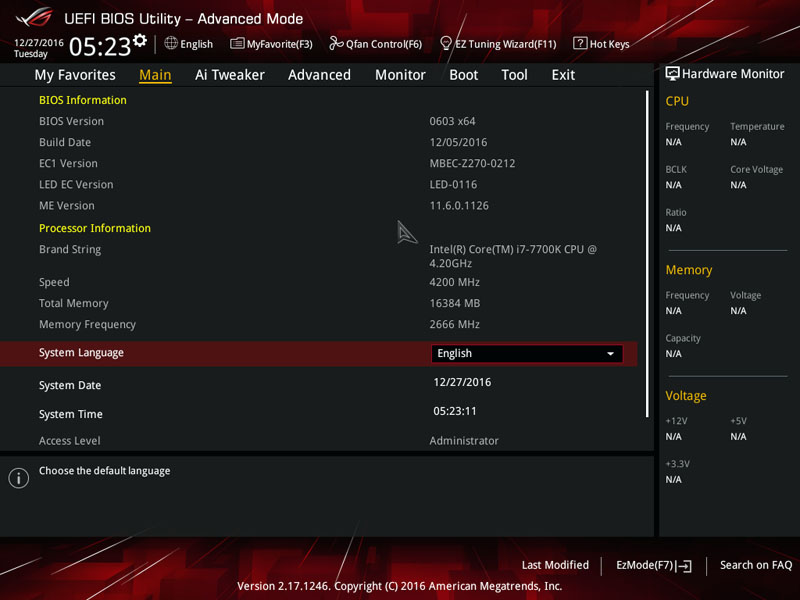
The advanced mode contains a huge selection of variables which provides everything you need to customise the system to your specific requirements. On the main page, you can view essential system information such as motherboard model, BIOS version, CPU ID and much more.
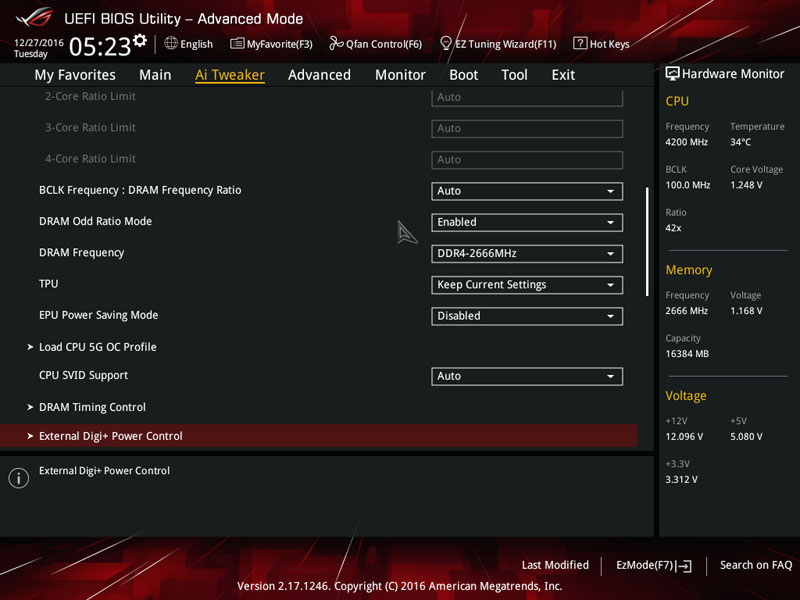
ASUS’ AI Tweaker is the section you need to navigate to when setting the XMP profile, adjusting the BCLK frequency and making other overclocking alterations. The hardware monitor and target frequency details are extremely useful to gauge the effect of each change in the BIOS.
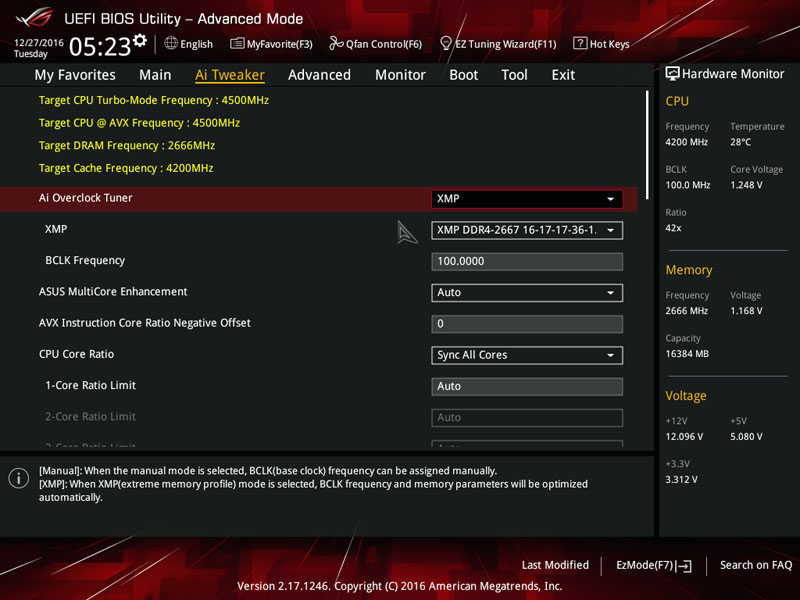
Further down the AI Tweaker’s page, we can see the impressive array of memory settings and sub-menus for those wanting to conduct a more complex overclock beyond a basic multiplier increase.
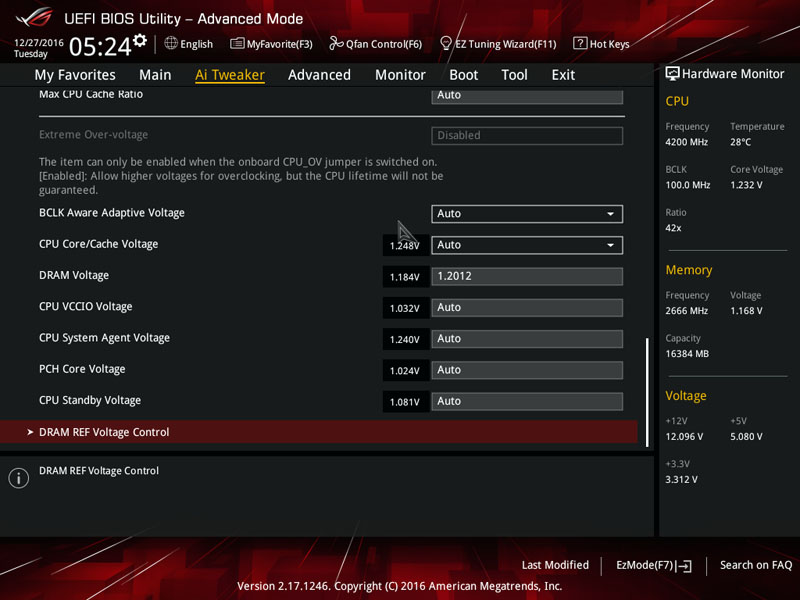
In the BIOS, it’s possible to set the CPU minimum and maximum Cache Ratio as well modifying the BCLK Aware Adaptive Voltage.
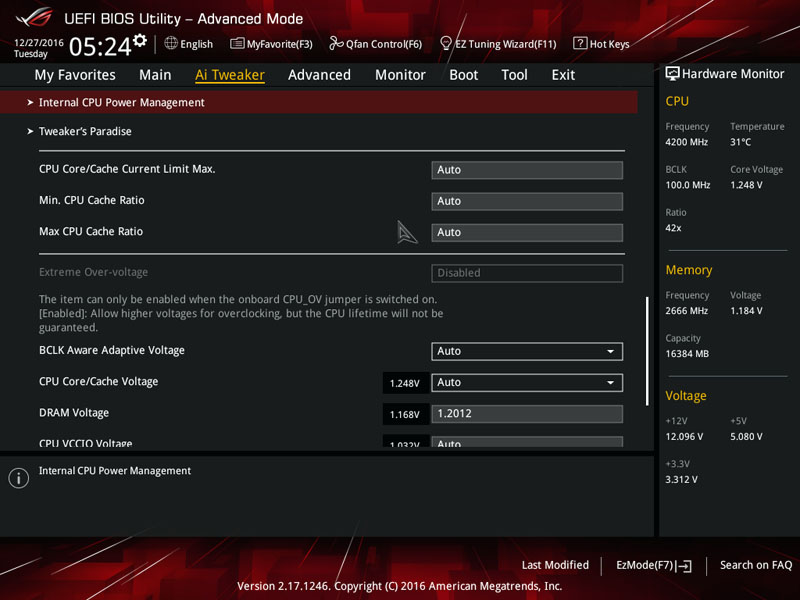
The CPU Core/Cache Voltage is easily modified in either a fixed, manual or offset mode. Additionally, you can change the DRAM Voltage, VCCIO, SA and much more.
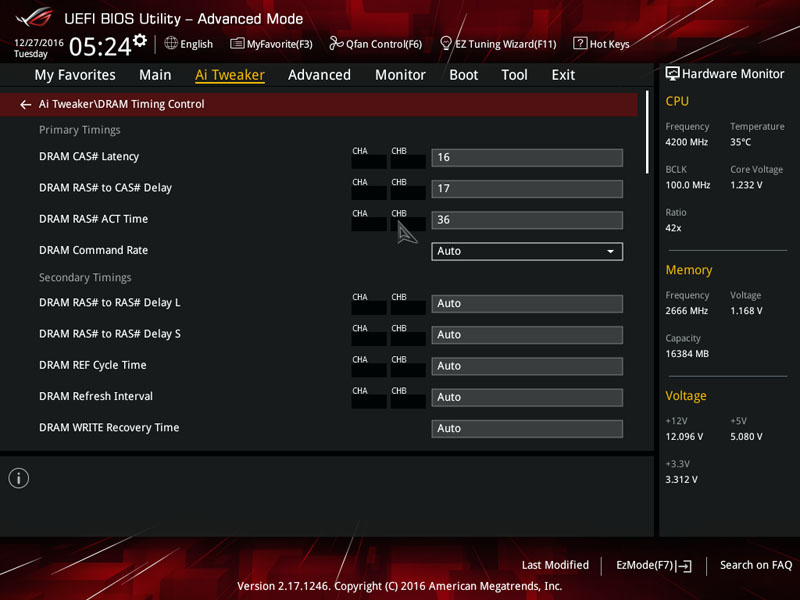
Next up is the DRAM Timing Control page which allows you to tighten or slacken the memory timings to reduce latency or make an overclock more stable.
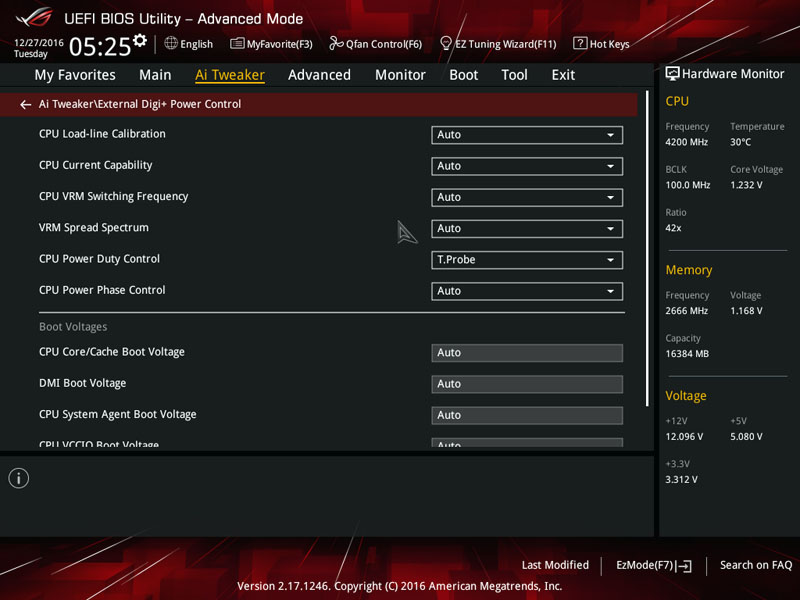
In the Extreme Digi+ Power Control, you can adjust the Load-Line Calibration settings, VRM Spread Spectrum and CPU Power Phase Control.
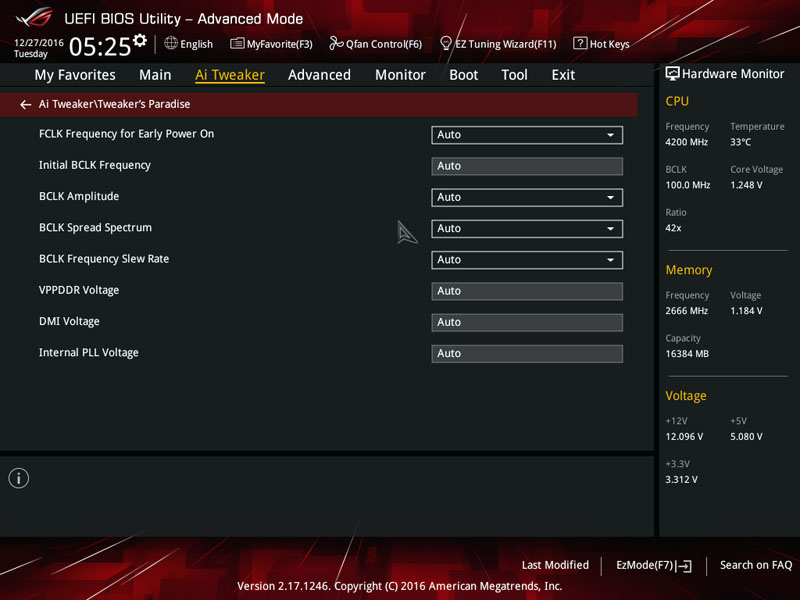
The Tweaker’s Paradise is designed for professional overclockers and enthusiasts who enjoy altering every aspect of their system such as the VPPDDR Voltage, BCLK Speed Spectrum and even the BCLK Amplitude. Of course, the majority of users should retain the Auto values to prevent posting problems.
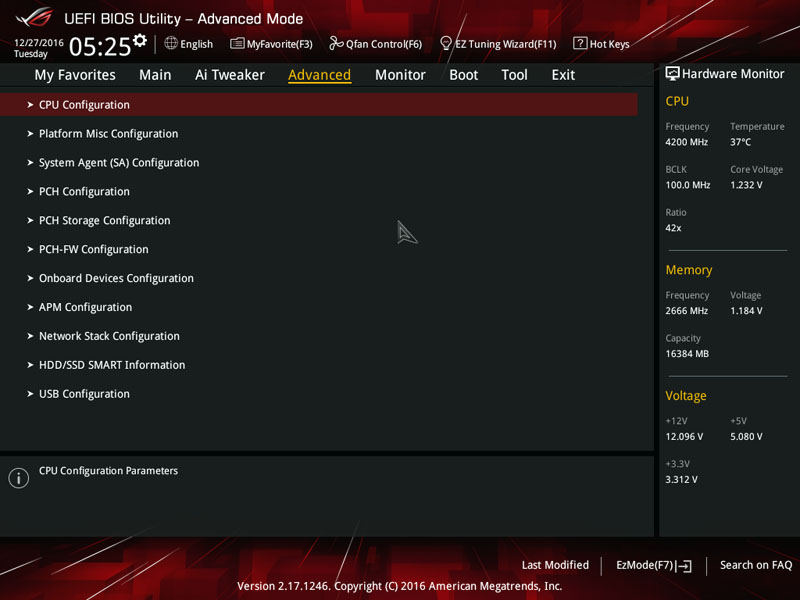
The Advanced tab grants access to a marvellous range of sub-menus and offers exceptional customisation.
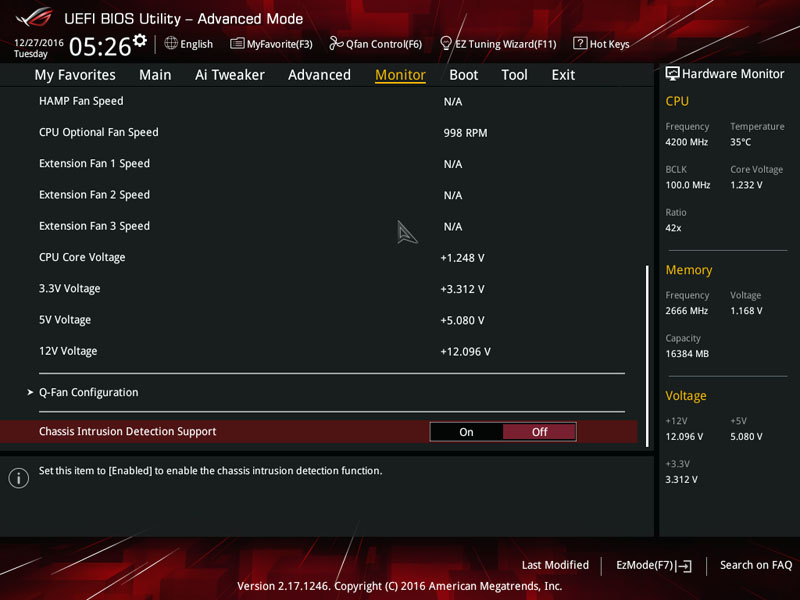
Another superb addition is the Monitor tab which outlines key system readings such as the CPU temperature and CPU fan speed.
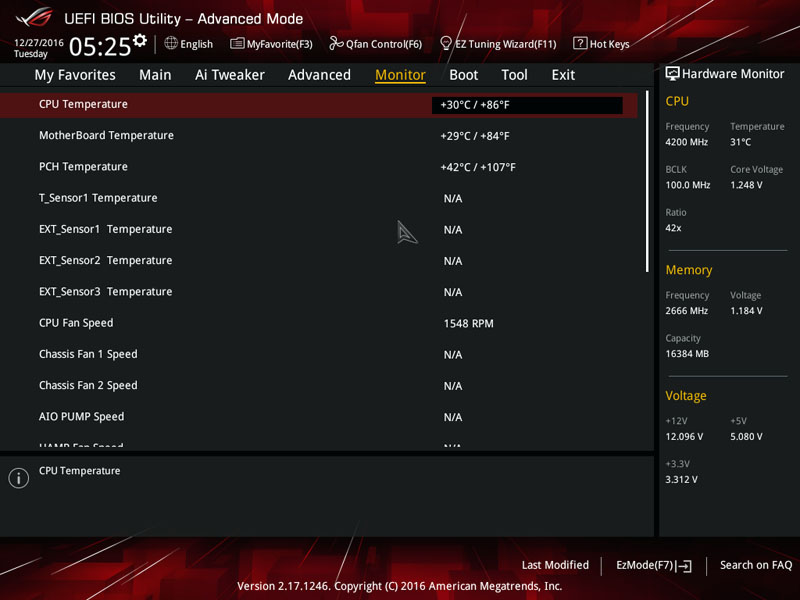
Not only that, the menu displays the CPU Voltage, 3.3V Voltage, 5V Voltage and 12V Voltage figures.
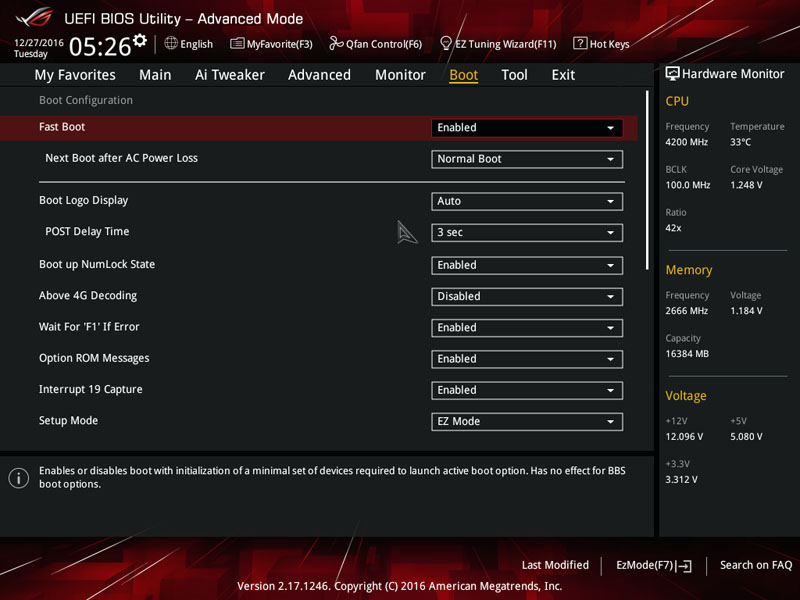
In the Boot area, you can enable/disable fast boot and a make whole host of other modifications.
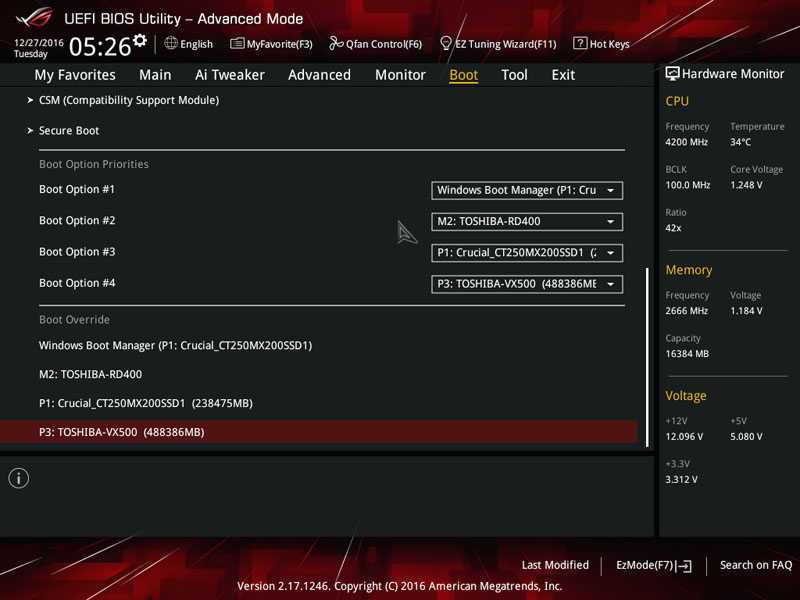
Changing the default boot priority is a simple task and it’s remarkably easy to override the default boot order. As a result, you can quickly boot into a secondary drive which might have a different operating system installed.
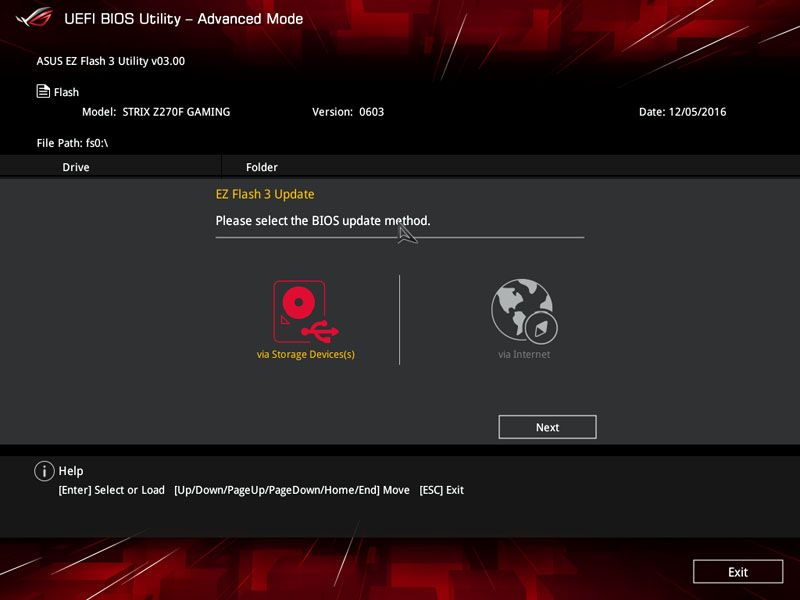
On the tool page, you can access the BIOS update utility, securely erase sensitive data and even investigate the current PCI-E configuration.
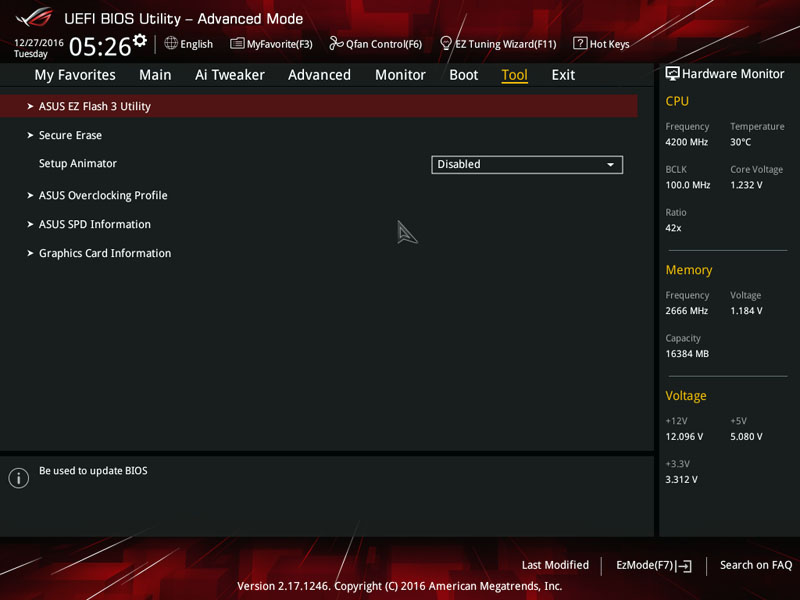
ASUS’ EZ Flash 3 Utility makes updating the BIOS an absolute breeze either via a downloaded file or direct network connection.
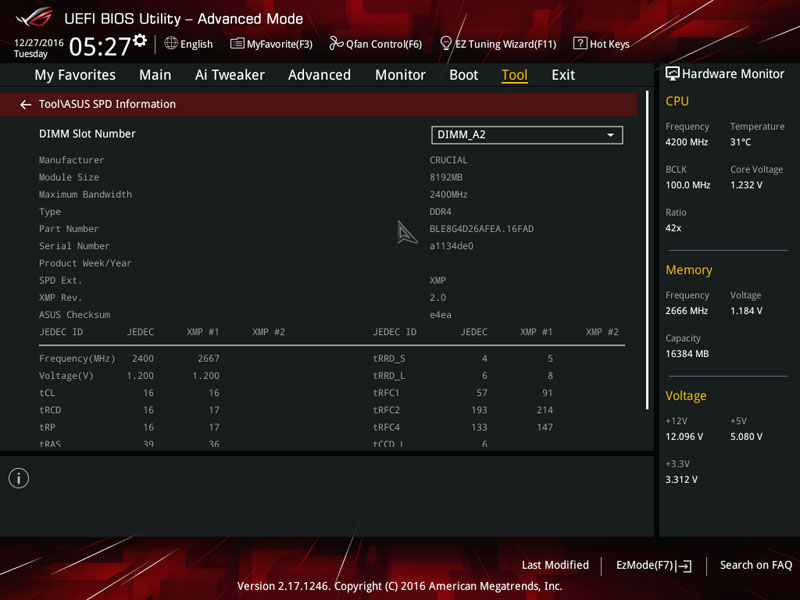
The ASUS SPD Information utility lists technical information on the memory modules which comes in handy if you’re fault checking.
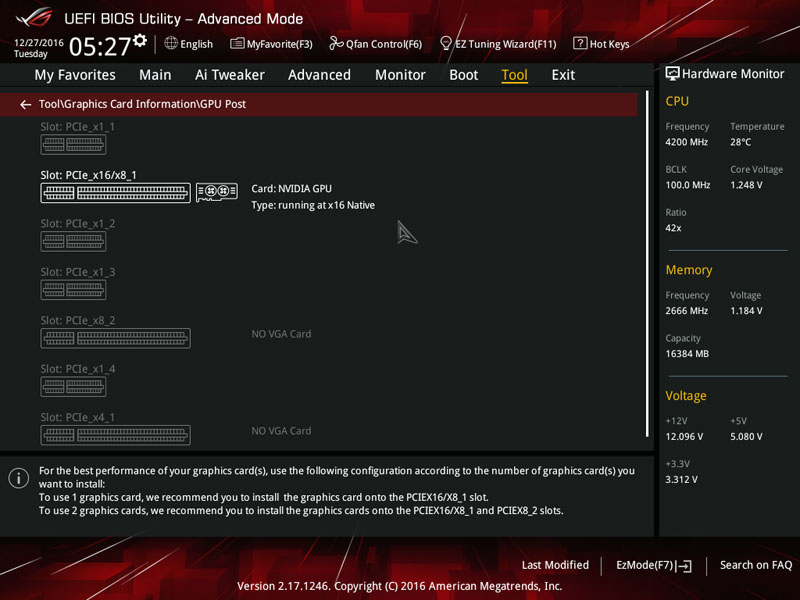
The GPU Post screen provides a wonderful visual indication of the current PCI-E setup and informs the user of each card’s operating speed.
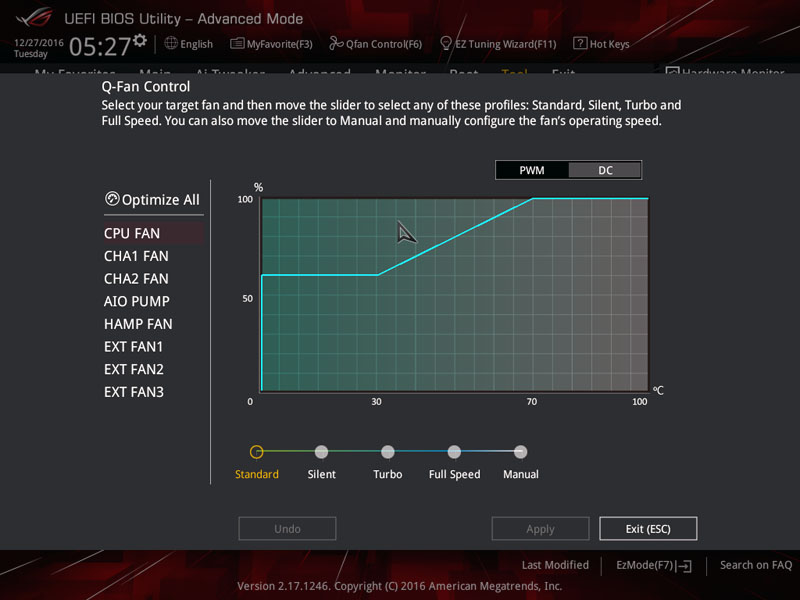
ASUS’ Q-Fan control is incredibly useful to set an RPM fan curve, choose from various presets or allow the BIOS to detect your cooling hardware and optimise the fan speeds.
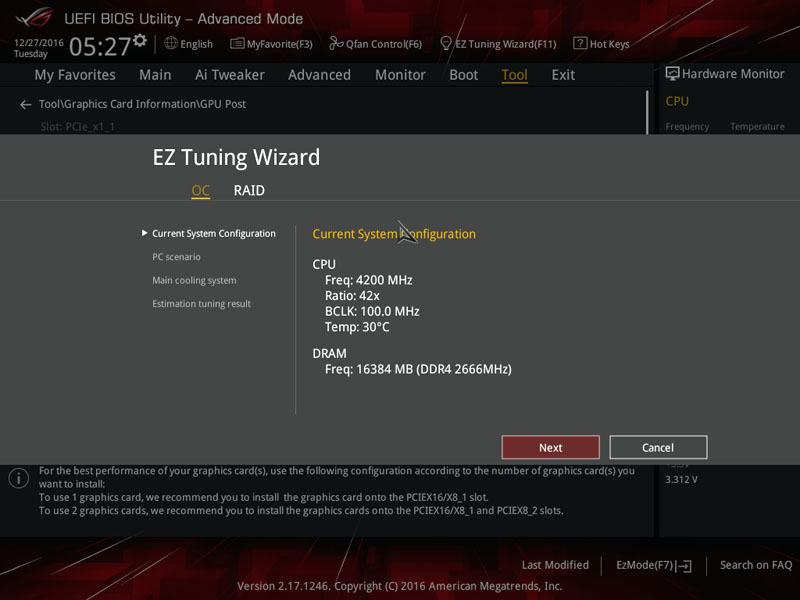
The EZ Tuning Wizard asks you some rudimentary questions about your cooling hardware to accurately gauge the optimal settings for an automated overclock. This is very useful for users who want to leverage extra performance but feel intimated by the overclocking procedure.
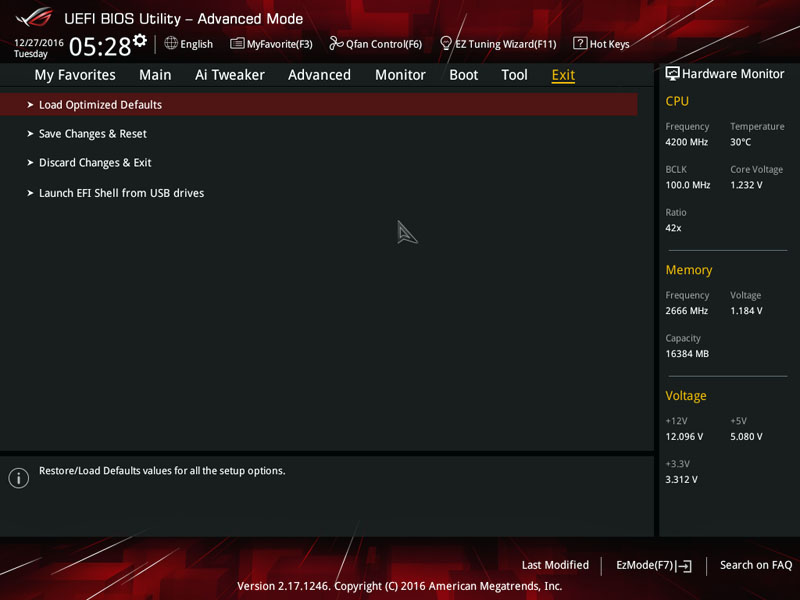
On the final page, you can load optimised defaults, save any changes in the current session and disregard any tweaks which have been made.
Overclocking
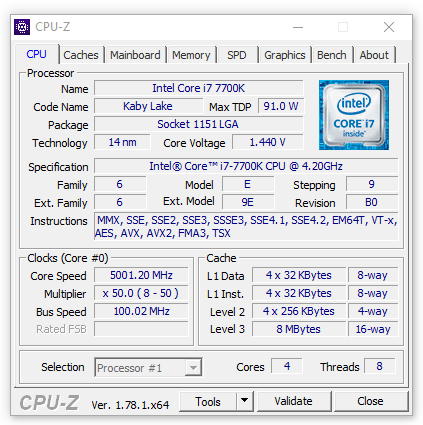
Overclocking the i7-7700K is a rudimentary task and it shouldn’t take too long to achieve a significant frequency boost. Despite my best efforts, I couldn’t get the CPU to post with a 5.1GHz overclock and had to settle for 5.0GHz. Saying that, this is still a good figure and 200MHz higher than I experienced with the i7-6700K. Honestly, I think the most recent sample I’ve received is a poor overclocker and it’s impacting on the overclocking headroom of the motherboards which were tested closer to release. As you can see, 1.440V is a lot of voltage and the previous CPU only required around 1.395V to keep 5.0GHz stable. Therefore, it’s likely that the CPU is restricting the motherboard’s potential and it’s possible you’ll achieve a better score due to the silicon lottery.