ASUS Z170 Maximus VIII Hero (LGA 1151) Review
Rikki Wright / 9 years ago
BIOS and Overclocking
Most motherboard manufacturers nowadays offer multiple BIOS styles for users to enter and tweak the system settings. The latest implementation of the BIOS type is the UEFI (Unified Extensible Firmware Interface) BIOS, which is a simpler version to view and interact with. Each manufacturer has a different style and each motherboard could have a different colour style.
ASUS uses a very simple and consistent UEFI BIOS style, the EZ mode offers most of the functionality you would need without having to enter the Advanced Mode and delve into the depths of the settings. The red theme has a very RoG feel to it without the RoG branding.
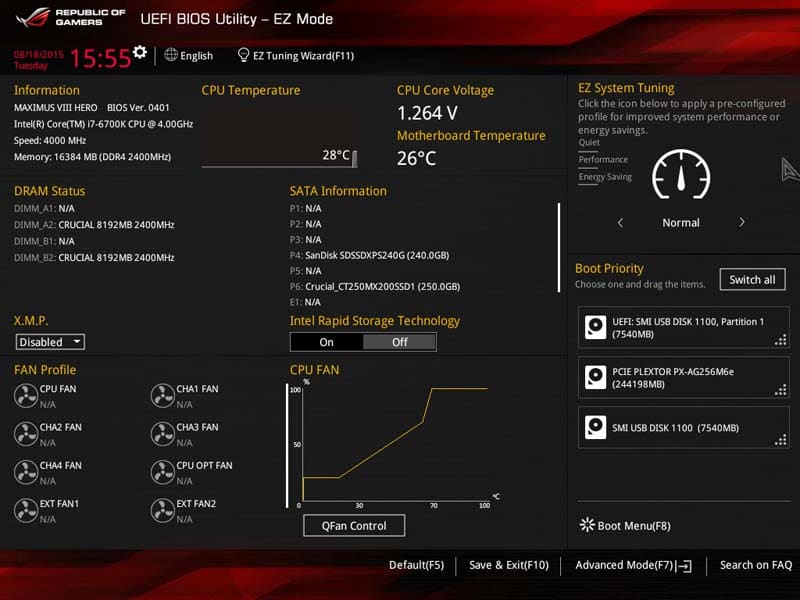
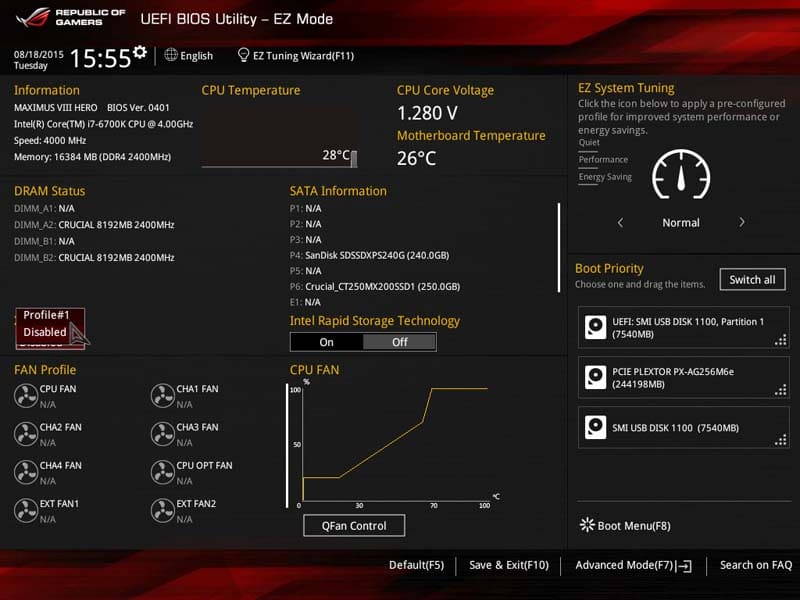
The first feature that caught my eye was the XMP profile tweaker. If your RAM is XMP enabled, it could have a profile which can easily be accessed here.
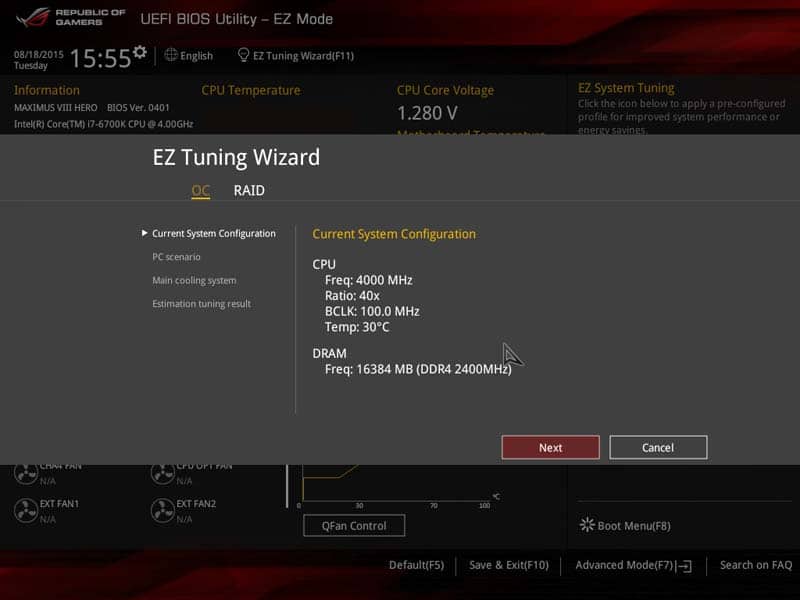
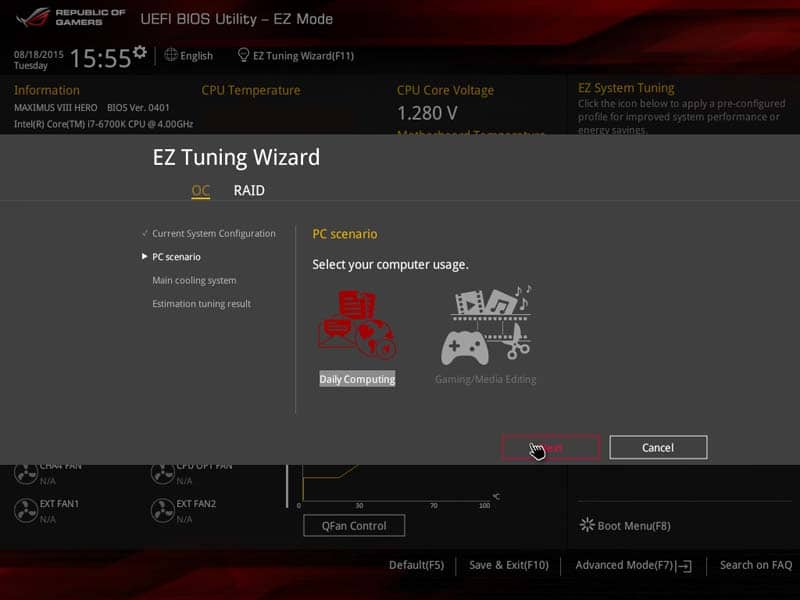
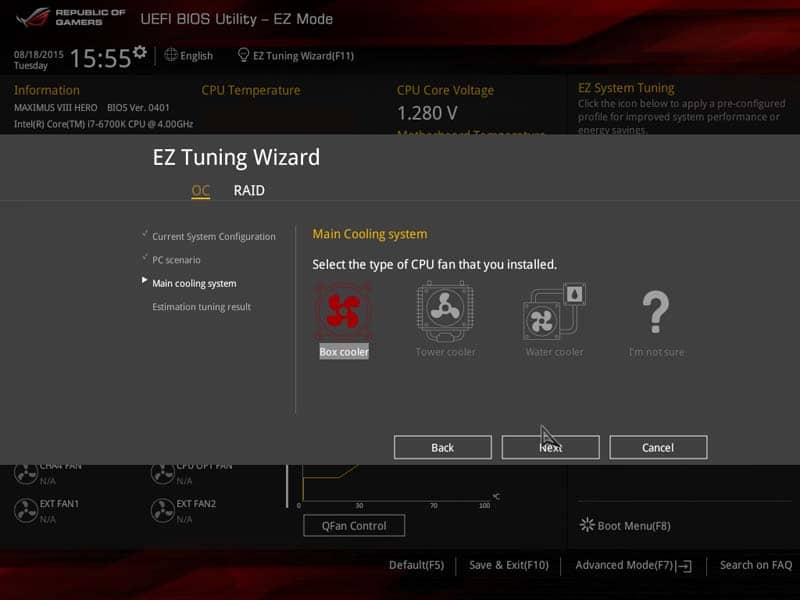
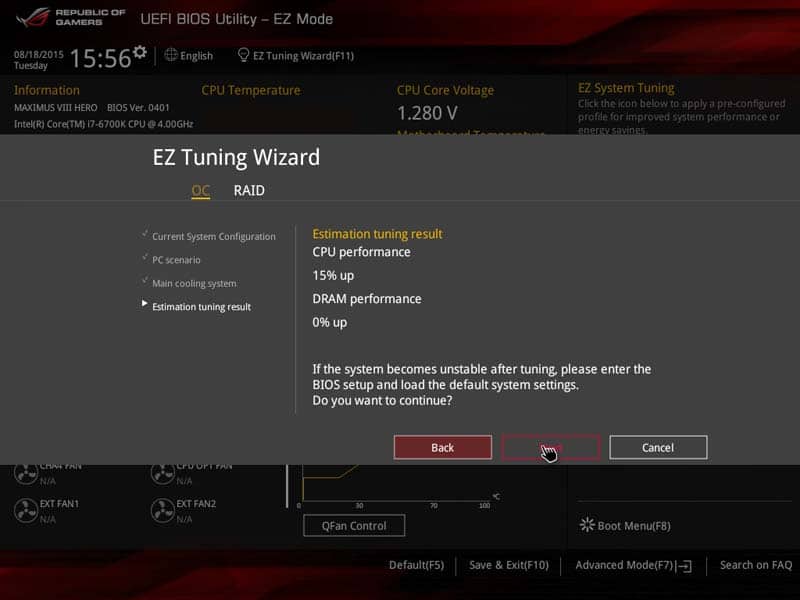
EZ Tuning Wizard is ASUS’ own tuning software offered from the BIOS. You pass through multiple pages and choose settings that best suit your current computer set up and determine the best and most stable overclock from a range of possible presets.
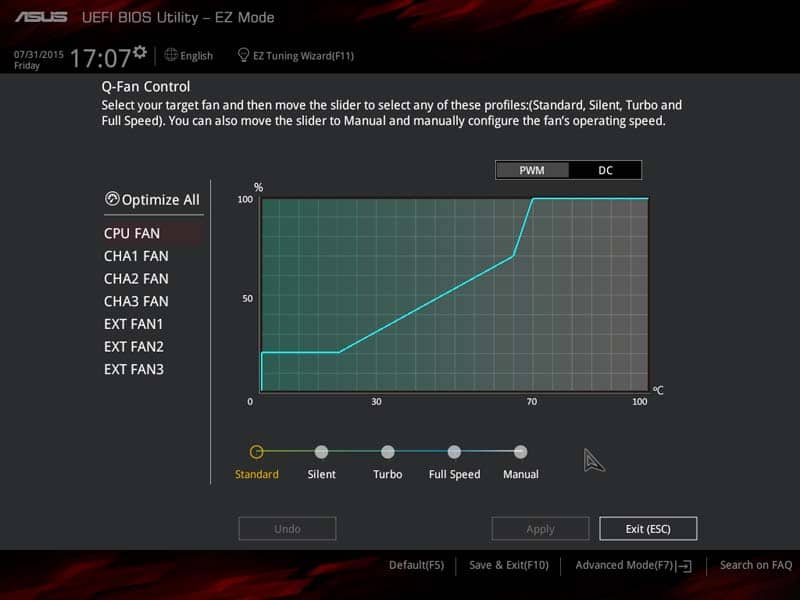
Q-Fan Control is the built-in Fan control system. Interactive and simple, the user can choose either from a preset profile for each fan or choose at what temperature and how fast the fan works.
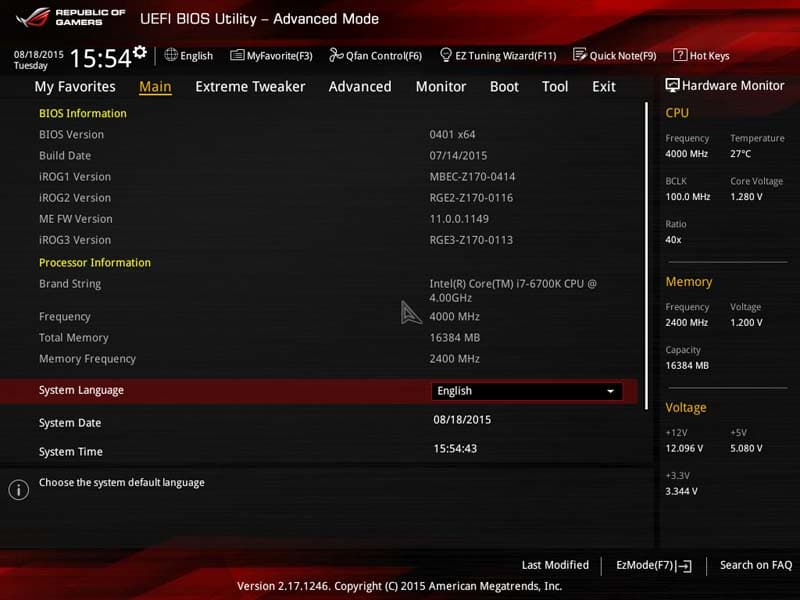
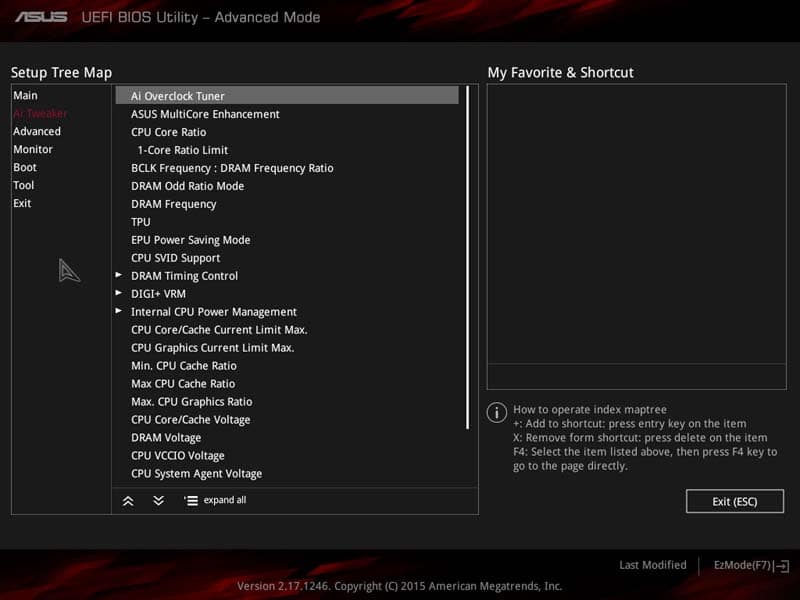
Heading into the Advanced Mode, you get a taste of the old style Legacy BIOS, without the horrid blue/white/red colour schemes. Even though you can use a mouse, I find it not as responsive and just choose to use a keyboard from habit. Each section is split down from Main, which is essentially an extremely basic system overview, which does exactly what it says.
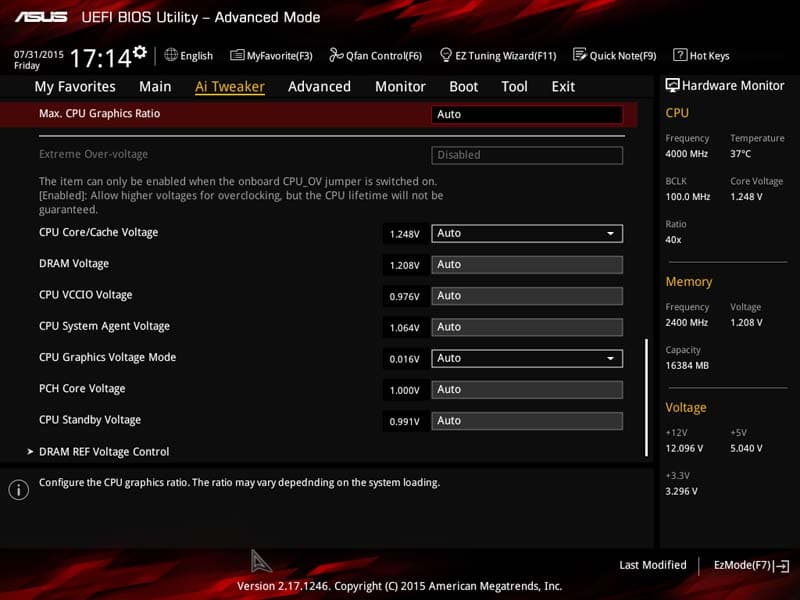
Ai Tweaker is probably the screen you will spend most of your time, you can adjust the CPU and DRAM settings as much as possible to get the most from your system. ASUS Ai Tweaker options are very comprehensive compared to some of the competition.
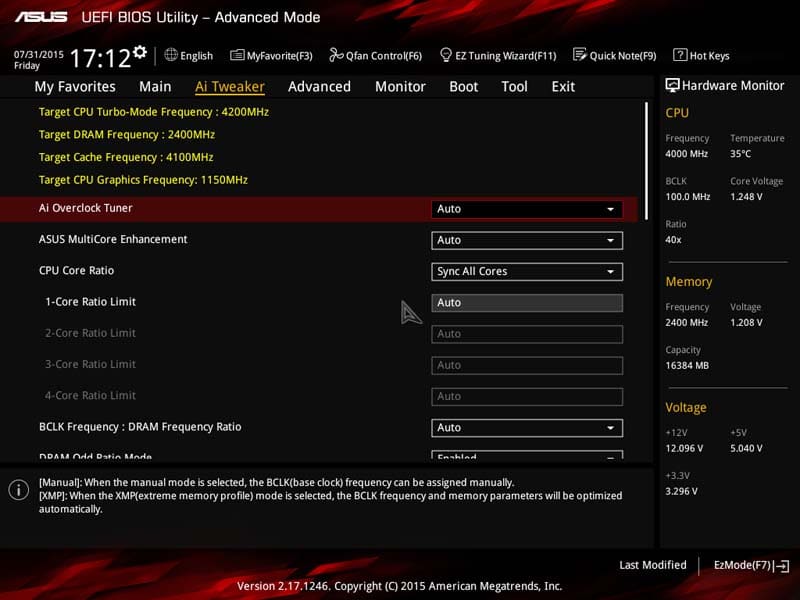
With the use of the CPU_OV (overvoltage) header on the motherboard, users can overvolt their CPU to reap the maximum performance. Unless you know what you’re doing, I’d leave this feature alone for the time being.
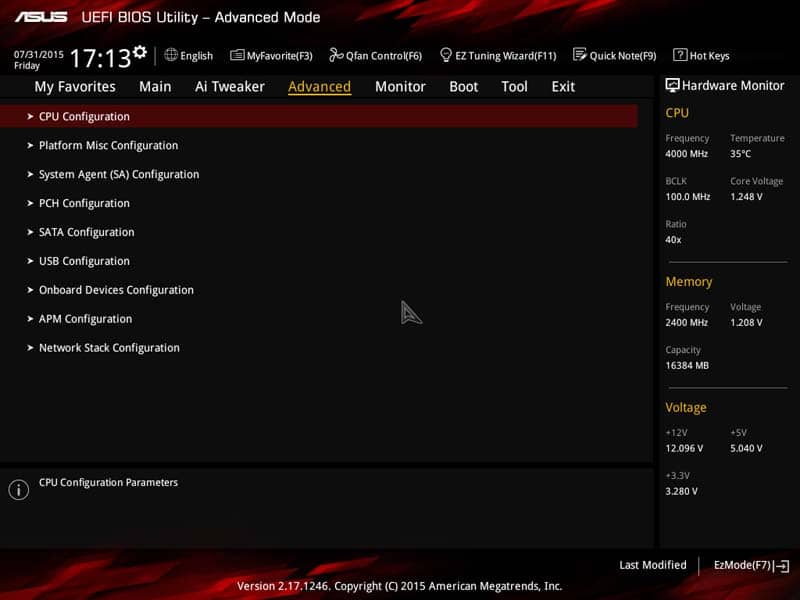
The Advanced screen contains all of the important settings which really do not need to be changed and offer very little in the way of performance increases. You can choose options such as default graphics output (Discrete or onboard) or USB configurations.
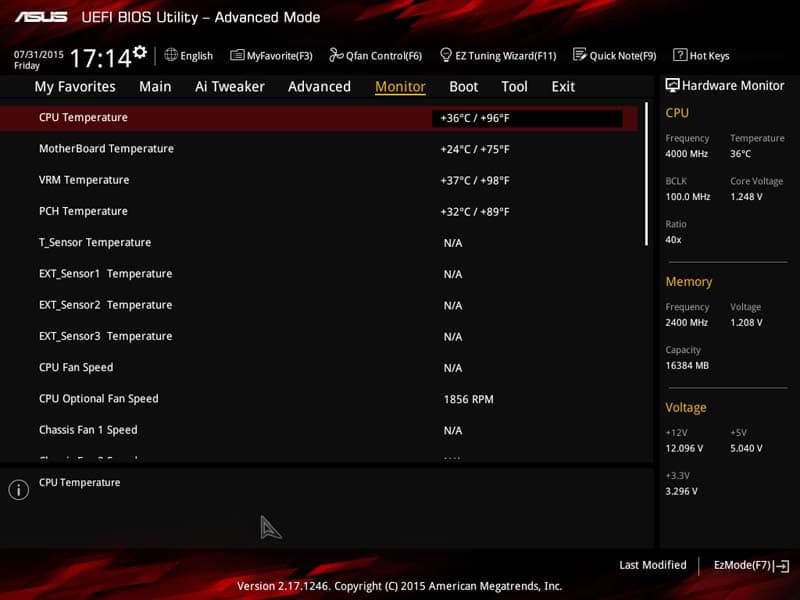
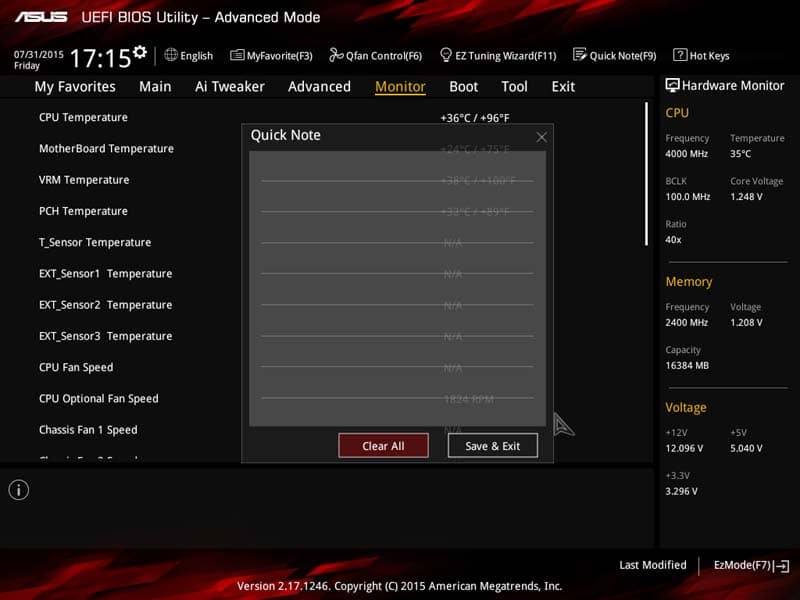
The Monitor tab is exactly that, it is constantly monitoring the system. Generally you only enter this page to view if fans are working correctly or to see what temperatures your CPU and motherboard are without entering the operating system.
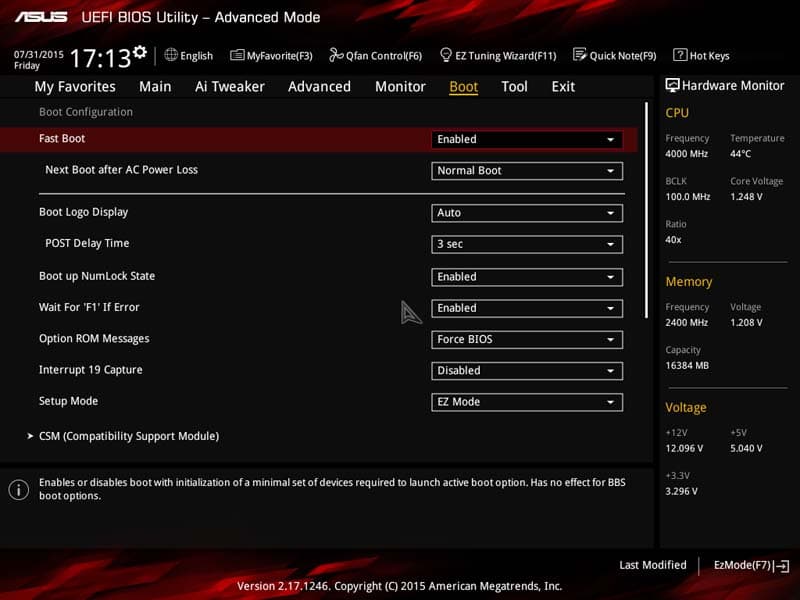
The Boot tab hosts all of the features linked to the system boot process. You can choose what type of boot you want after a power cut, whether or not you want to enable Fast Boot (default enabled) or any other possible feature you could want.
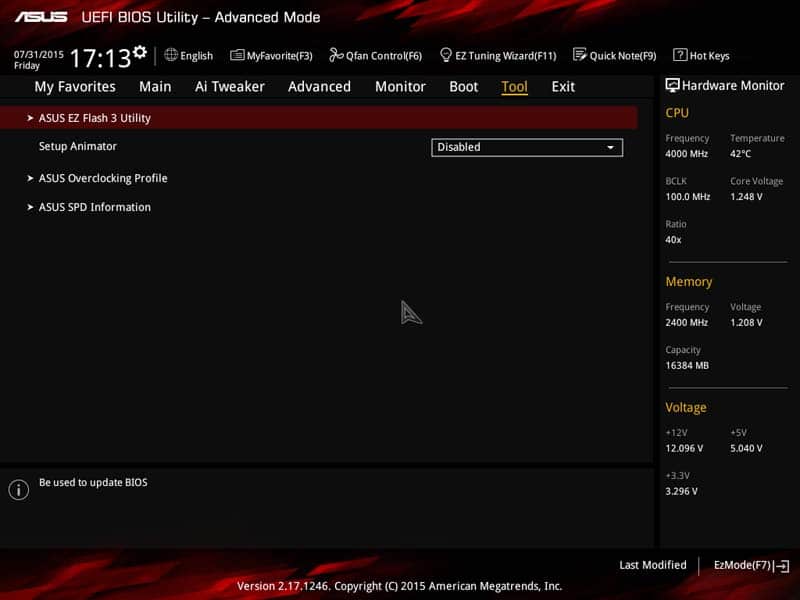
The Tool tab offers some non-essential, but extremely useful applications that can optimise the system without entering the OS. Most notable is EZ Flash 3, this can install drivers and BIOS updates either through USB or an internet connection.
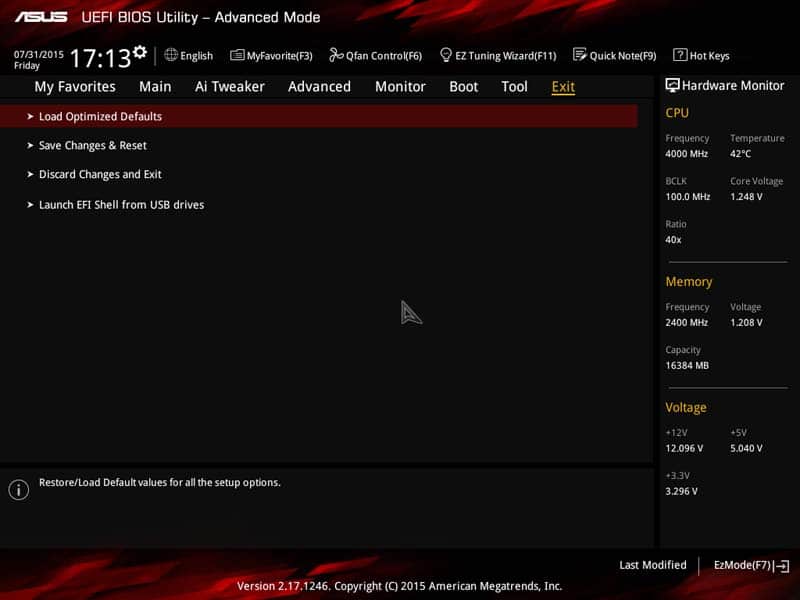
The Exit tab is self-explanatory. You can save or erase settings you have made during your BIOS trip and exit.
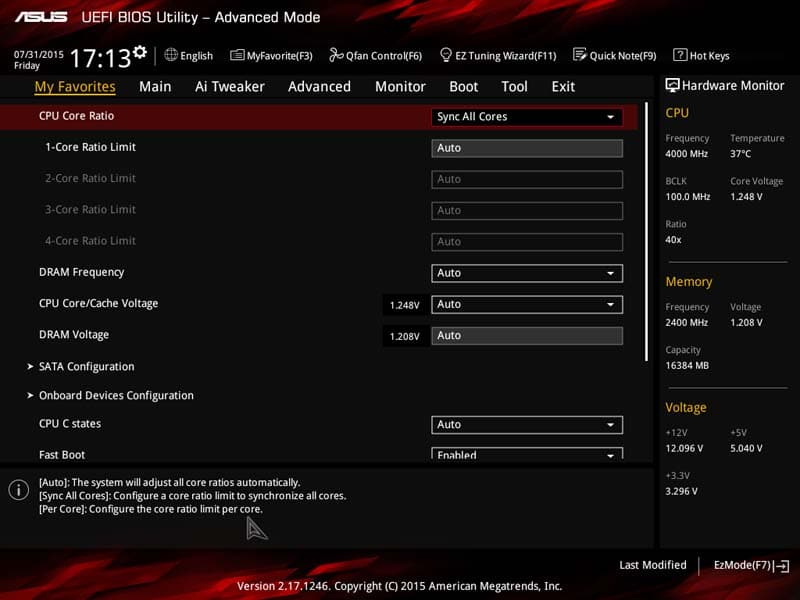
The Favourites tab is probably one of the most overlooked, but when used correctly it can be extreme useful. You can set key features to all display on a single page, so you can have DRAM and CPU clock speeds, multipliers and voltage control without having to trawl through the settings on the AI Tweaker page.
The Quick note system can be seen as pointless, but it could be used as a guide for yourself or as an overclocking/system set up guide which you can never lose; well unless you clear CMOS or your BIOS corrupts.
Overclocking
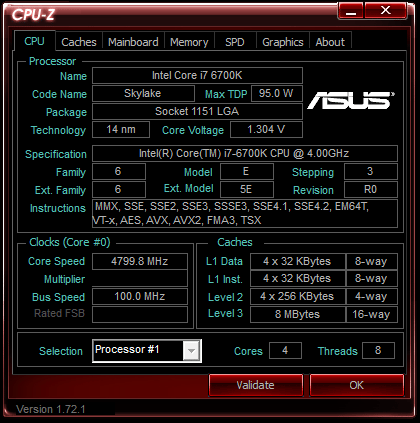
Overclocking on this board was an absolute breeze, a simple BIOS trip and multiplier increase achieved a stable 4.8GHz overclock. We know this is the maximum our CPU will run while remaining stable. The ASUS CPU-Z version is still slightly buggy with the Z170 motherboards as it does not show the multiplier; however, it is 100×48 for those interested.