ASUSTOR AS1002T 2-Bay Entry-Level NAS Review
Bohs Hansen / 8 years ago
Setup – Initialization & Storage
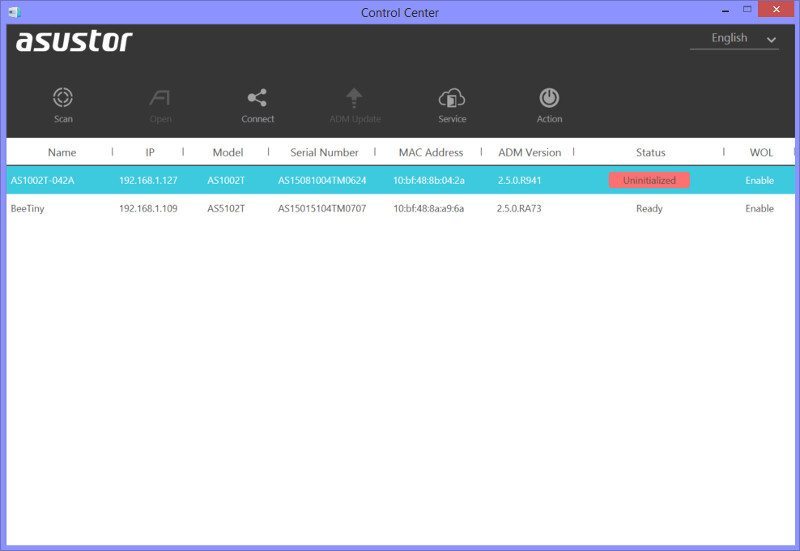
ASUSTOR included a manual and software disk with the AS1002T. The software disk is a nice touch and a thing that we don’t see often anymore in the days of downloads. Once you pop in the disk and install the ASUSTOR Control Center, or download it, you’re ready to initialize your new NAS. If you already know the IP address through a scanner app or your router’s IP table, then you can skip the Control Center and just navigate to the IP with your favorite browser. The ASUSTOR Control Center does provide more options than just initialization and worth the installation.
The actual initialization only requires a few steps, whether you go the one-click or advanced route. Even novice users and first time NAS users shouldn’t be afraid of this part, everything is explained in simple step-by-step instructions.

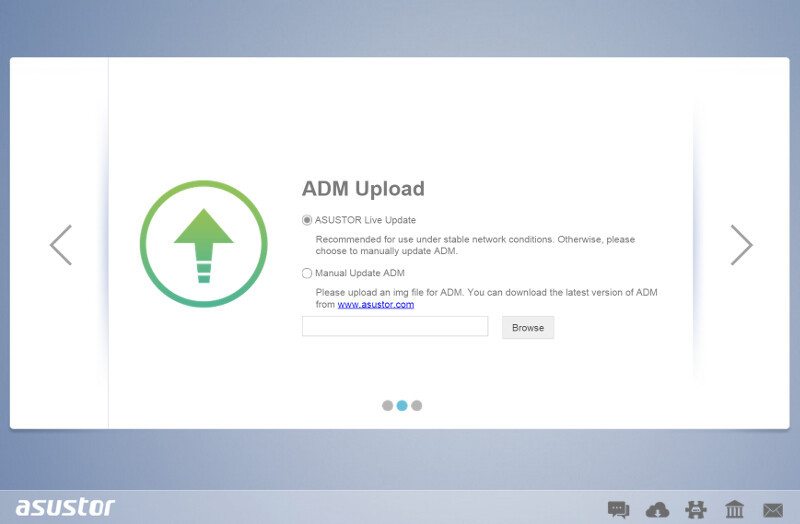
The initialization gives two options on where to get the operating system from, whether you want to pick a file from your local system or network or you rather want to get the newest version directly online. The online version is my recommendation as you’ll get the newest version with the most up-to-date features and fixes.
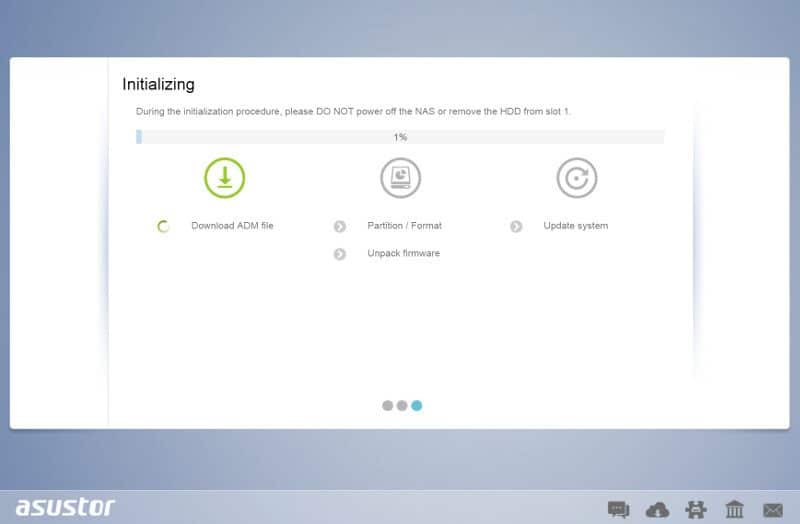
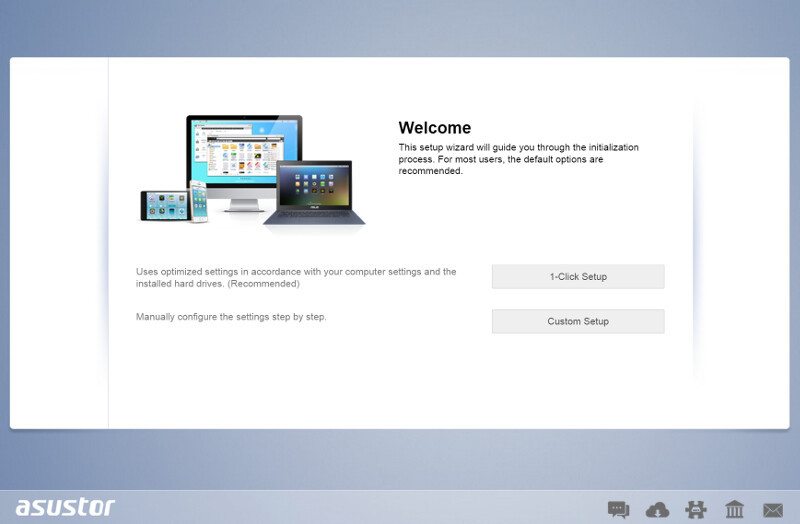
Once the ADM operating system has been installed, you have the choice of 1-Click setup or the custom setup. For this review, I’ll pick the Custom setup as 1-Click is self-explanatory and custom gives us a few more views on the options available.
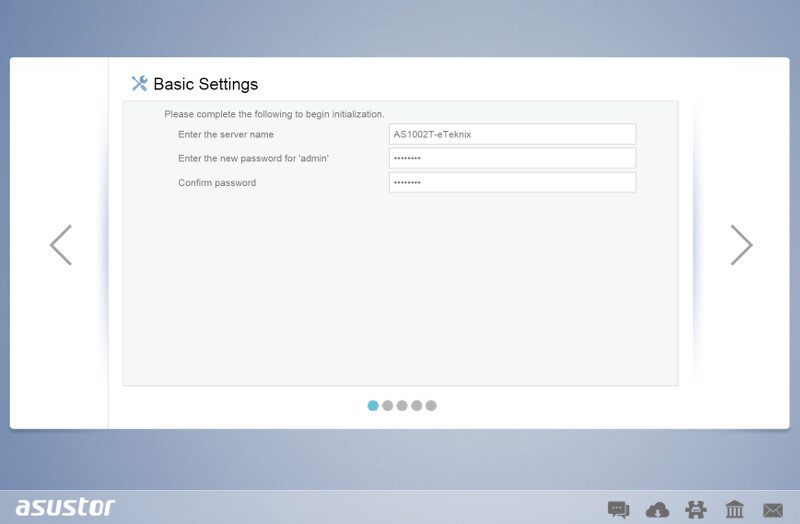
The NAS will need a name and an administrator password. Pick a name that is easy to recognize in your network environment as well as a password you won’t forget.
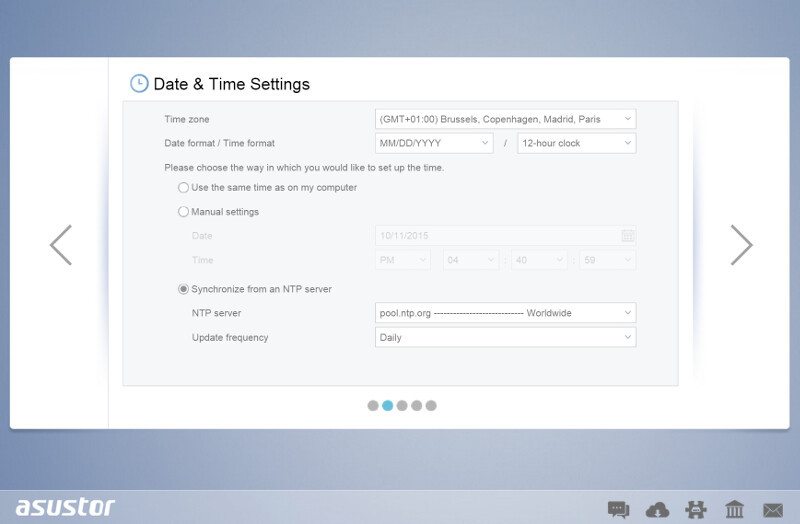
Date and Time can be set manual, taken from your current systems settings, or synchronized via NTP servers. NTP is the easiest as it always will be correct and up-to-date this way. It also removes the worry about summer and winter time changes.
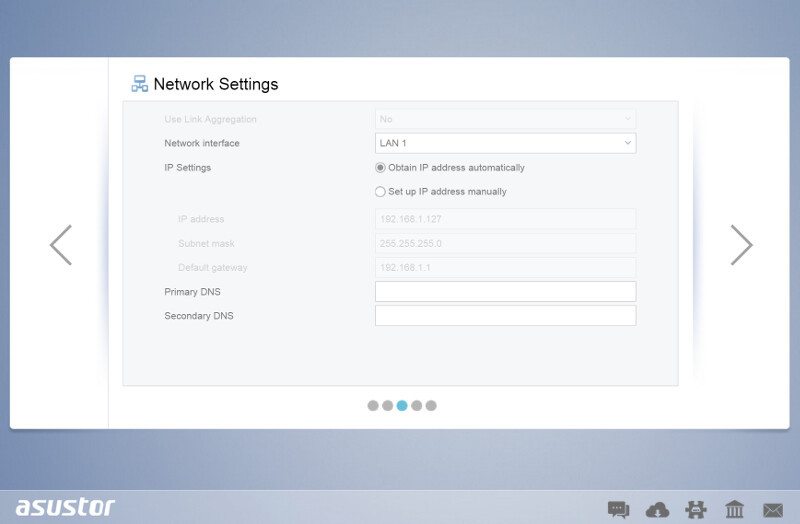
The network settings are simple as there only is one port to configure; which settings you pick here is down to your network settings.
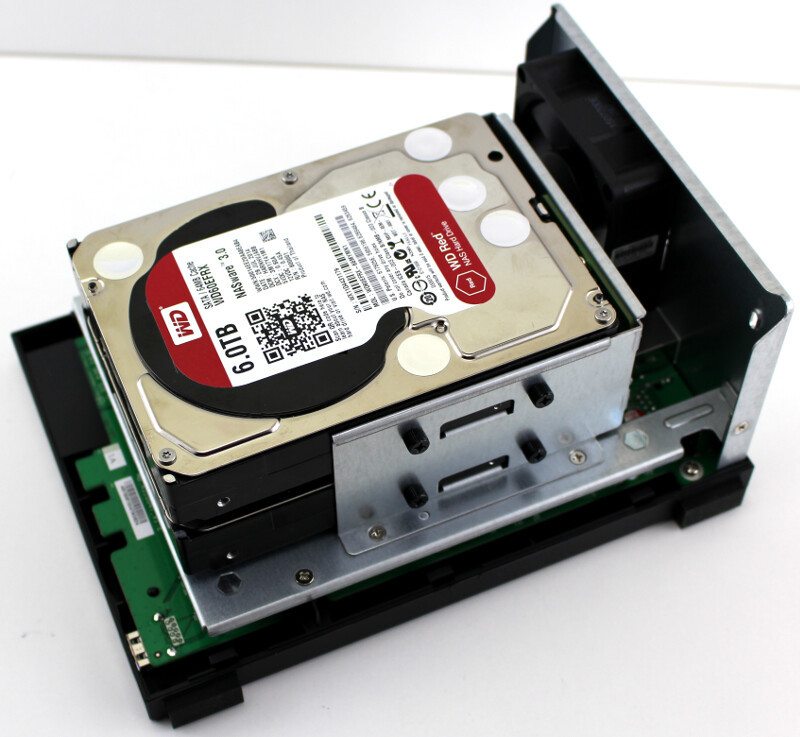
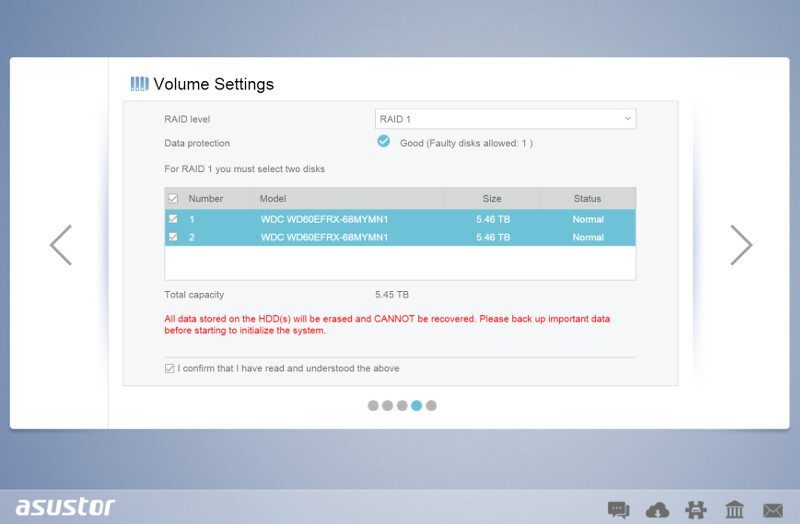
The final step is to pick the volume settings for our drives, which RAID mode and which drives to include. With a 2-bay unit, we don’t have as many options as in the larger models, but RAID 0, 1, JBOD, and Single drive are all supported.
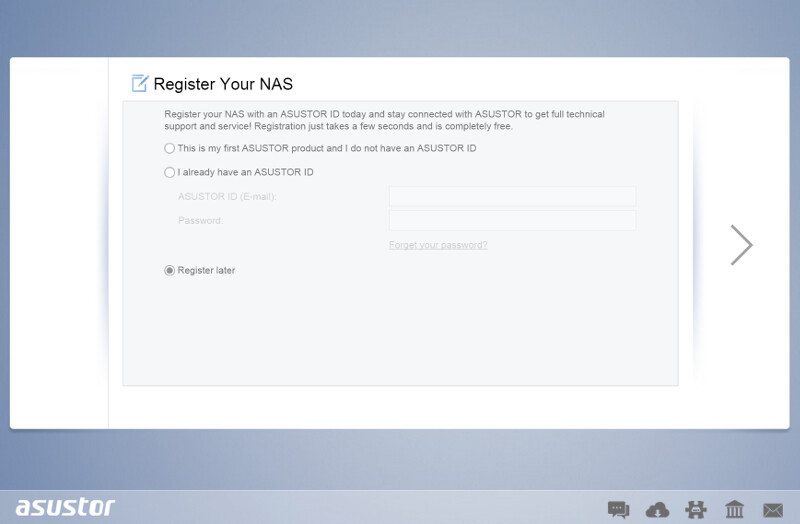
The last thing that’s left to do is register your NAS. This is required in order to use the App Central where you can add more features to the NAS; it’s free and only requires an email and a password.
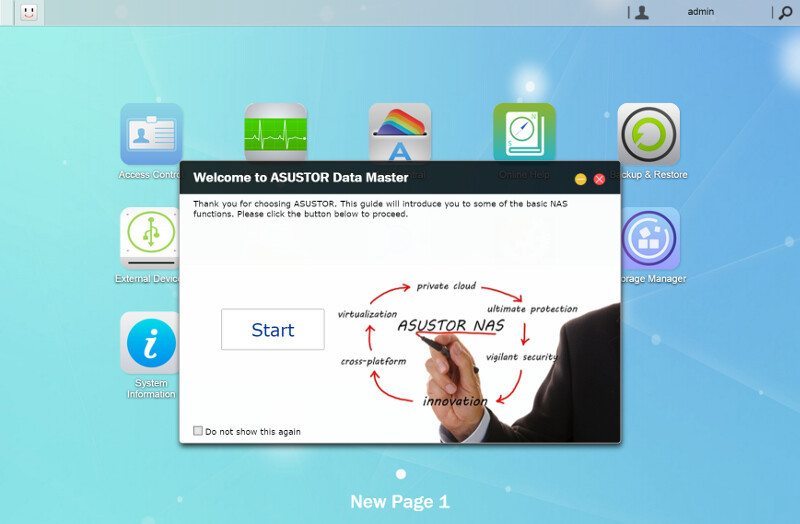
The NAS is now ready to be used and you’ll be greeted with a small tutorial when the initialization is done, showing you how it all works and what it has to offer.