ASUSTOR AS3104T 4-Bay SOHO NAS Review
Bohs Hansen / 8 years ago
Setup – Initialization, Storage, and External
Initialization
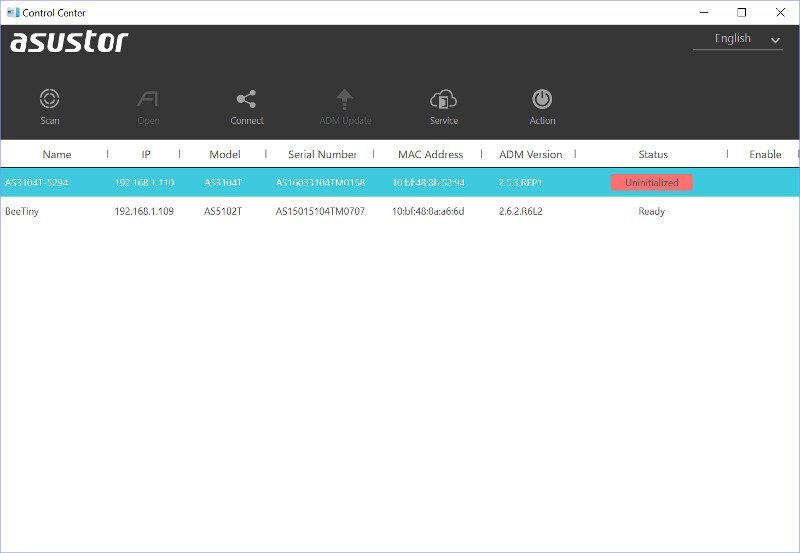
One of the easiest ways to get going with your new ASUSTOR NAS is through the ASUSTOR Control Center. It doesn’t just allow you to find all your ASUSTOR devices on your network, it also provides easy accessible features and function for your new NAS.
The initialization will be done through your default browser and it only takes a few clicks to do.

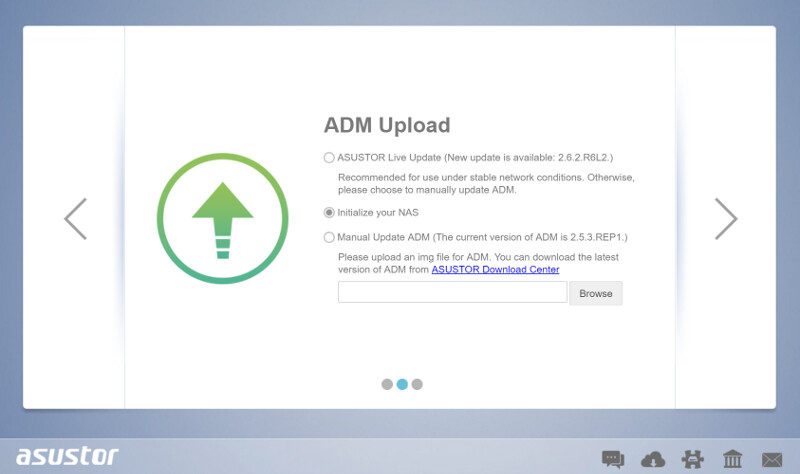
The first choice is whether you want to update the system with the newest version online or just initialize it. Depending on your network setup, the update might fail. But once it has been setup, it will work fine. But that depends on how well your DNS is set and how complicated your network is. In 99% of all cases, you can update instantly.
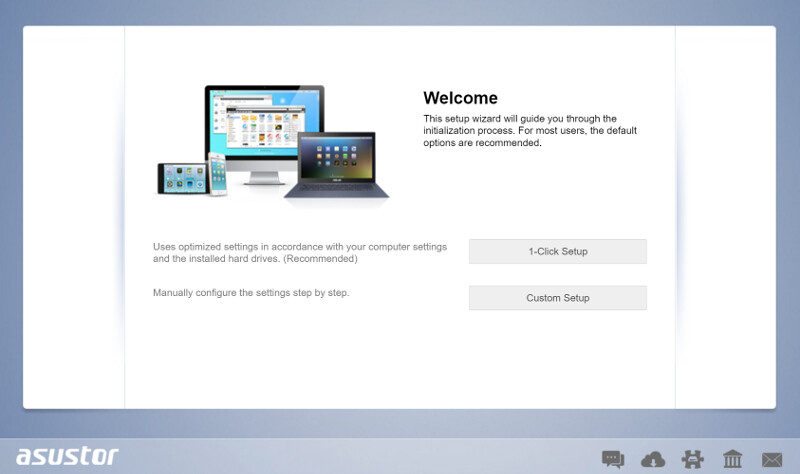
After having picked the version to install through the last page, the NAS will install it and format the system partition to be used. From here on you can do the rest with one click or custom. Usually I pick the custom version, but this time, we’ll try out the 1-Click Setup.
Truth be told, you have to do a little more than click once, but not much. First, we need to give the NAS a name and password and at the same time, we can decide on our drive setup.
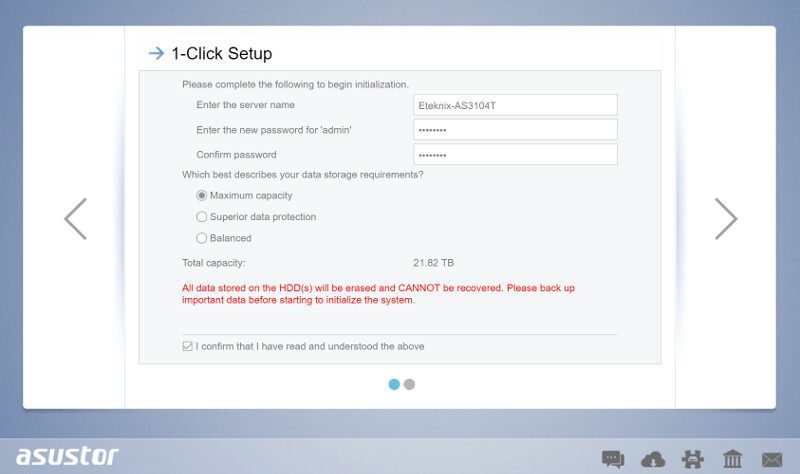
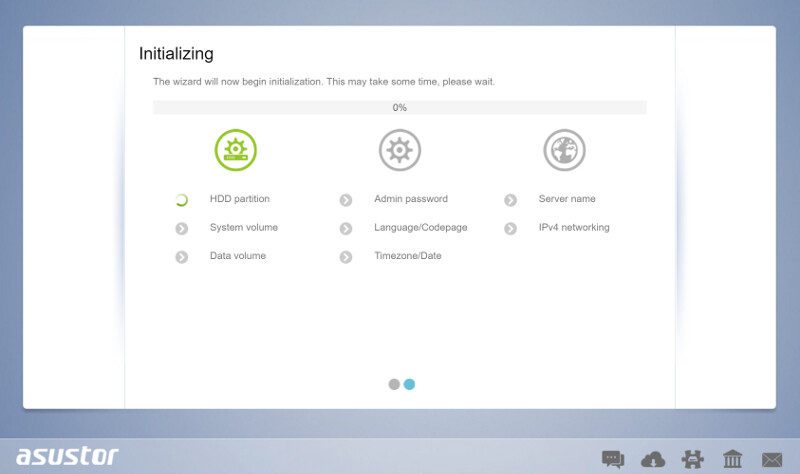
And that’s all. The system will now apply the settings we just made and be ready shortly.
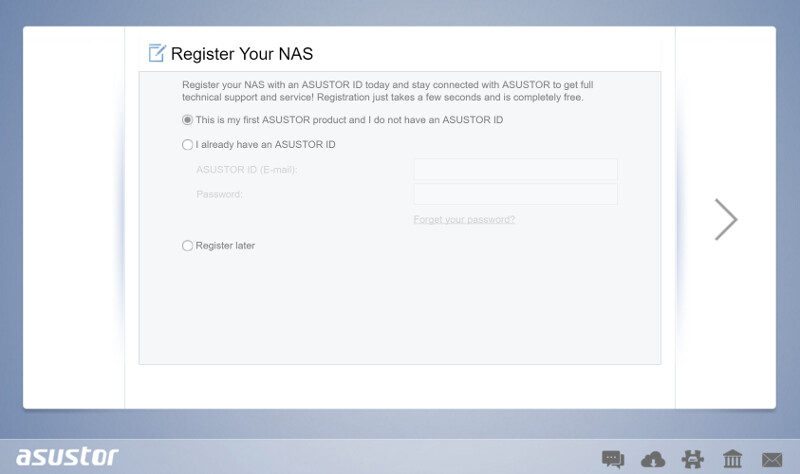
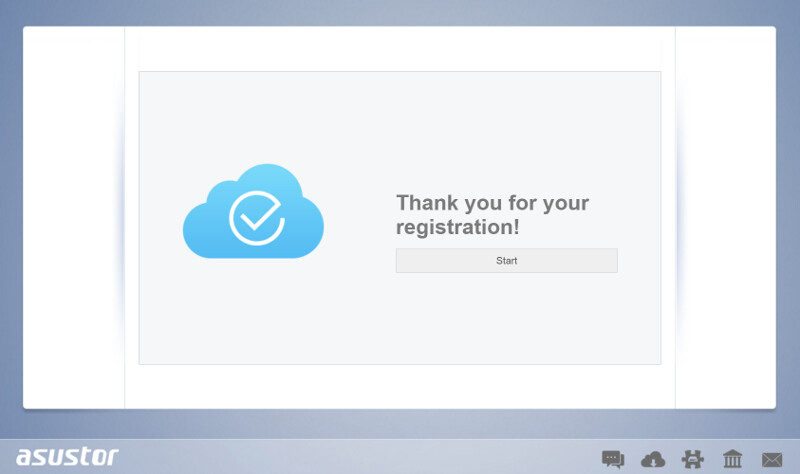
We have one more option and that is to register the NAS to our ASUSTOR ID. If you don’t have one already, you can create one for free. It allows for easier connection to your NAS from remote locations and mobile devices. It’s also a lot easier to set up than a common DDNS service.
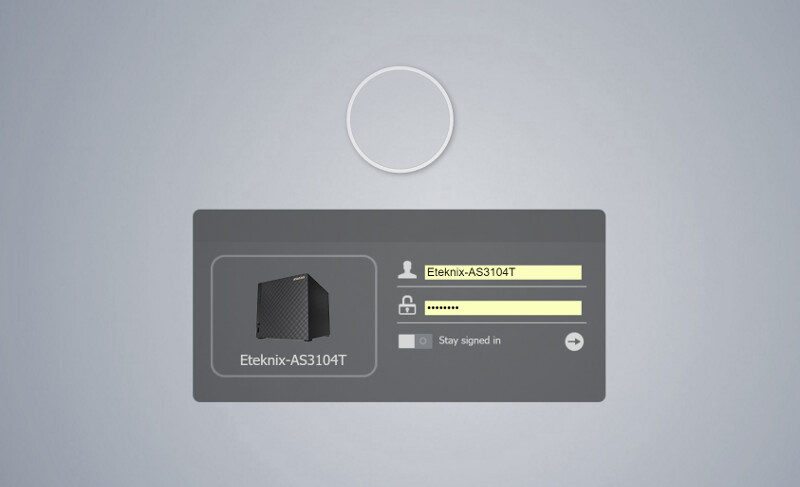
The first time we get to the ADM user interface, it looks like this and we need to enter our admin details.
In case you didn’t update during the initialization, which I didn’t, then you’ll most likely be prompted with a request to update to the latest version. It is always highly recommended that you do this.
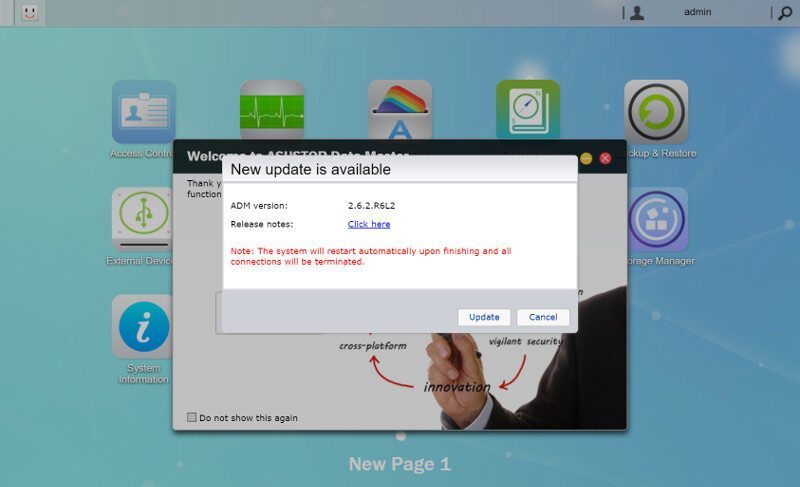
Everything runs automatically after you have confirmed the update. A little later the system needs to be restarted and it’s ready to be used again.

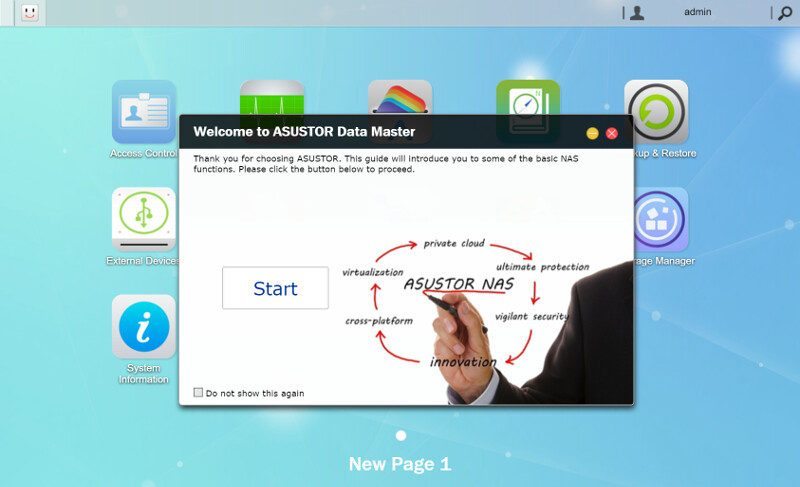
Besides the update request, you’ll also get greeted with a short welcome guide that will tell you about the ADM operating system and how to use it. It will continue to be shown until you tick the box not to show it again. It can also be reenabled through the settings.
Storage Options
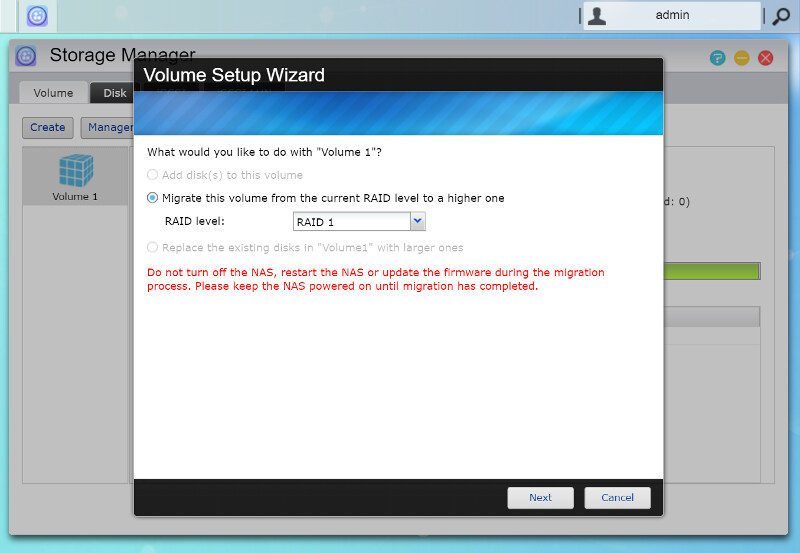
We created a storage setup during our initialization, but we might want to change that later on and that’s no problem either. The Storage manager has everything related to your drives located in one single place.
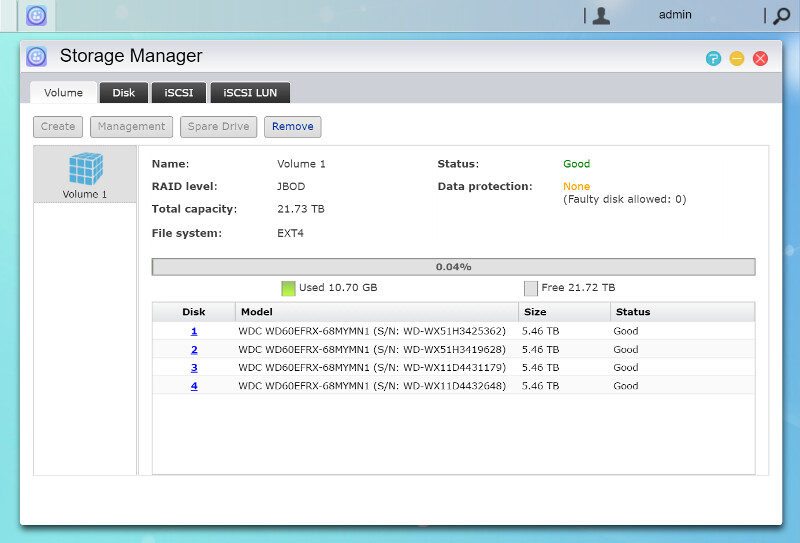
Whether you want to delete and create a new setup or migrate your setup depends on what you have now, whether it’s possible. But if it is, then ADM supports this too.
We can also keep an eye on the individual installed drives and run both disk tests and get the SMART details.
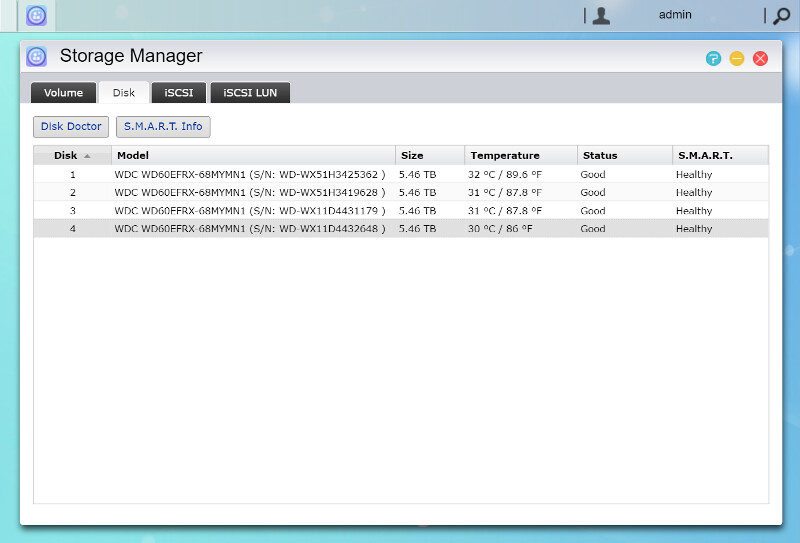
ADM doesn’t just read out a few select items from the SMART info, it provides the full list for you to read and interpret according to your needs.

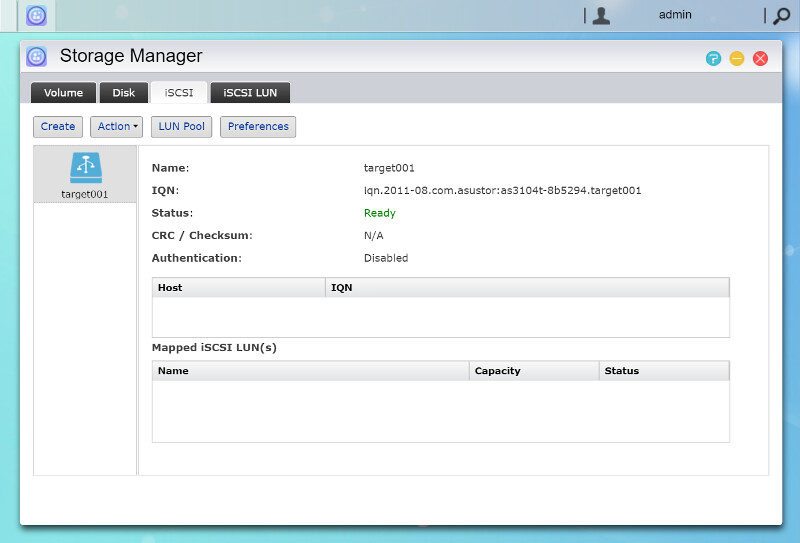
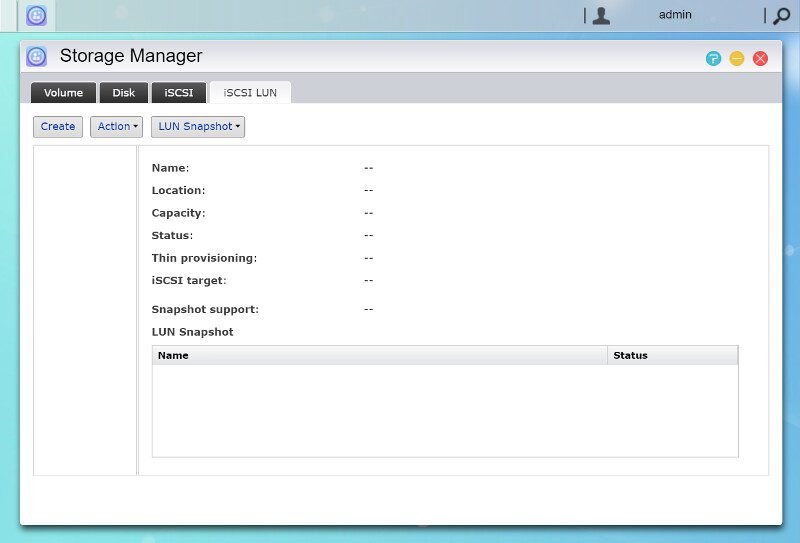
iSCSI has a lot of advantages over normal shares and I am one of the people that have embraced this over normal sharing methods. The AS3104T has full iSCSI support and it is as simple to setup as the rest.
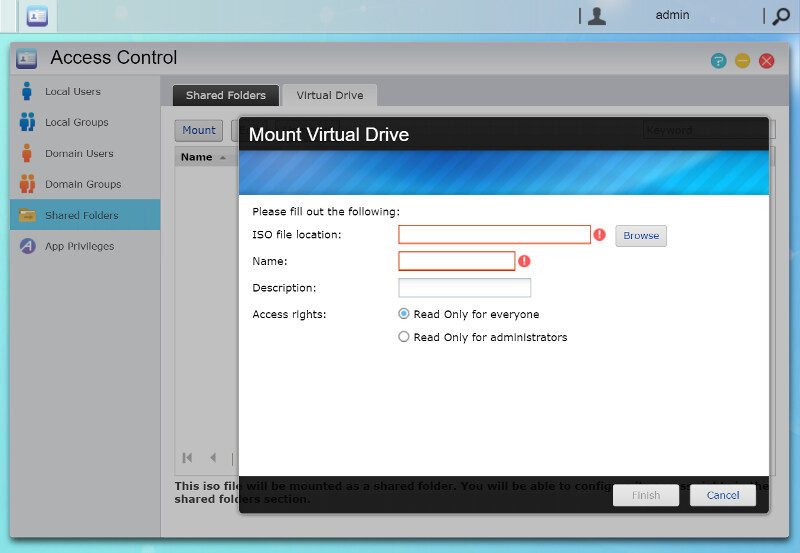
Virtual Drives
You can also create virtual drives from ISO files within reach of the NAS. Just select a file and give the virtual drive a name and you’re good to go. An awesome feature for sure that can make installation from old optical medias a lot easier once you have digitalized them.
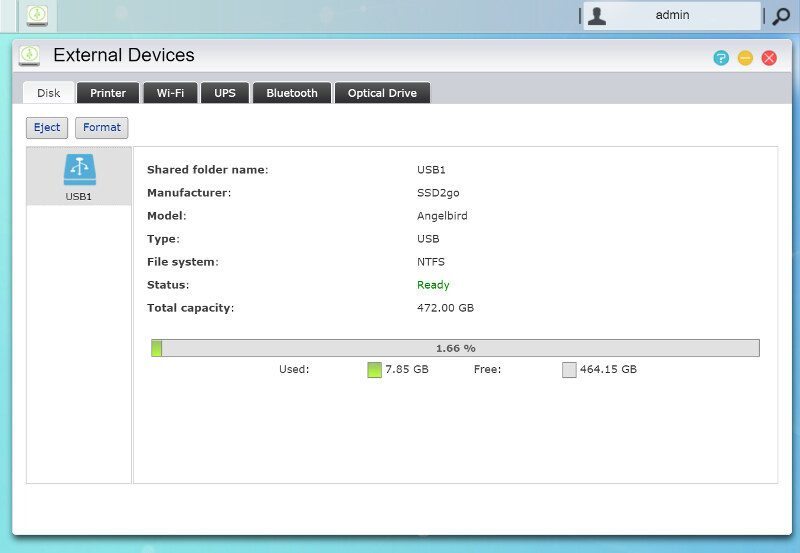
External Devices
The AS3104T supports plenty of external devices. The most common attached device will most likely be storage, but we also have support for USB printers, wireless devices, UPS, and optical drives. Besides those useful here, you can also attach input devices to be used together with the direct media output through HDMI.