ASUSTOR AS6202T Enthusiast 2-Bay 4K-Capable NAS Review
Bohs Hansen / 8 years ago
Setup – Initialization, Storage, and External
Initialization
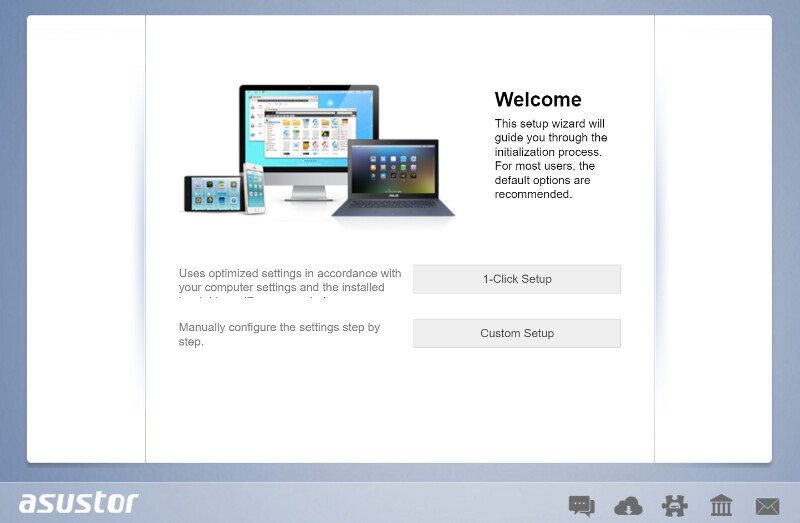
Installing the ASUSTOR AS6202T is a really easy task. Either you can pick the 1-Click Setup where you barely need to enter any information or you can take the customized tour.
Using the 1-Click setup requires you to give the NAS a name to be recognized in the network, set a new administrator password, and select the drive setup you prefer. That is all you need to do. See, couldn’t be any simpler.
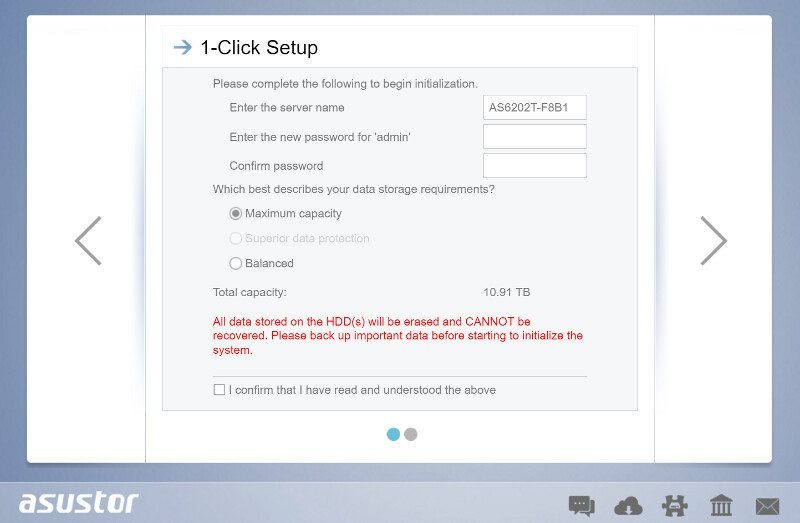
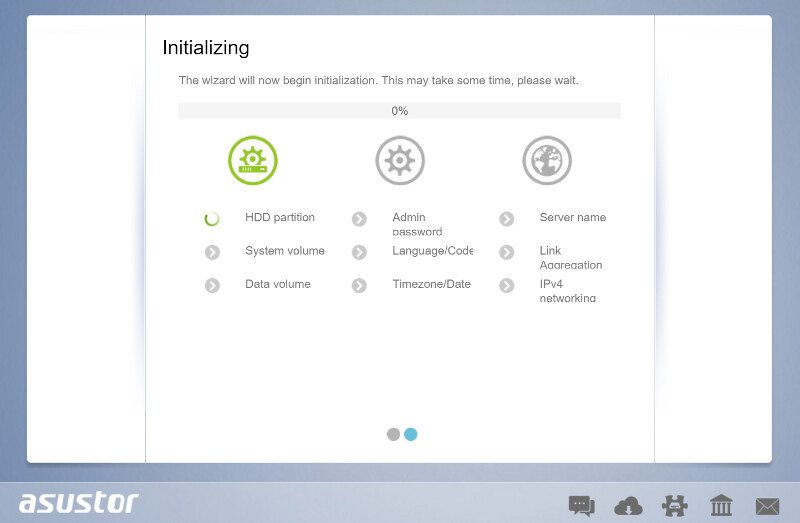
The NAS will automatically format the inserted drives, create the basic setup, and connect everything.
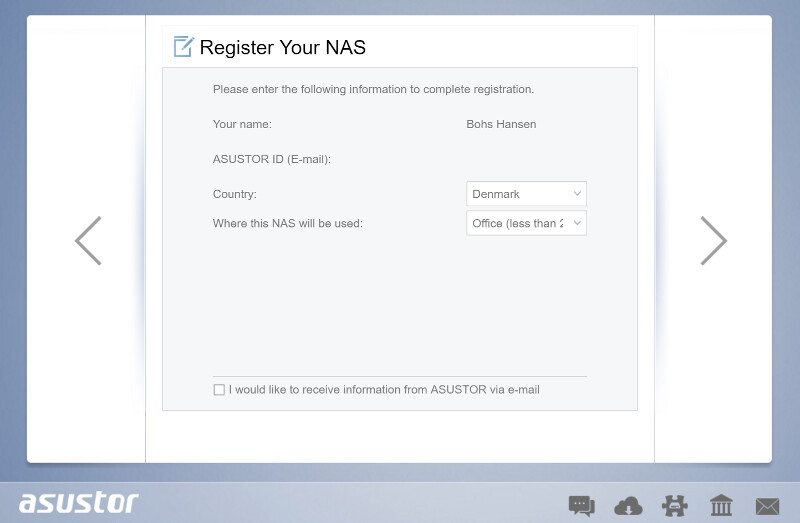
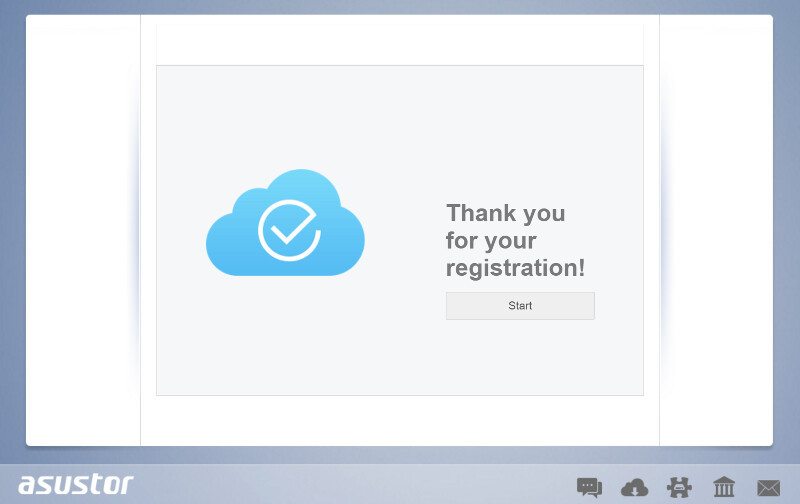
Once the setup is done, you can choose to register your NAS. It is free and opens up a lot more options when it comes to easy remote connection and smart apps.
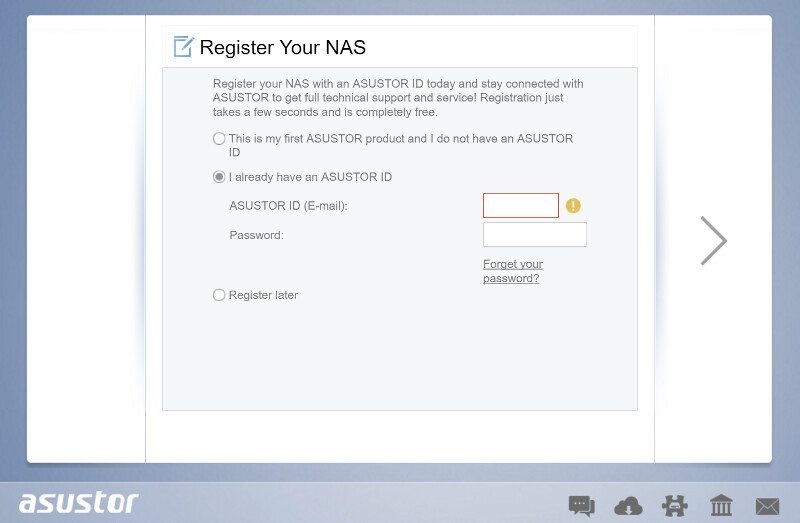
You can then select the country you’re located in to get the relevant connections and optionally join a newsletter list.
Now we’re all done. You can naturally skip the whole registration process if you don’t wish to do so. You can also do it later, change it later, and remove it later – should you wish to do so.
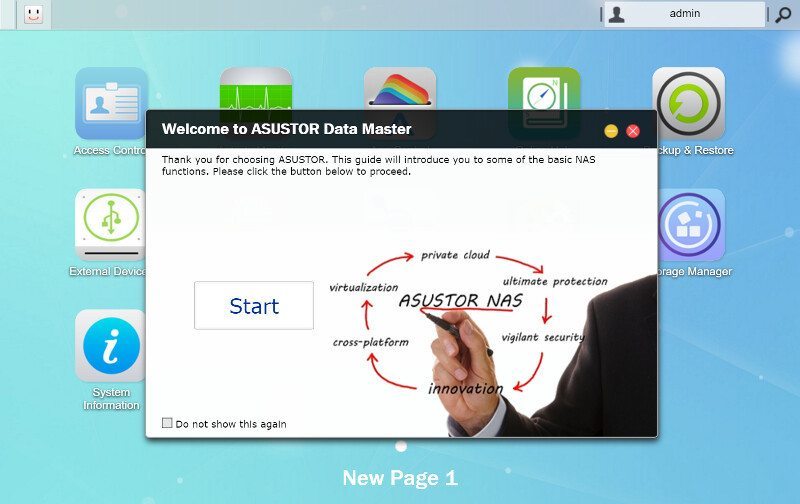
The NAS is set to check for updates automatically and there is a good chance that it will prompt you with an update option the first time you set it up. Software updates are released quite frequently and it is always recommended to keep headless units up-to-date.
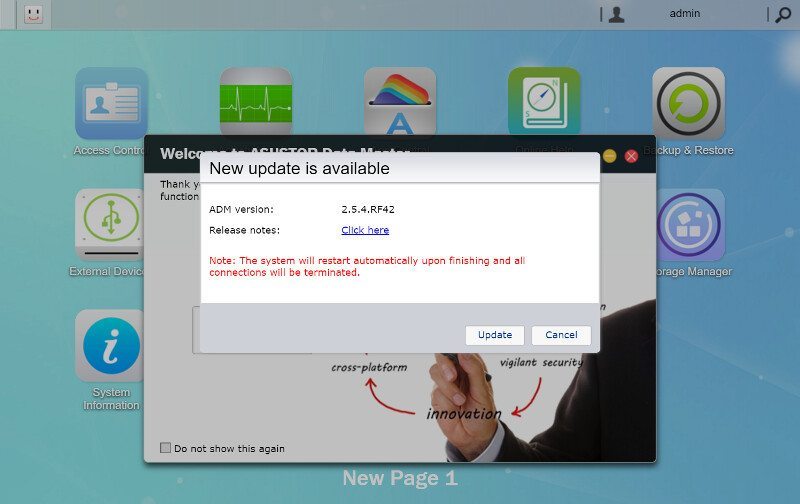
Besides the update notification, if one is available, you’ll be welcomed by a setup guide that will explain the basics of how the NAS works.
Settings
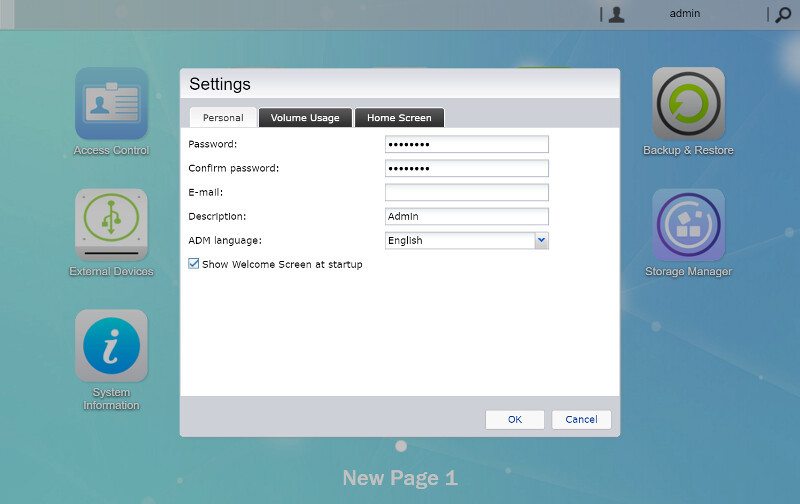
There are a few settings that you might want to familiarize yourself with right away. You got a drop down menu at the top by pressing the username where you can access some basic settings.
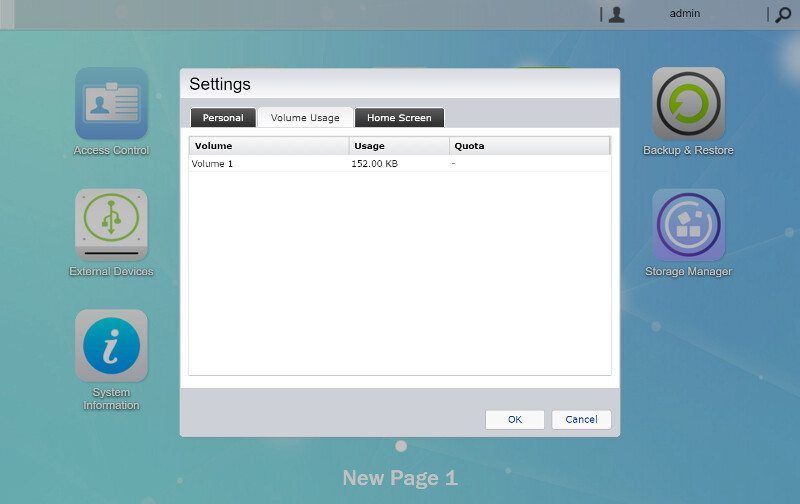
You can get a quick view on the volume usage.
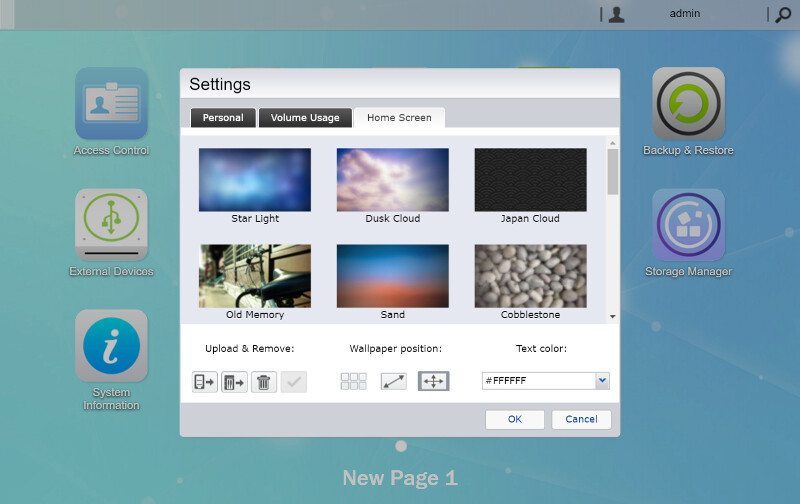
But most importantly, you can change your home screen and set up a layout you prefer.
But all the main settings are found on the dashboard under the fittingly named Settings app.
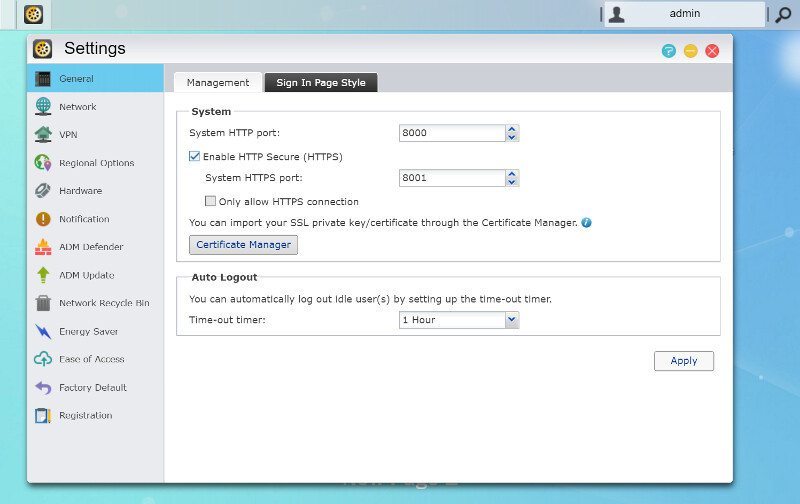
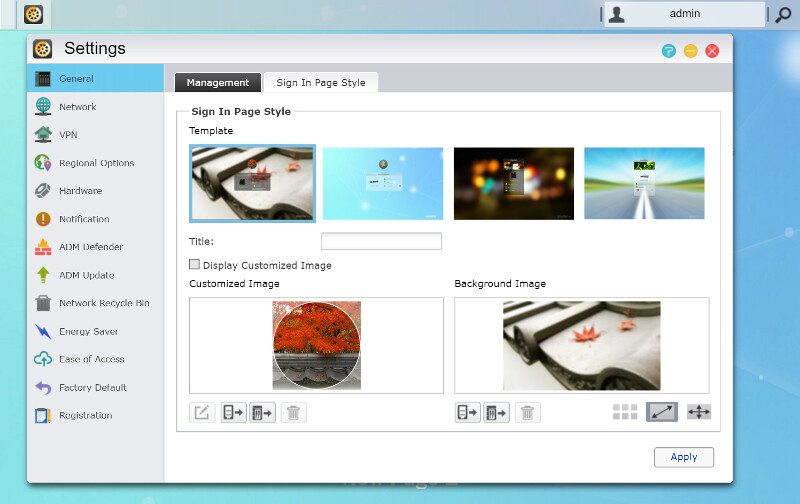
This is also where you can change the style of the login page. You can choose from existing templates and also create your own setup.
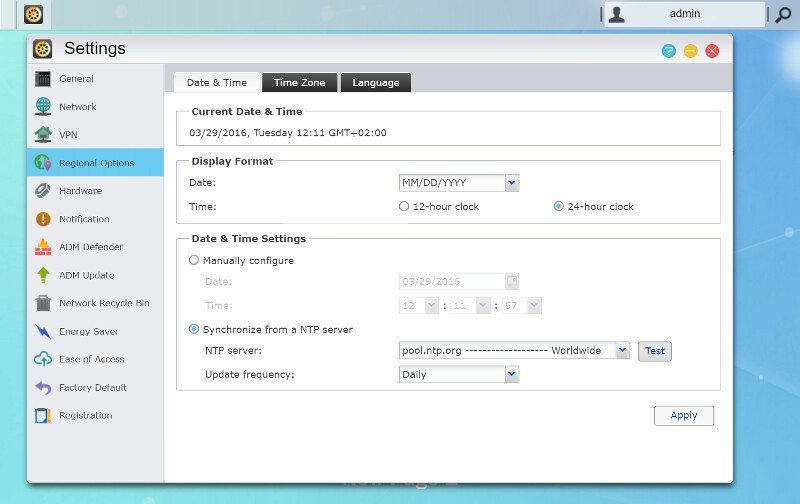
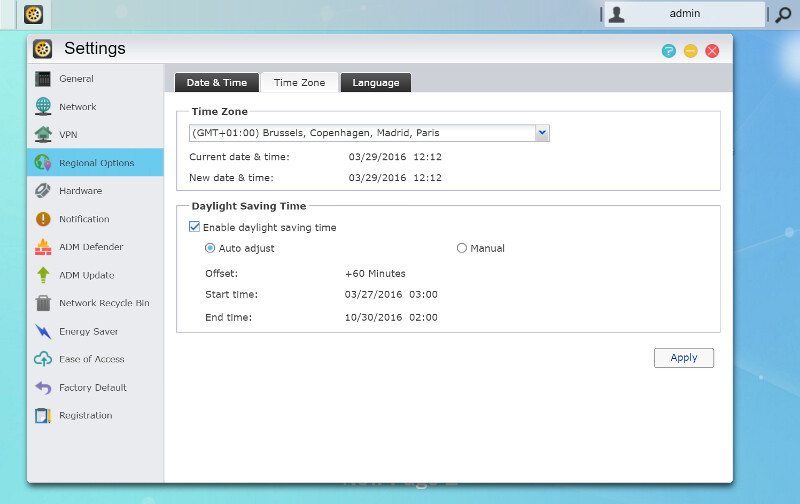
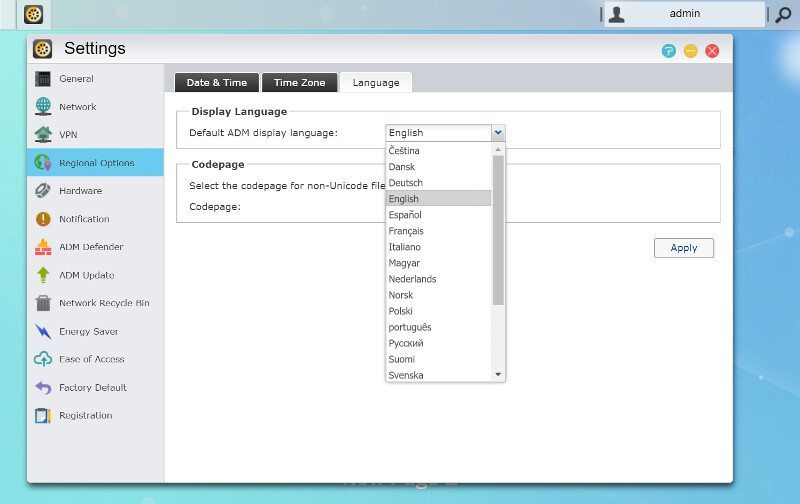
There is a full compliment of date and time features from manual to NTP synchronized times.
ASUSTOR’s ADM operating system is available in a lot of different languages. I personally prefer to keep all my technology in English, but other people might not. Either way, you got plenty to choose from.
Storage Options
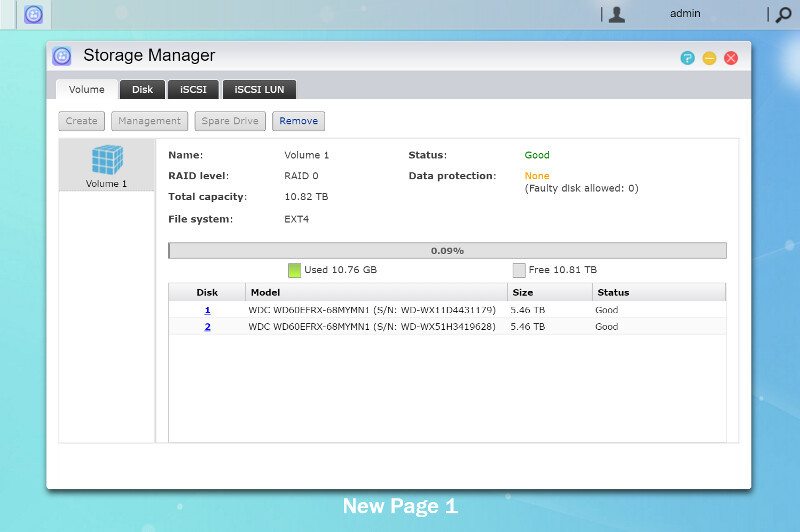
We just created a storage setup in the initialization, but we might have changed our mind and want to change that – at some point. Luckily the Storage Manager makes that very easy. Select a volume and press the Remove button. You can naturally also create new ones if you got spare disks and manage the existing ones.
Removing the last volume will automatically launch the setup guide for a new volume.

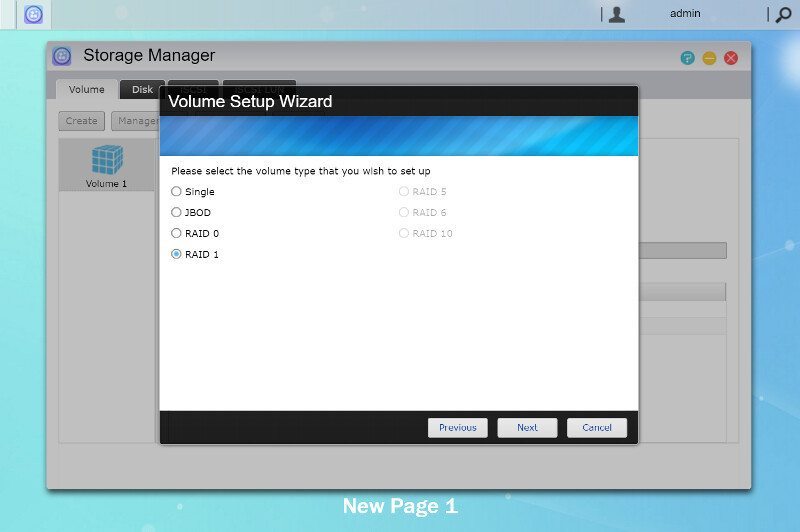
You can choose either the quick setup or the advanced. Since we took the quick one last time, we’ll pick the advanced this time.

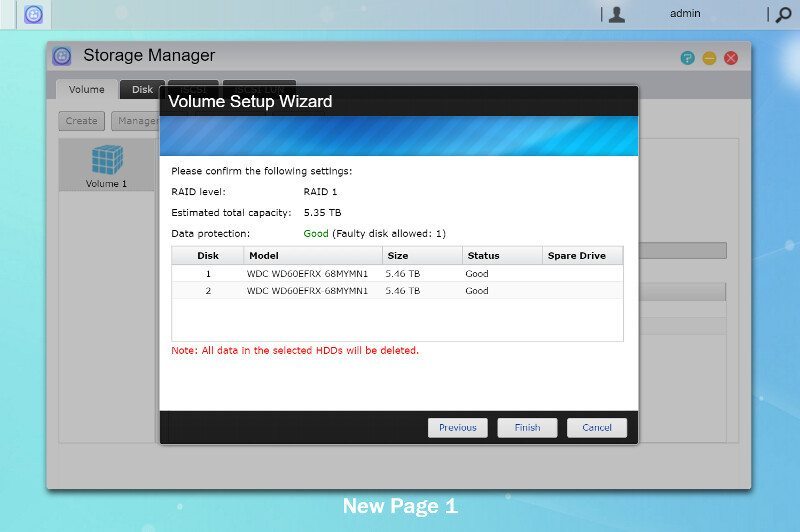
First, you have to select a volume mode. RAID 5, 6, and 10 are naturally not available since this only is a 2-bay unit.
The next step is to select the drives to include in this new drive volume.
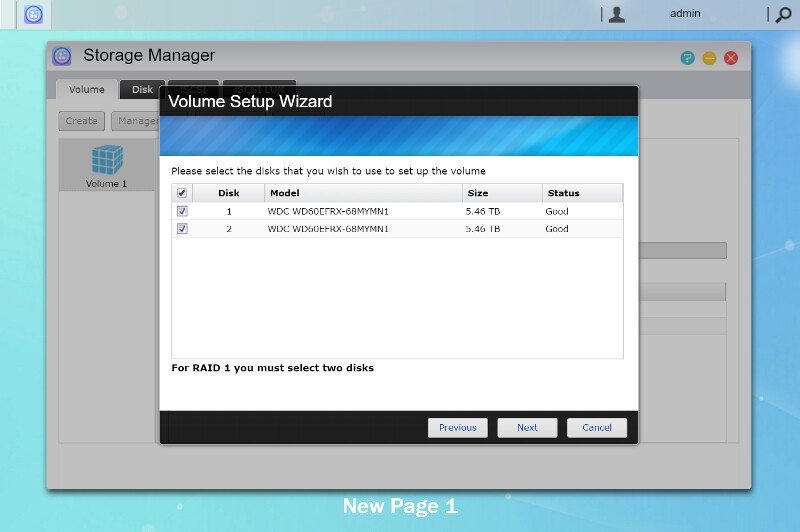
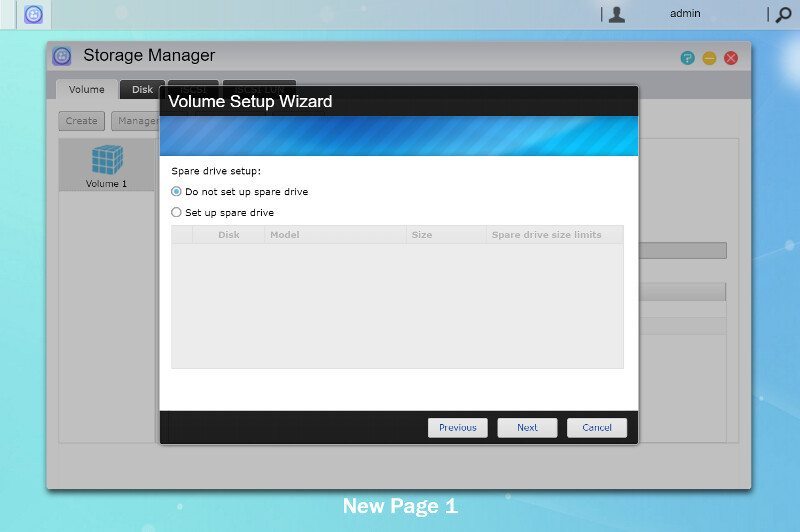
Those with the 4-bay model also have the option to set up extra spare drives for their volume, but again, since this is the 2-bay unit, we don’t have enough drives available.
Before all these changes are applied, we get one last look at our new settings. Once we confirm it, the NAS will start to remove the old setup and create the new.
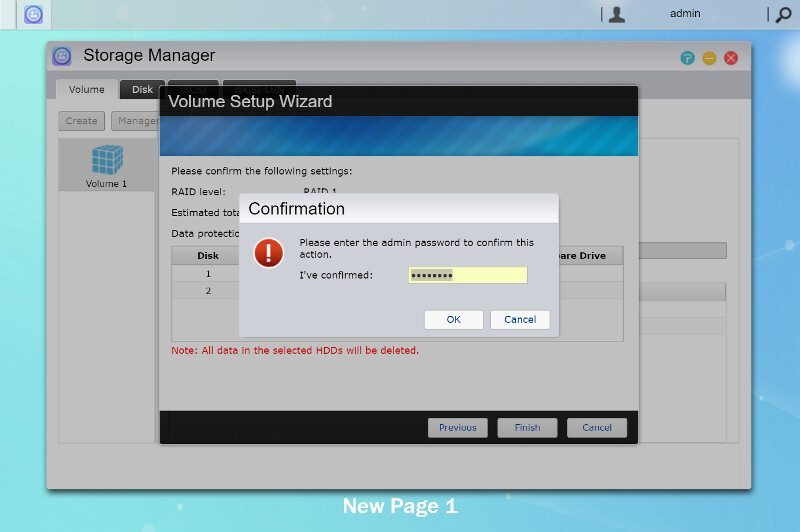
There’s a final safety in place where you have to enter the administrator password to be able to delete the volume. This is a great safety that easily can prevent accidental data loss.
Virtual Drives
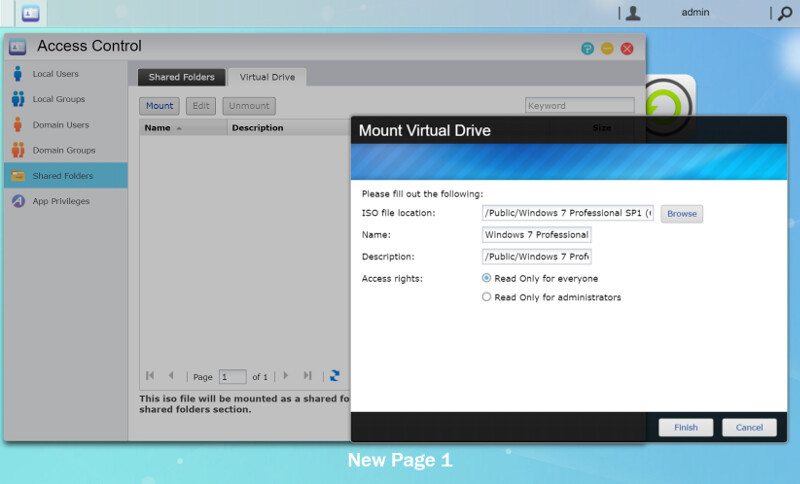
A really cool built-in feature are the Virtual Drives. You can pick any ISO file and mount it as a virtual shared folder and gain access to it over the network as if the original disk would be inserted into a drive.
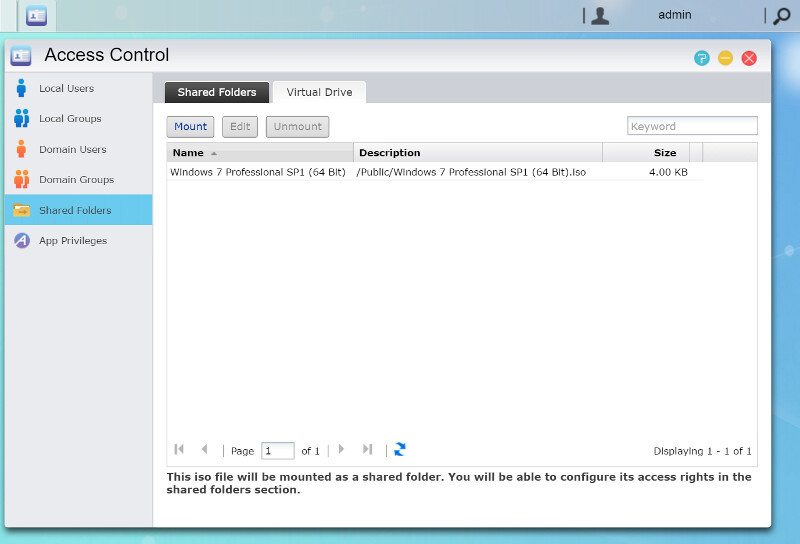
Mounting a virtual drive is as simple as browsing for the ISO file and give it a name.
External Devices
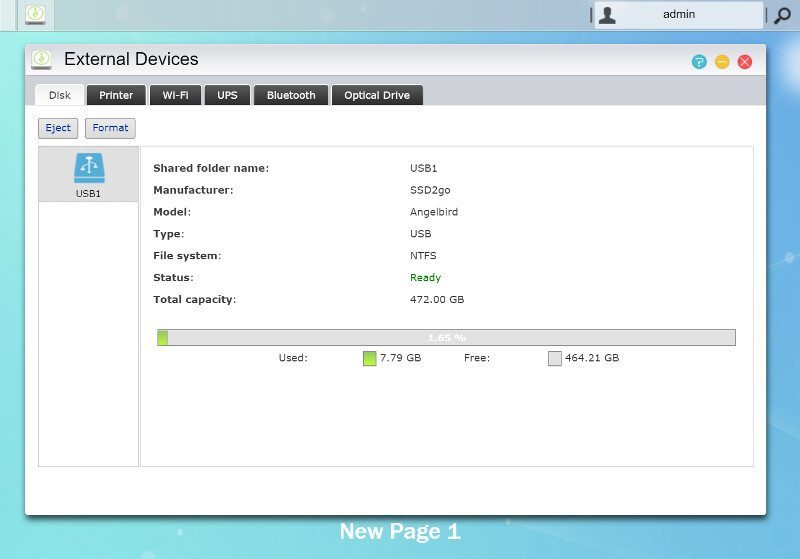
The External Devices app is a centralized app with access to anything external you can connect to the NAS. The first page is most likely going to be the most used and this is where you get a view of the USB 2.0, USB 3.0, and eSATA connected drives.
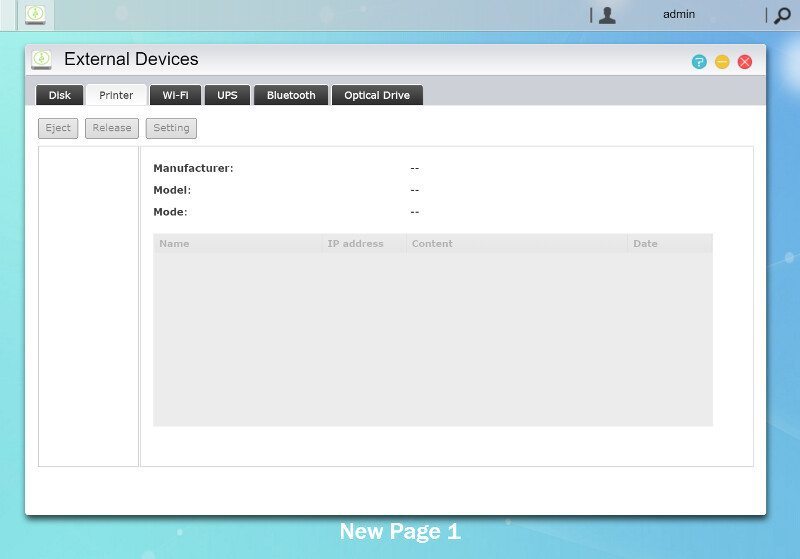
You can also connect USB printers to the NAS and share them out over the network. Create a modern network printer from the old relic instead of getting a brand new printer with LAN.
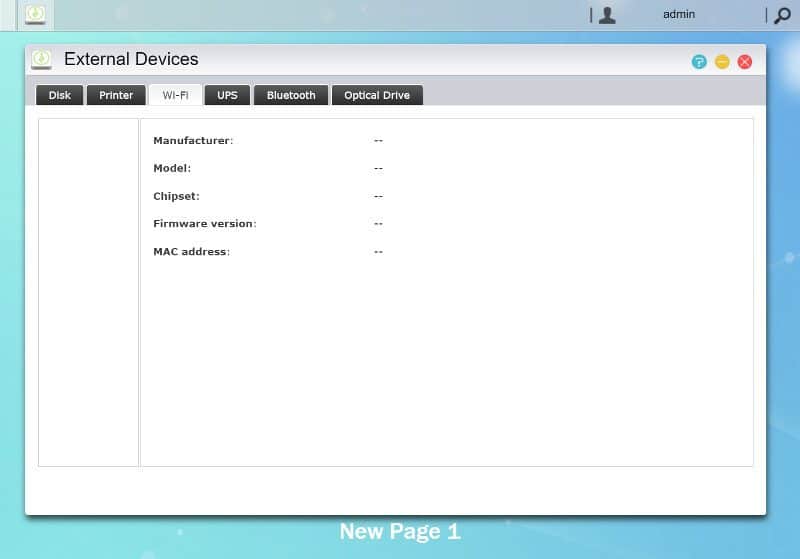
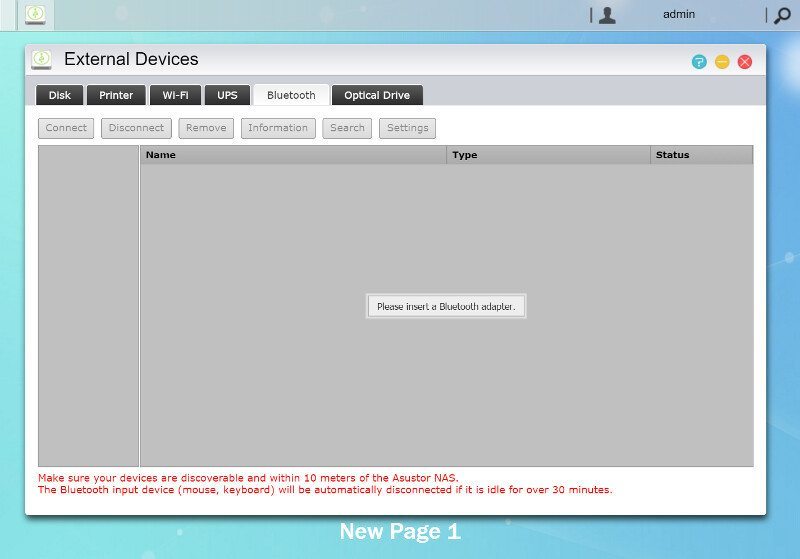
Wireless and Bluetooth dongles can also be connected to give the AS6202T and expand the functionality even further.
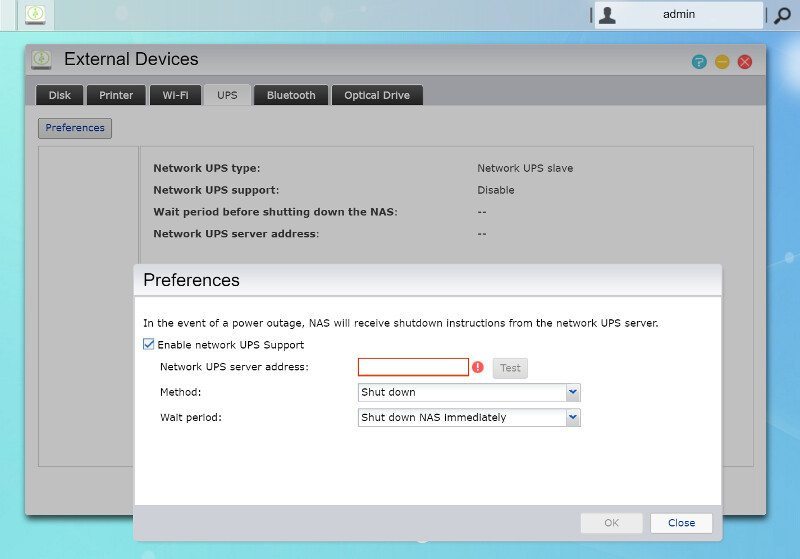
It isn’t an unlikely scenario that users of this NAS also opt to get a UPS. The AS6202T naturally also support this and you can connect it with your network enabled UPS.
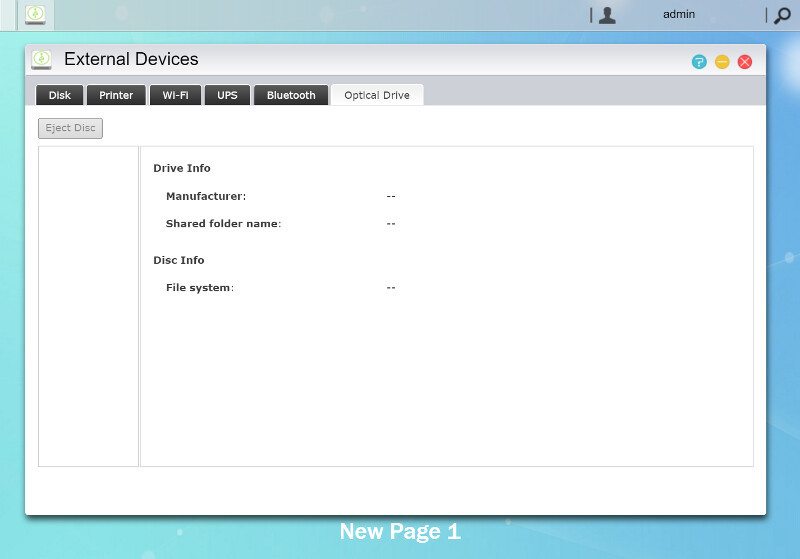
Last but not least, ADM also allows you to connect optical drives through the external ports. With the built-in multimedia features and HDMI out, this could be an amazing feature for Blu-Ray or DVD playback.