be quiet! Dark Base Pro 900 Rev 2 Full-Tower Chassis Review
Peter Donnell / 6 years ago
Complete System
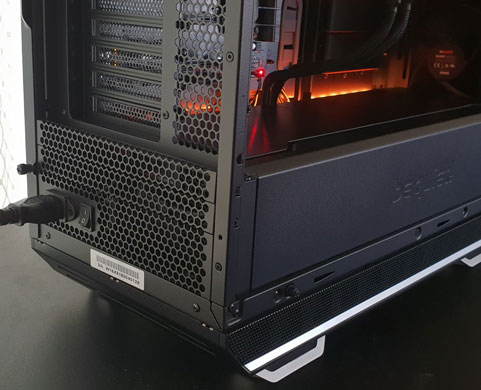
Installing a system in the be quiet! chassis wasn’t as easy as I had hoped. In the time it normally takes to install a full system, I hadn’t even got the PSU in yet. This chassis features some incredible engineering, but it’s also a bit complicated too. To remove the PSU shroud, I ended up taking off the five top panels. I then had to remove a few screws on this side, then a few more screws on the other. Furthermore, it wasn’t immediately apparent which screws and where they were located.
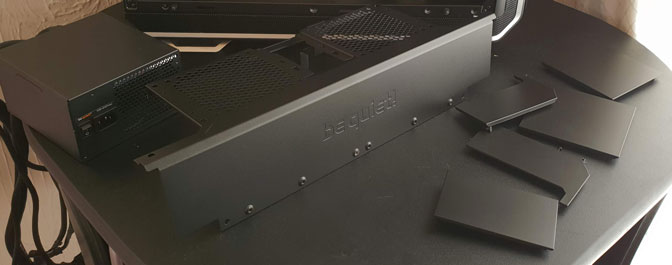
The PSU dropped into place, but how do I screw it into place?
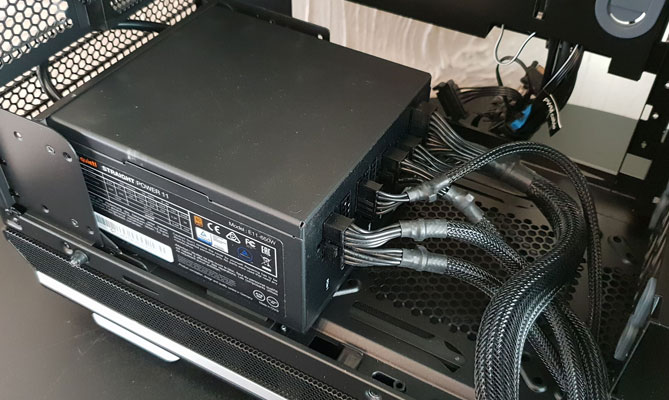
There are three removable panels at the rear. Each of these panels is mounted with two more screws, and you have to take each off to reach the PSU mounting screws. OK, it’s not the end of the world. Furthermore, it’s part of the design that allows the chassis to look so clean, be so silent, and be reversible too.
RGB
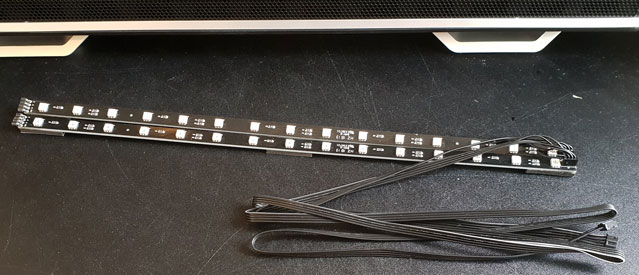
In the box, you’ll also find a few RGB LED strips. The chassis has a built-in RGB header that can link to your motherboard, and the included hub can handle these strips.
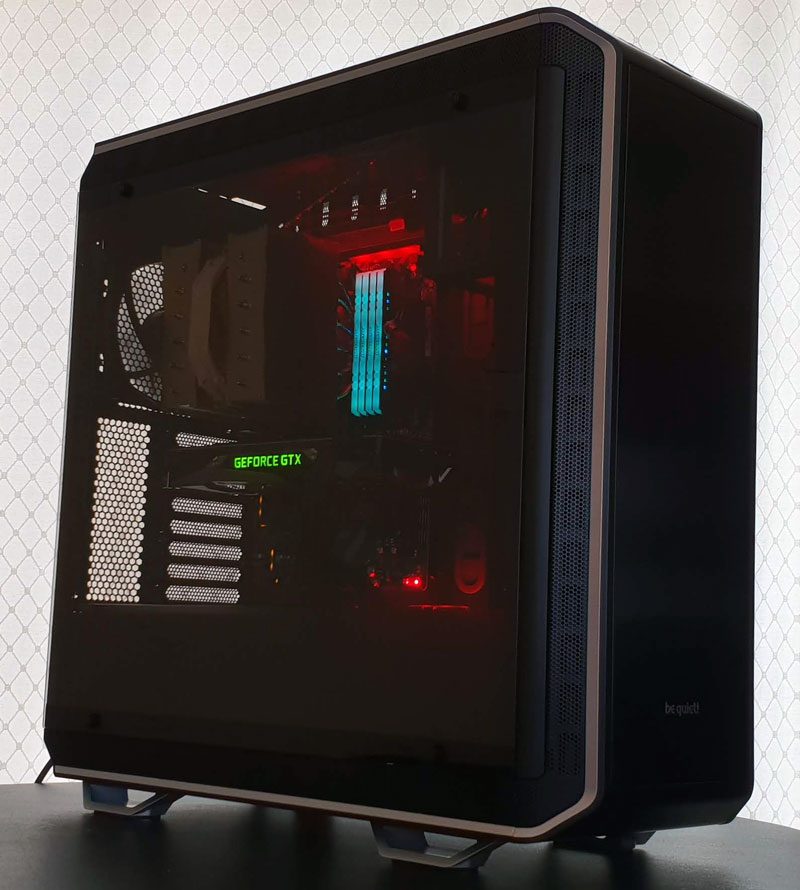
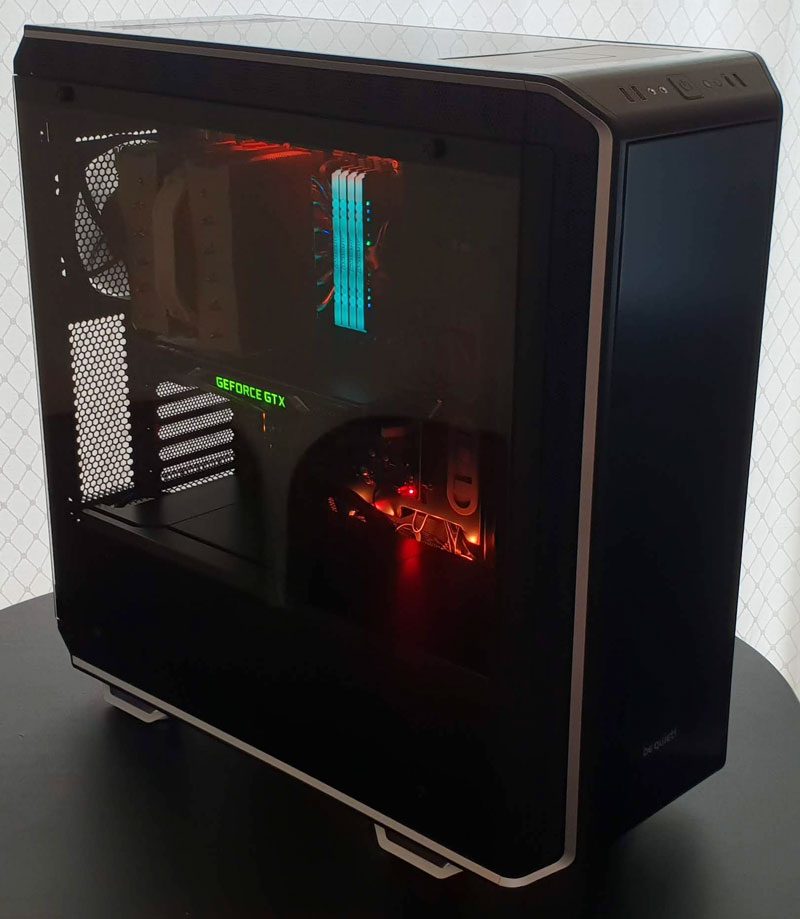
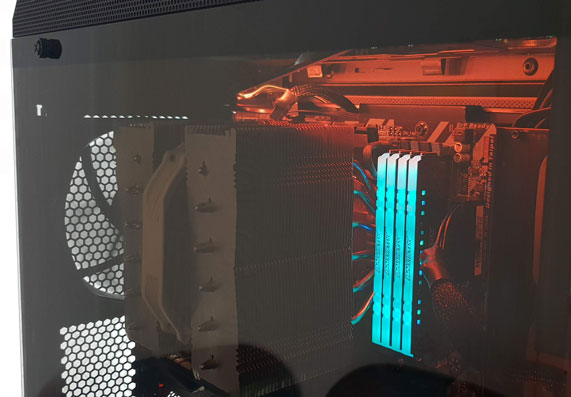
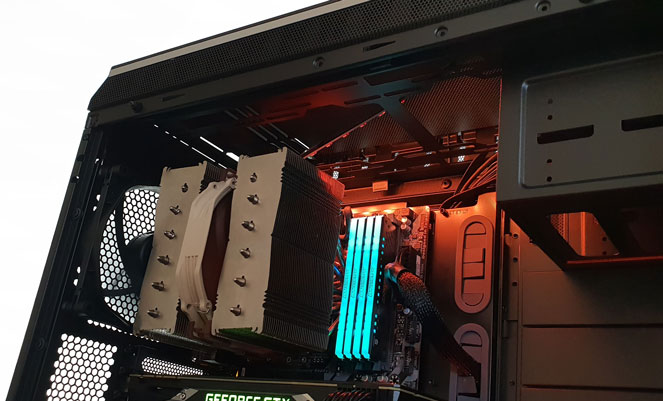
Building a system inside the 900 Rev.2 was a lot easier than I expected. Sure, the PSU install was a bit ridiculous, but after that, everything just fell into place with ease. The dark tint on the side panel means that with the lights off, you can’t see much inside.

Fire up your system, however, and all the LED lighting glows through with a stunning view of your hardware. There’s a built-in RGB controller of sorts too. Hit the LED button on the front panel, you can turn the lights off, cycle colours and effects.
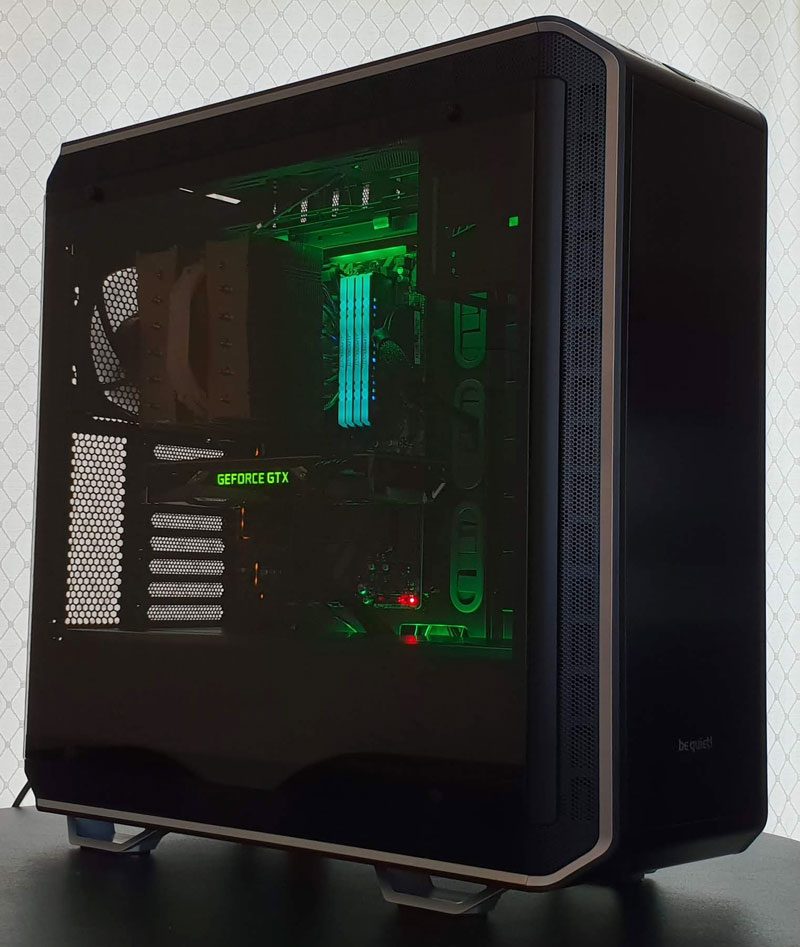
Adding Some Colour
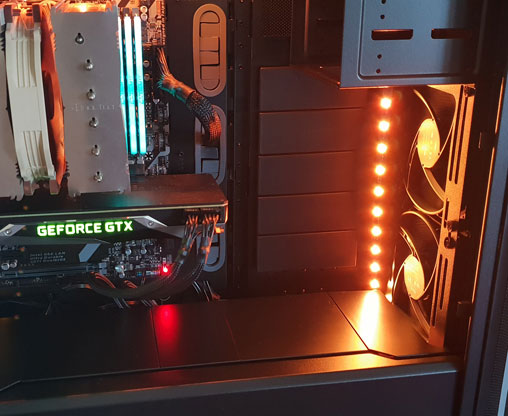
The view is spectacular with the LED lighting strips powered on. Sure, you could make it brighter by putting the lights somewhere more direct.
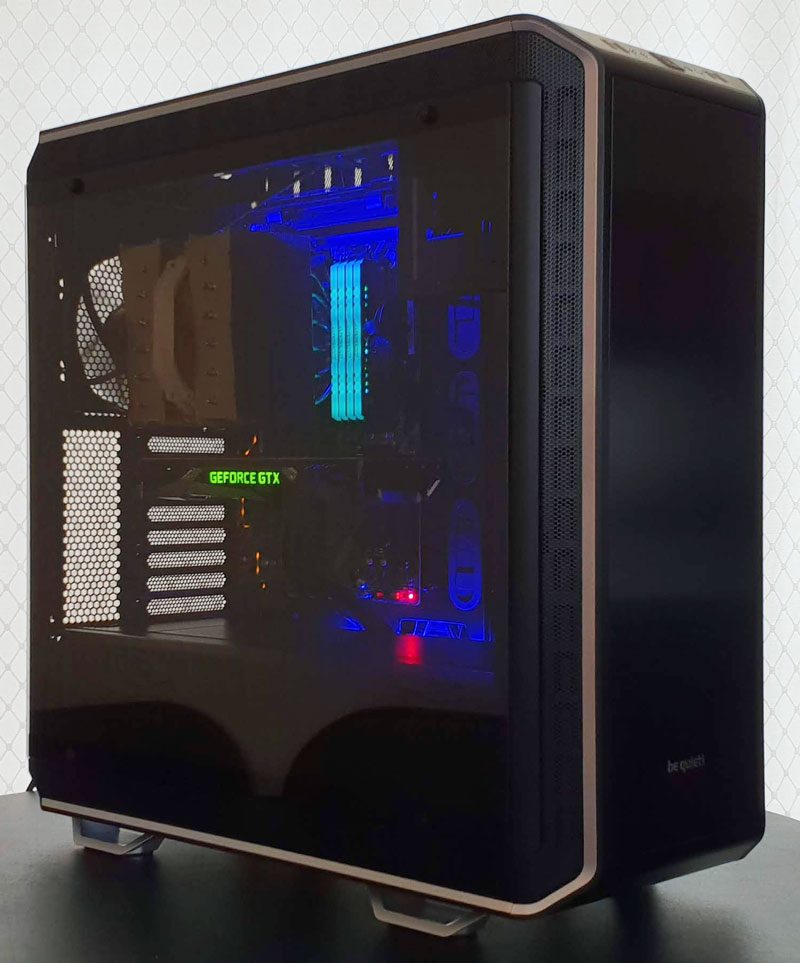
However, I hid one in the top and bottom for a more subtle backlighting effect.
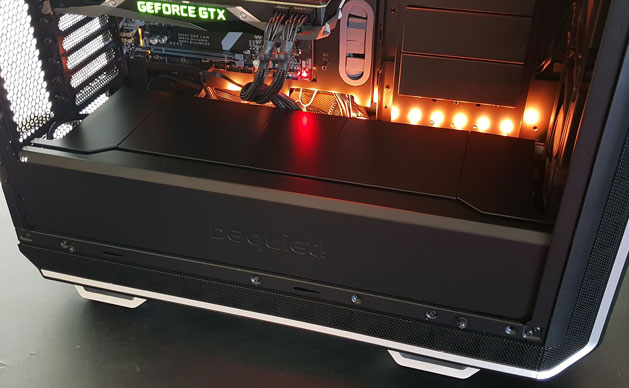
You can move them, they have 3M adhesive pads, so you can really play around with it.
Cable management seems pretty robust here too. With an ATX motherboard in place, the standard grommets work perfectly. However, you can use the plastic pop-out sections if you’re using an E-ATX/XL-ATX motherboard, as they may cover the grommets up.
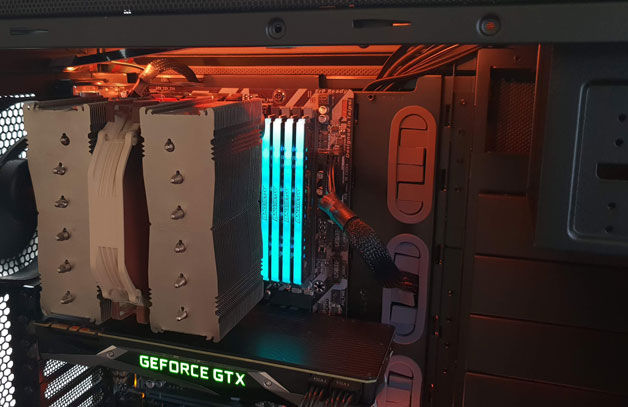
The Noctua NH-D15S fit with ease, in fact, I can’t recall the last time I say this much spare room for one! Even still, with a massive air cooler, radiator space above the motherboard was vast. Water cooling enthusiasts and air cooling enthusiasts alike are going to love this chassis.
Huge Clearance
The same is true in the front, as the GTX 1080 Ti uses about half the length of the chassis! Fitting radiators and pumps and all the other water cooling hardware up front won’t be an issue. Of course, be quiet! provide all the appropriate mounting brackets in the box too, helping you get on with installing your hardware.

The PSU cover is very nice, difficult install be damned. No matter what PSU you use, it’s going to be hidden anyway. This clean looking panel will hide your woes and it looks fantastic.
The QI wireless charging is awesome too. It’s a perfect storage pad for your phone. Of course, it keeps you powered up while you work and game too!


