BitFenix Neos Mid-Tower Chassis Review
Peter Donnell / 10 years ago
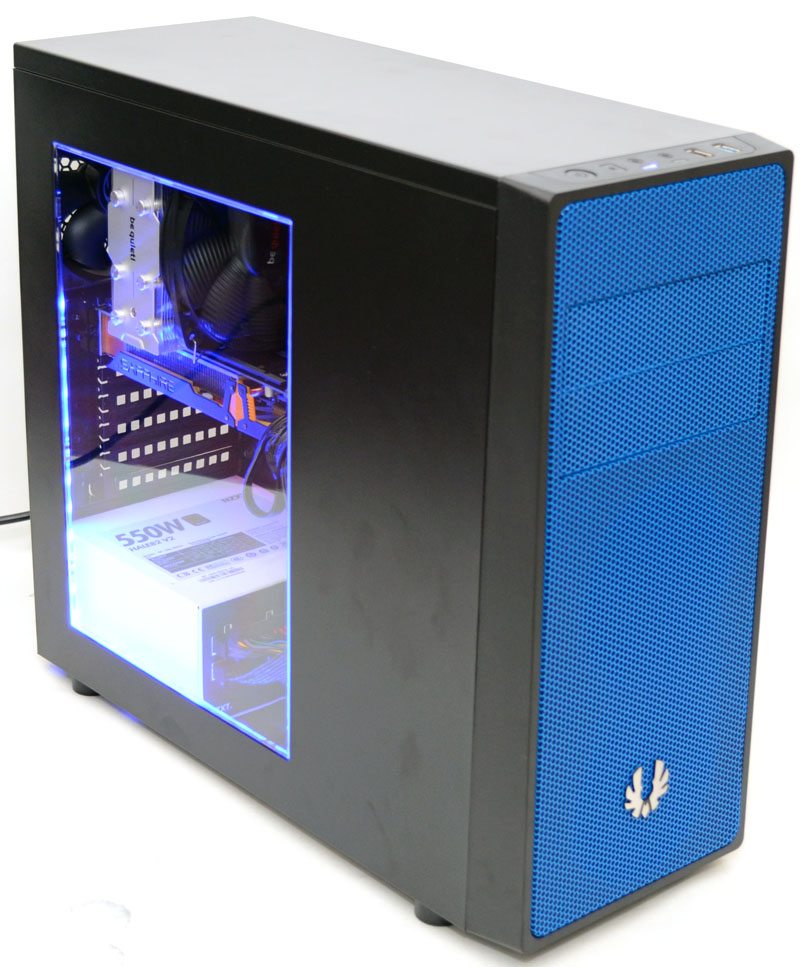
Complete System
Total build time on the Neos was about 40 minutes, which if I’m honest is pretty slow, it wasn’t the easiest chassis to work with overall due to its small size and my ambition to fit rather large components.
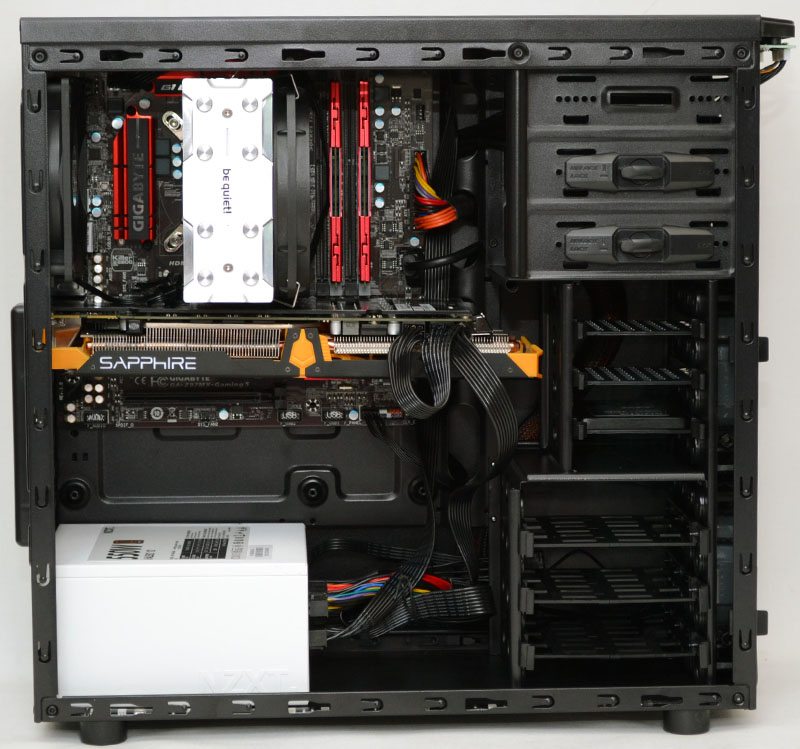
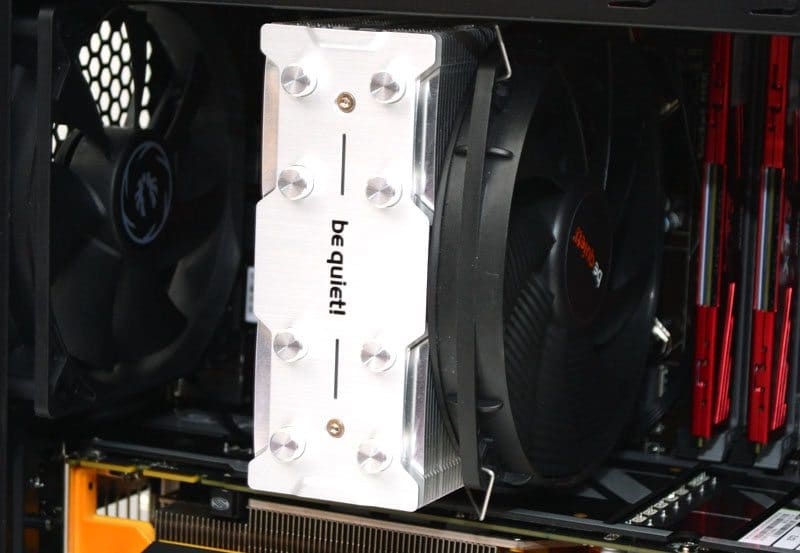
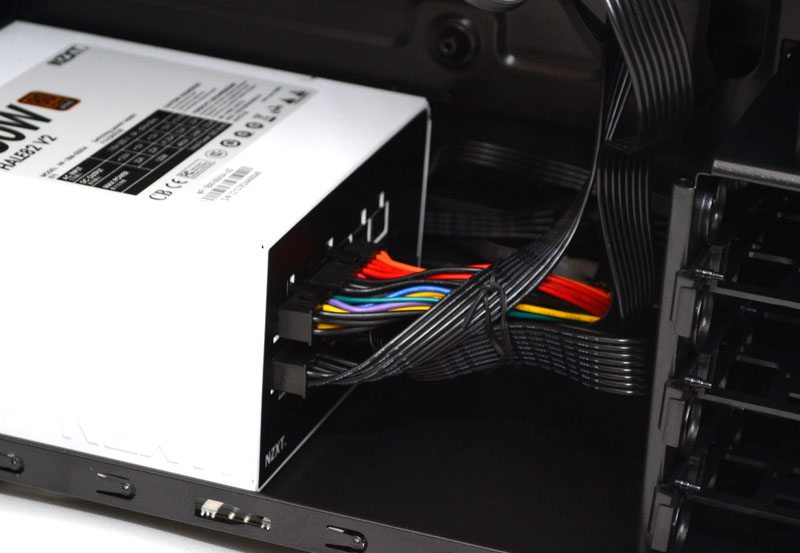
The be quiet! Dark Rock Slim was really pushing the limits in terms of clearance and edged about .5mm from the side panel once installed. It was tricky to fit as the CPU cooler cut-out behind the motherboard was too small to access the screw holes, so the cooler had to be installed prior to installing the motherboard; this made reaching the 4+4pin slot in the top left of the motherboard troublesome, although not impossible.
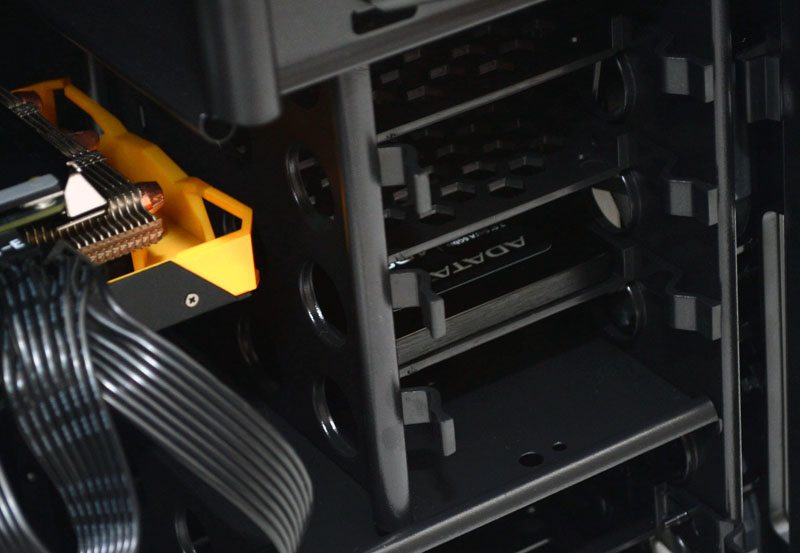
There is certainly room for at least two graphics card in here, but keep in mind that the bottom card will suffer less clearance than the top card, as the bottom hard drive bays are wider that the top 2.5″ drive bays.
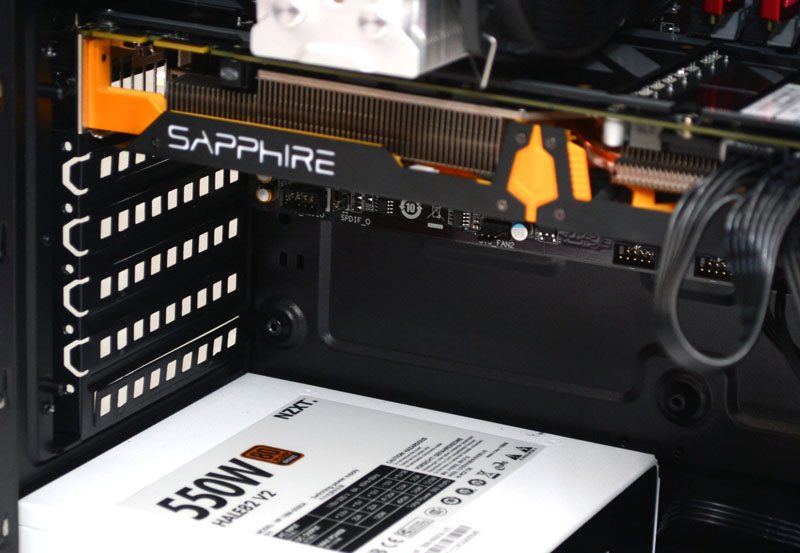
Cable management isn’t great, but our PSU featured flat cables and that certainly helped make the most of the limited space. Those with non-modular PSU’s may find they need this space behind the PSU to bundle excess or unused cables.
Our Sapphire R9 270X is a very long graphics card, getting it pass the front edge of the 2.5″ hard drive bays was a little tricky and took some persuasion, but once I had dealt with that there was still about 10mm clearance, just keep in mind that it’s unlikely you’ll get a card even 2mm bigger than this into place and even then you’ve no chance of putting two cards of this size in here. This isn’t a bad mark on the Neos, this is a big GPU, it’s just worth your consideration.
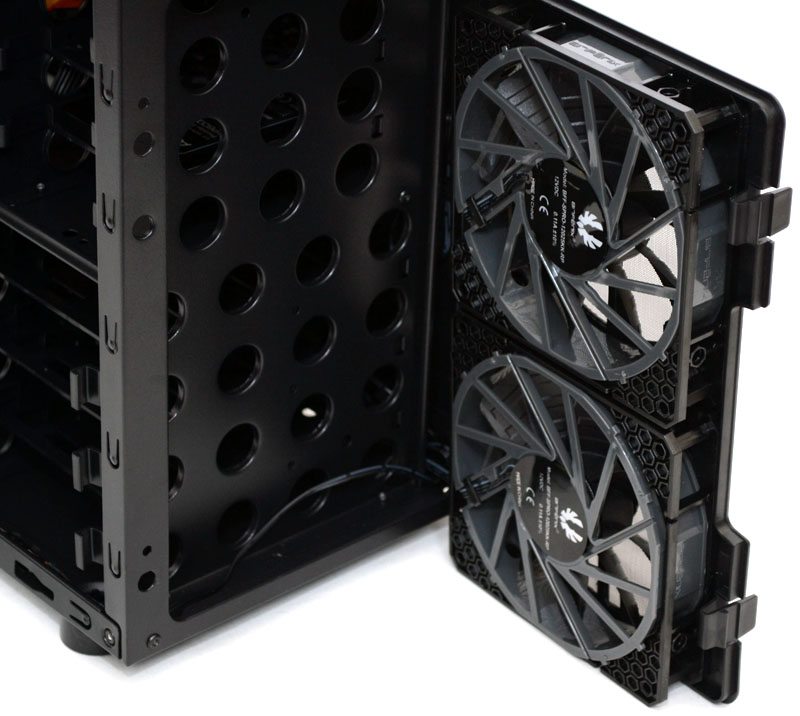
I made quick use of the two fans that BitFenix provided to mount in the front of the chassis. Interestingly they screw onto the dust filter, not the chassis. This makes them super easy to install and maintain and it’s certainly something I’d like to see in more chassis designs.
the BitFenix Alchemy LED lighting strip fits snug in the bottom of the case, there was just enough clearance for a quick and pain-free installation of this.

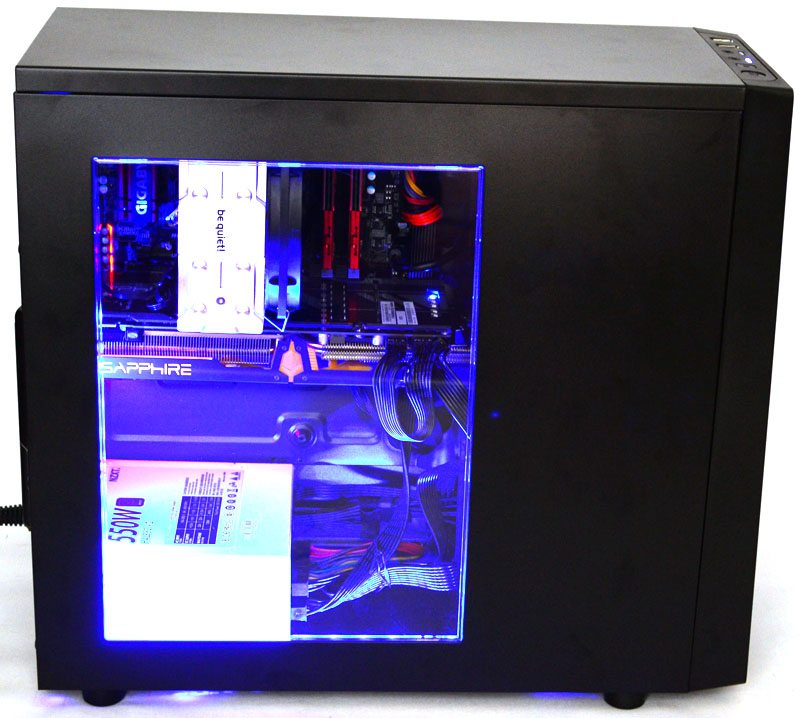
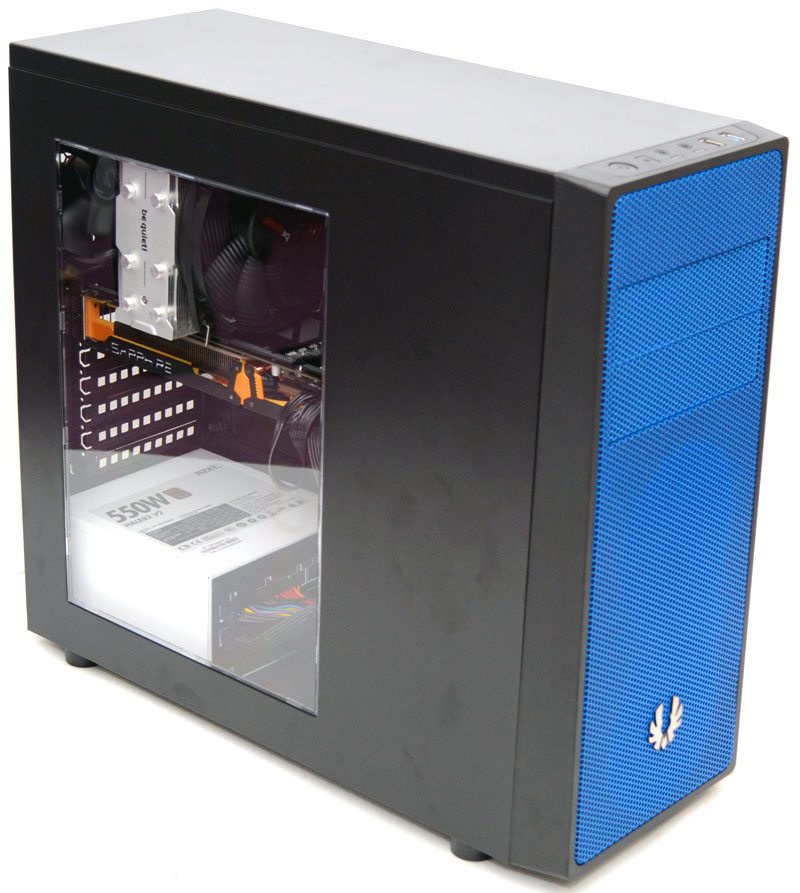
Here we finally see that side panel window, not only does it feature a huge vertical window, but the clear plastic gives us a great view of the interior, whilst hiding the less exciting stuff such as cable routing and hard drive bays.
Fire up the system and the Alchemy LED lighting works wonders to compliment the front panel colour, no wonder BitFenix sent us one over!
I’ve ramped up the ISO on my camera here and photoshopped the back background white, but this picture was taken in a darkened room to better show the effects of the lighting and I have to admit, for a £30 case, this is a lovely looking build.