Chieftec Hunter ARGB Mid-Tower Case Review
Peter Donnell / 4 years ago
Complete System
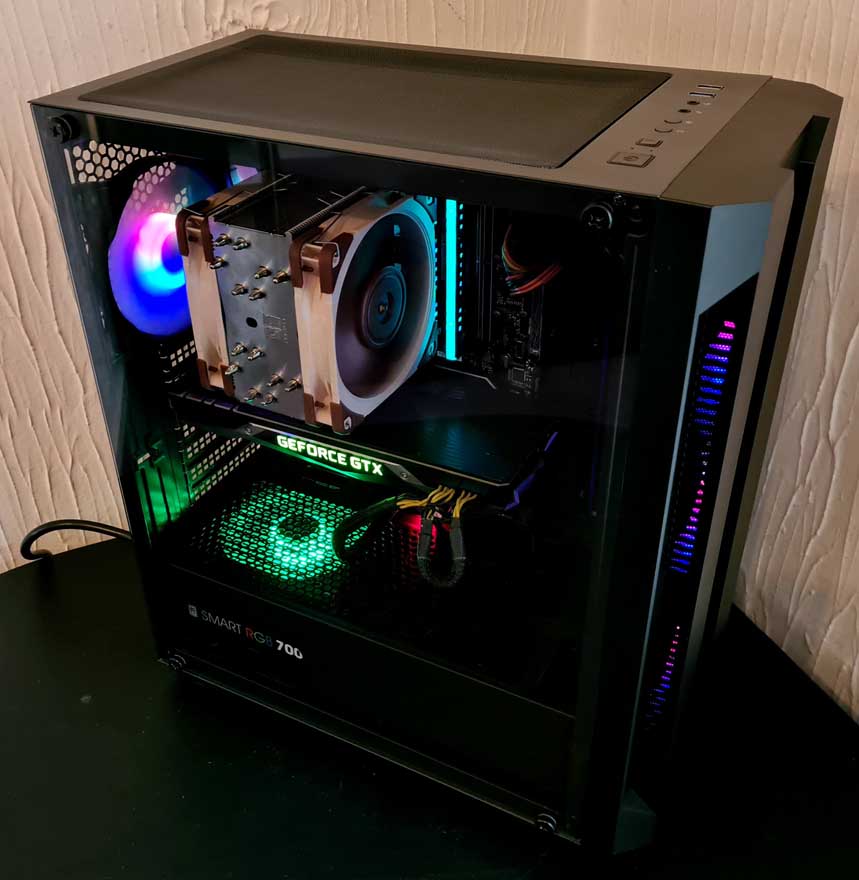
Building a system inside the Hunter was honestly very easy, and it really shows that Chieftec has put some thought into the overall layout and design. The biggest advantage had to be the plentiful cable routing options, and all the cable runs are really clean. Perhaps a vertical one for the GPU would be nice, but honestly, it’s hardly a deal-breaker here.
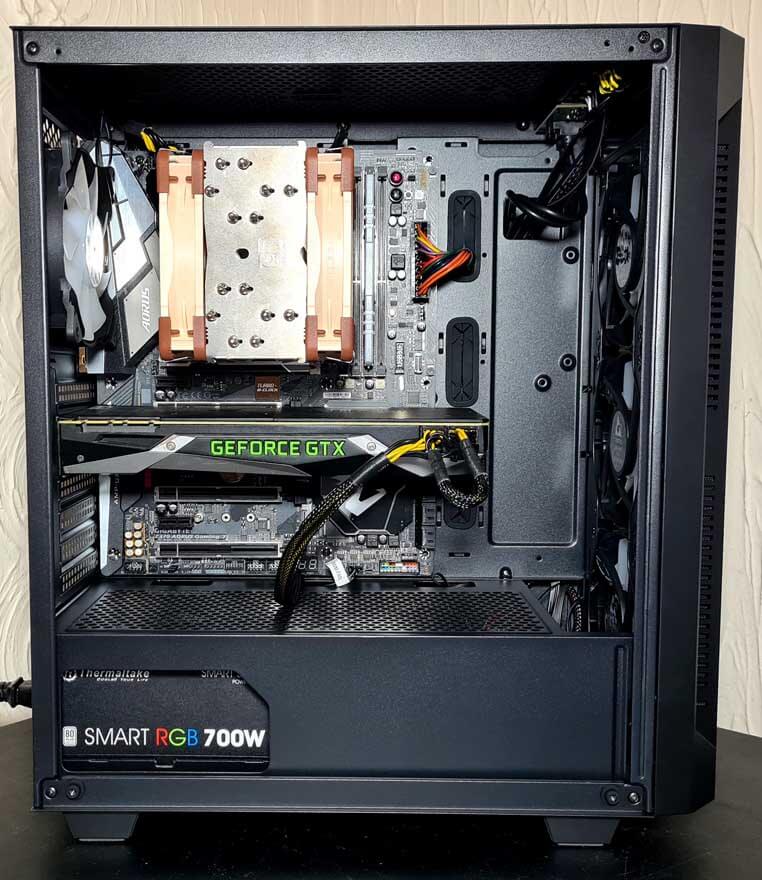
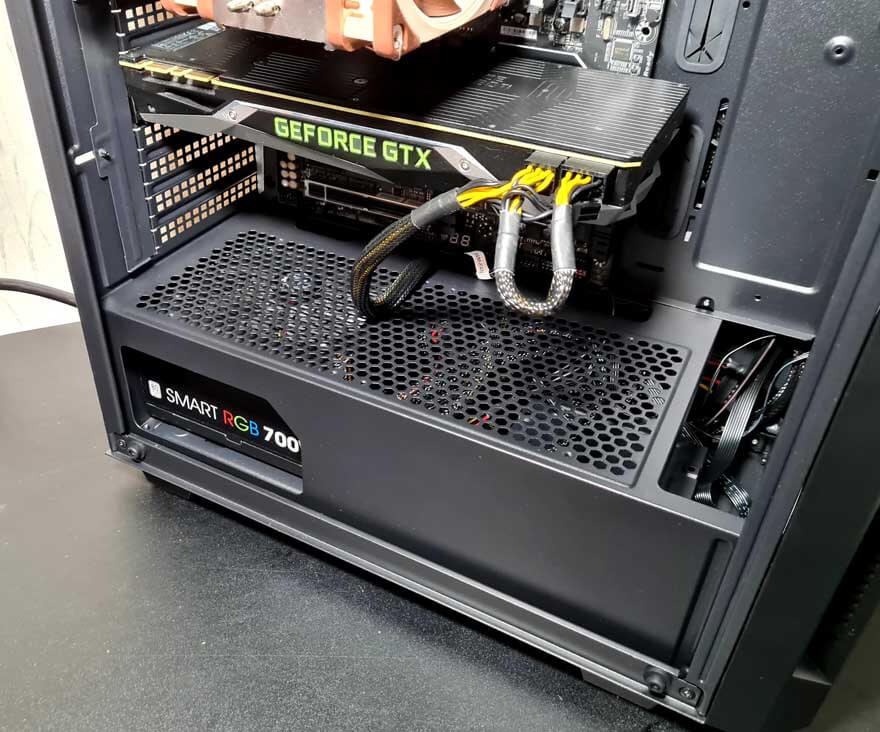
The airflow design of that shroud does mean that excess cables are a bit visible here. However, I am shining a spotlight on it, and under normal case lighting conditions, it’s unlikely you’ll see anything down there. On the plus side, the length and width of the case are plentiful, with the GTX 1080 Ti having room to spare, and even the new 3000 series cards should fit easily enough.
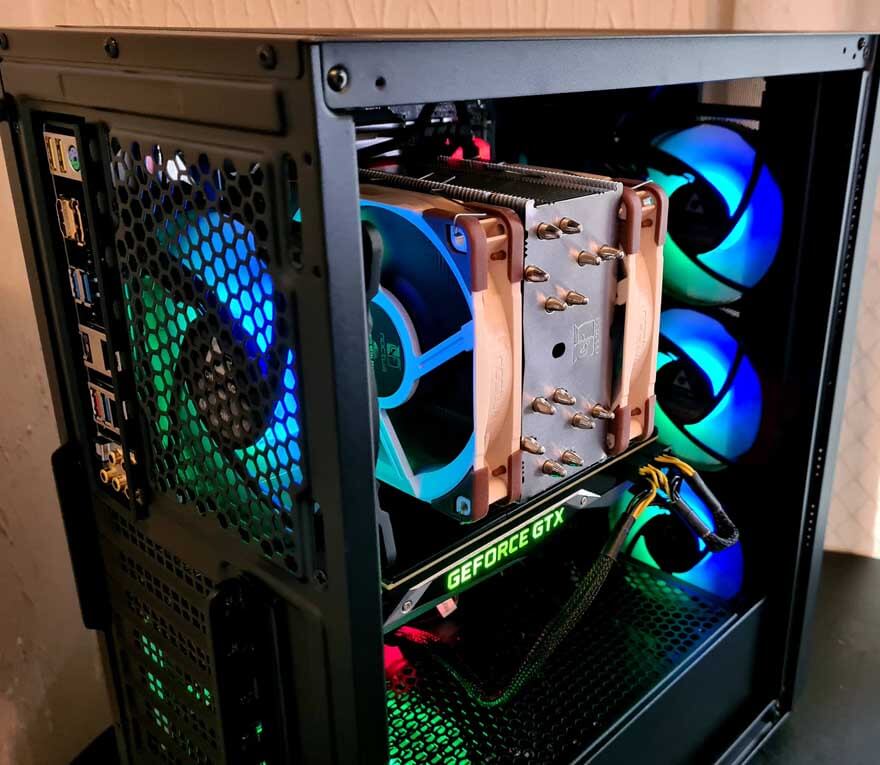
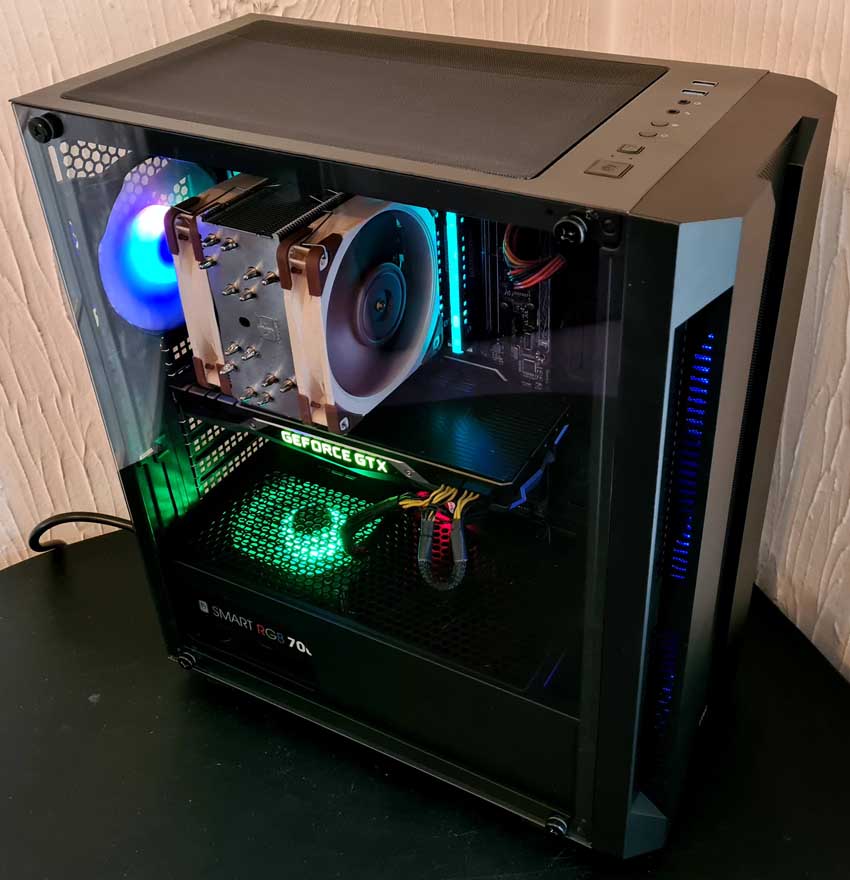
CPU cooler clearance is great too, with our large Noctua cooler fitting with ease. While the case can support an AIO cooler in the front, top or rear, I don’t think it’s really the market for this case. It’s got awesome airflow thanks to its four 120mm ARGB fans, and I’d be more than happy to keep them installed.

Of course, they don’t just provide airflow, as they also offer up plenty of awesome lighting effects too. They can be paired using AURA Sync to your motherboard, or just controlled from the buttons on the front panel, so don’t worry if you don’t have a compatible system.
They’re not the brightest fans in the world, but honestly, I like that. A lot of RGB can be a bit in your face, and that’s great too if that’s what you want. However, for my room, which is where I game at night, it can be distracting. These fans do a great job of lighting up the PC case, but not the rest of my room, which is fine with me.

The colours are really good though, with some vibrant hues and some very nice transition effects.

Of course, because they’re all pre-installed and wired to that hub, they’re all perfectly in sync right out of the box. It really simplifies the process. Anyone who’s ever fitted a hub and four ARGB fans from an after-market kit will tell you, it’s a real pain in the ass to do.
Overall though, clean cable routing options, awesome airflow, and plenty of RGB. Now let’s get the glass put back on!
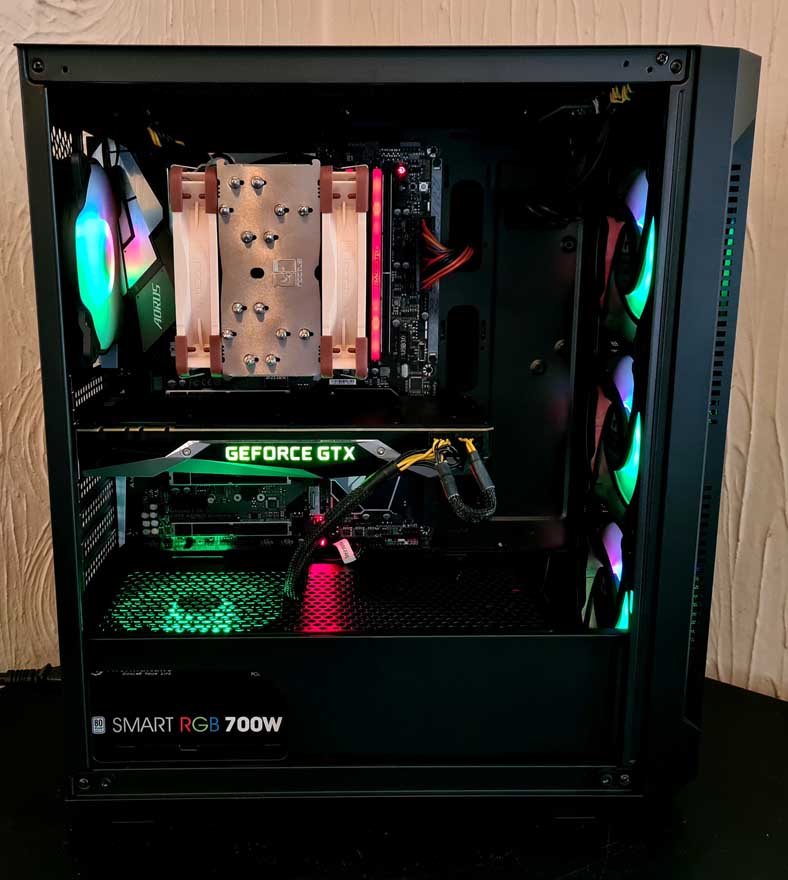
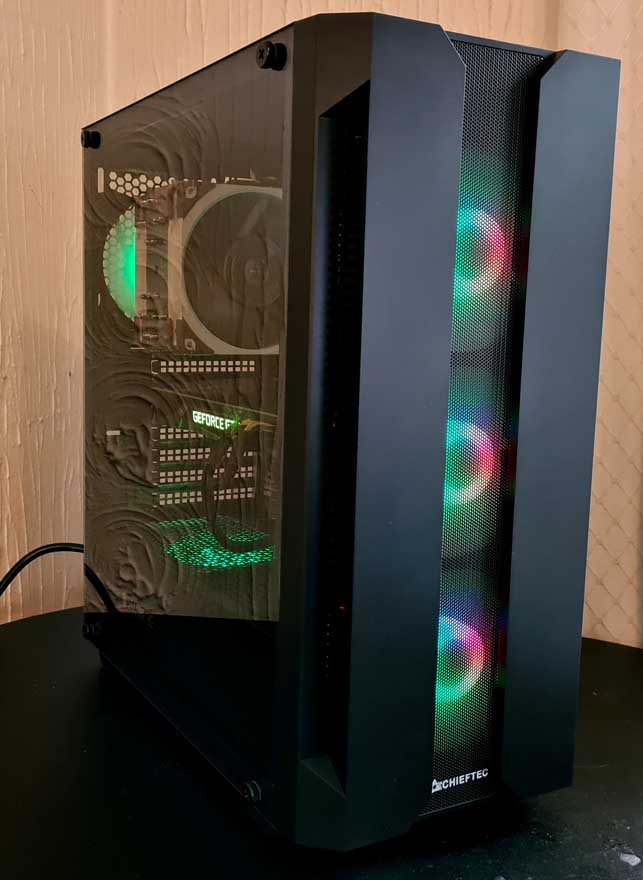
The crystal clear glass looks awesome with the lights on. Plus the RGB on my PSU, my RAM and the GPU, etc, all shows off really well.
I like that the front fans are a little obscured, and the mesh mutes the light a little further. As I said before, I want to light up the PC case, not make my room into a disco. Trust me, I have enough RGB light bulbs installed to do that in other ways. It’s just enough to make the case look cool, and that’s the perfect amount.
As I said though, just tap the button on top and you can cycle through a wide range of effects and colours.
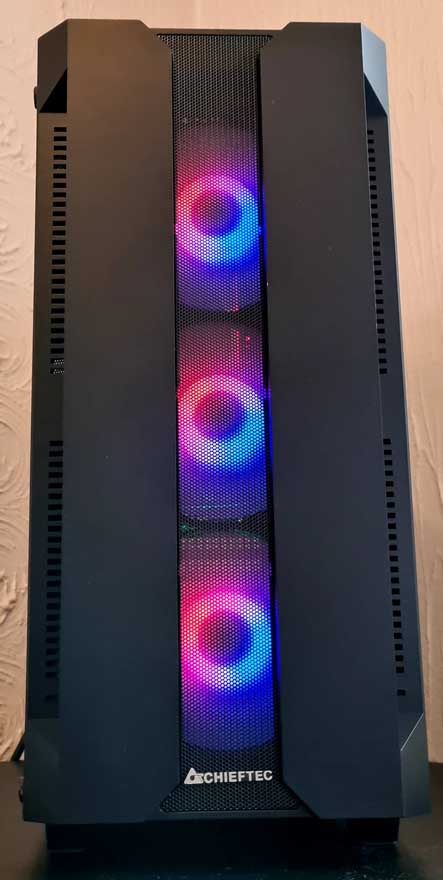
Personally, I think the static red looks the best, but my kids preferred the strobe light rainbow effect… but what do they know!


