Cooler Master Maker 5 Chassis Review
Peter Donnell / 8 years ago
Interior
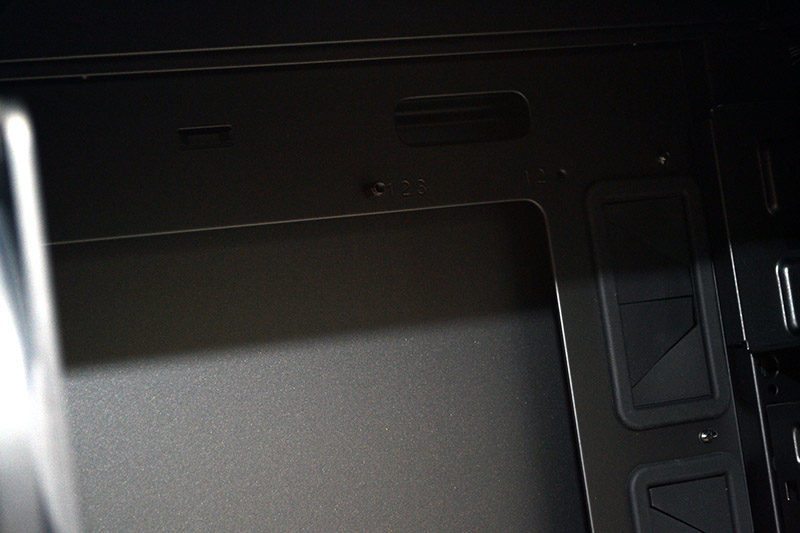
With the side panel removed, we can see there is plenty going on within this chassis. First of all, there is a super-wide CPU cooler mounting cut-out, which is certainly going to help with the installation process.

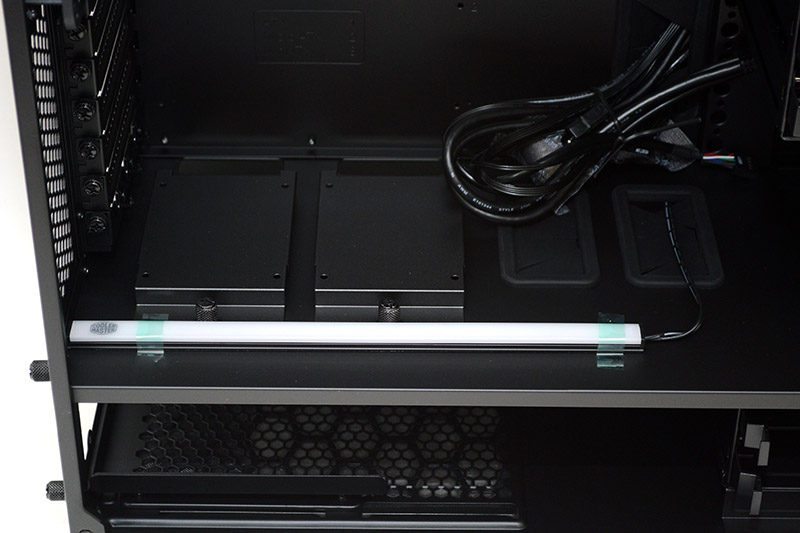
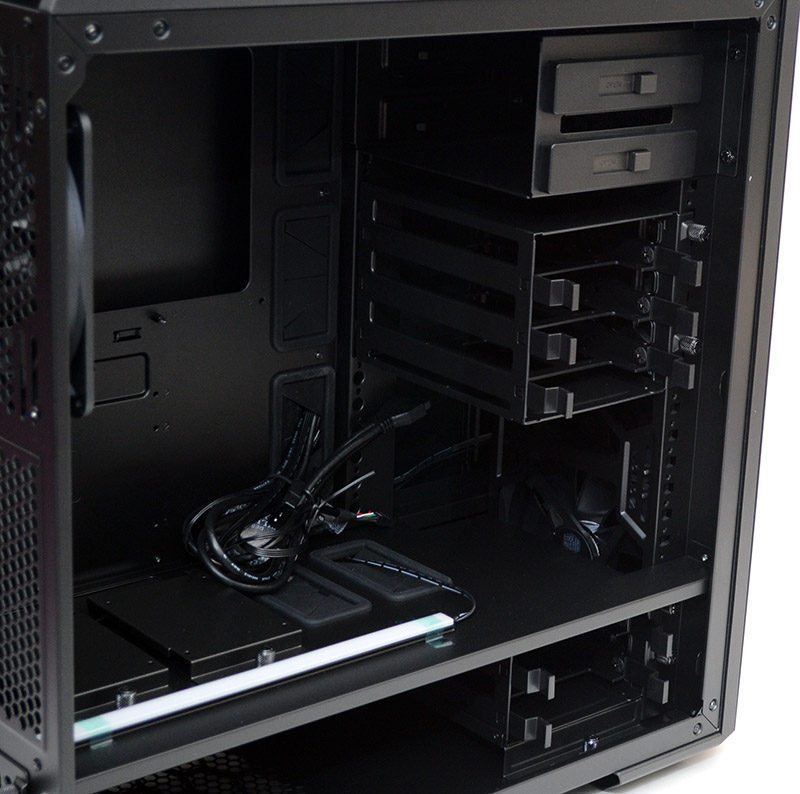
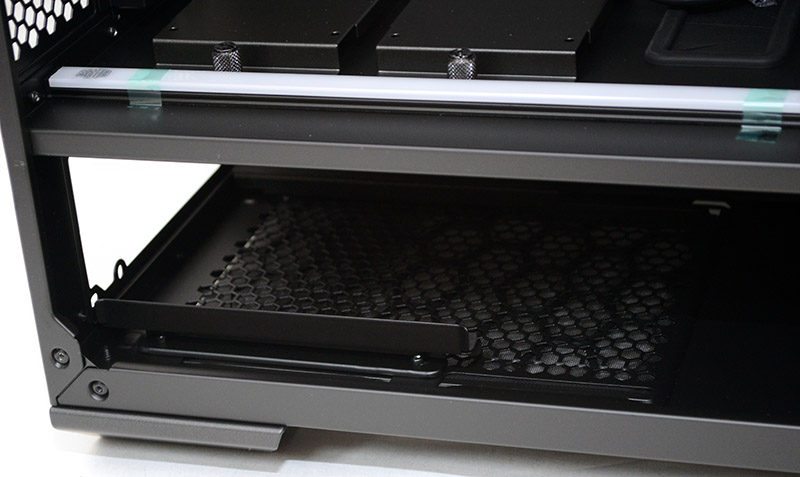
Two dedicated 2.5″ mounts in the base, with quick-release metal covers, as well as an LED magnetic strip that can be easily moved around the chassis thanks to its magnetic design.
Two large cable routing grommets in the base for passing cables up from the PSU to your expansion cards and motherboard.
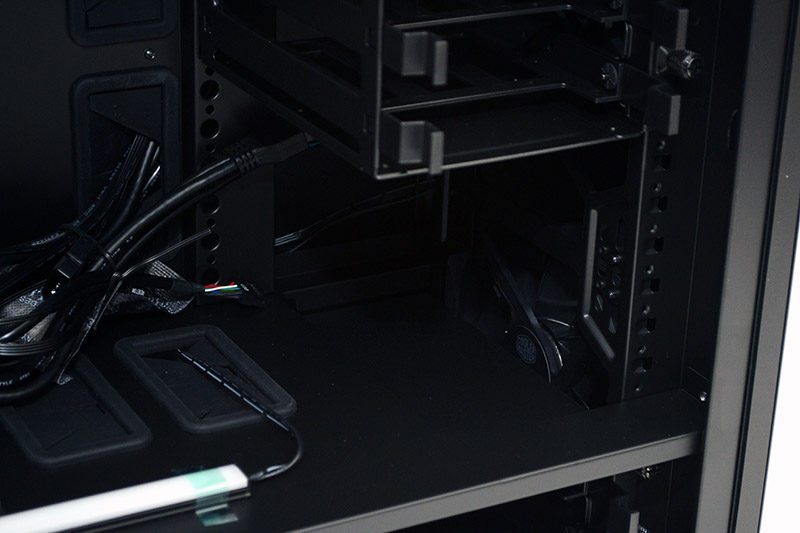
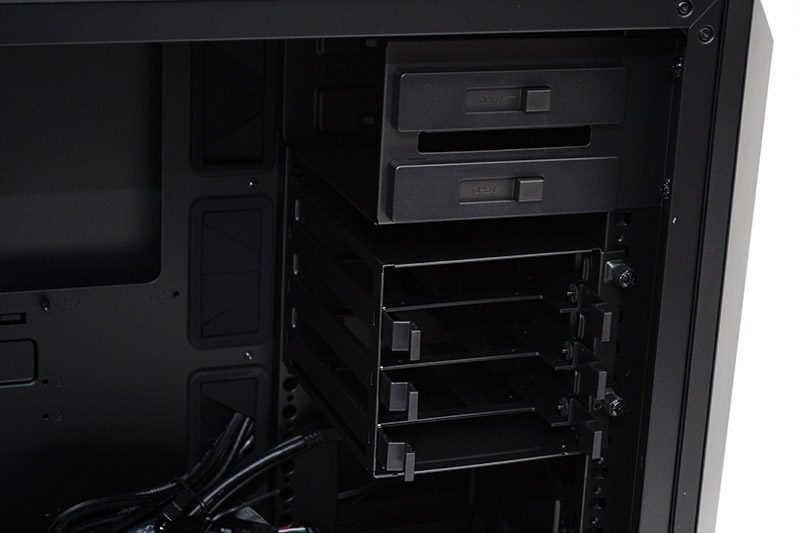
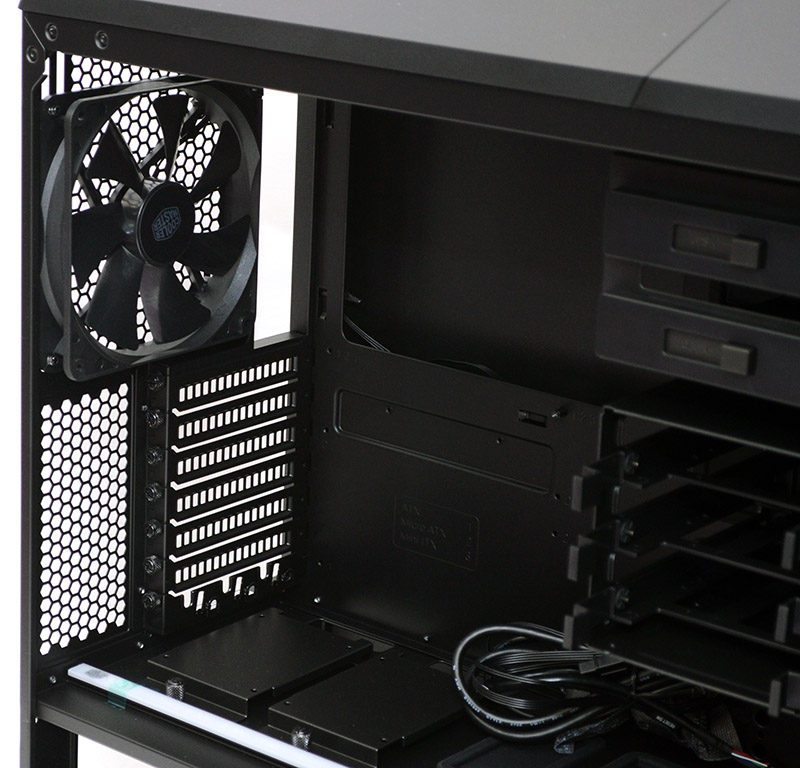
A fully removable set of 5.25″ bays, as well as removable/height adjustable 3.5″/2.5″ hard drive trays, as well as three large cable routing grommets to the right edge of the motherboard area.
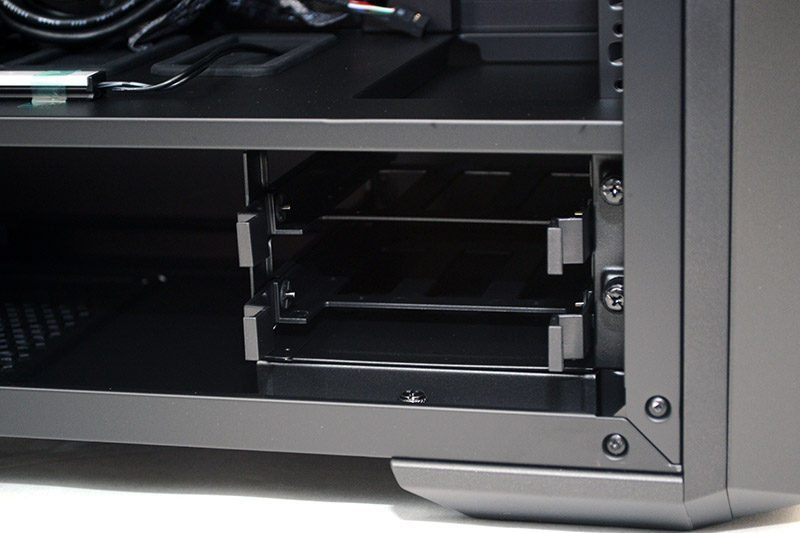
Two move removable drive bays hiding below the PSU area cover.
It’s worth pointing out that you can take the hard drive bays out using the two thumb screws on each and put the drive bays at any height thanks to the stepped mounting holes, as they’re completely modular in design and you can even buy more bays to add to the available space in the front of the chassis.

Remove all the bays here and in the base of the chassis, and you’ll free up the full height of the chassis, giving you room for a sizable water cooling radiator.
The PSU mounting area, with two durable mounting rails, dust filter, and plentiful cable storage space.
Some smaller cable routing holes are hidden at the top, handy for your motherboard and fan cables.
Lots of room in the back for a good size 120/140mm radiator, although the stock 140mm fan is of a good quality and I suspect many people will be happy to leave it there.
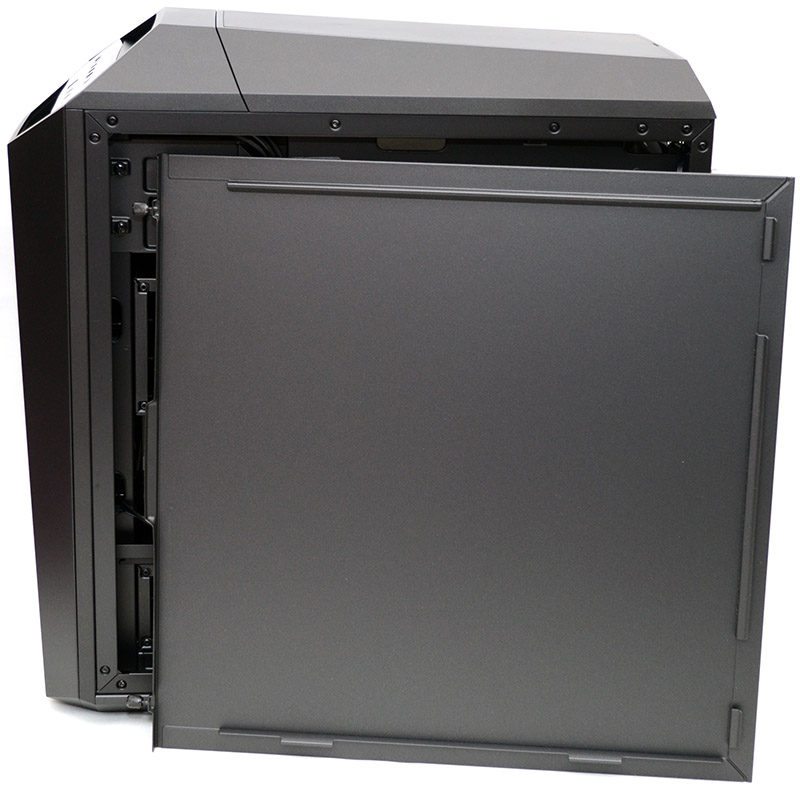
Around the back, we can see that the right side panel is a thick steel panel with no flex to it.
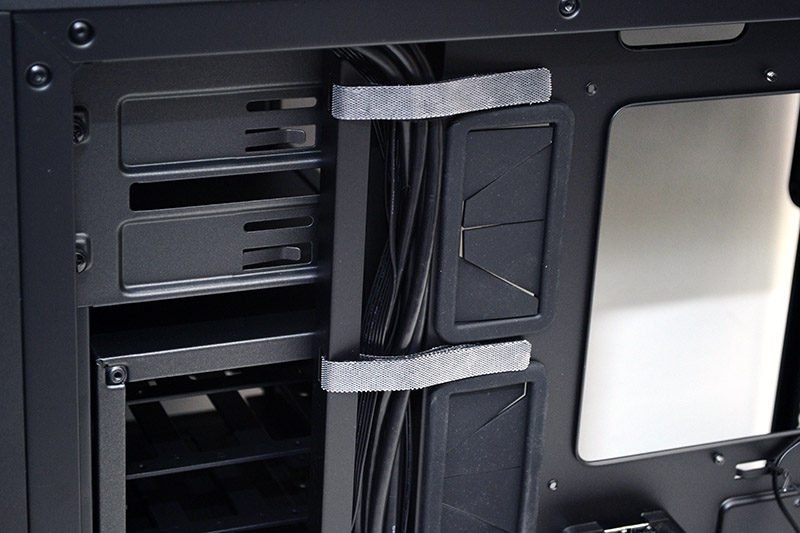
There’s a lot going on here, but everything is incredibly neat and tidy. There’s a good amount of cable routing space behind the motherboard, but even more so behind the PSU as there’s a huge hidden section for cramming excess cables out of the way.
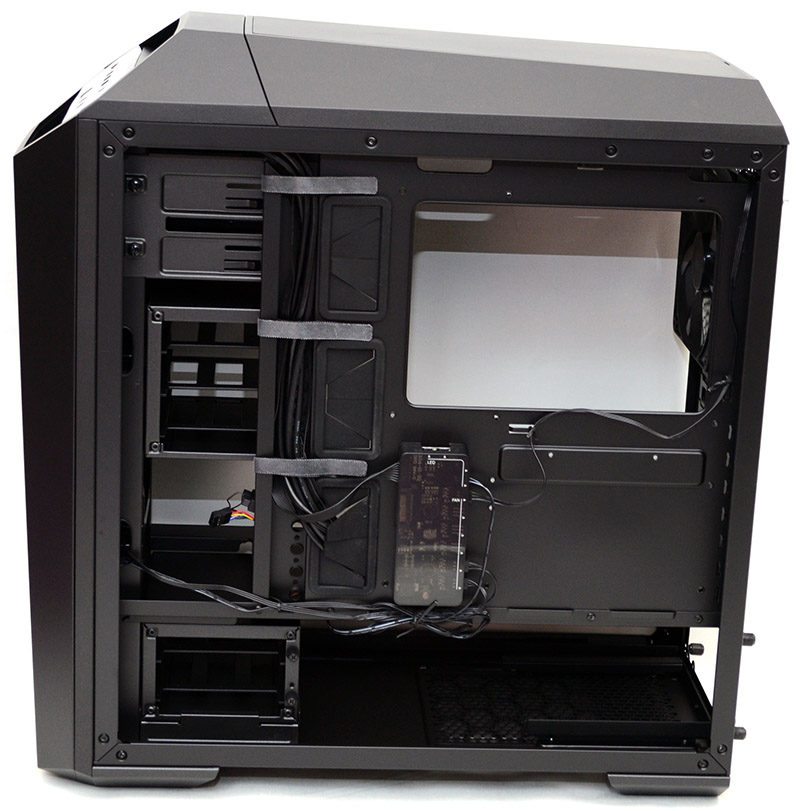
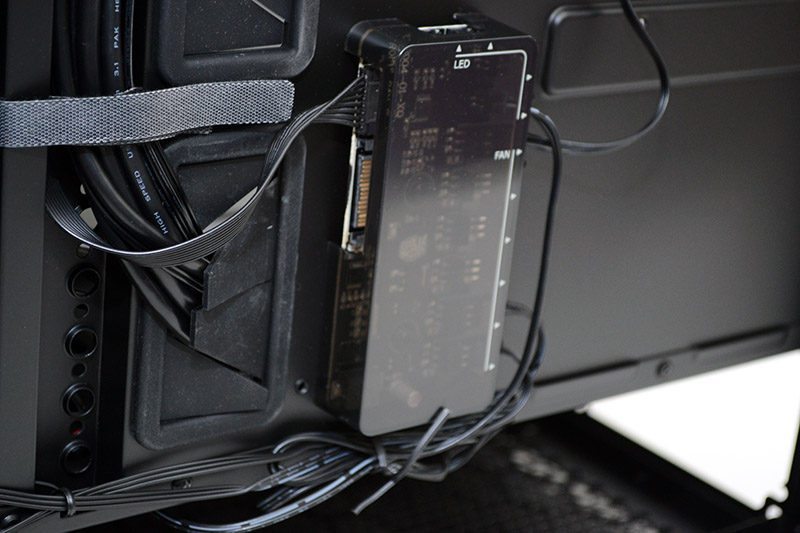
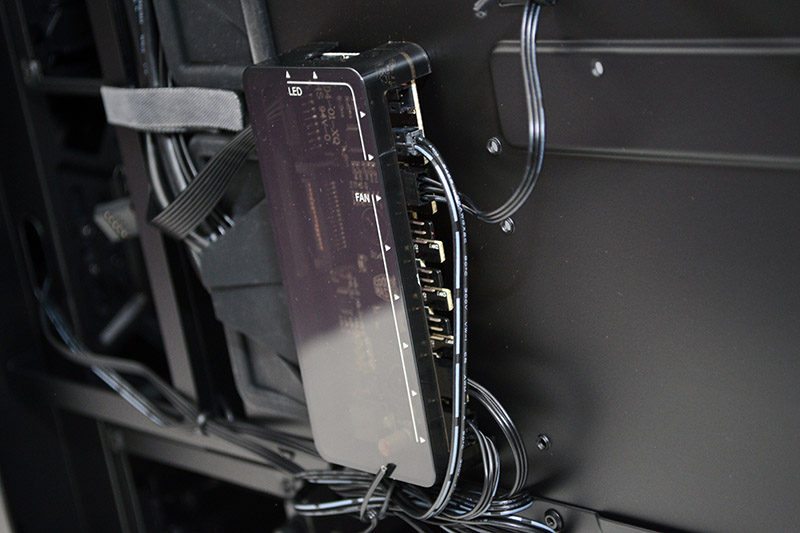
There are a lot of pre-installed cables, but they’re all neatly routed through a dedicated channel and locked down with Velcro straps.
Here you’ll find a comprehensive fan hub, with all pre-installed fans already hooked up, and two extra channels for two-pin LED lighting hardware.