Cooler Master MasterBox K500 PC Case Review
Peter Donnell / 5 years ago
Complete System
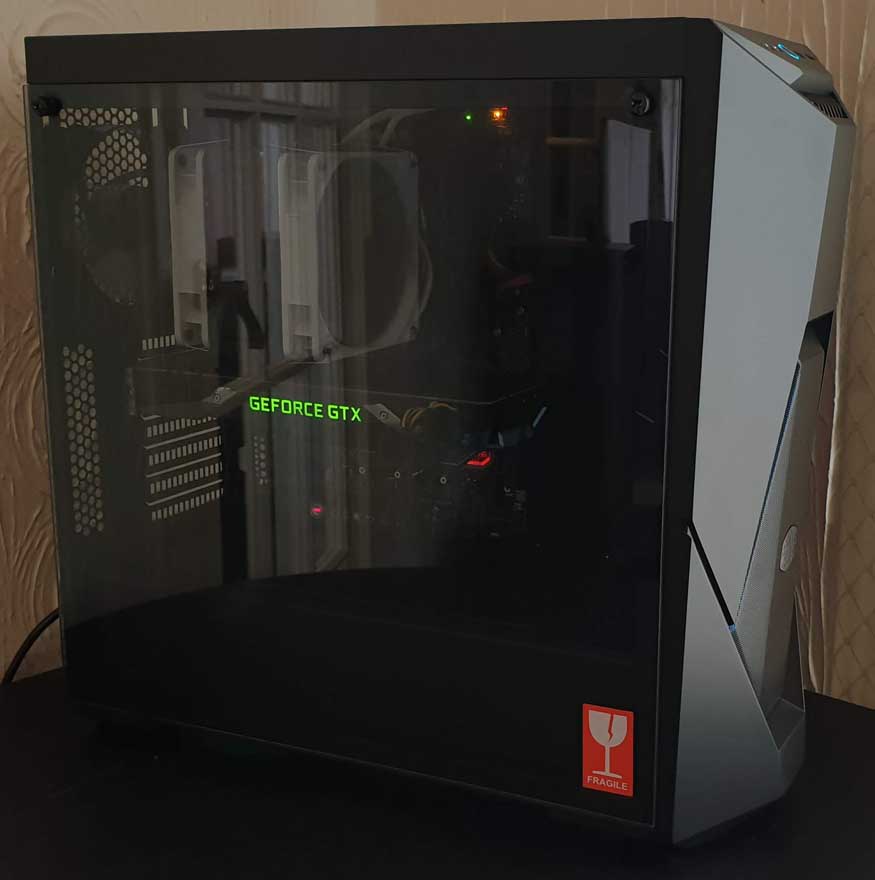
The K500 is a really well-designed chassis, and I think that’s clear enough to see in the final build below. The cable routing holes are well placed and of a good size too. OK, there are no grommets on them, and there could be more of them, but the cable routing hardly looks bad, does it!
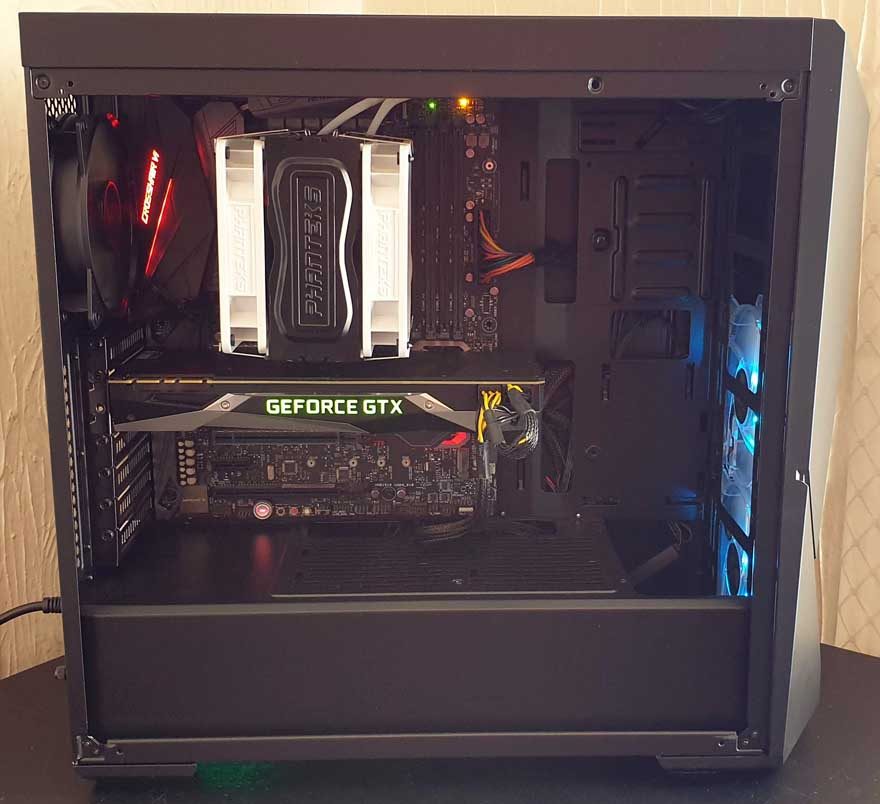
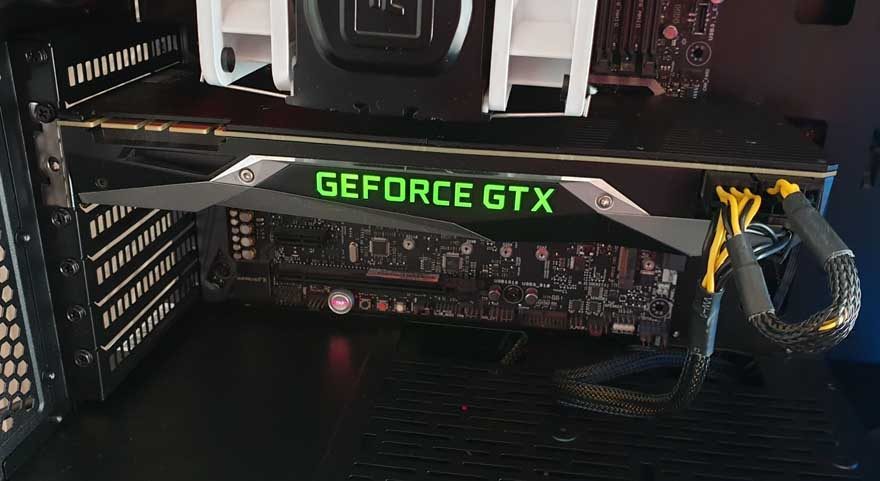
If I could add one more hole here, it would be a vertical pass-through for the PSU to GPU cables on the window side of the PSU shroud. Of course, that’s hardly a deal breaker, as it looks OK as it is. There’s more than enough room here for our 1080 Ti too, and I can’t think of a single GPU that wouldn’t fit in here.
Cooler
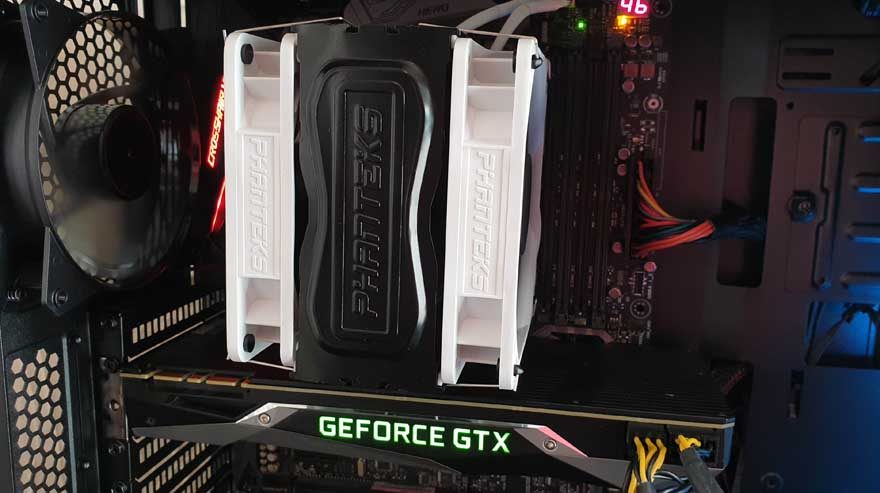
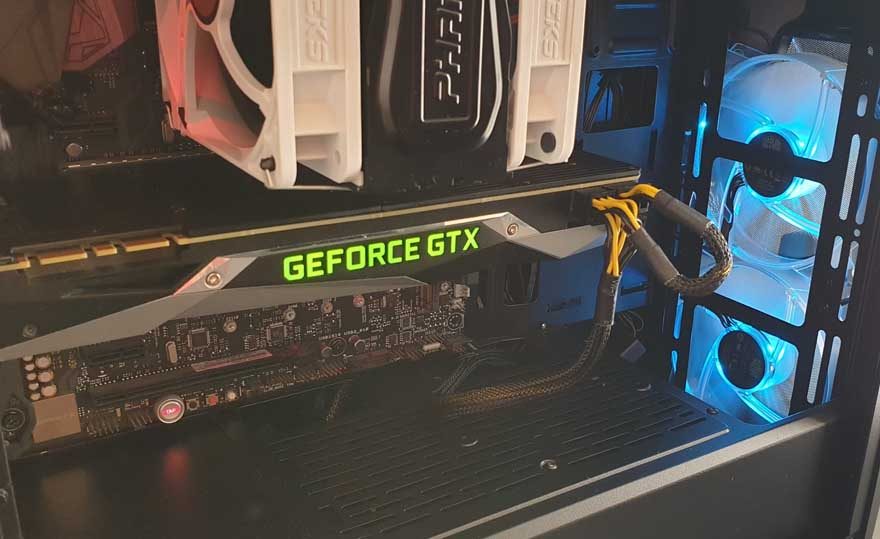
The stock airflow from those two front panel fans is impressive, and with the rear 120mm fan, airflow is well thought out here. There’s a good amount of room for a large CPU cooler too, and our Phanteks fit with ease. There’s still a reasonable amount of space above it too, should you want top mounted fans.
RGB
The airflow is great, the design is great, but what about the most important aspect? The RGB lighting! (I don’t really think that’s the most important thing ha).
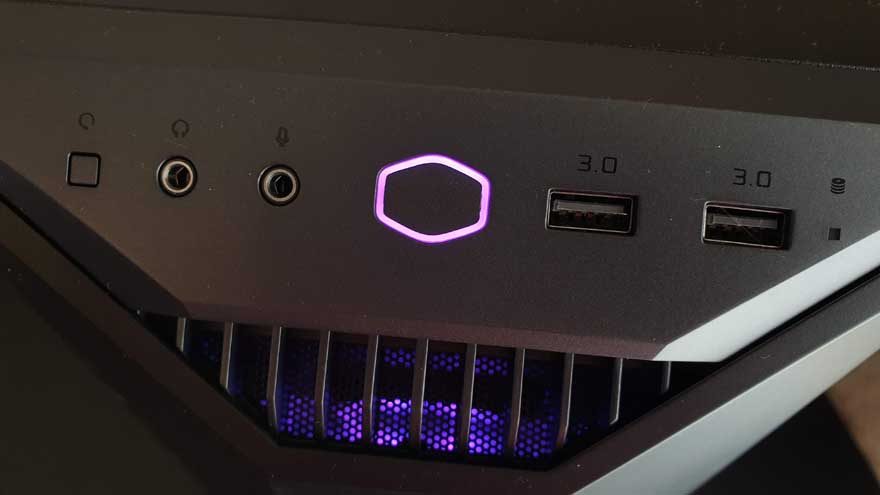
Using the included RGB controller that cable with the chassis, it was easy to get all those lovely lights lit up. The colours are fantastic. Although, as you can see in this video, Cooler Master RGB fans are some of the best.
Tempered Glass
The window looks fantastic, and the black interior of the chassis does a great job of masking the boring bits. You can’t really see the cables and fittings. However, any brightly coloured hardware, LED lights, etc, all shine through easily enough.
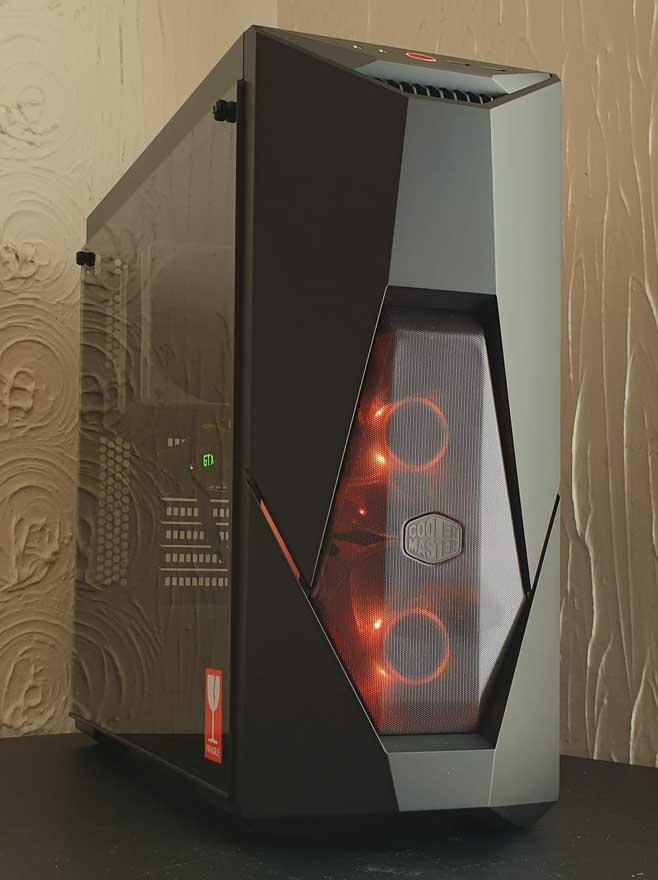
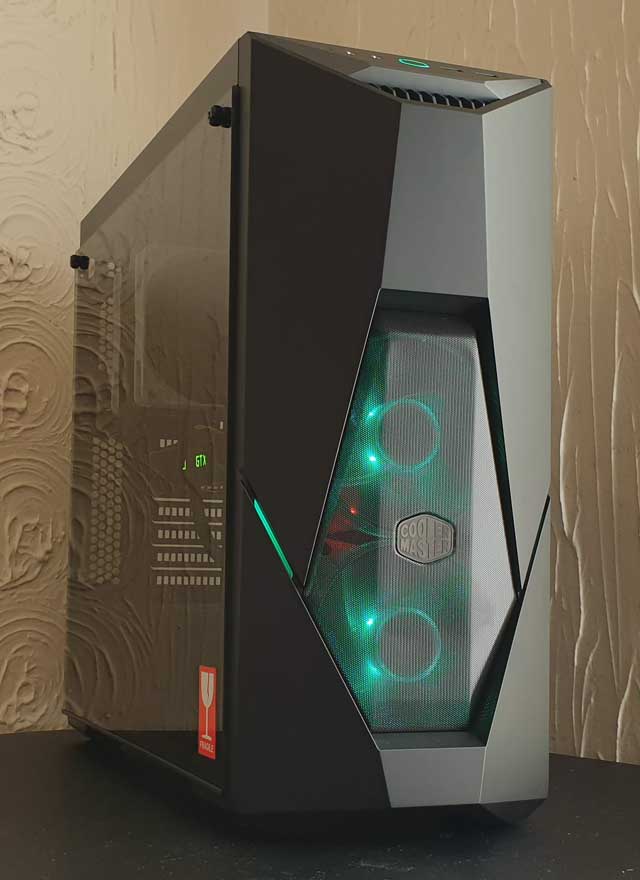
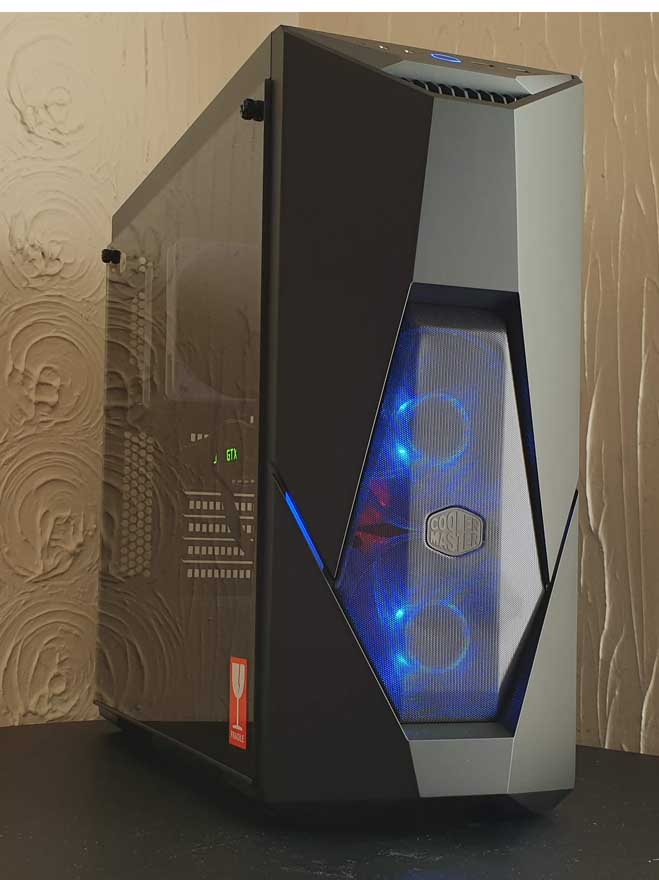
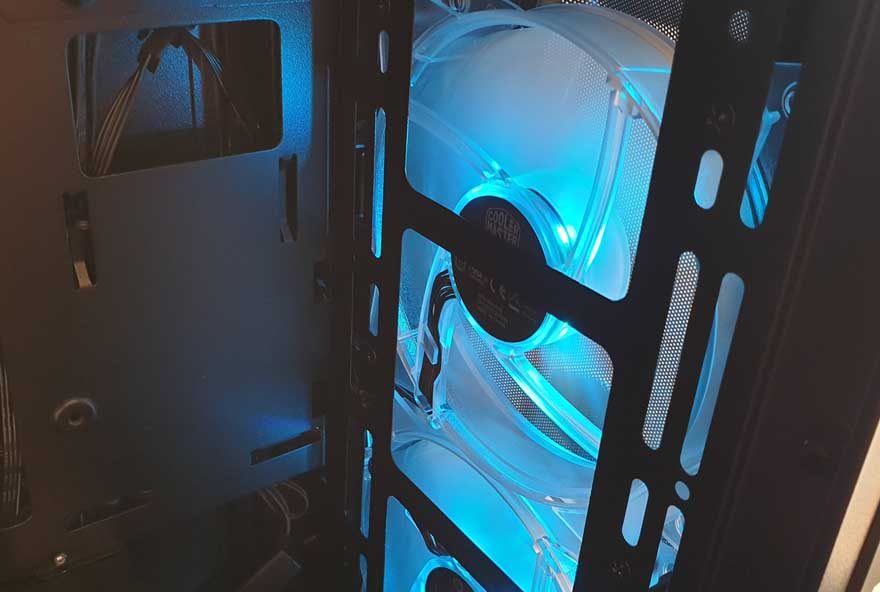
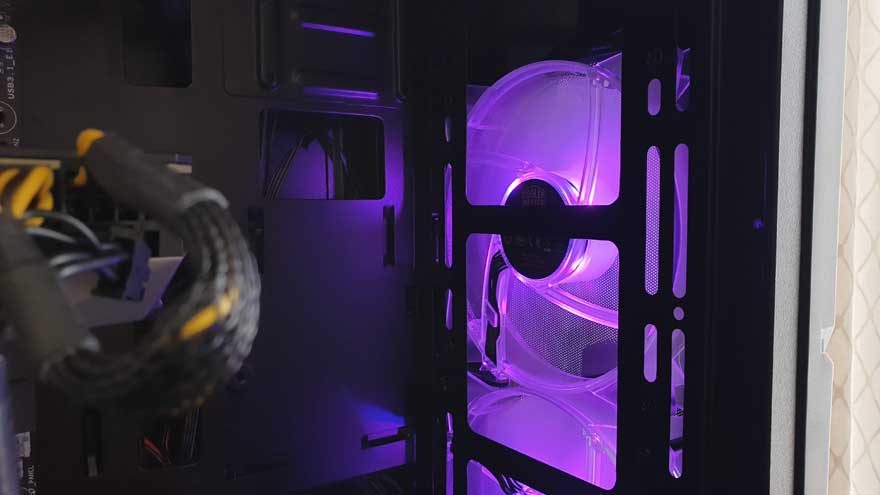
MOAR RGBEEE!
Just look at that glorious front panel design! The fans light up the interior nicely enough, and the front panel looks great with the lights off. Turn it all on though, and it looks even better. There are four RGB zones here; the two fans, the LED light bars next to the fans, and even the power button! As I said, there are five RGB headers on that cable, giving you one spare to break-off and add something else.
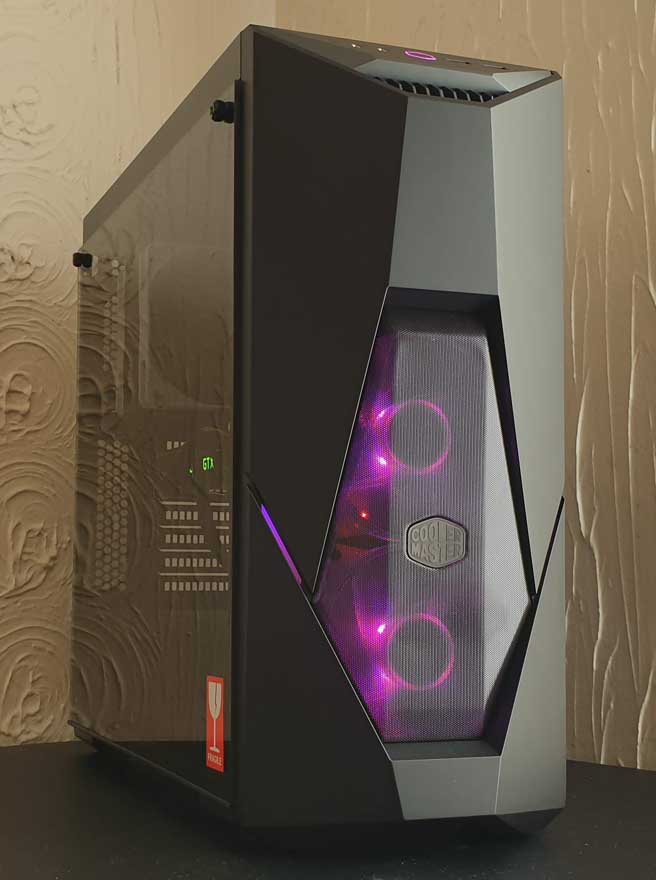
As usual, a picture speaks a thousand words. I cycled through a few of the colours, fade and transition effects. Enjoy the pictures below!