CoolerMaster 690 II Advanced Review
Andy Ruffell / 13 years ago
Interior
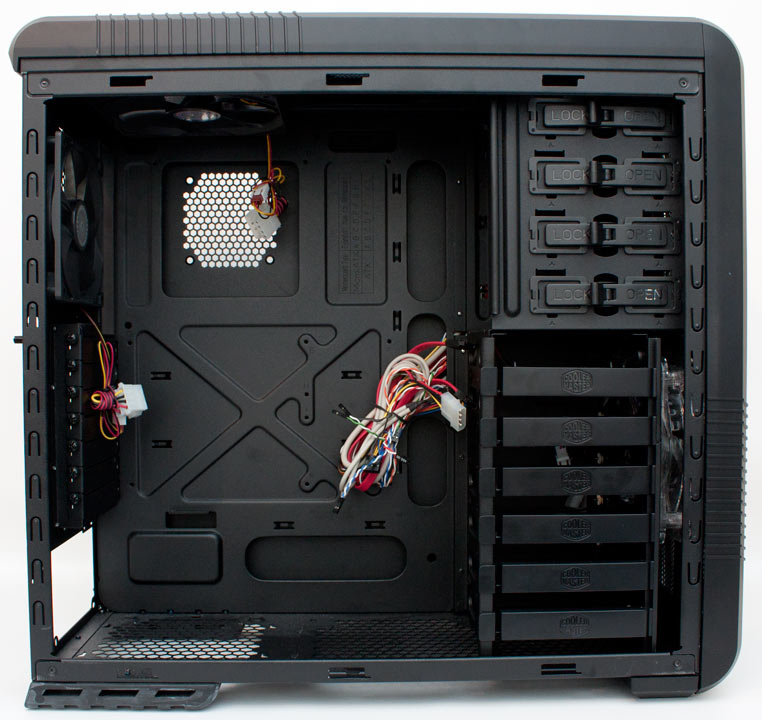
The inside of this particular case follows the same colour scheme as the exterior which is fantastic, as there are so many maunfacturer’s today, making stylish cases with bland, boring, unpainted insides which personally lets the product down as a whole. This case is different though, as you can see it is painted black inside and has plenty of cable management holes. If you’re lucky, you might get to see our effort at building a tidy machine for our temperature testing.
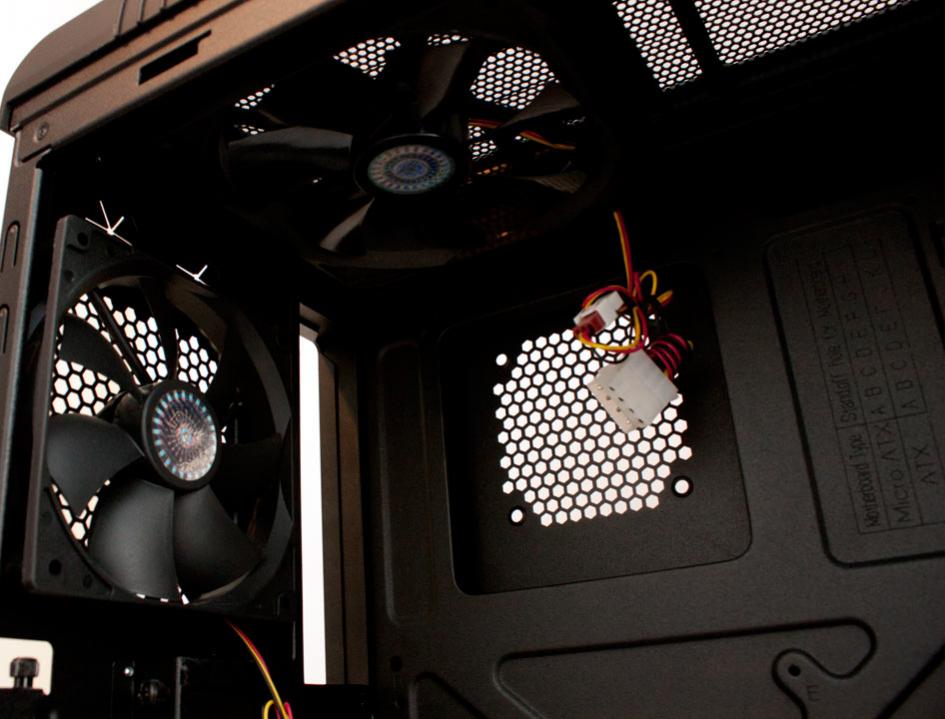
Looking inside the case and taking a gander at what comes included fan wise, we can see there is enough space for 2 fans at a maximum 140mm. The case does come pre-supplied with 1 x 140mm x 25mm fan which operates at 1200RPM at 19 dBA.
As we spoke about earlier in the review, there is a 120mm fan at the rear of the case, ready to exhaust any heat rising to the top corner. You guessed the specs of it, it’s another 1200RPM fan, but this time running at a quieter 17dBA.
The other pre-supplied fan is the front 140mm Blue LED fan which we touched on lightly earlier. This runs at 1200RPM again, and due to its size, is 19dBA just like the top fan that comes supplied.
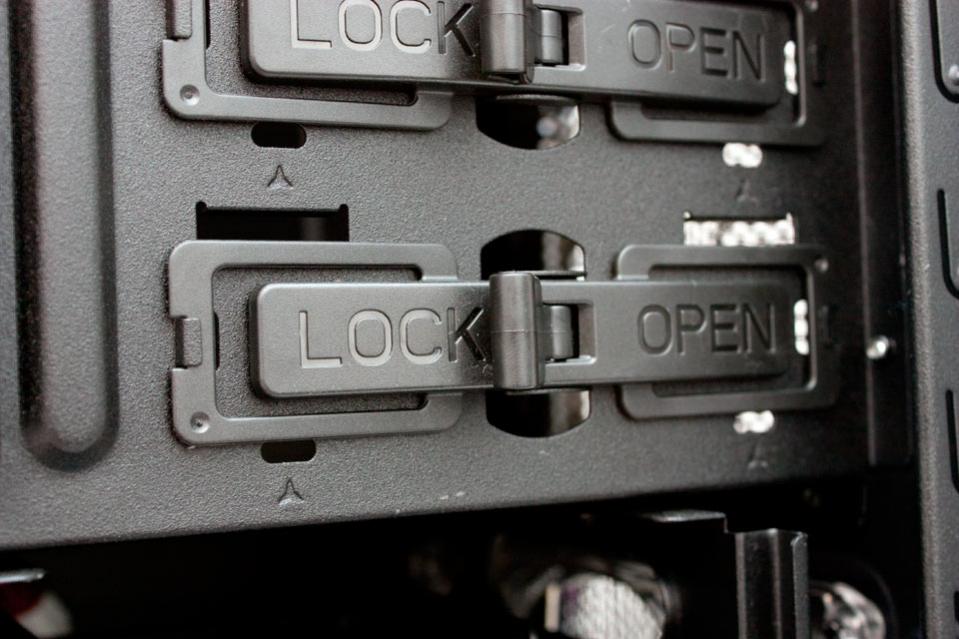
Looking around the rest of the case, you can see that its made to look extremely simple due to its tool-less design. To install a cd drive for instance, is a simple tool-less design.
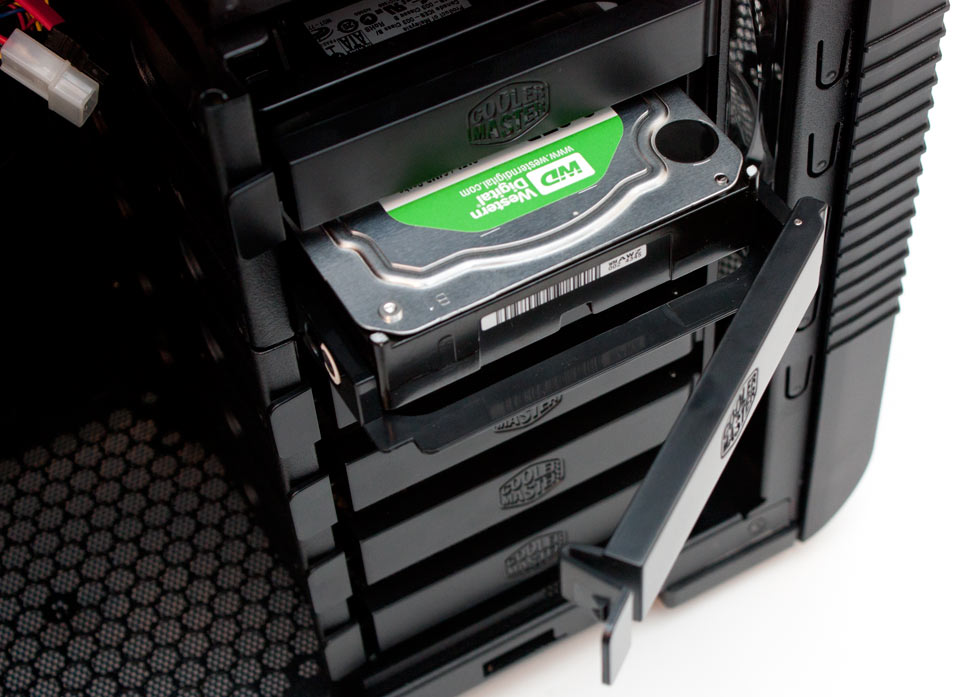
Installing a hard drive is a simple task again, with removeable drive bays for fitting 2.5″ SSD’s and 3.5″ drives doesn’t have to be a daunting task. Simple slide the drive bay out, place your drive in and slot it back in, though you will need to take the other side panel off to get to the drives connectors.
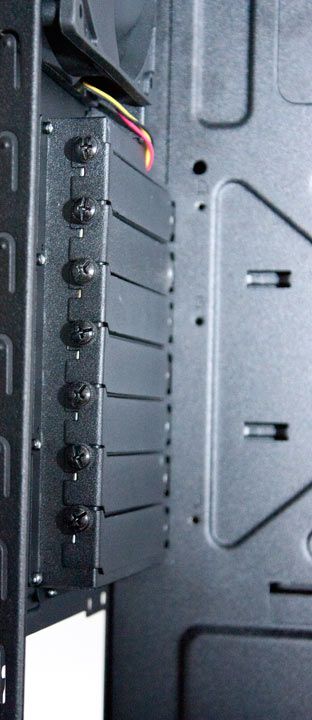
With games getting more and more popular, consumers are upgrading their computer components more than ever, especially when it comes to graphics cards. You can even see people updating more and more frequently now to stay ahead of the game. Due to this, they want to be able to upgrade their components as quickly as possible, and with ease. Luckily this case has thumbscrews for taking out PCI expansion slots for yet more simple operations.
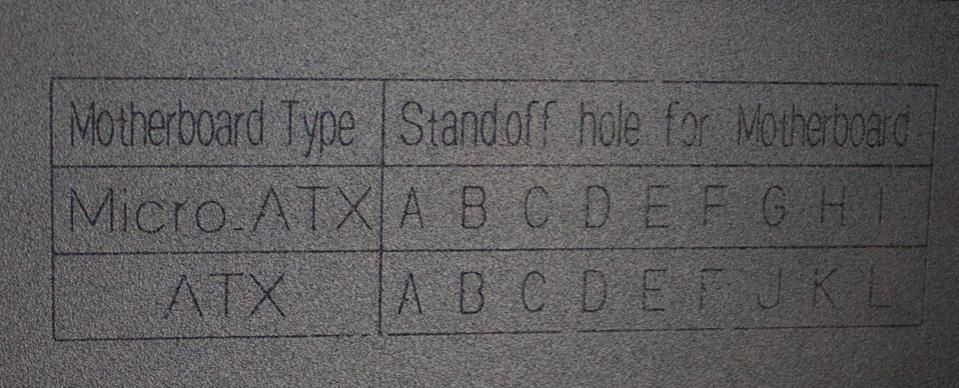
There is one feature of this case that i’ve never seen before, or maybe i just never noticed but when you look at installing your system into this case, you will want to know exactly where to place your motherboard stand-offs. To make your life easier, on the motherboard tray it lists exactly where to put the stand-offs if you are using Micro ATX or full-size ATX.
