Corsair 570X Tempered Glass RGB Mid-Tower Chassis Review
Peter Donnell / 7 years ago
Complete System
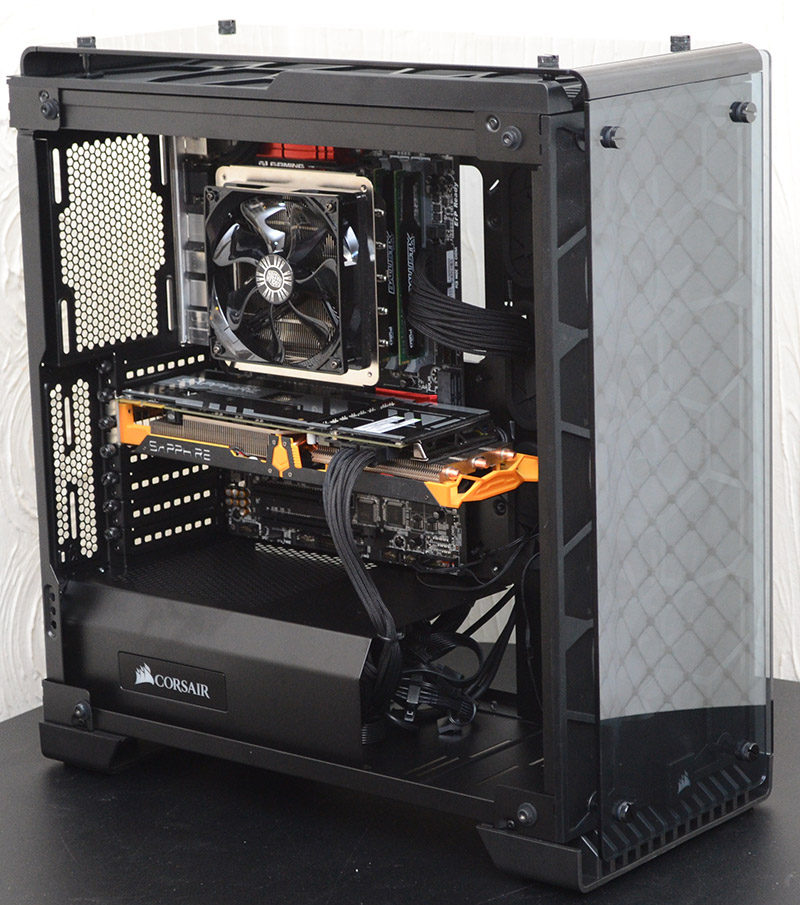
Corsair warned me when they shipped this chassis to me that I was going to have to pull out all the stops to get the cable management right on this build, and they weren’t wrong, it wasn’t easy, but as you’ll see in a minute, it’s worth the extra effort.
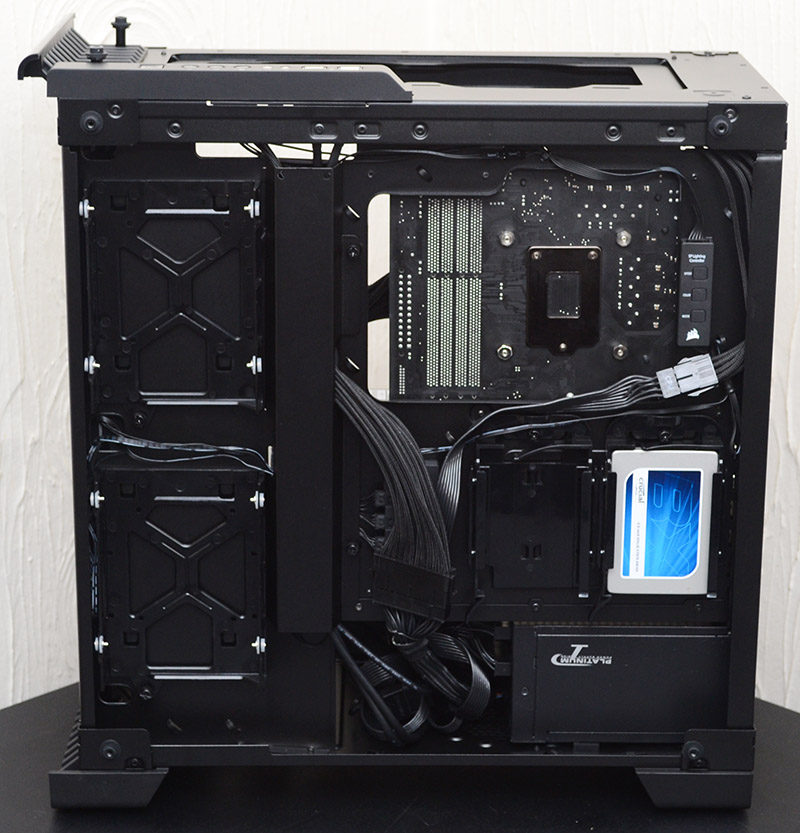
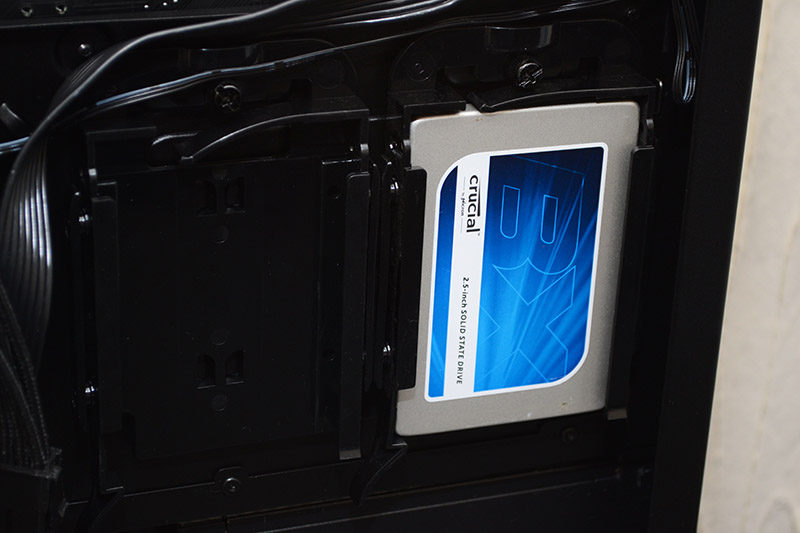
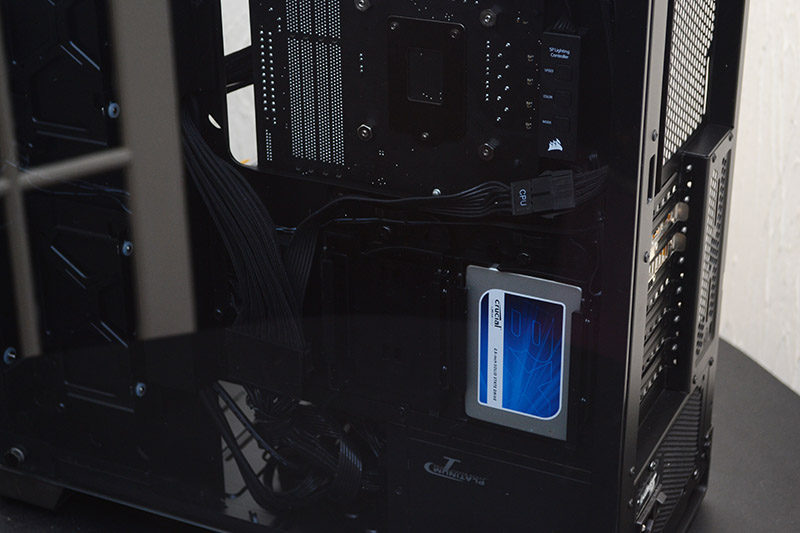
First up, we’ve got a 2.5″ drive fitted in the rear SSD mount, nice and easy and it’ll look great on show there through the right side glass panel.
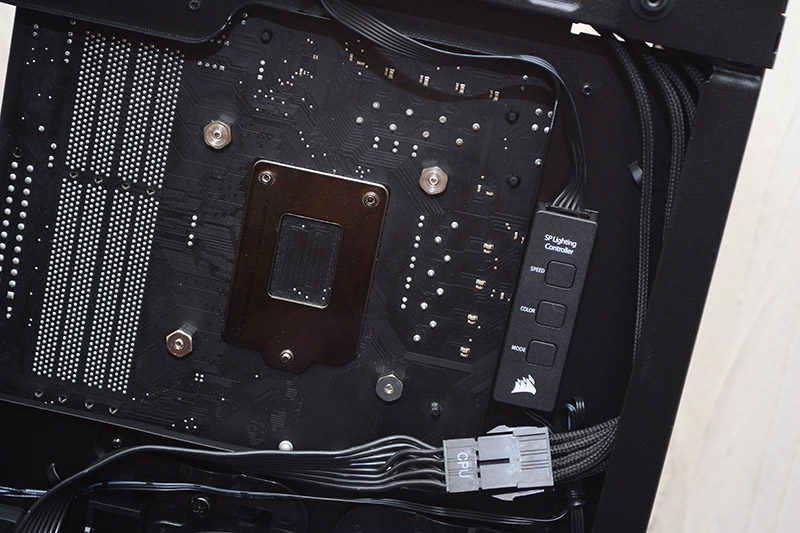
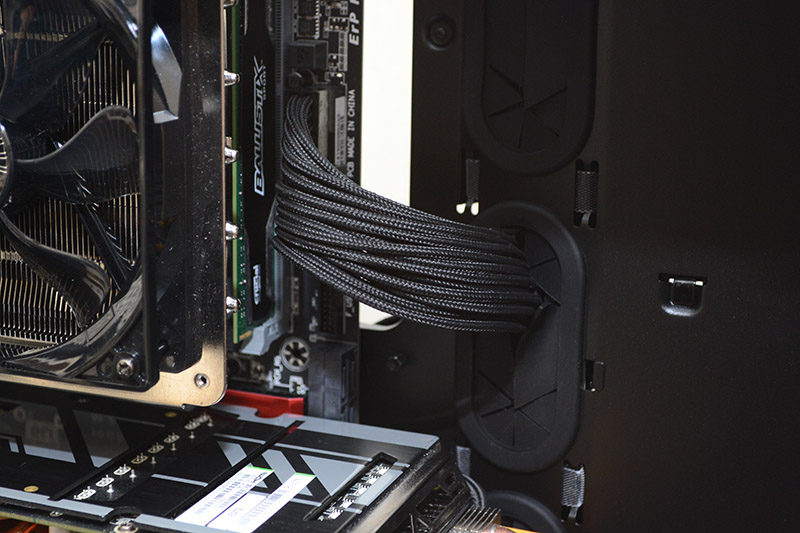
There are cable tie loops everywhere, which is great, as it means you can easily route cables where you need them. I should note that while we have used cable extensions, they’re more for aesthetics on the motherboard side than anything, not because cables wouldn’t reach.
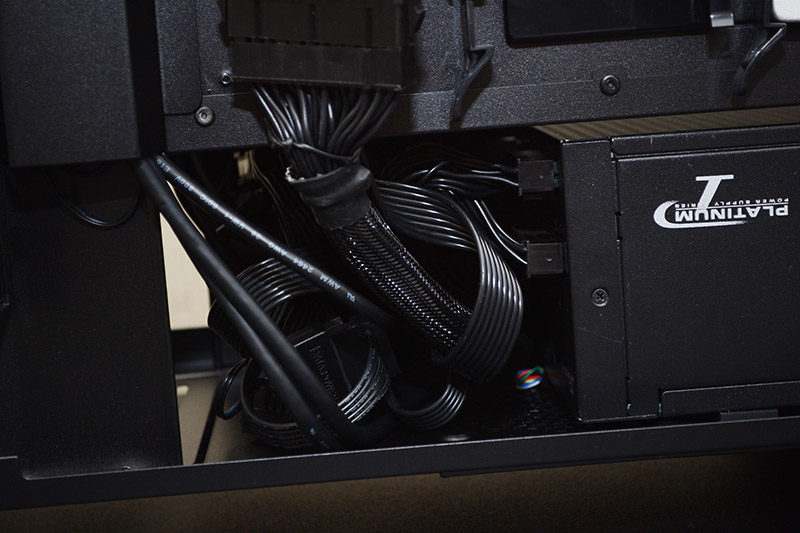
The short design of the PSU shroud meant that there wasn’t a lot of space for excess cables to be stored. A few tricky cable ties and a bit of “cramming” later, and I managed.
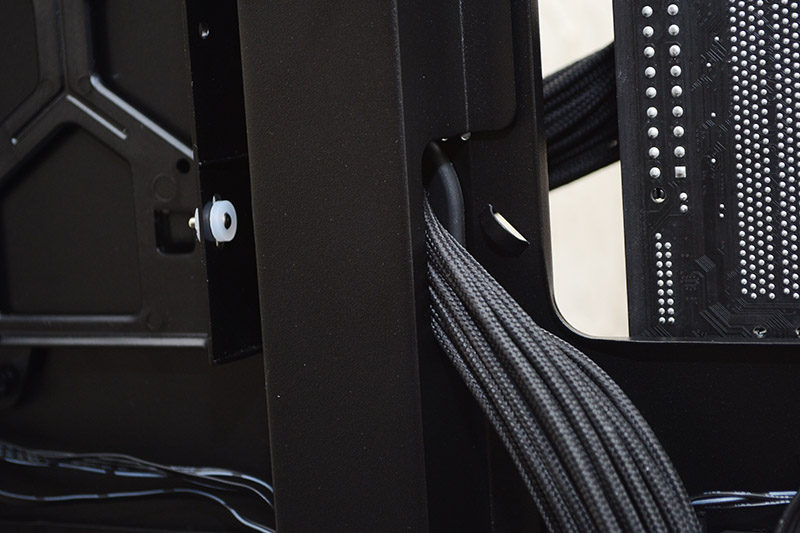
The metal shroud for hiding cables is fantastic if a little small, but some extra holes in the middle make it easier to route cables to other sections of the chassis.
The hard work of routing cables carefully has really paid off, and the build does look rather clean. Remember, it’s both sides of the motherboard tray you’ll want tidy cable routing, as both sides have glass panels.
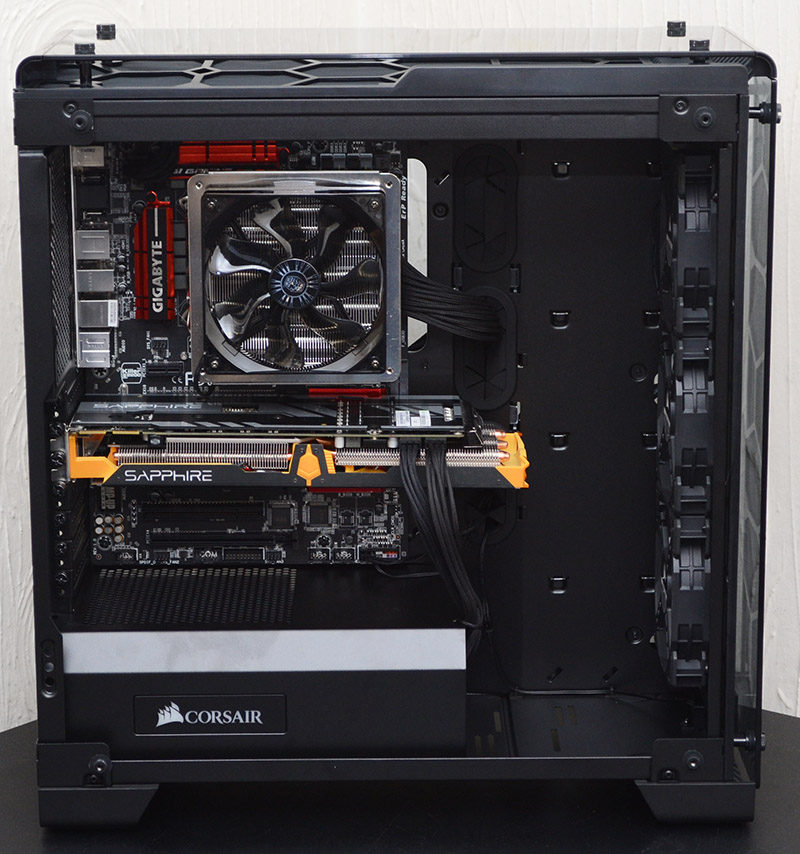
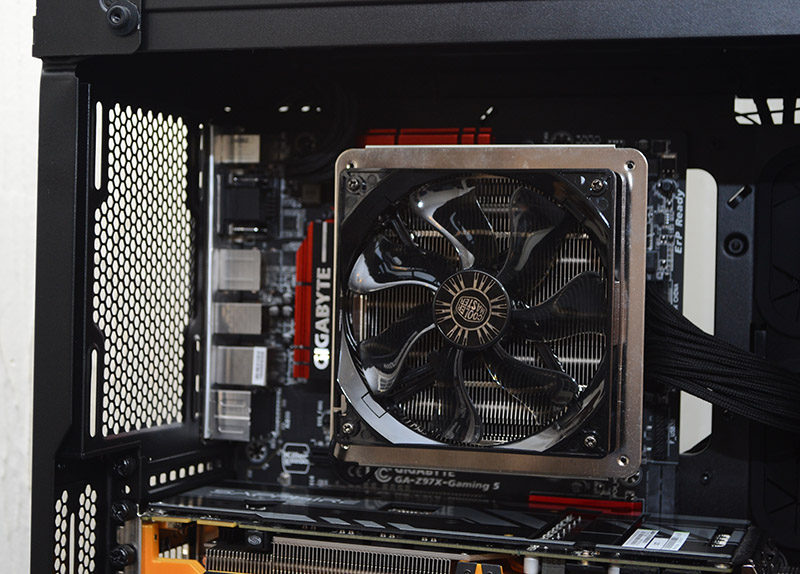
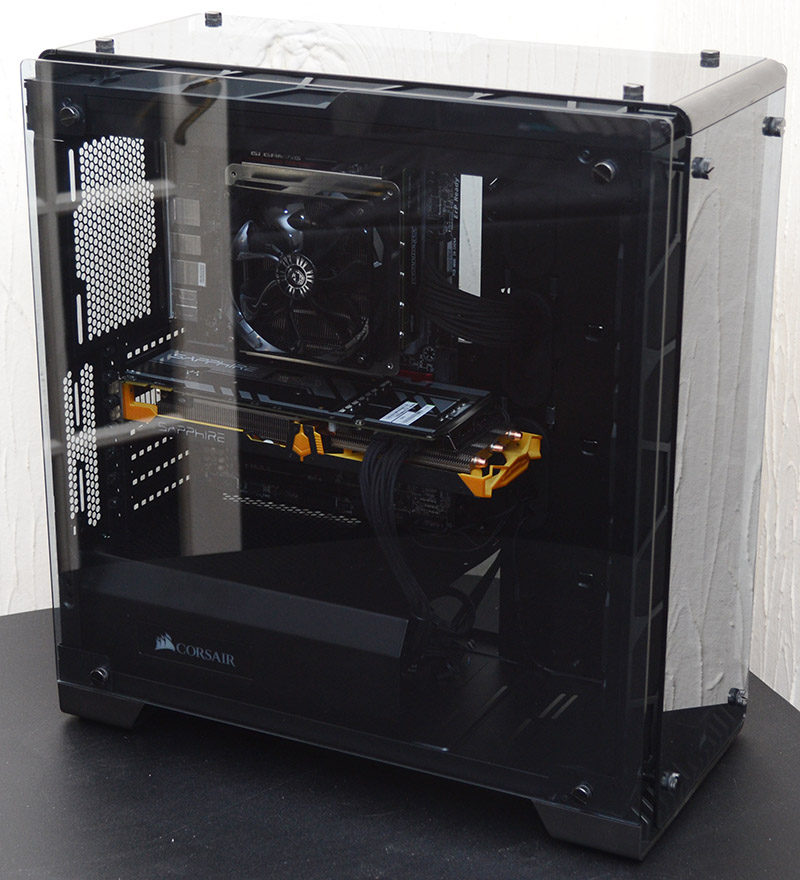
There’s a huge amount of space for a large CPU cooler here, so even the biggest air coolers on the market should fit with ease, or even a radiator/AIO on that rear fan mount, as well as in the top of the chassis.
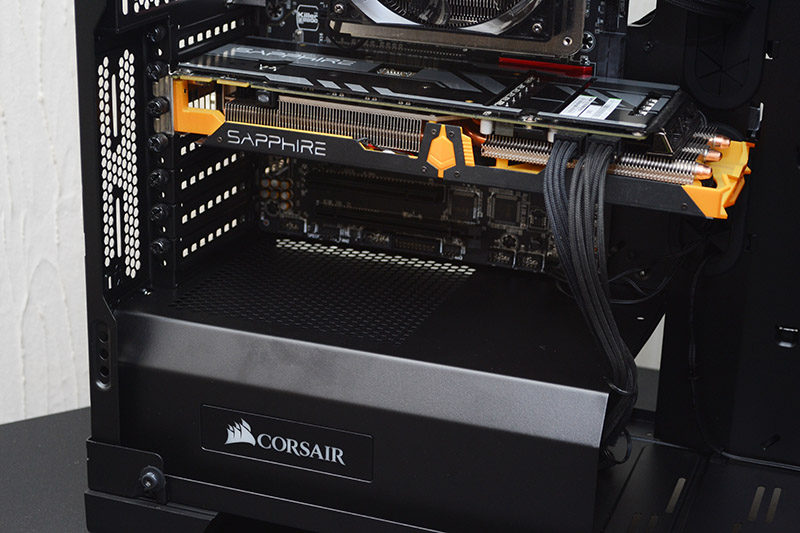
There are certainly no issues when it comes to long graphics cards and width won’t be an issue either.
There’s lots of clearance up front for a thick radiator if you really want one, and plenty more space beyond that for a reservoir and pump.
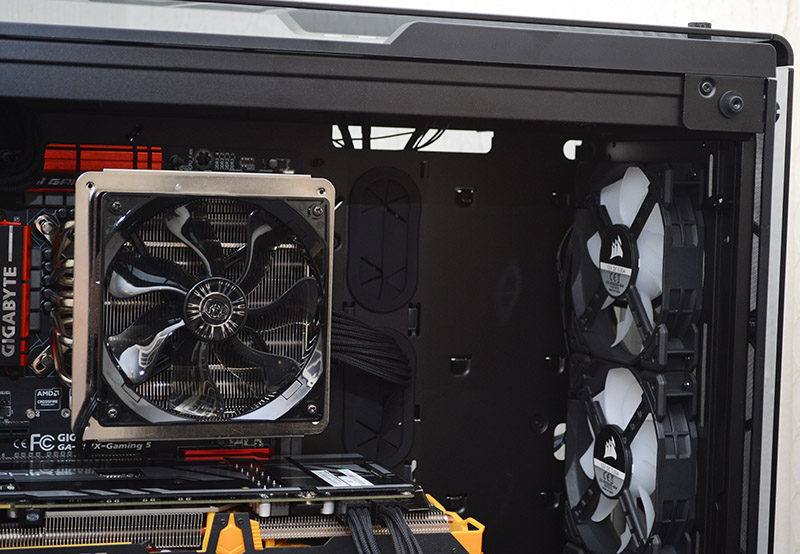
The front fans give full height airflow, which is going to feed cool air to all major components, and that’s always a good thing.
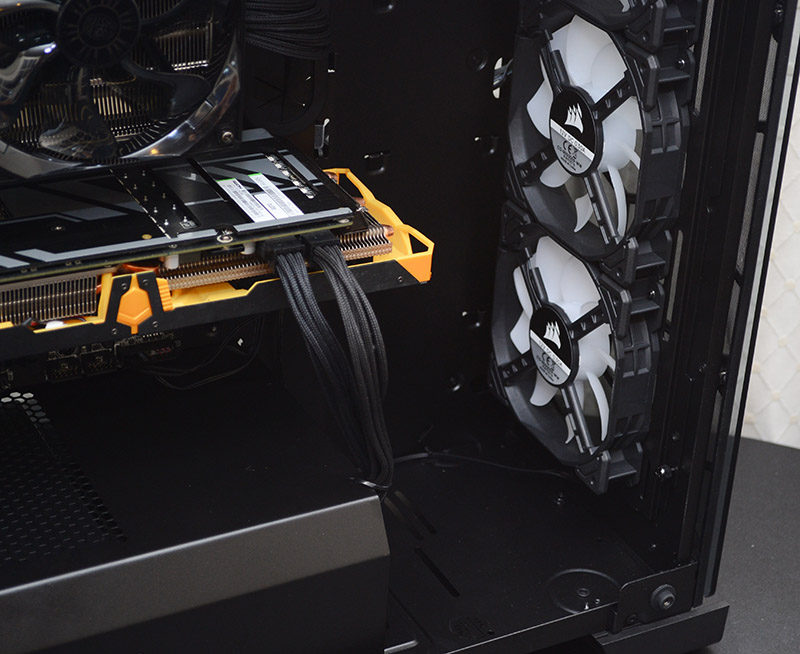
The short PSU shroud means that side loading GPU power cables can easily be fed upwards towards the card.
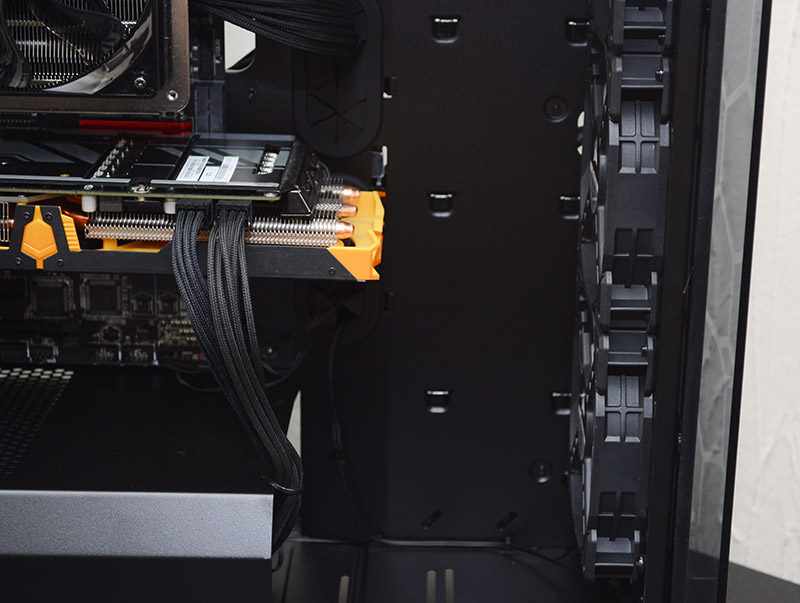
Other cables can use the heavy-duty rubber grommets alongside the motherboard tray.
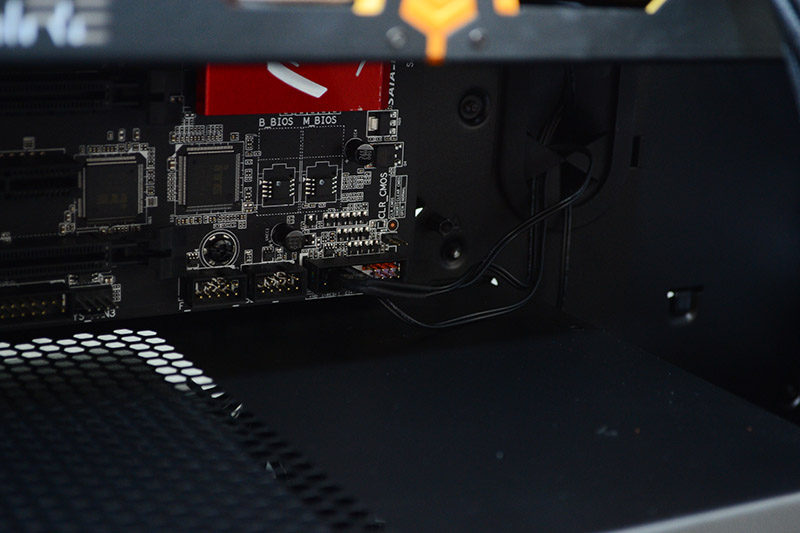
No direct routing holes for the bottom of the motherboard, a minor oversight, but a little care can keep this looking tidy.
The build is certainly neat and tidy, although I would have loved to see a slightly longer PSU shroud. There are benefits to it being shorter, such as clearing room for water cooling hardware, but it’s tricky to hide your cables in that short space.
Fortunately, we did put in the extra effort for cable routing, and even from the back, the build looks pretty neat and tidy. Everything is exposed here, so that extra love and attention goes a long way. Of course, your mileage will vary based on how much hardware you’re wanting to install.
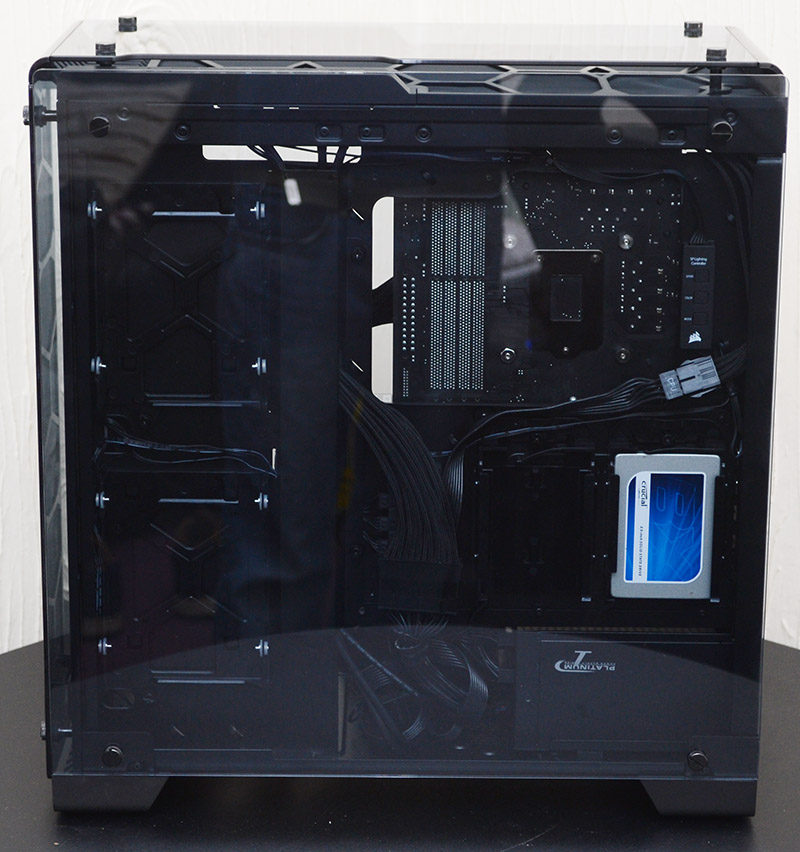
I do love that we can see the SSD so clearly exposed here, it’s a nice touch, even if it is tricky to work with in terms of getting the build looking neat.
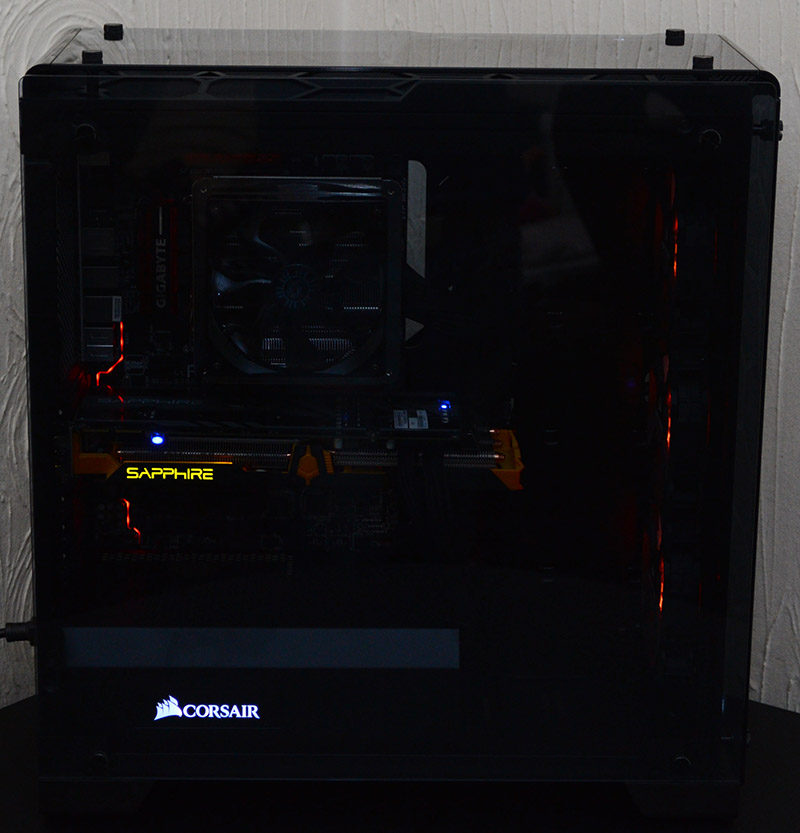
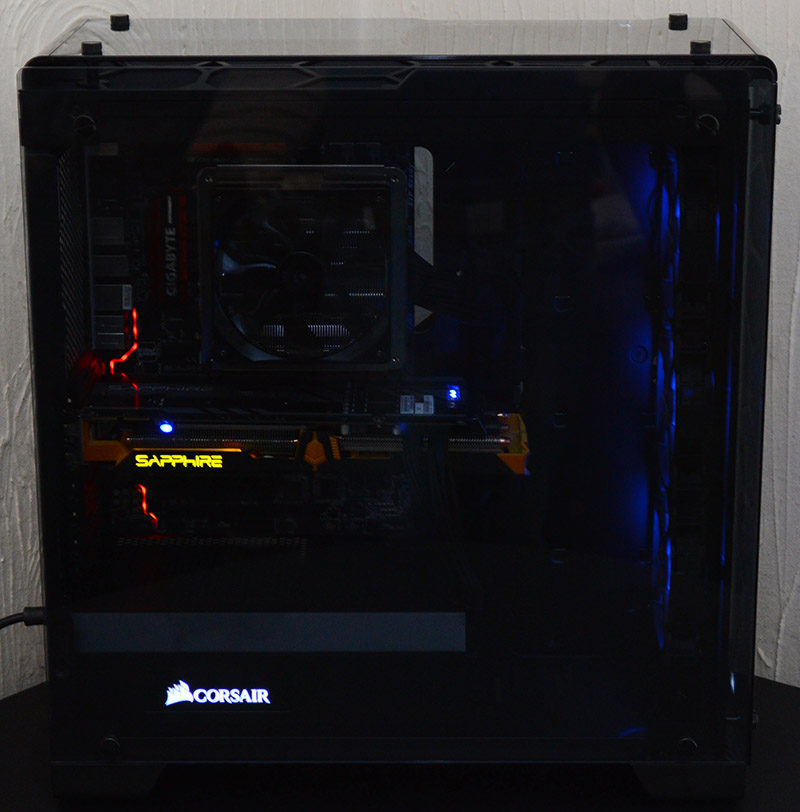
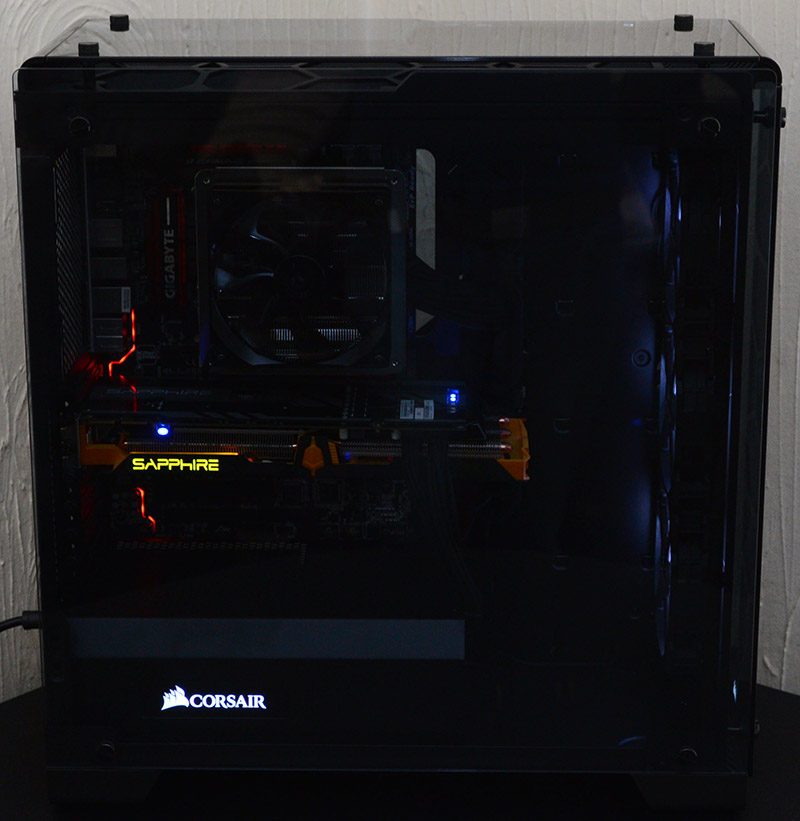
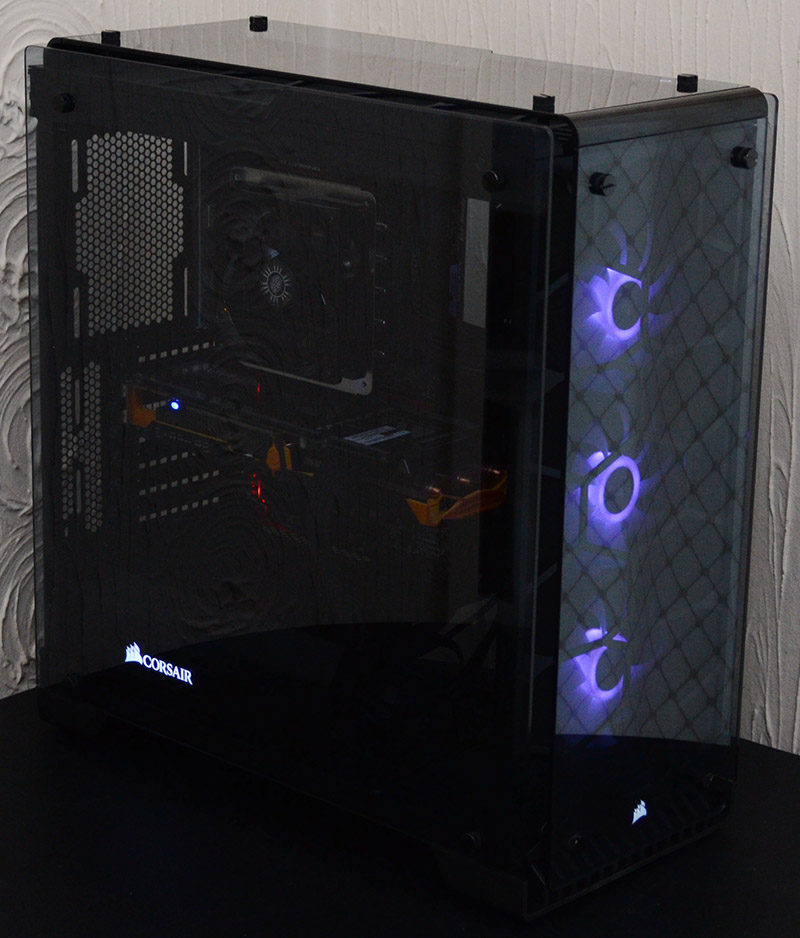
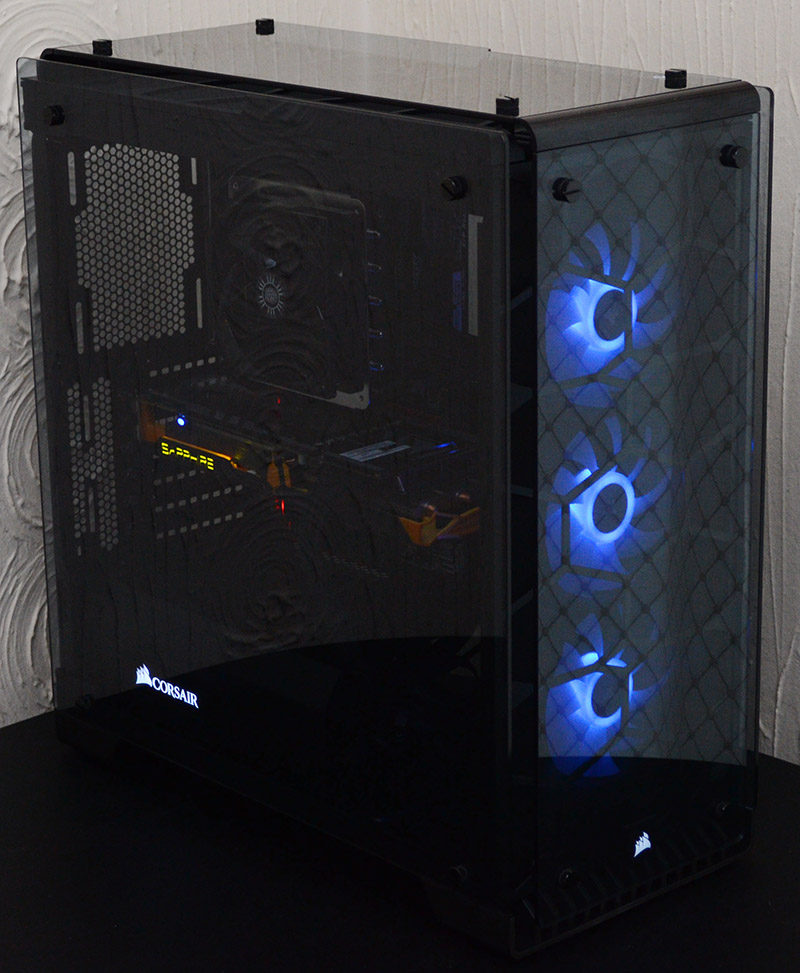
All panels back in place and the 570X makes no excuses, showing off all of your hardware in all of its glory.
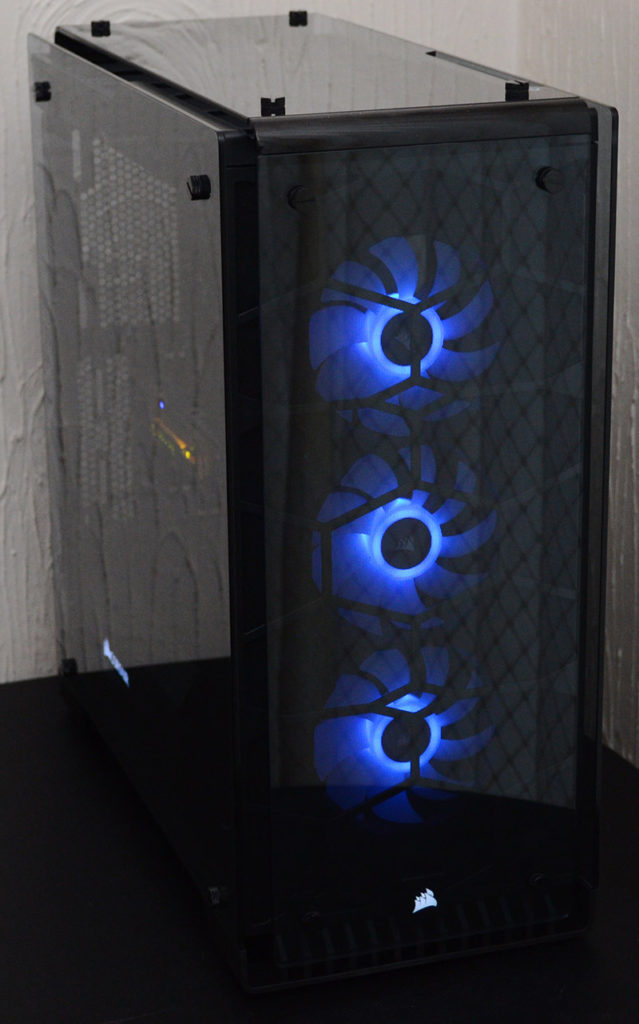
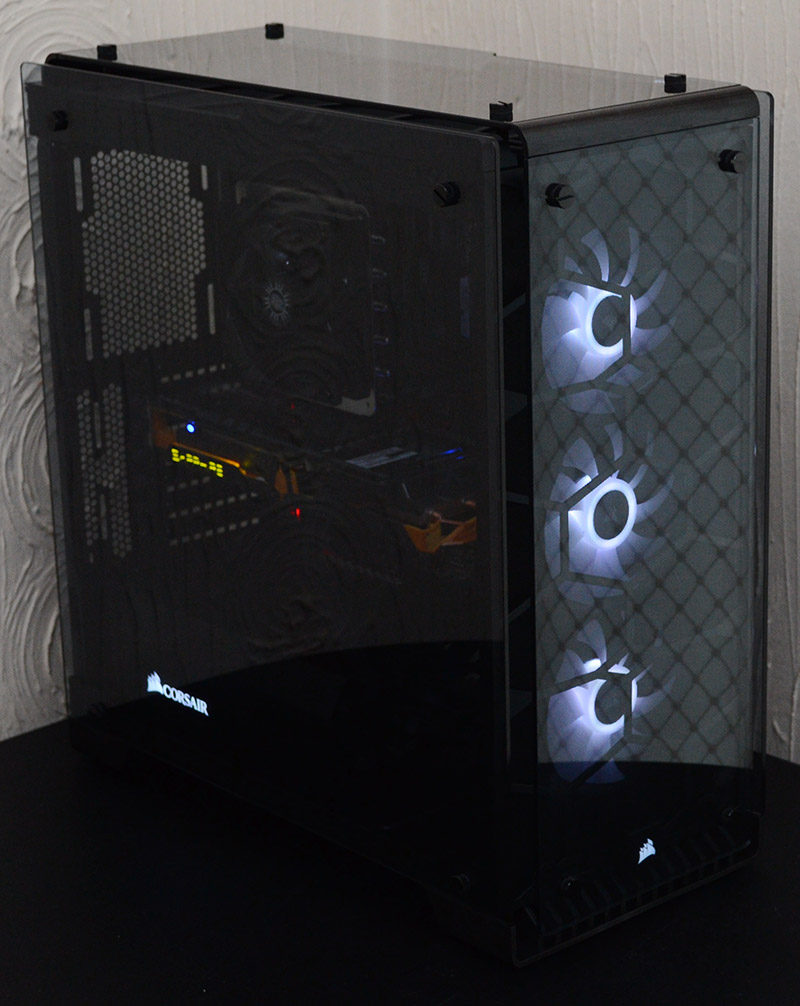
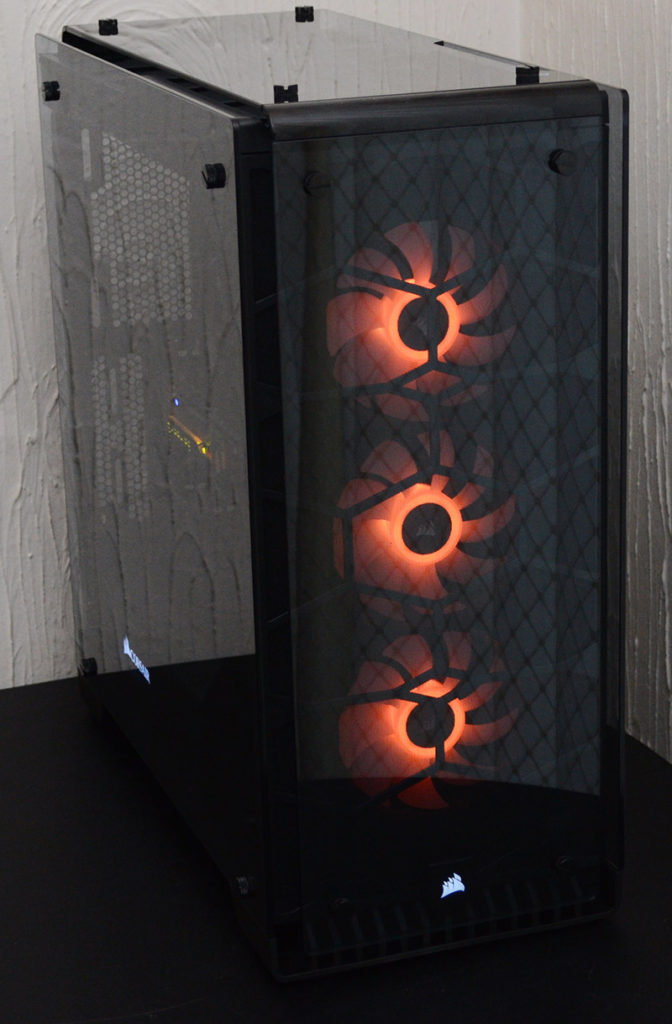
With the lights off, the chassis is quite reflective in a darker room, which is fine, because you’re going to want it powered on anyway.
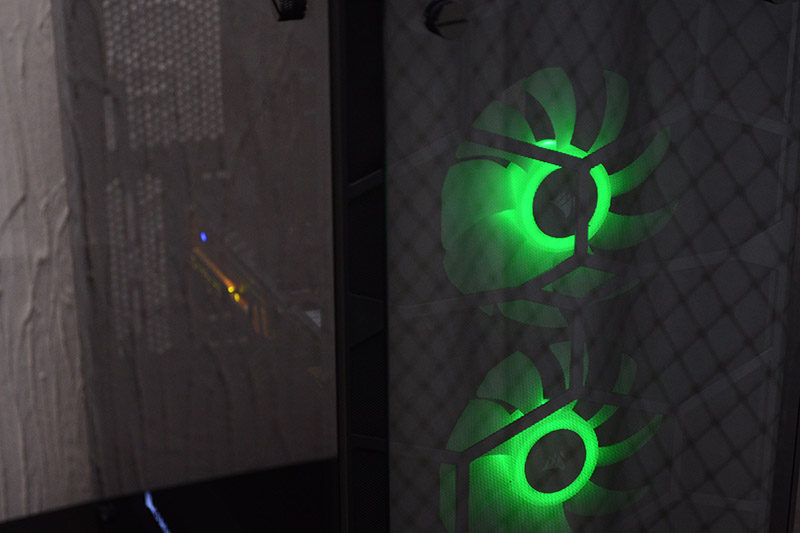
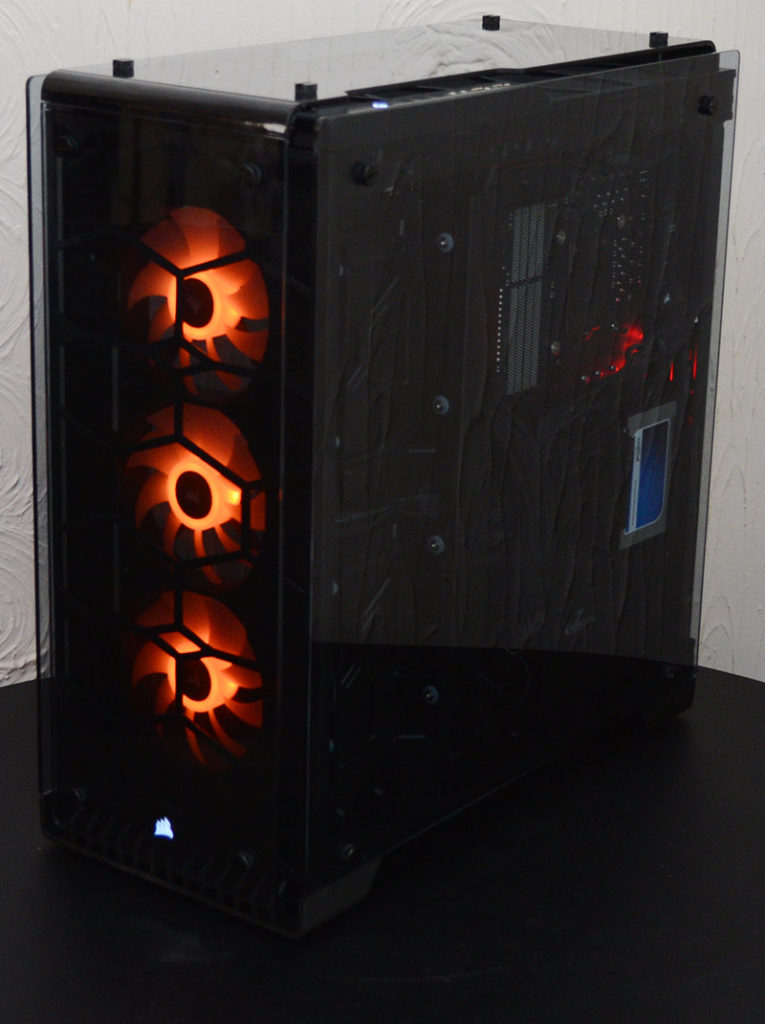
The front fans are simply stunning, with a bright and rather inviting glow of colour.
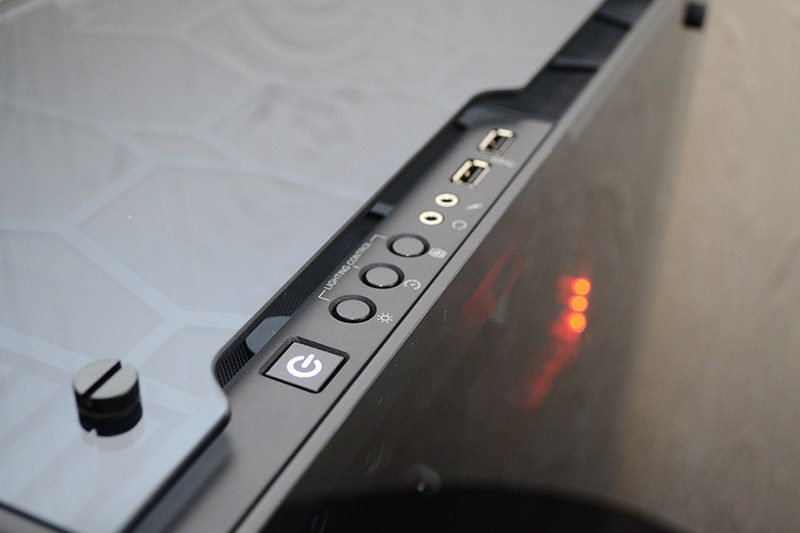
Of course, that from I/O panel allows you to change the lighting effects and colours at the touch of a button.
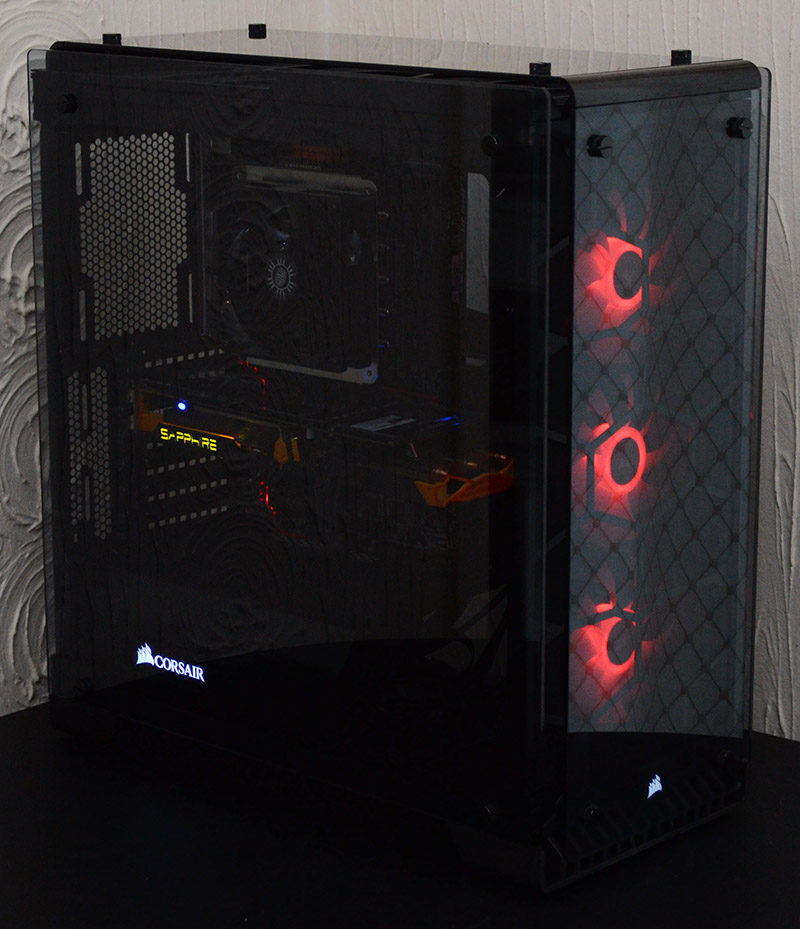
You’ll easily find a colour that best suits your taste, although we couldn’t choose, as they all look stunning.
Any LEDs on your hardware shine through the glass nicely too.
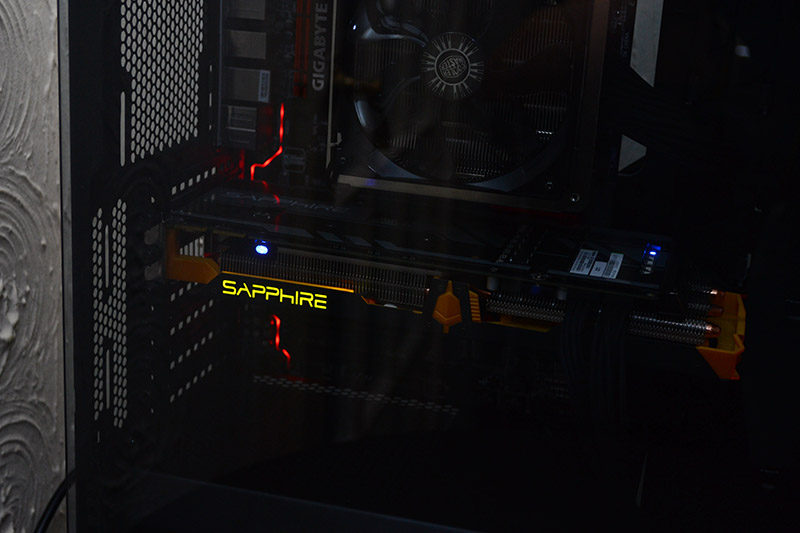
As does the small Corsair logo on the PSU shroud, which is backlit with a white LED.
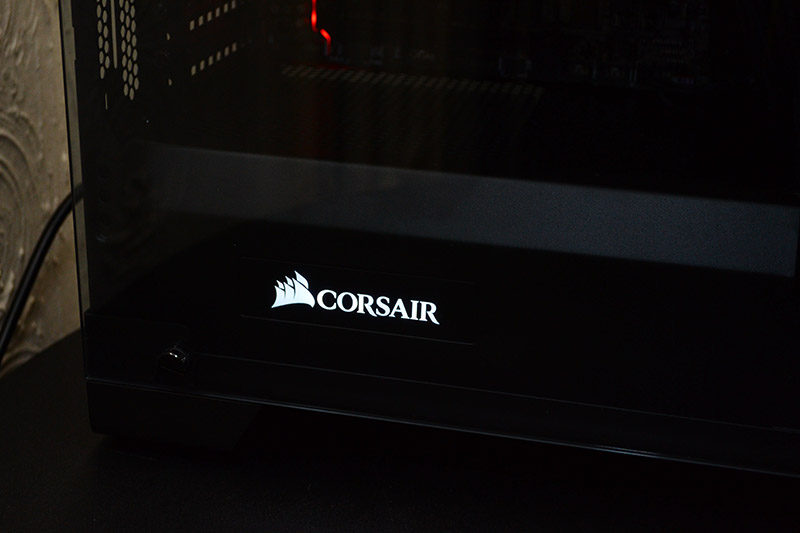
Further down the front panel, you can see the small Corsair ship logo also backlit with a white LED.
The last white LED is found on the power switch, which is lit up when the system is powered on.
The lighting really brings the 570X to life, and while I had a minor headache or three getting hardware installed and keeping a few fingerprints off the glass, the end result was absolutely worth the effort.
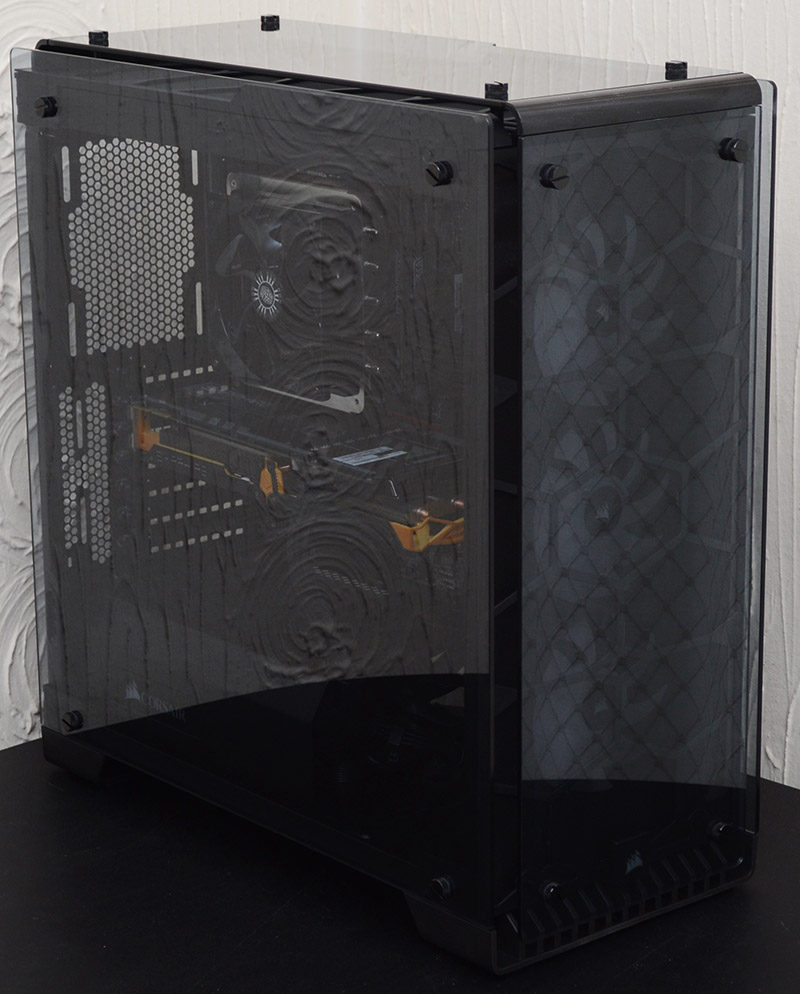
Now for some bonus pictures of the build, enjoy them, then meet me on the final page for the roundup!