Corsair Carbide 270R Mid-Tower Chassis Review
Peter Donnell / 8 years ago
A Closer Look – Interior
The interior of the 270R is quite spacious, with more than enough room for an ATX motherboard and a few large cable routing holes around the motherboards top and right sides to help keep things looking neat and tidy.
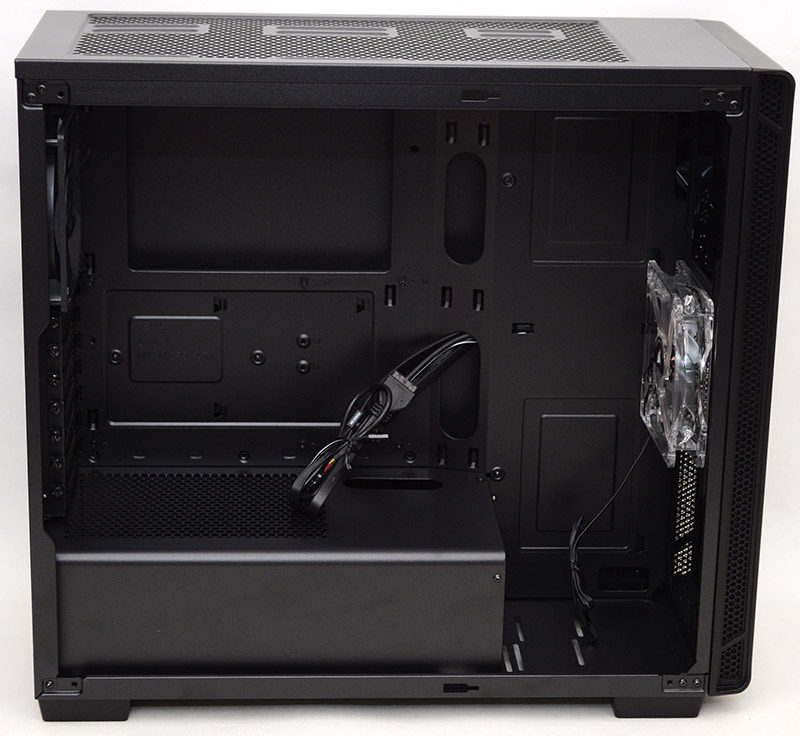
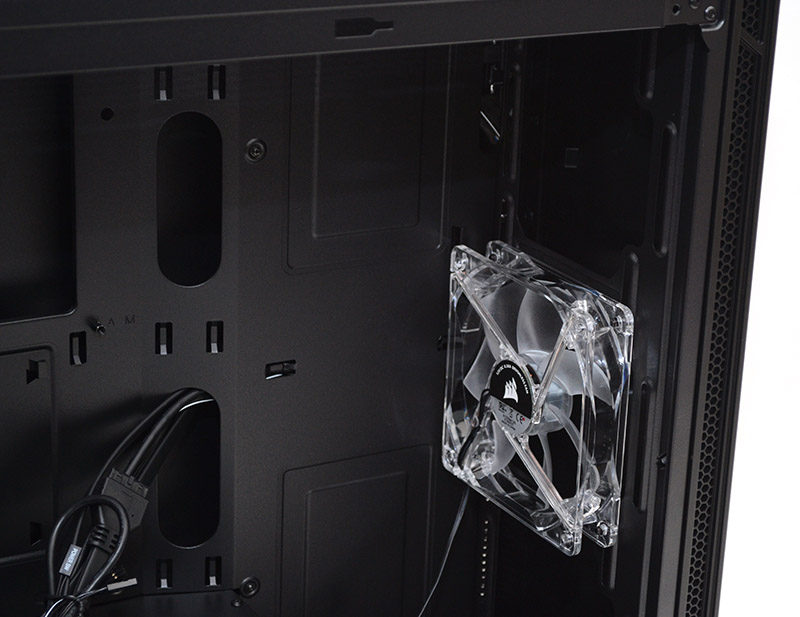
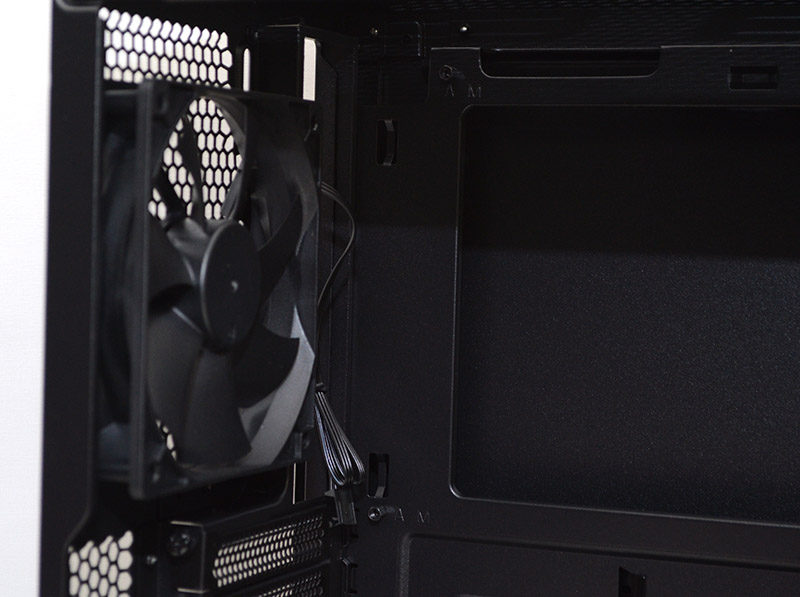
Up front, you’ll find a single prep-installed LED fan, which is more than sufficient for most builds, but you’ll also find room for full-height radiators or extra fans as there are no HDD bays here.
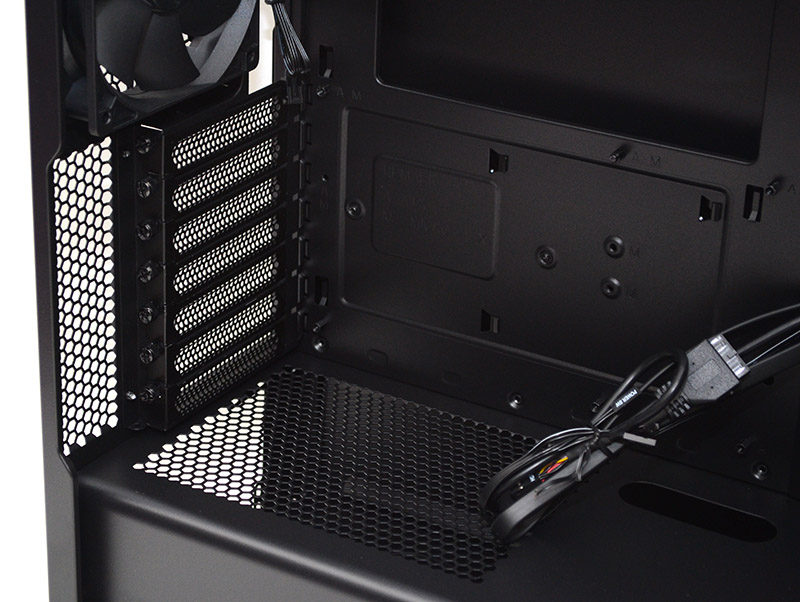
Having the HDD bays hidden behind the motherboard tray means that you’ll not only have room for water cooling hardware, especially since there are mounts in the base to fit a pump/reservoir, but also the full length of the chassis for extra long expansion cards; even the biggest GPUs on the market shouldn’t have any problems fitting in here.
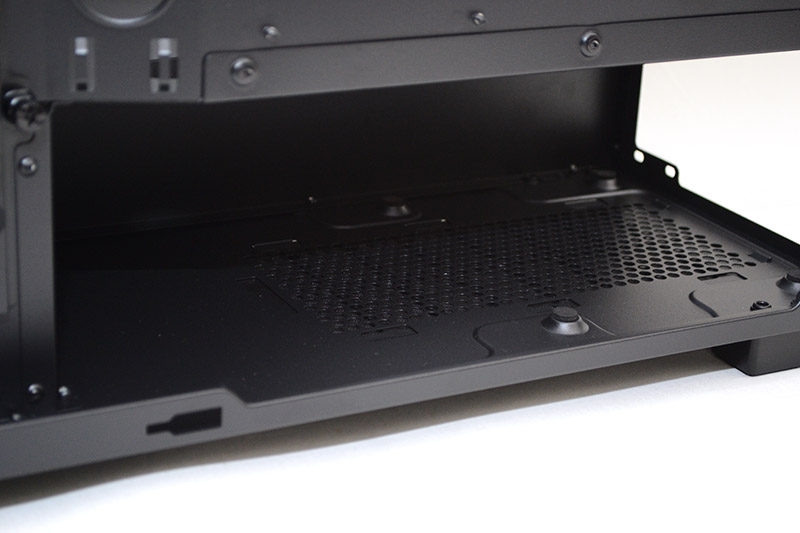
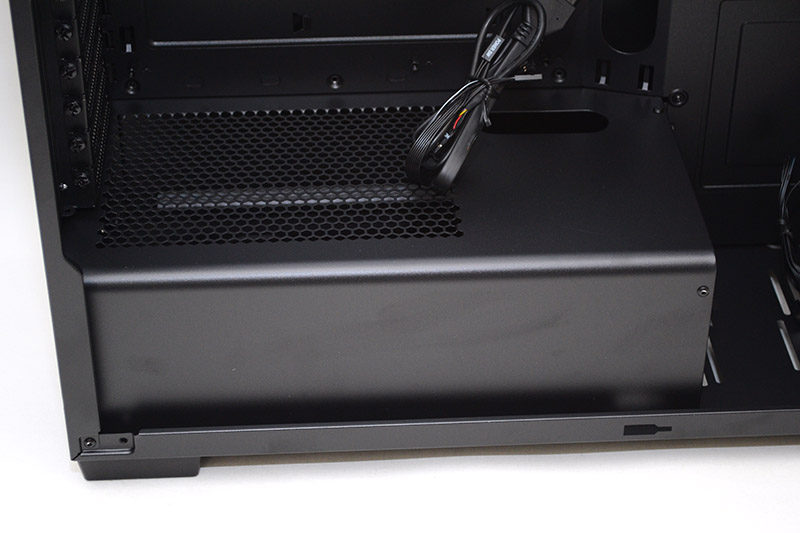
There’s a PSU shroud in the base, which has a large ventilation section on the top, but should still do a great job of hiding all your excess cables out of sight. There’s also an extra cable routing hole on it to help pass through cables to the bottom of the motherboard, as well as your expansion cards.
In the back, you’ll find each of the rear covers comes fitted with a thumb screw, making them very easy to remove/install, and that should speed up your installation times quite nicely.
The rear 120mm fan is nothing too fancy, but the matte black finish means that it blends in very well with the all-black chassis. It comes with a 4-pin PWM header and can easily be replaced with your own fan or a water cooler such as a 120mm AIO.
There’s a few cool things going on behind the motherboard too, with room for a decent amount of cable routing, especially with that massive recess below the PSU shroud, so even non-modular PSUs should be easily kept looking smart.
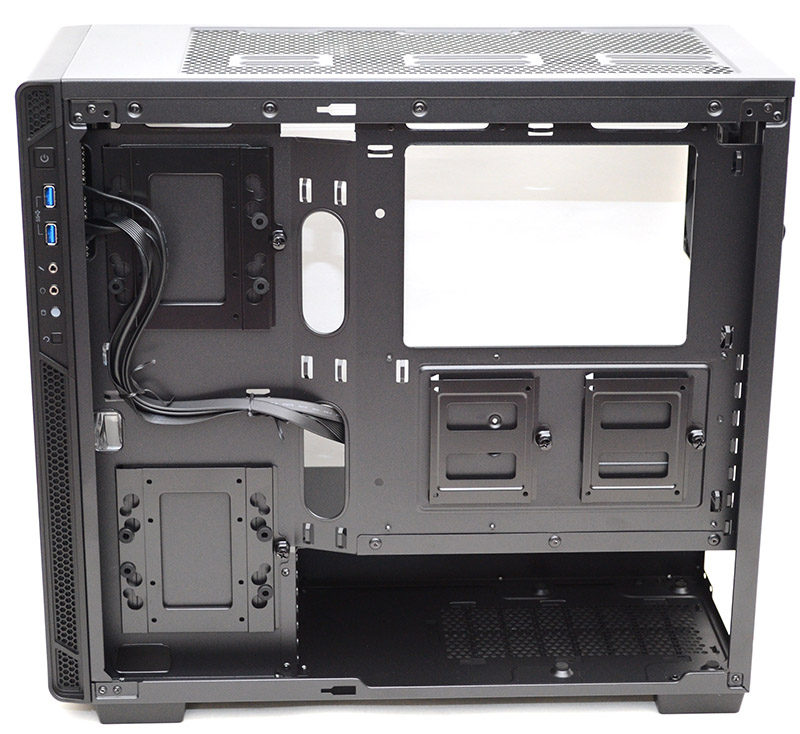
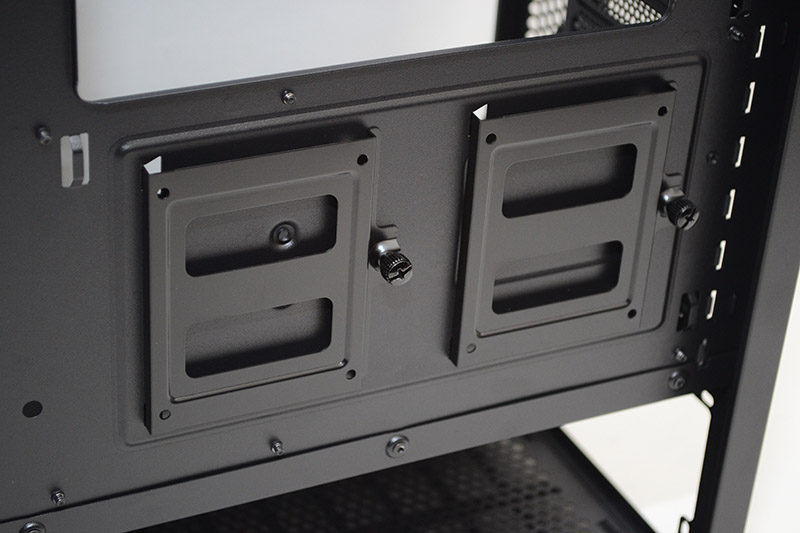
With no HDD bays up front, you’re going to need some storage bays, right! Don’t worry, there are two dedicated 2.5″ drive mounts here, each fitted with quick release thumb screws.
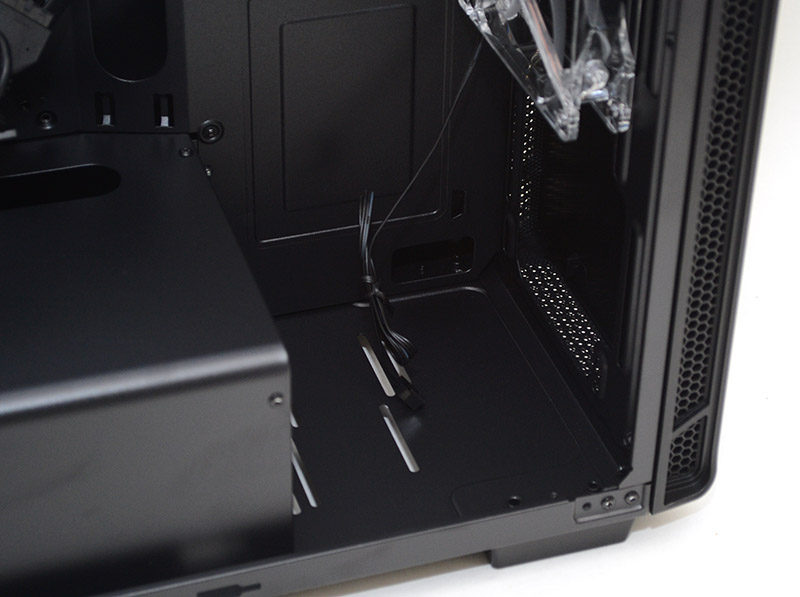
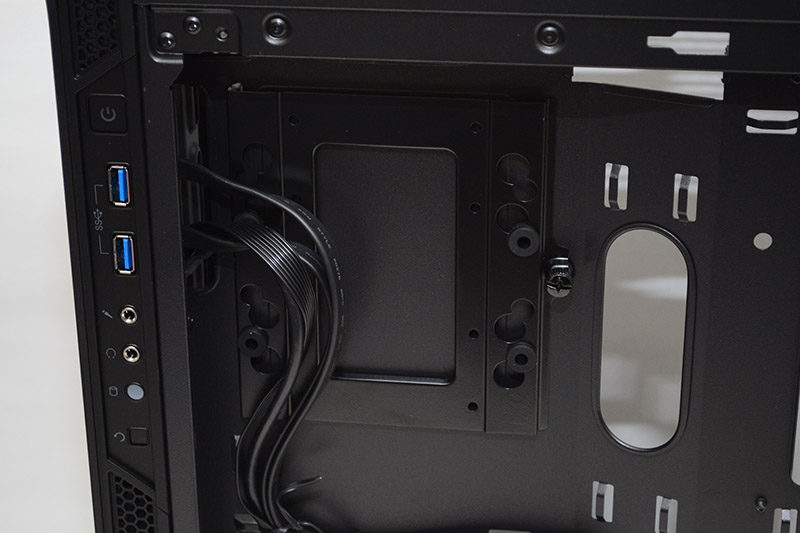
There’s a 3.5″/2.5″ mount up top towards the front.
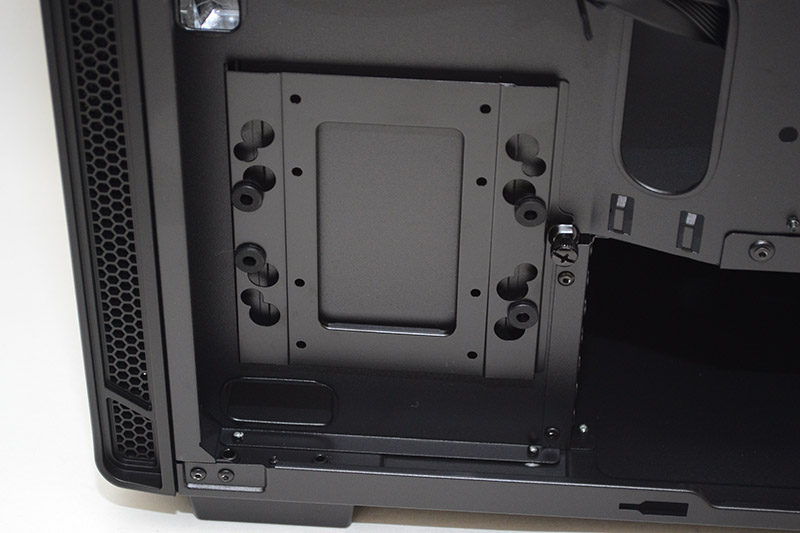
And another one near the bottom, giving us four HDD bays in total.
The PSU mounting bay, nice and simple and lots of space there for excess cables, with four small rubber pads to help reduce vibrations and stop the PSU getting scratched up when being installed.