Corsair Carbide Air 540 ATX Cube Chassis Review
Peter Donnell / 11 years ago
The total build time on the 540 was a breezy 20 minutes, it really couldn’t have been much easier to work with than this. This is fully due to its unique layout that provides plenty of room to work in, easy component compatibility and easy cable management.
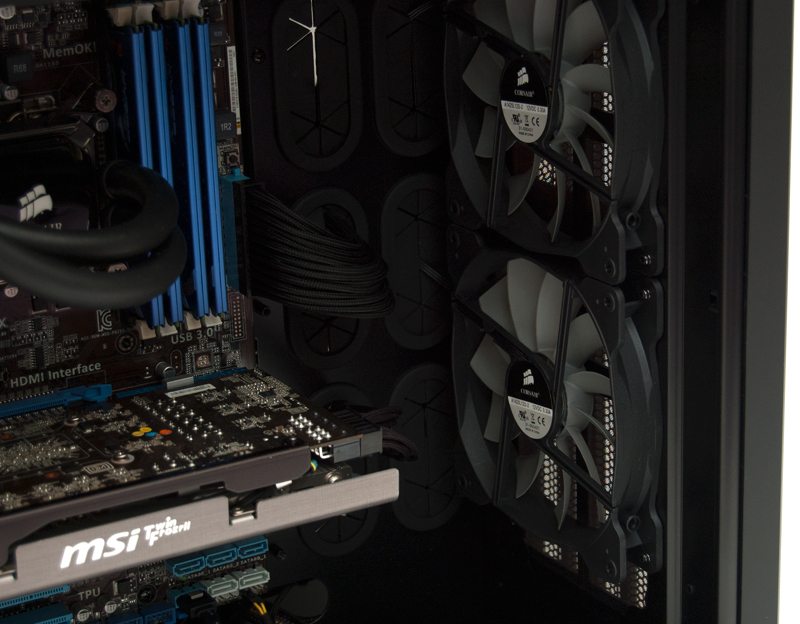
Not having to worry about moving hard drive bays, optical bays or in fact anything from the front means you can get straight to installing your fans or radiators in the front, it also means that the airflow is completely unobstructed and that means our graphics card and CPU cooler get air directly from the fans.
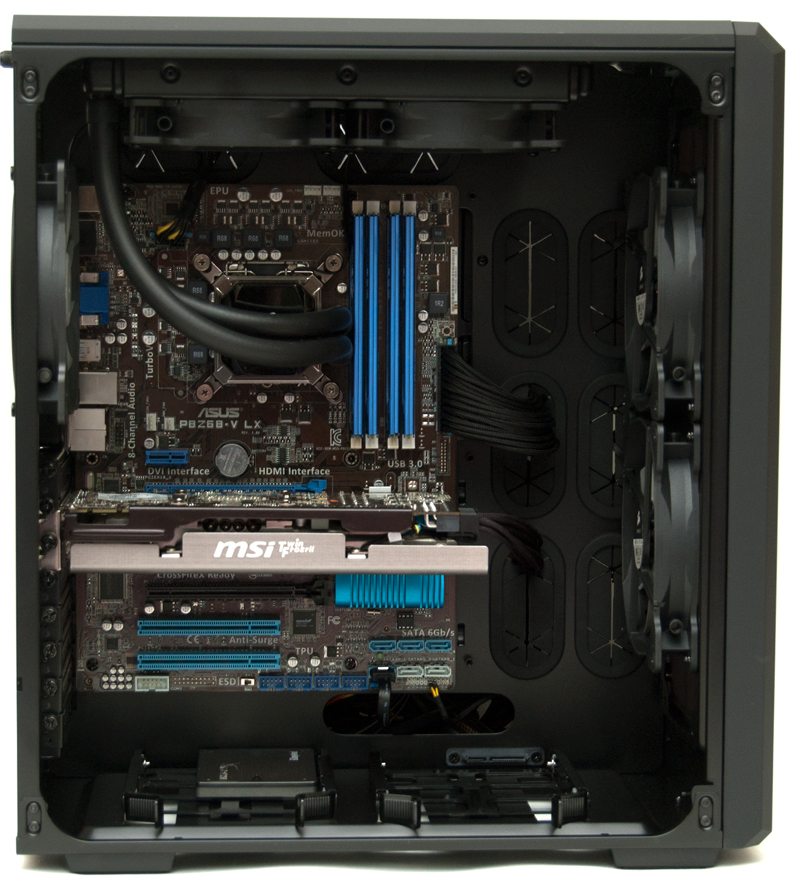
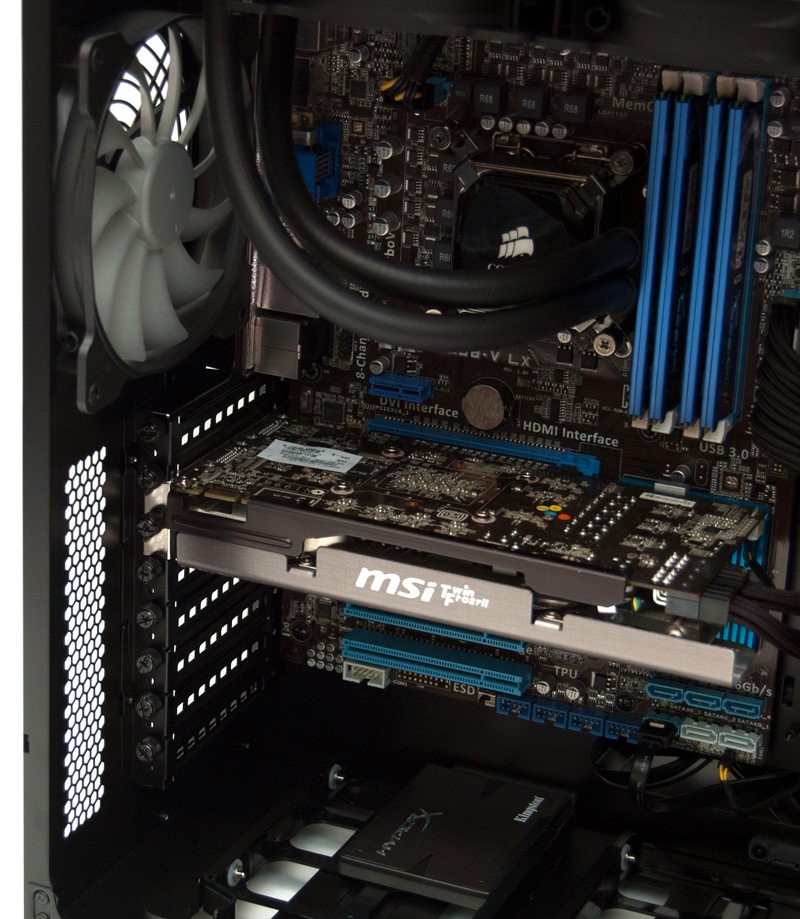
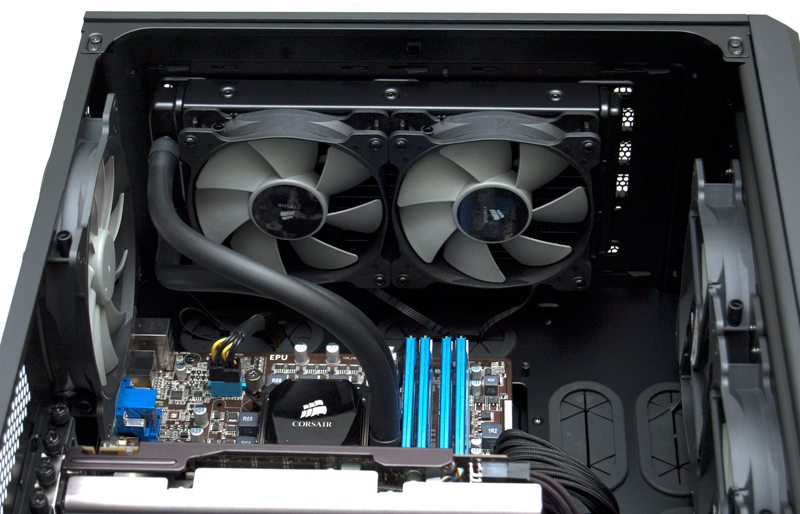
I Installed our H100i in the top of the chassis as it seemed a shame to strip out the nice quality Corsair fans that came pre-installed. Further down you can see that there is more than enough room here for a multi-GPU configuration, while finally I chose to install our SSD in the hot swap bay, albeit mostly for show.
The H100i fit with ease and I should hope so too given that it’s a Corsair cooler in a corsair case. I’ve installed it with the pipes near the back but either way around would have worked just fine. It’s also worth pointing out that the H100i fits easily in the front of the chassis and the H80i fits nicely on the rear exhaust as well as the top and front, although you could take advantage of all of these with a custom loop configuration.
Things may not look pretty around the back, although in system builds this section rarely does! Yes here you can see that cable management was easy and while I have taken a little time to bundle the cables, there was really no need as it’s out of sight and there is still plenty of room, still plenty of cable routing holes, loads of room for storage and certainly room for a much bigger PSU should you need one.

Here you can see the PSU orientation, which is again separate from the main compartment, reserving the bulk of the airflow in the front for your GPU and CPU.

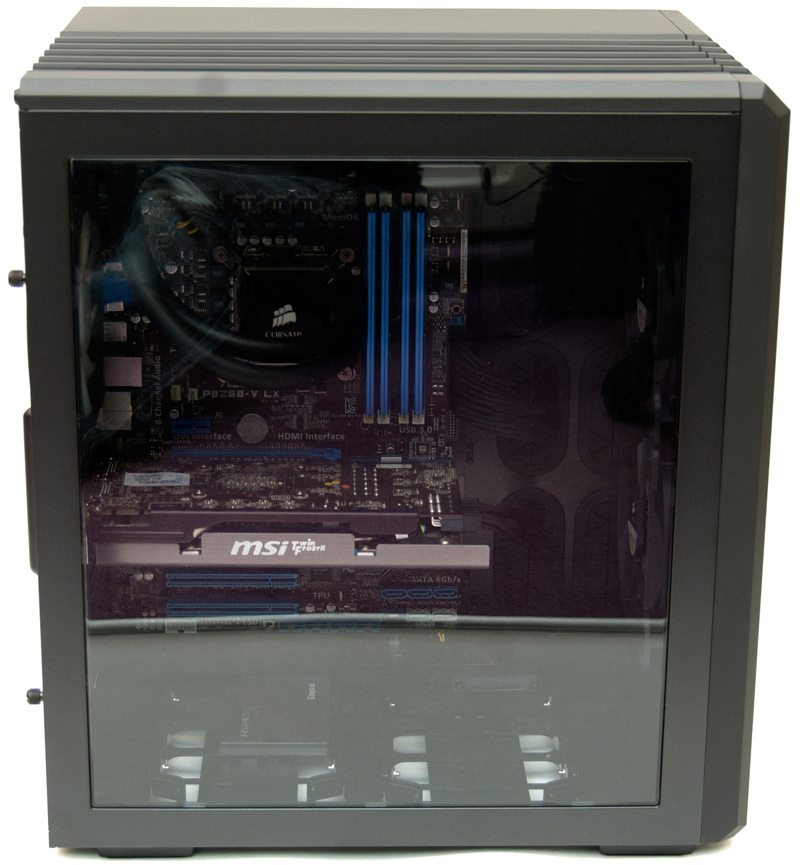
Side panel back in place you can still clearly see inside the system and really enjoy the benefits of that huge window panel. Not only does it give you a great view but we also no longer have to see the storage bays, optical bays, PSU, PSU cables and this means we can focus on the good stuff.