Corsair Carbide Air 740 Cube Chassis Review
Peter Donnell / 8 years ago
A Closer Look – Interior
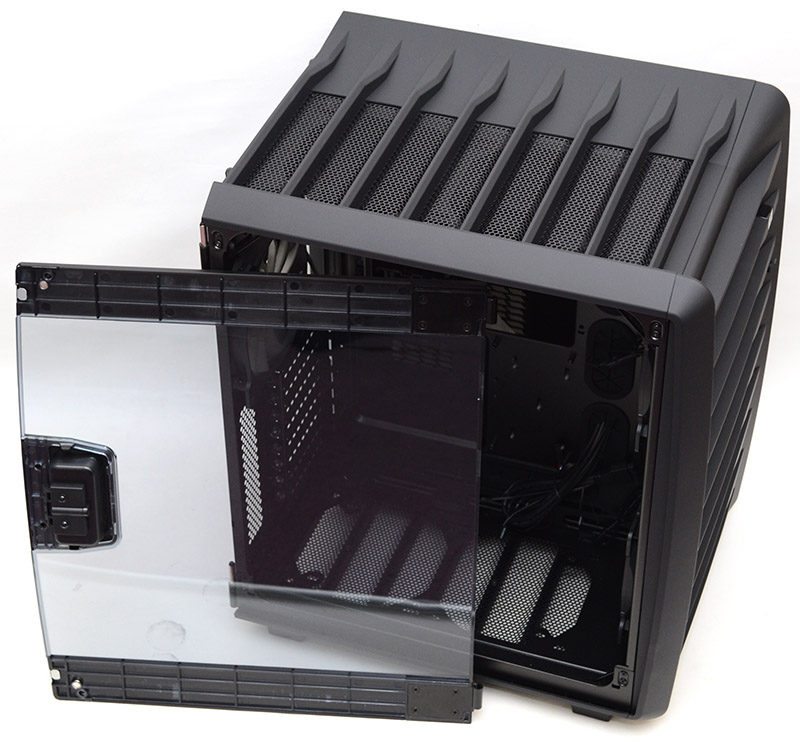
One really nice feature of the Air 740 is that the left side panel is hinged with a tool-free quick-release handle. This means you can quickly open it up and get to your hardware with ease.

If you need a little more elbow room, just lift the door off the hinge and put it to one side.
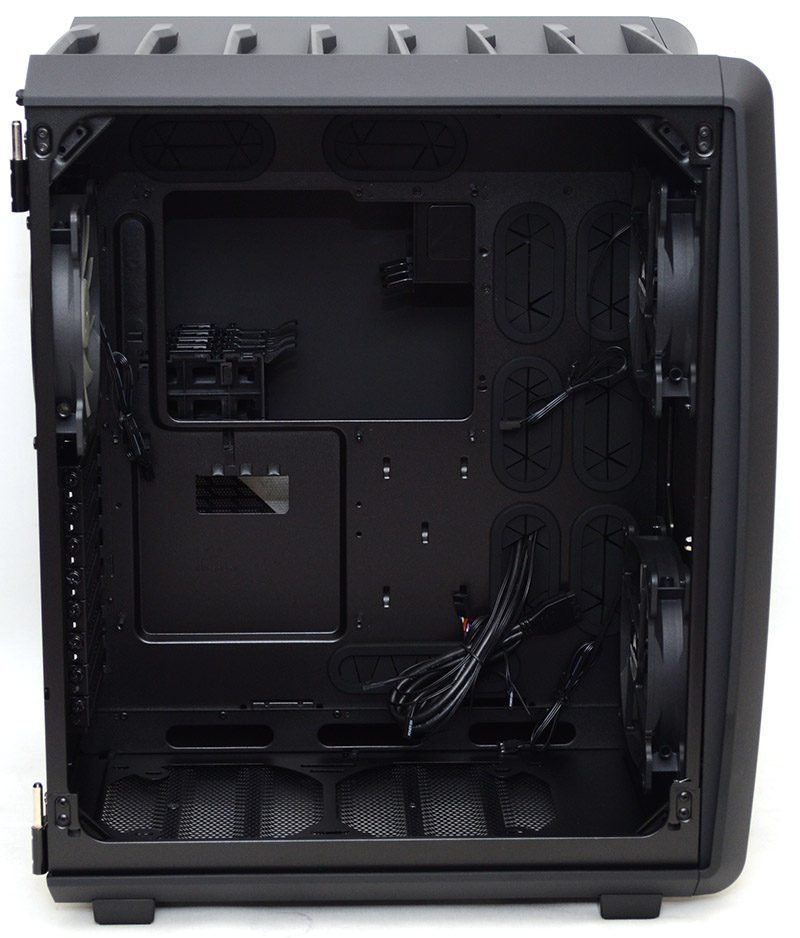
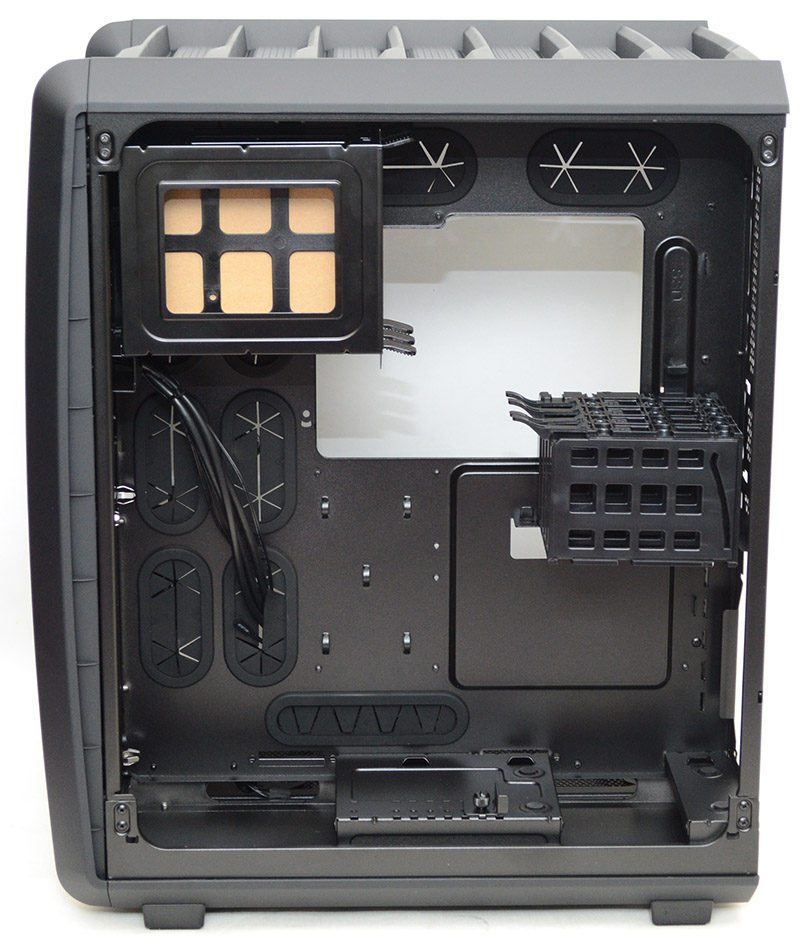
There’s a huge amount of space in the left chamber of the Air 740, mostly thanks to the fact that the PSU and storage bays are all around the other side. This means you’ve got a lot more room for large expansion cards, fans, radiators and anything else you want to cram into this side. The installation process should be nice and easy with all this space, and with pre-install stand-offs, a huge CPU cooler mounting cut-outs and 9 large cable routing grommets, it should be super easy to get a nice build with minimal effort.
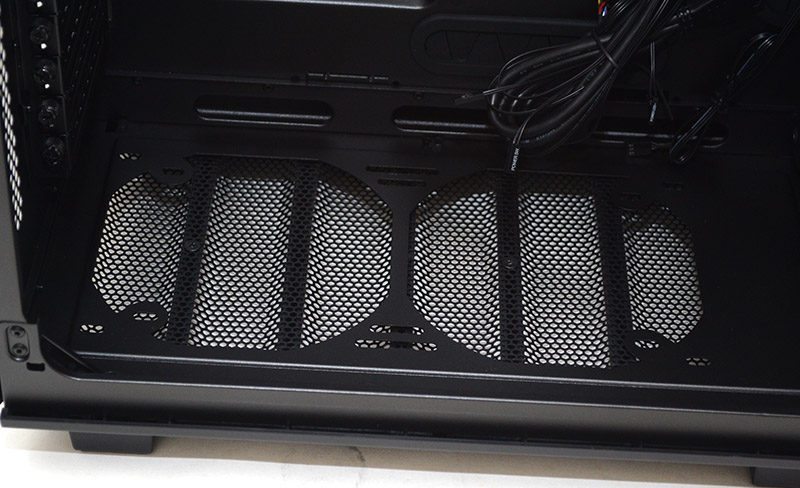
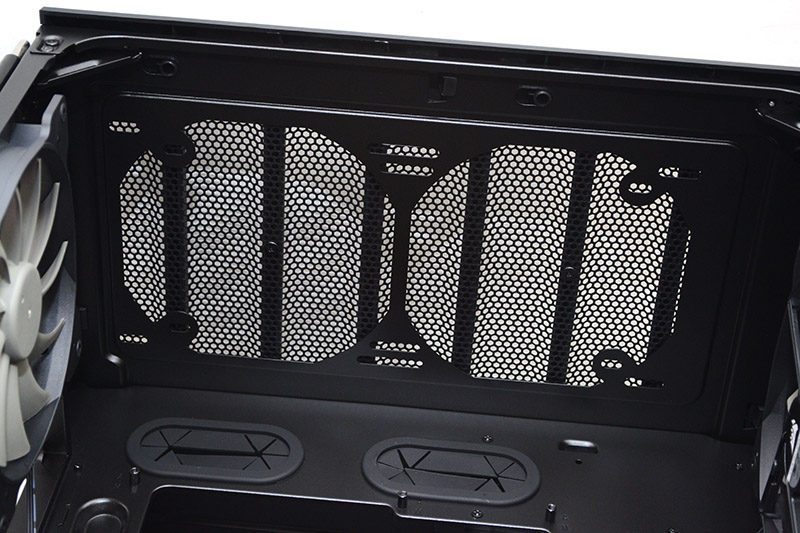
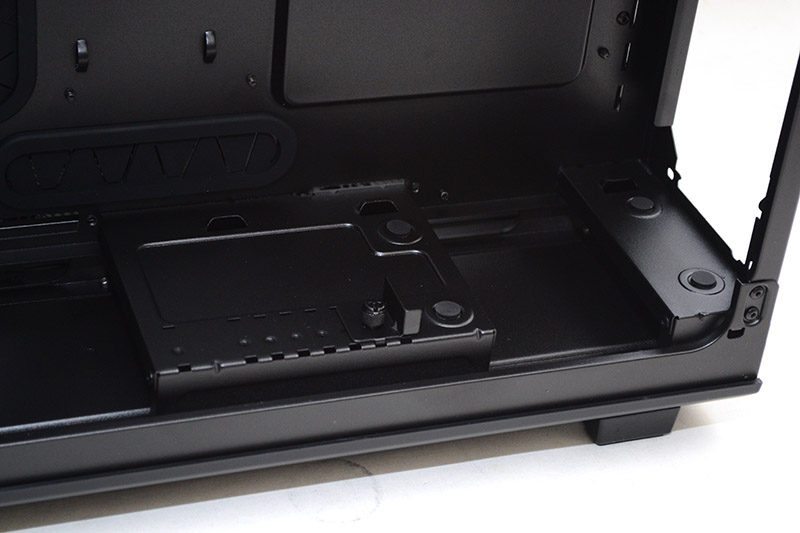
In the base of the chassis, 2 x 120/140mm mounts, perfect for fans or radiators.
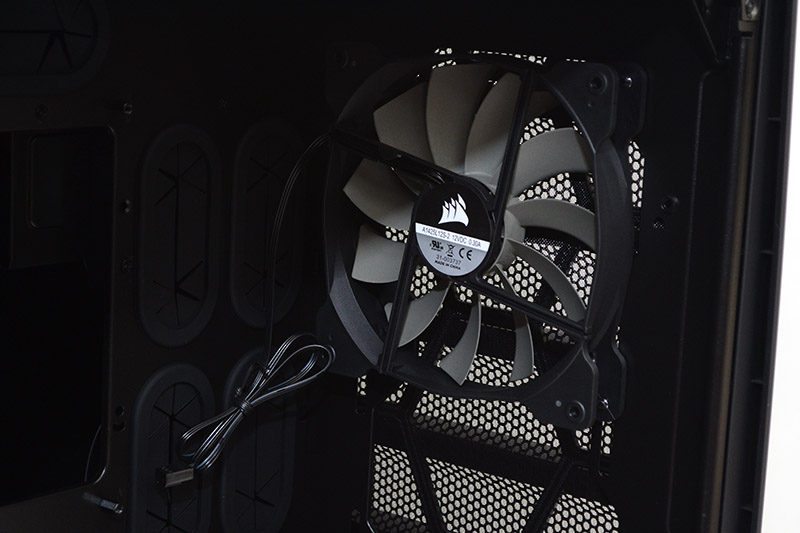
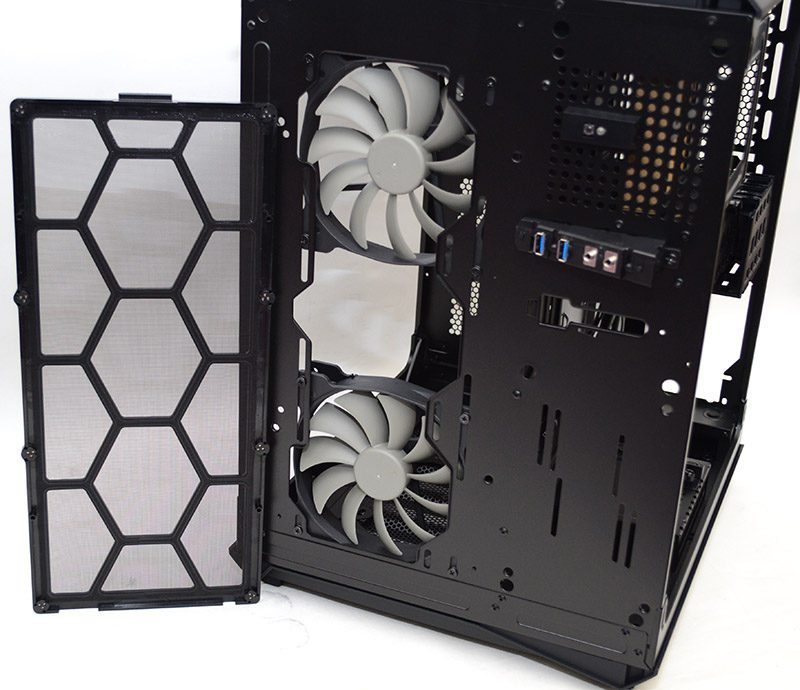
There are two 140mm fans pre-installed in the front, although you could easily take these out and use any of the 120/140 mounts for your own fans or radiators.
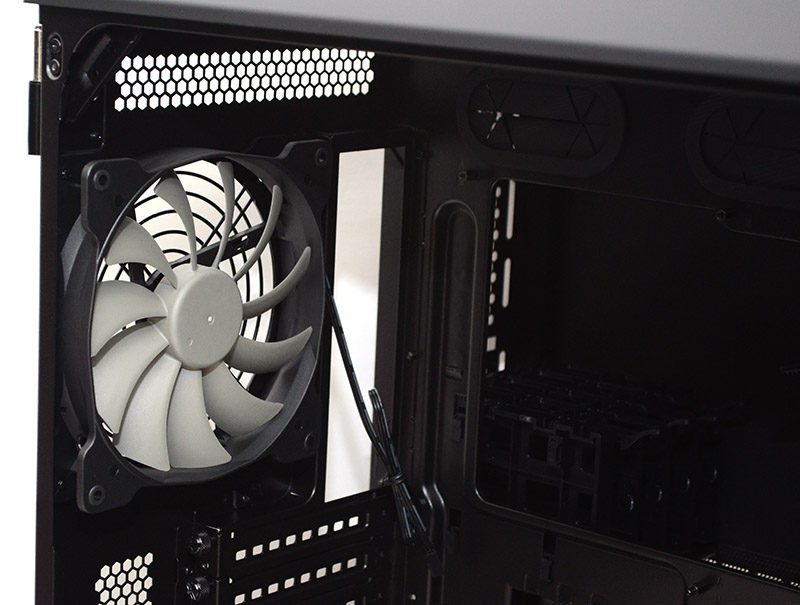
Another 140mm fan in the back, with an optional 120mm fan mount.
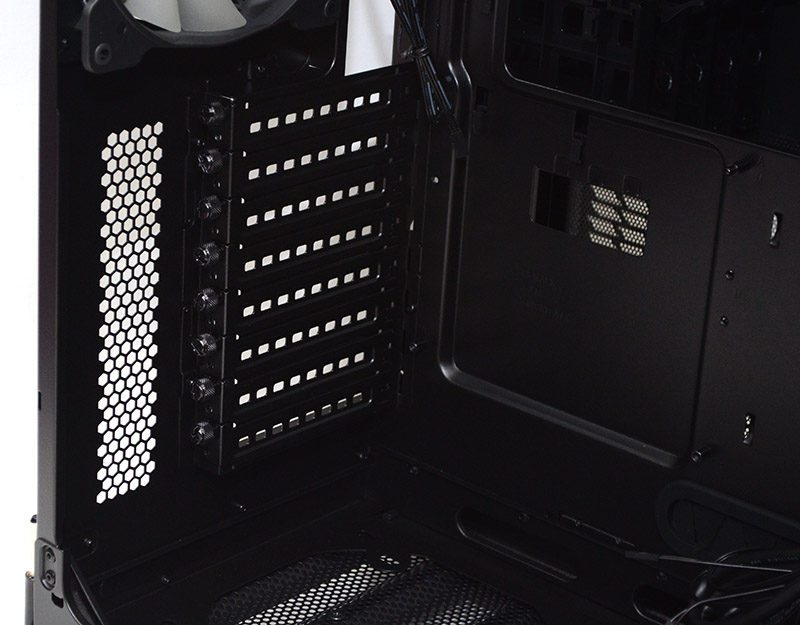
All eight expansion slots come fitted with ventilated and reusable metal covers and thumb screws for easy access.
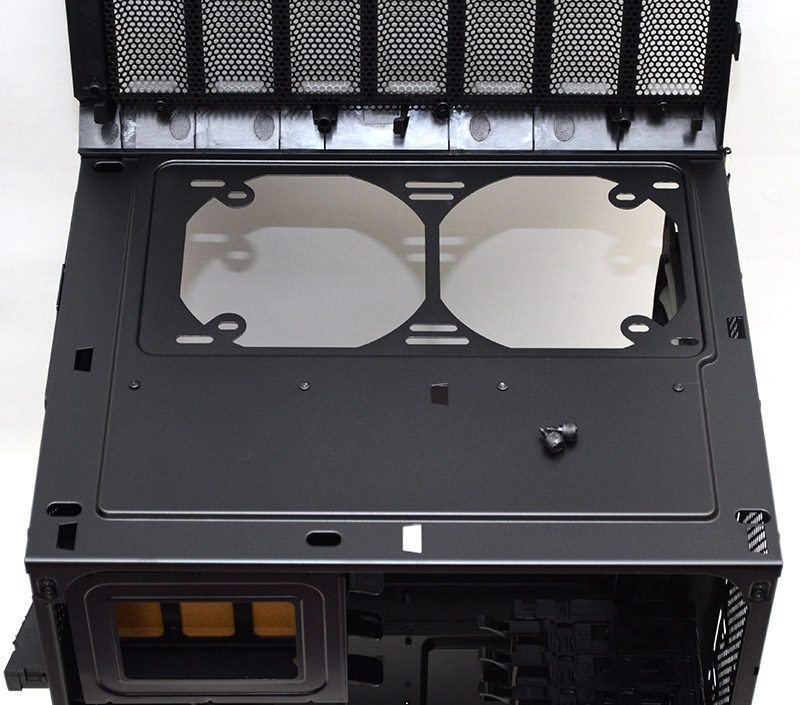
Another 2 x 120/140 mount in the top, with plenty of top clearance for radiators.
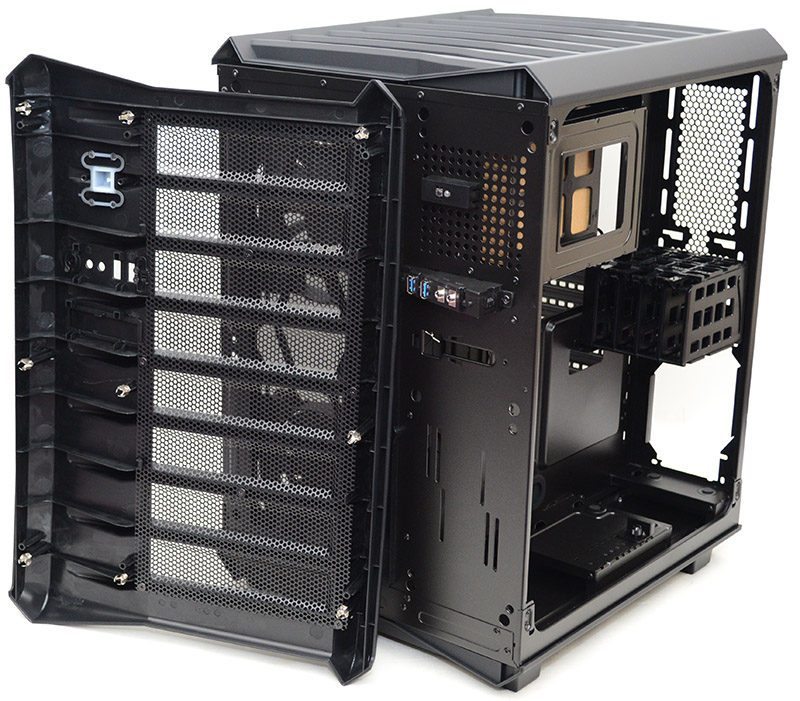
Around the back, the cool features just keep on coming! The most notable of all is the gargantuan amount of cable routing space you have!
The PSU mounts on its side, taking full advantage of the right side panel air filter. There’s also an adjustable PSU support bracket at the back, helping keep it locked firmly in place.
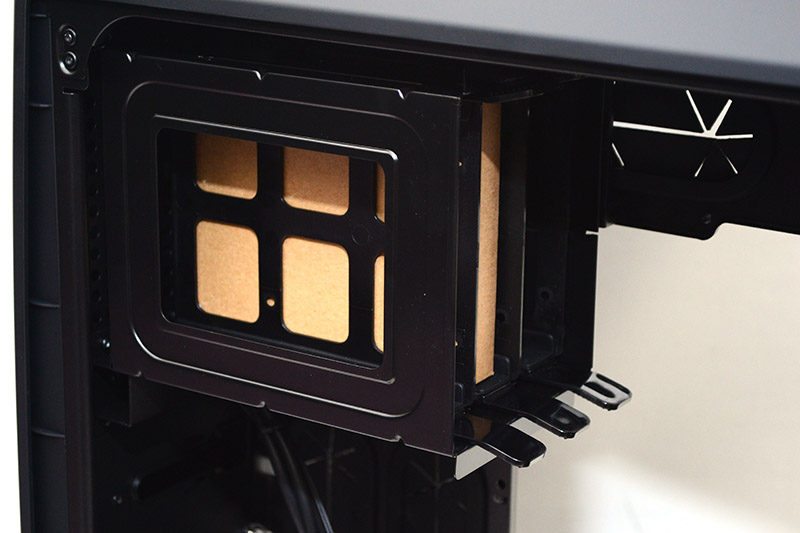
Four dedicated 2.5″ drive bays, all of which are tool-free. Don’t worry if you don’t need them either, as the whole bay can easily be removed to free up space.
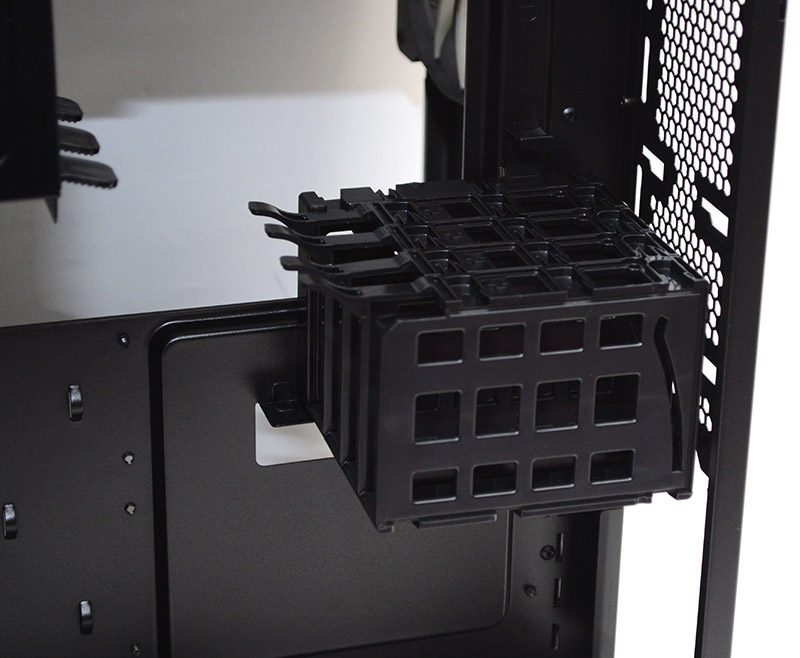
Three 3.5″ (tool-free) or 2.5″ (screwed) drive bays at the front, which can once again be removed completely if you so desire.
The front panel cover is mounted with durable metal squeeze clips, just pull it off to get access to the front mounts and filters.
The full-height dust filter is held in place by magnets, meaning you can pop it off, wash it, dry it and put it back with minimal fuss.
The top cover is held in place with two screws (as it the bottom cover). Just slide them off and you can easily reach the cooling mounts.