Corsair H75 120mm All-In-One Water Cooler Review
Peter Donnell / 10 years ago
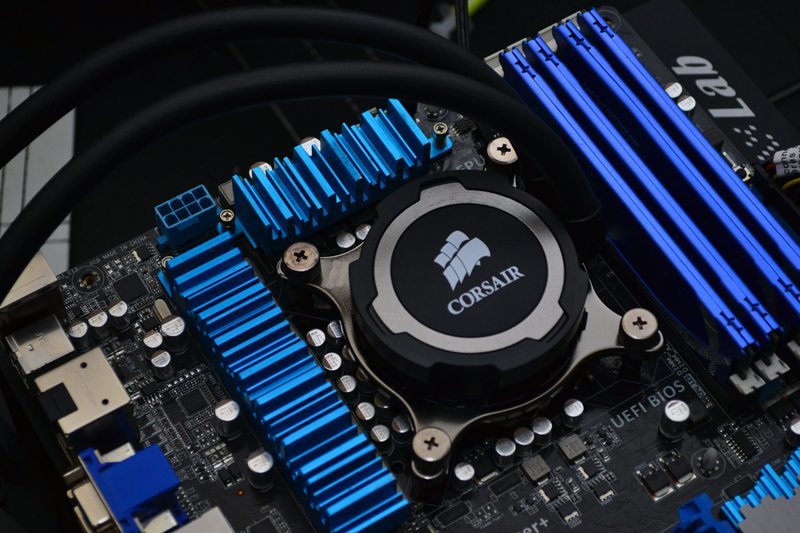
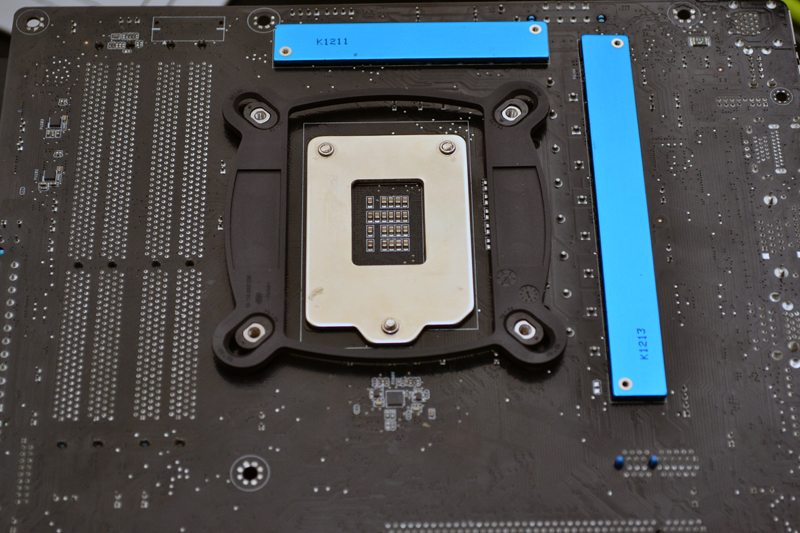
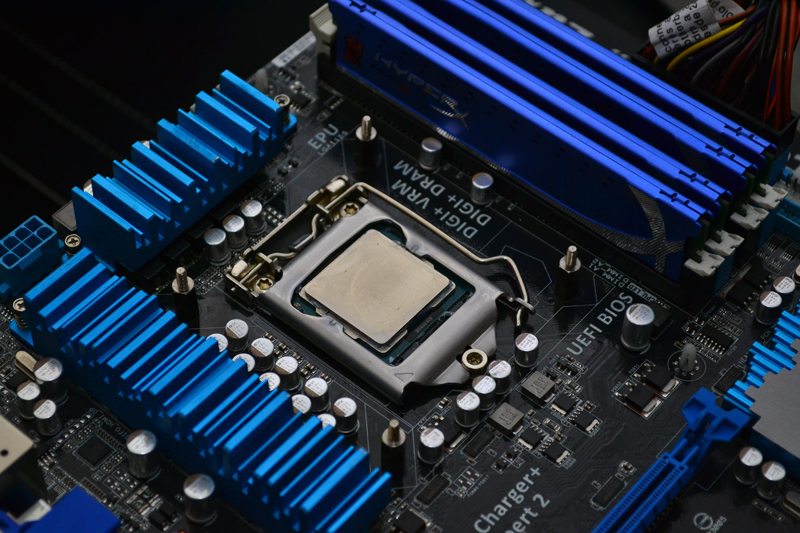
Installation
The installation for the H75 is one of the easiest I’ve ever dealt with. The back plate has the retention clips and metal pegs pre-installed, you just slide them along the four oval cut-outs to suit your motherboards socket size, couldn’t be easier.
Screw in the four stand-off bolts, this is easy enough to be done tool-free.
Sit the CPU block on the top, pop in the four thumb screws and you’re done. This can be done completely tool free, but it never hurts to give it a quick tweak with the screw driver to make sure it’s all secure. Of course You’ll still also need a screw driver to mount the fans, but again that only took a minutes each.