Corsair iCUE 220T RGB Airflow Smart Case Review
Peter Donnell / 5 years ago
Interior
With the side panel removed, you can see just as much as you could with it installed. That side panel glass really was as clear as air! There’s plenty of space inside here though, despite the compact footprint of the iCUE 220T RGB.
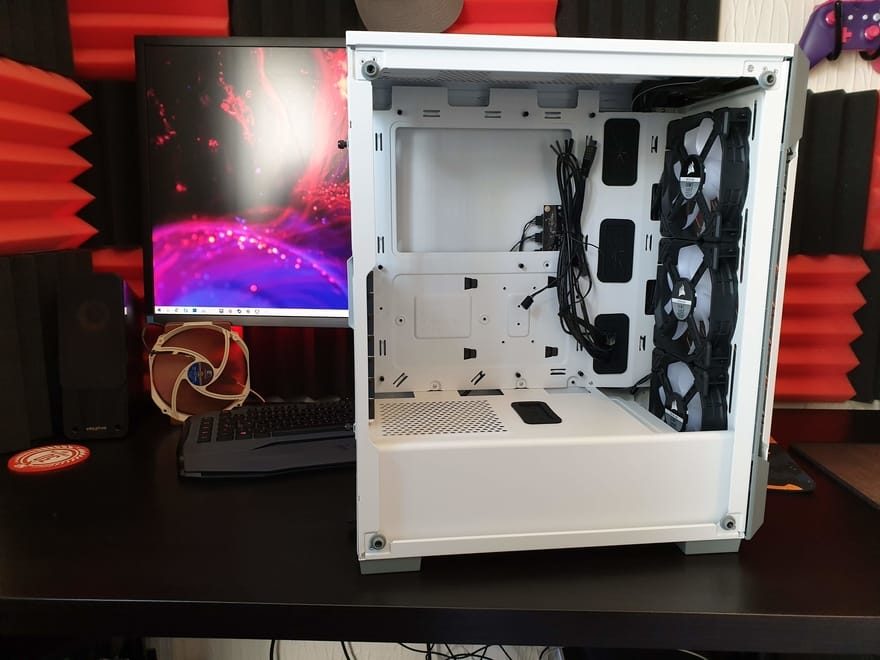
The PSU shroud is a welcome addition, as it’ll hide the power supply, obviously. However, it will also help you keep all of your cable gore under control, and there are some 3.5″ HDD bays down there too. One of the best features, however, is the vertical routing grommet, and plentiful routing holes at the back.
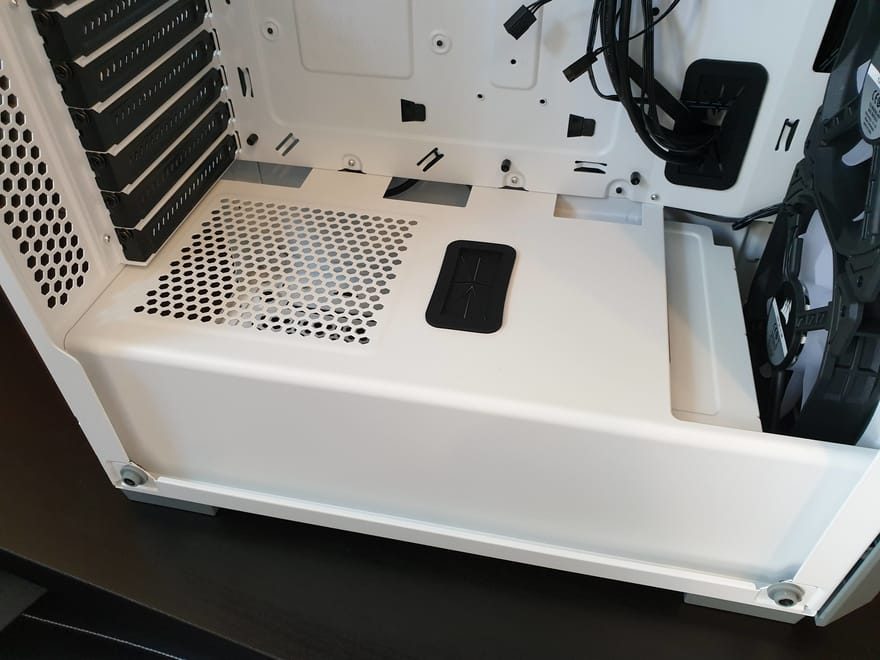
Ventilation
The airflow in the case is already robust as we’ve seen from the outside. However, there’s a good number of passive ventilation holes too, ensuring heat can easily escape your system. Little details like the frame cutaway on the left are welcome too; this makes it easier to get a screwdriver to the expansion slot covers.
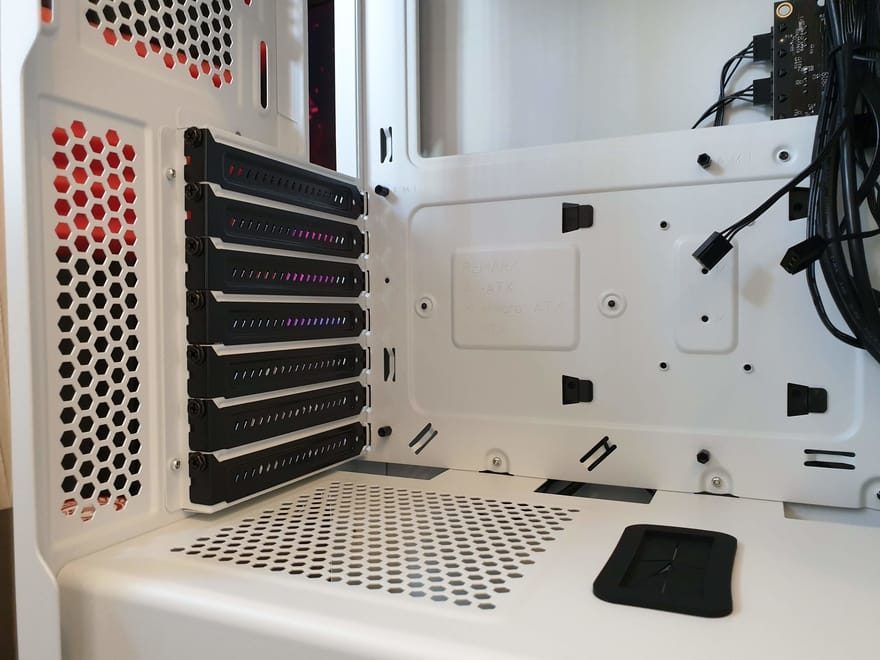
I’m not sure why there isn’t a rear exhaust fan. However, with the top mesh and the rear ventilation, I don’t think you’ll really need one; especially given the front fan configuration. However, it’s a prime spot to mount your AIO coolers, if you have them.

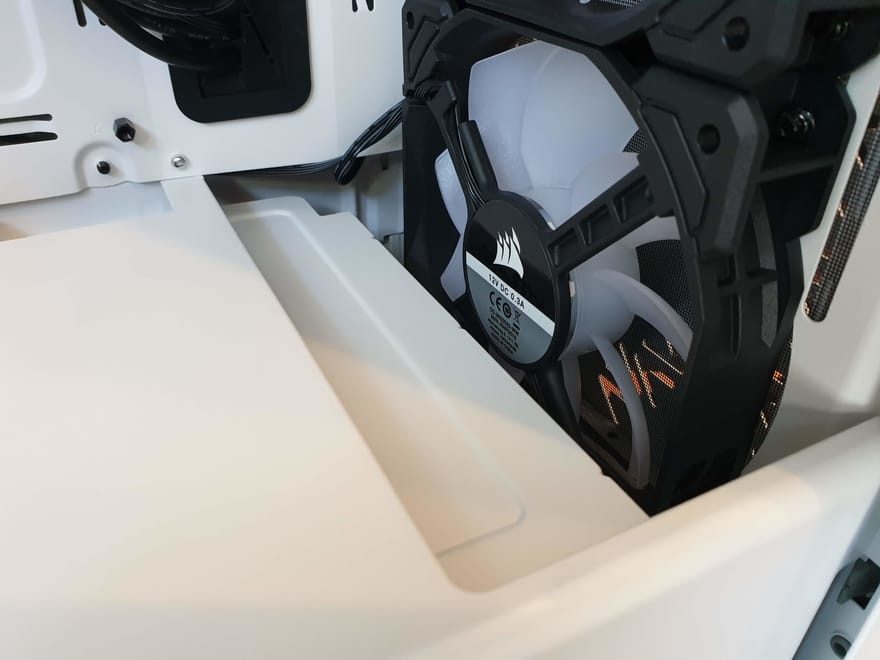
FANS!
In the front, you’ll find the iCUE 220T RGB party piece. Three SP120 RGB PRO 120mm ARGB fans. These should give you a dazzling light show when you want it, all the warm colours you desire, or you know, you could just turn them off. They’re proven to be great fans for airflow and lighting though and are a welcome addition to this case.
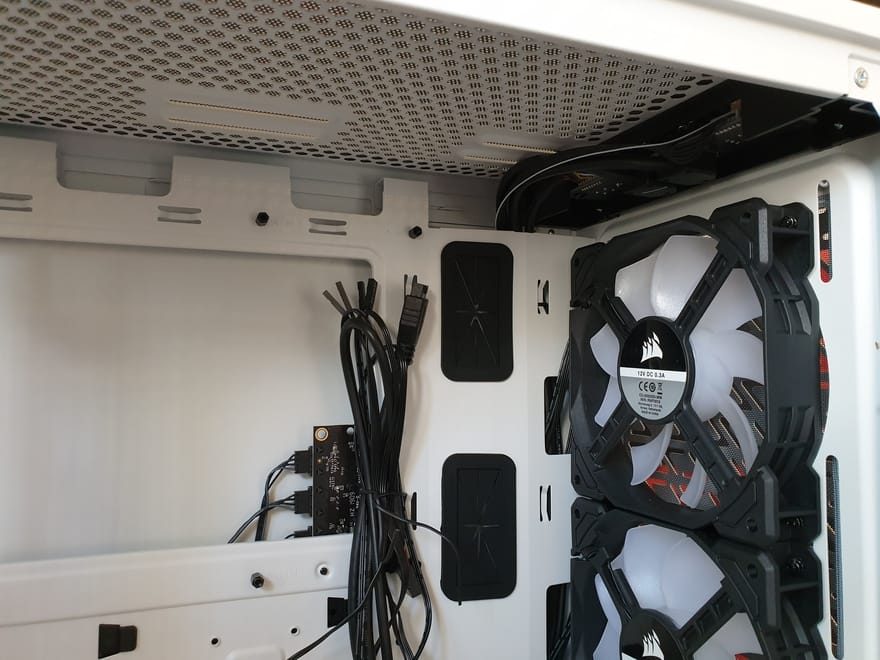
Plus, since they run the full height of the case, they’ll deliver a wall of cool air that should cool the entire system with ease.

You can mount up to a 360mm or 280mm radiator here too. However, you’ll have to slide back the HDD bay (or remove them) under the shroud for clearance.
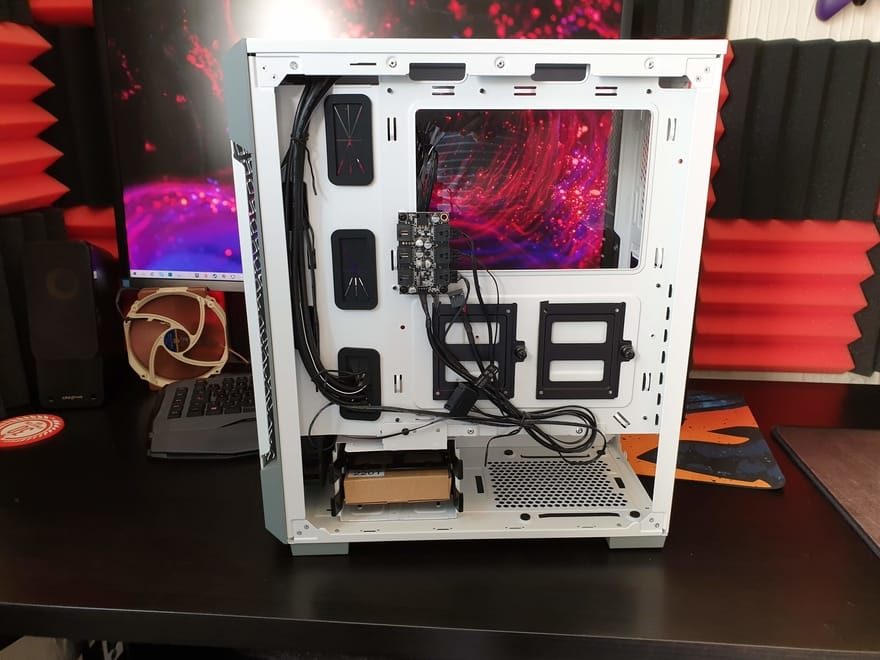
Behind the Motherboard
There’s a reasonable amount of cable routing space back here. Not a huge amount, but certainly enough. This is off-set by a plethora of cable tie-down loops on the case too. So any stray cables you can fit under the PSU shroud should be kept tidy with ease.
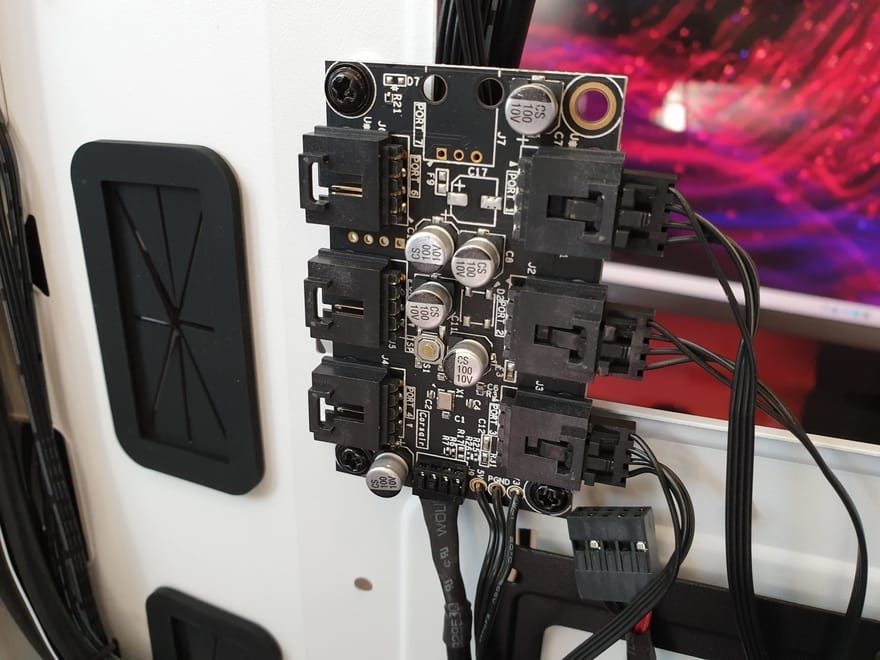
The SP120 fans come pre-wired to this built-in RGB hub too. You’ll notice it has a breakaway cable to allow you to daisy chain another hub. However, there are three more ports available for those who want to add even more fans to their build.
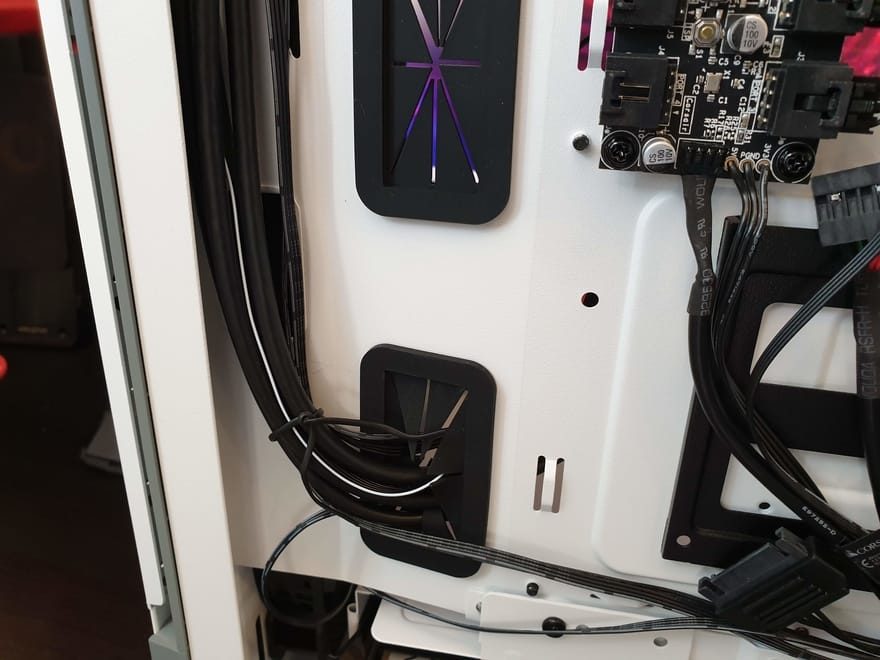
Routing
There are good quality rubber grommets everywhere too, so when it comes to looking through the side panel window, there should be minimal cable trail.
Storage
There are two SSD mounts located behind the motherboard.
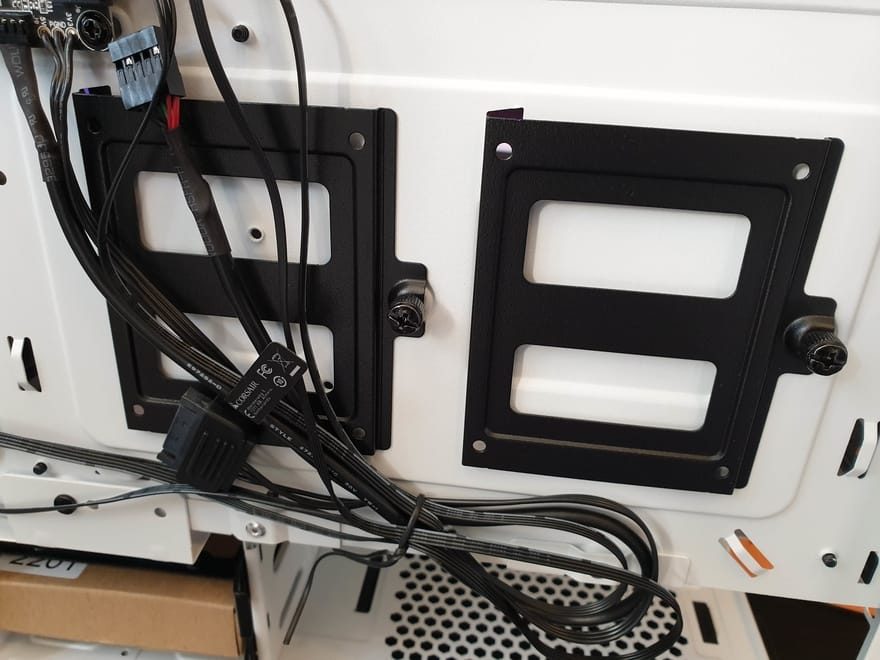
Plus two tool-free 3.5″ trays in the base. However, you can mount SSDs here too using the included screws.

Finally, we have the PSU mount. It’s not a huge space, so check the dimensions before you order a PSU. However, if you remove the front HDD bays, you have all the space to fit even the biggest ATX PSUs anyway. The choice, as they say, is yours.


