Cougar Panzer Max Full-Tower Chassis Review
Peter Donnell / 8 years ago
A Closer Look – Exterior
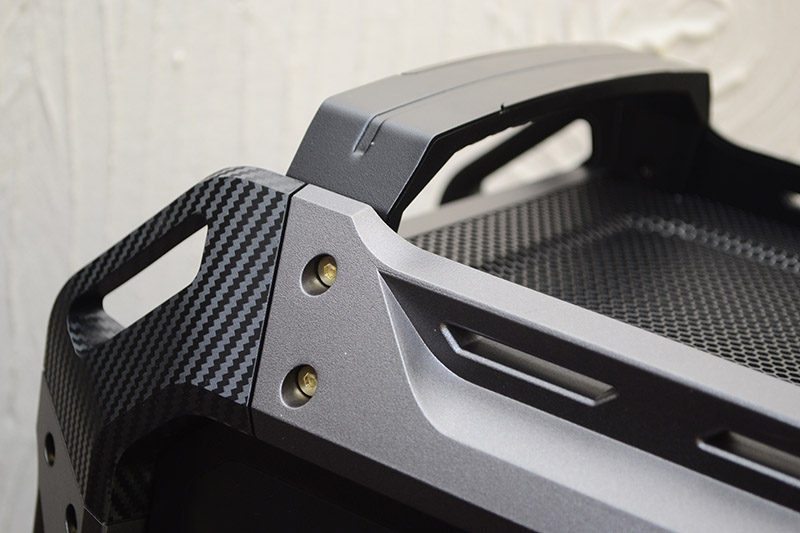
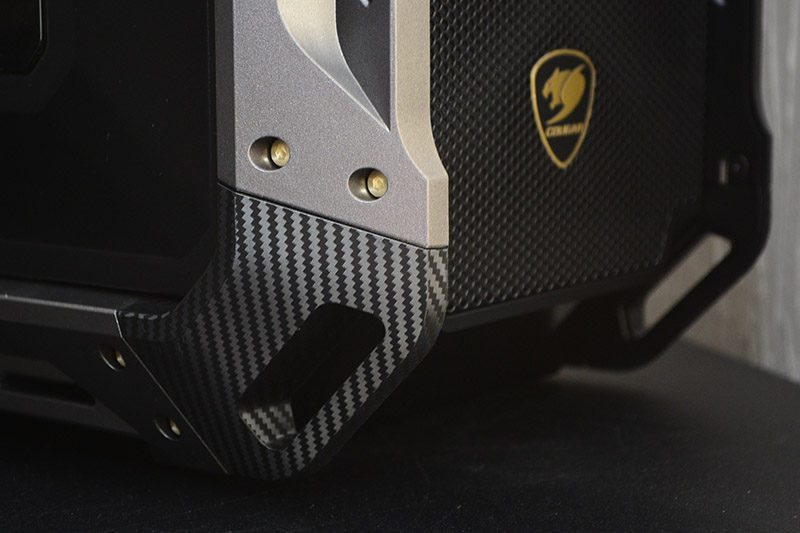
The first thing you’ll notice about the Panzer MAX is that it’s pretty bulky, it stands tall, long and wide, giving it a rugged and almost futuristic-military appearance. It’s covered in reinforcing rails, exposed bolts, carbon fiber decals, thick panels and more that make it look like it would survive being airdropped for a 10,000ft. That being said, it does look pretty durable, but it also feels it, the chassis is heavy and rigid and that bodes well for those wanting to put a lot of water cooling in there.
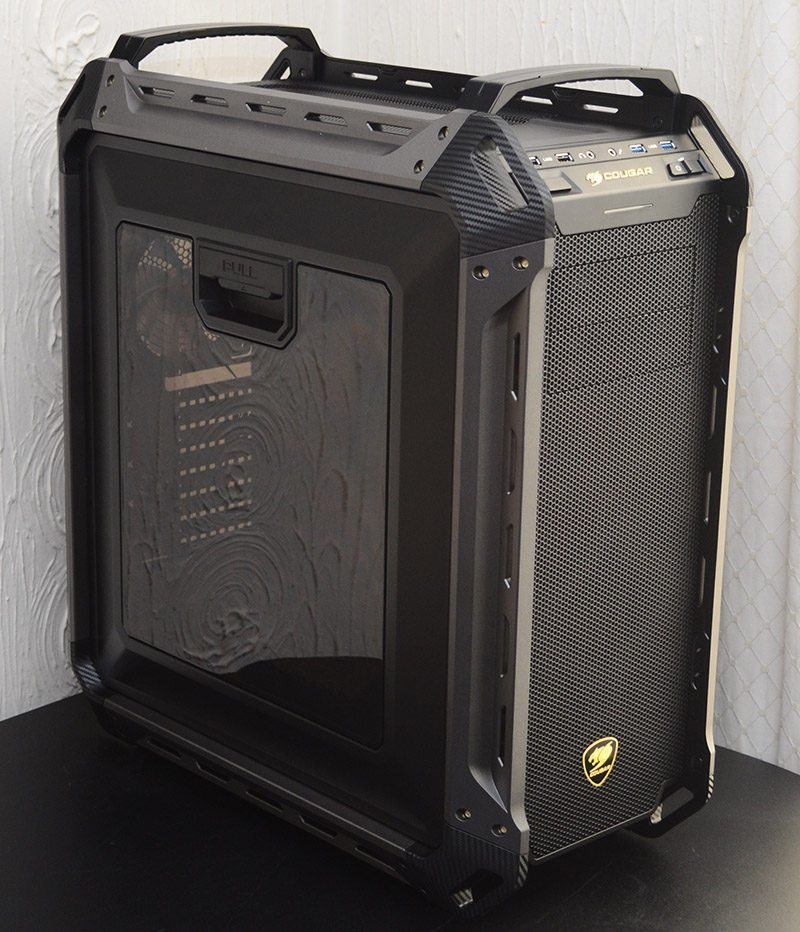
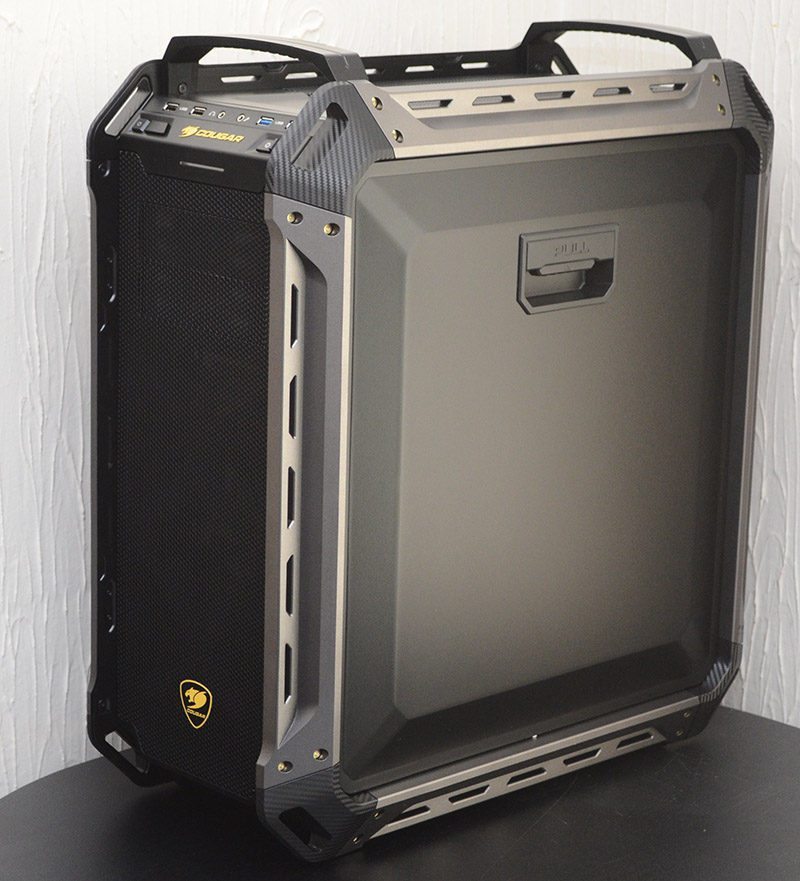
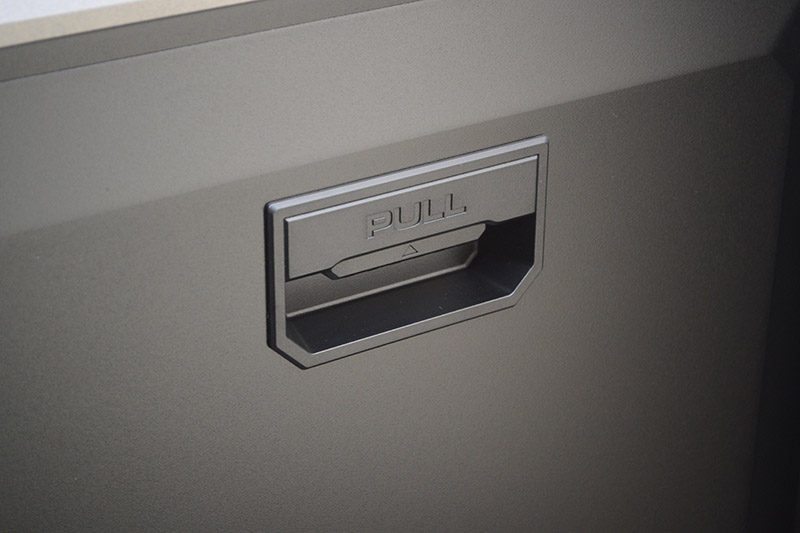
The side panel features a tinted window to show off your build, and comes with a tool-free mount; just pull up on the side handle and the panel lifts right out with ease.

The right side panel has a popped out shape, providing greatly increased cable routing space behind the motherboard.
The right side panel is also tool-free and has another one of those quick release handles.
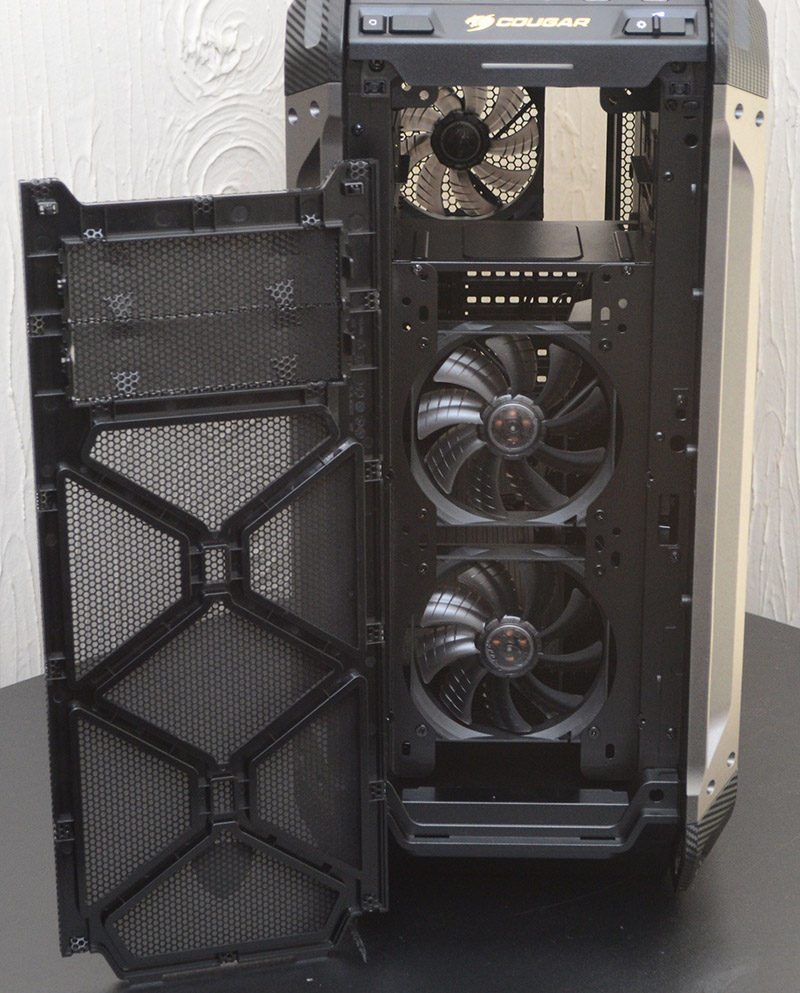
The front panel features a huge ventilated cover, giving you a huge amount of airflow for any front mounted cooling.
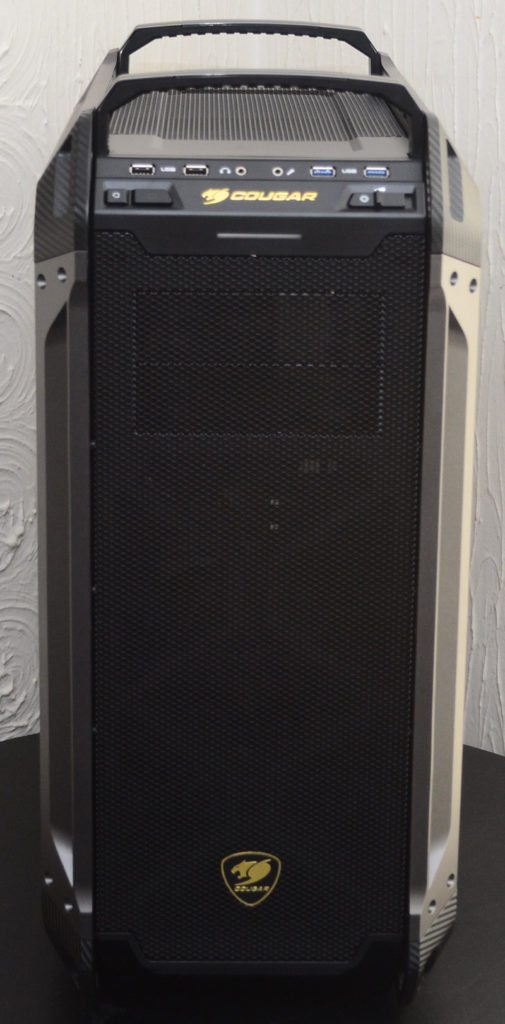
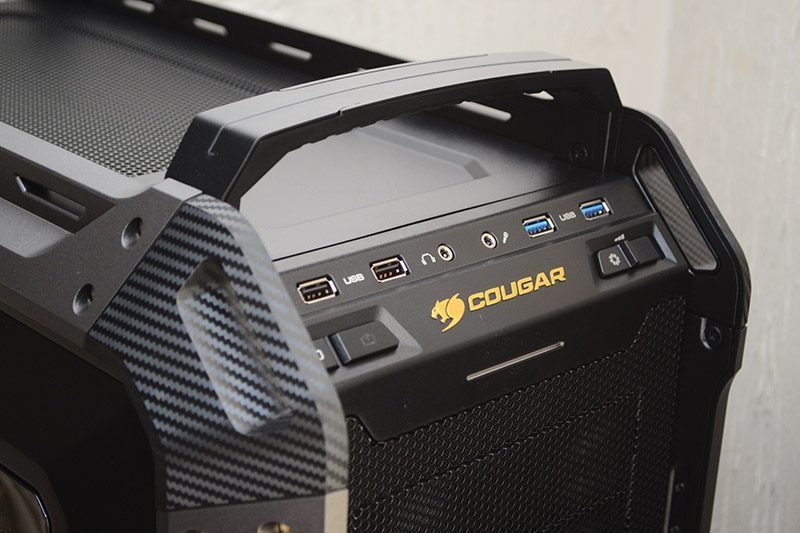
The I/O panel at the top is well equipped too, offering up four USB ports, HD audio jacks, the usual power controls, as well as a three-speed single channel fan controller.
The front panel can be pulled off, allowing you to clean the mesh filter. I would have absolutely preferred a slide out filter, as these mesh ones do tend to get clogged up quite bad and can be a hassle to clean. Behind the front panel, two pre-installed 120mm LED fans, although as we saw on the last page, there’s room for a variety of fan/radiator configurations here.
There are two heavy-duty handles mounted to the top of the chassis, capable of holding an impressive 35KG, meaning you can lift your chassis with confidence; a welcome tool for those who like to take their big rig to LAN gaming events.
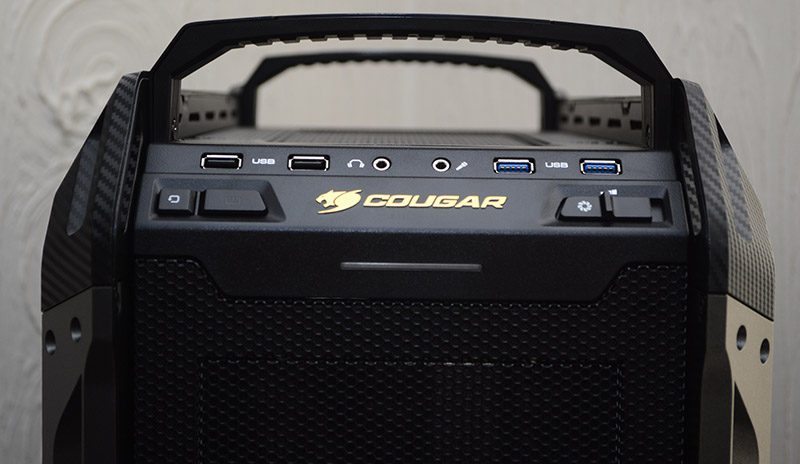
The corners of the chassis are all bolted together, with exposed brass finish fittings. These contrast very nicely with the carbon fiber finish corner pieces, and the titanium gray finish of the main rails.
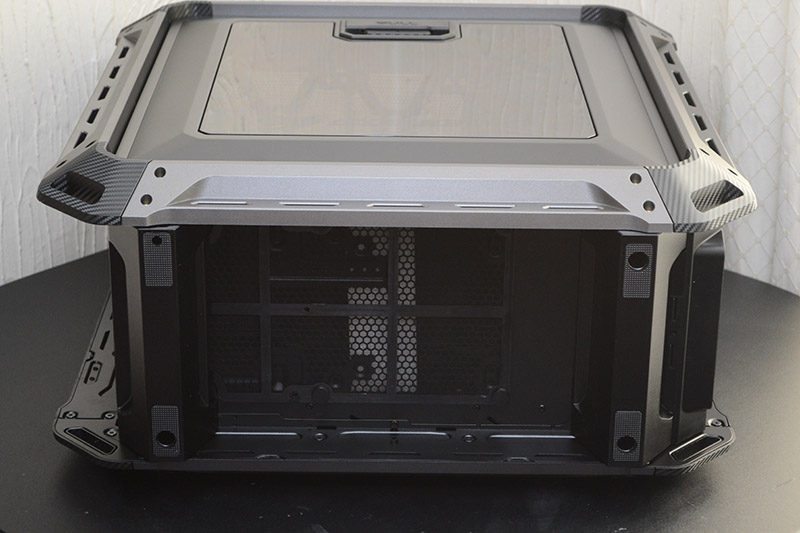
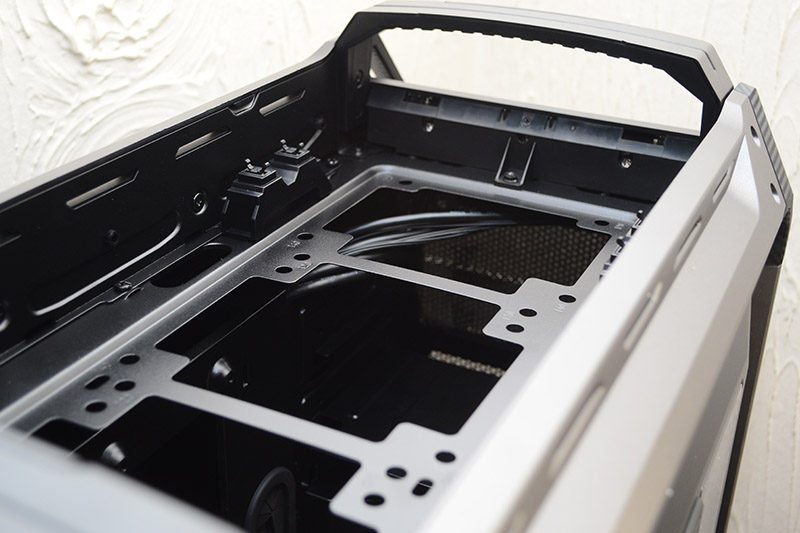
Around the back, you can see just how much of a wide-boy this chassis really is! At the top, a 120mm fan mount, with a fan already pre-installed, and below that, 8 expansion slots and three pop-out routing grommets. Finally, a bottom mounted PSU cut-out.
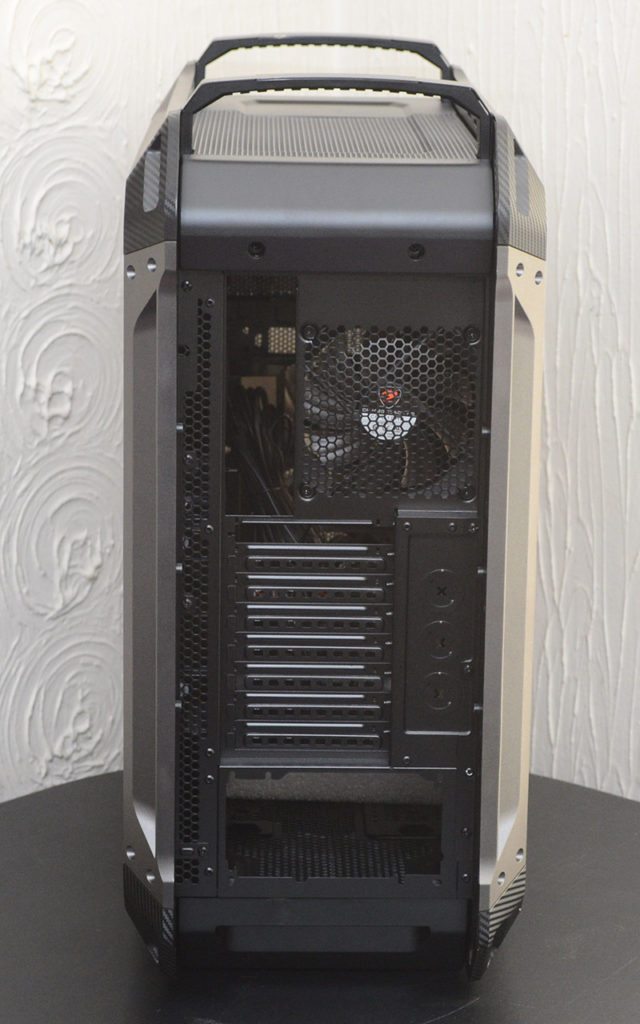
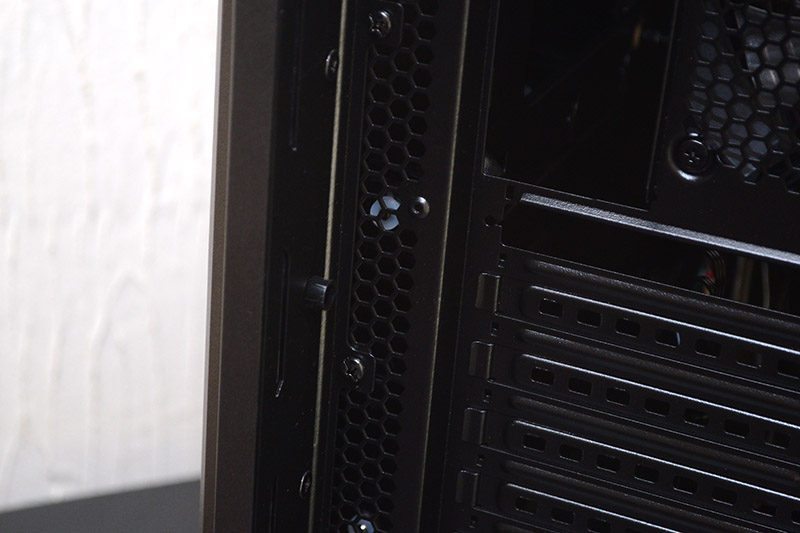
There’s a full-height strip of ventilation for heat exhaust behind the motherboard tray too, and we’ll show you why that’s here in just a moment.
The top panel uses a push-click-release mounting system for easy access to the top fan/radiator mounts. There are two sections, the ventilated cover, and a solid cover towards the front.
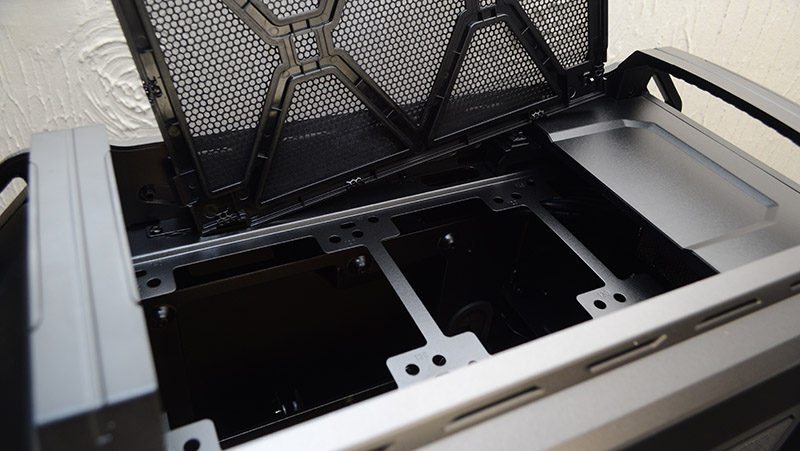
Here you’ll find 120/240mm mounts.
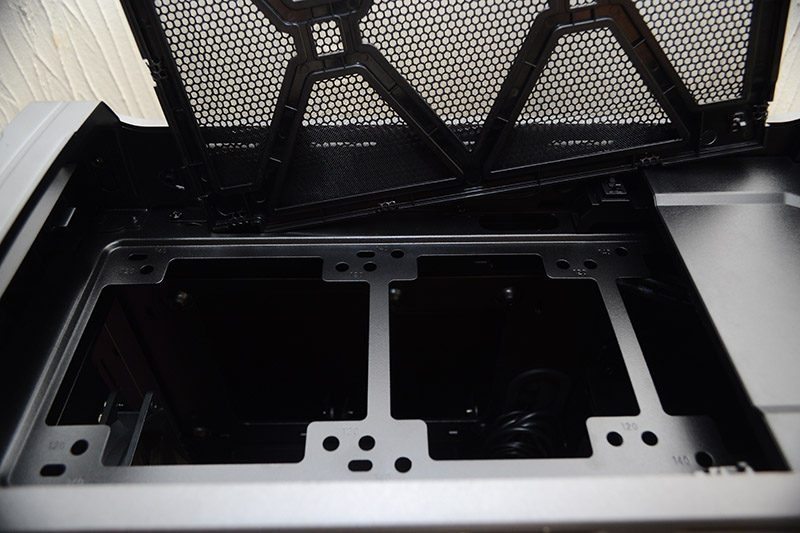
Pop off the front cover, and you’ll see room to go up to 360mm also.
On the base of the chassis, some full-wide heavy-duty feet provide great ground clearance and stability, as well as providing good airflow to the bottom fan/PSU air intakes, which are covered with a magnetic fitted dust cover for easy maintenance.