Datacolor Spyder5 Elite Monitor Calibrator Review
Rikki Wright / 9 years ago
Introduction

We have already posted our first review of the impressive Philips BDM4065UC 40″ 4K monitor, but to review this kind of product we need a specialist bit of hardware. Sure, we could do it all by eye, but that would be completely dependent on the reviewer at the time. Their perception could change massively at different times of the day with different light levels or even sitting at a slightly different angle. While that would make for great reading, it doesn’t give the readers tangible information that can be compared between reviews and it turns into a “he said she said” unprofessional mess.
This issue led us to look for a consistent calibration tool and we found the Spyder5 Elite. This nifty little tool is the creation of Datacolor, a company that has more than 40 years experience in the colour management solutions so know a thing or two about color perception.
A Closer Look
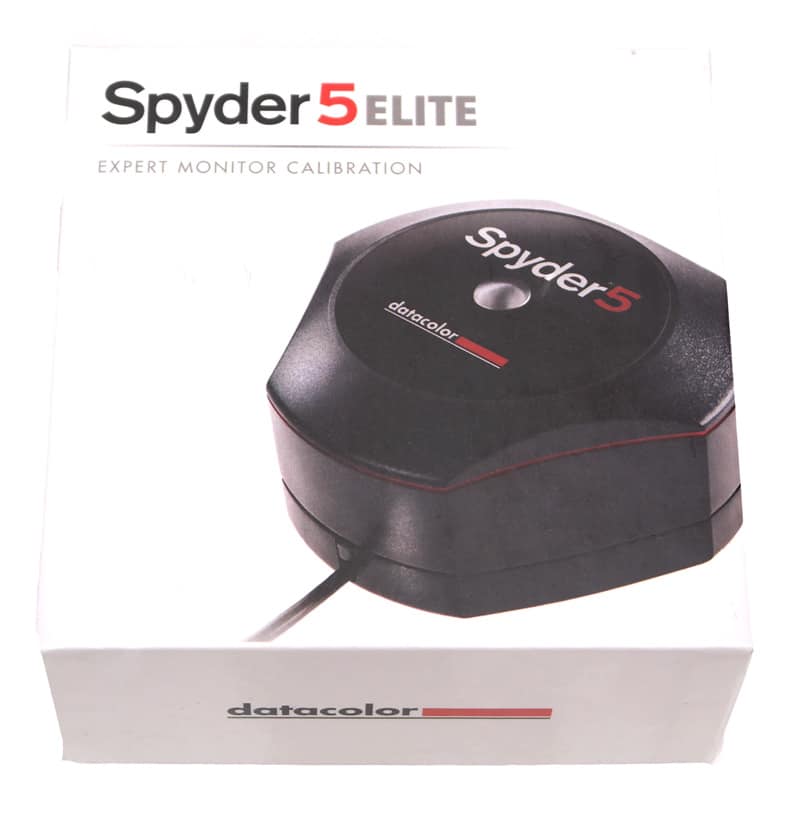
The box that all of the Spyder5 range comes in is high-quality. It consists of two parts that are strong as single pieces, but together can support the weight of a fully grown man, yes I stood on it by accident!
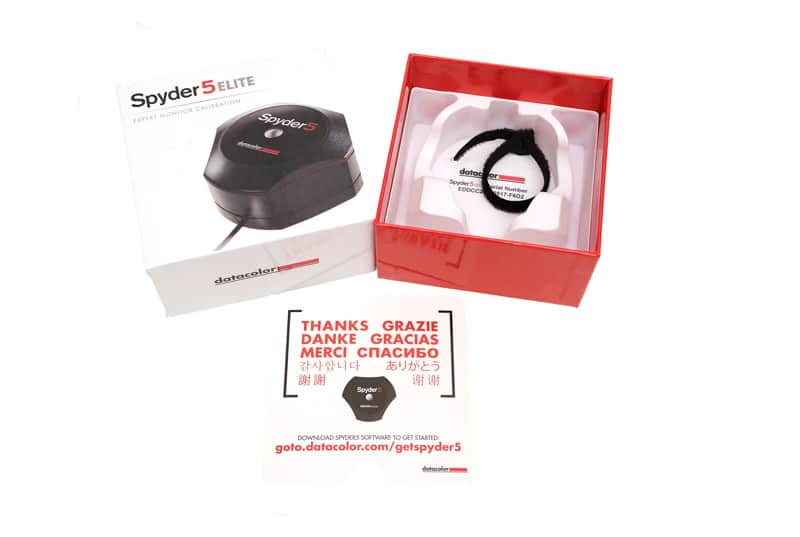
Inside the box is a snug plastic mould that fits the Spyder5 perfectly. It then allows the wire cable to be wrapped around the perimeter, possibly for added protection in the case that you use it as a football. Along with that is a serial code, cable tidy and a ‘Thank you’ card with the download website on.
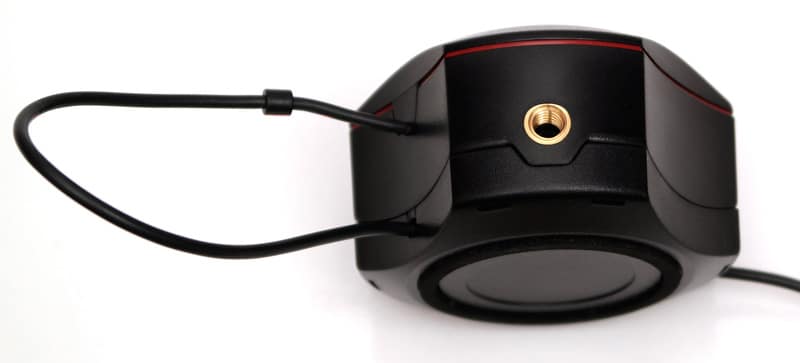
It looks like a really simple piece of kit, but inside this outer casing is a high-tech monitoring tool with two uses. The top (what we are looking at) holds an ambient light sensor to monitor the room’s light levels. Inside is then the monitor calibration tool that monitors brightness, colour, contrasts and so on.
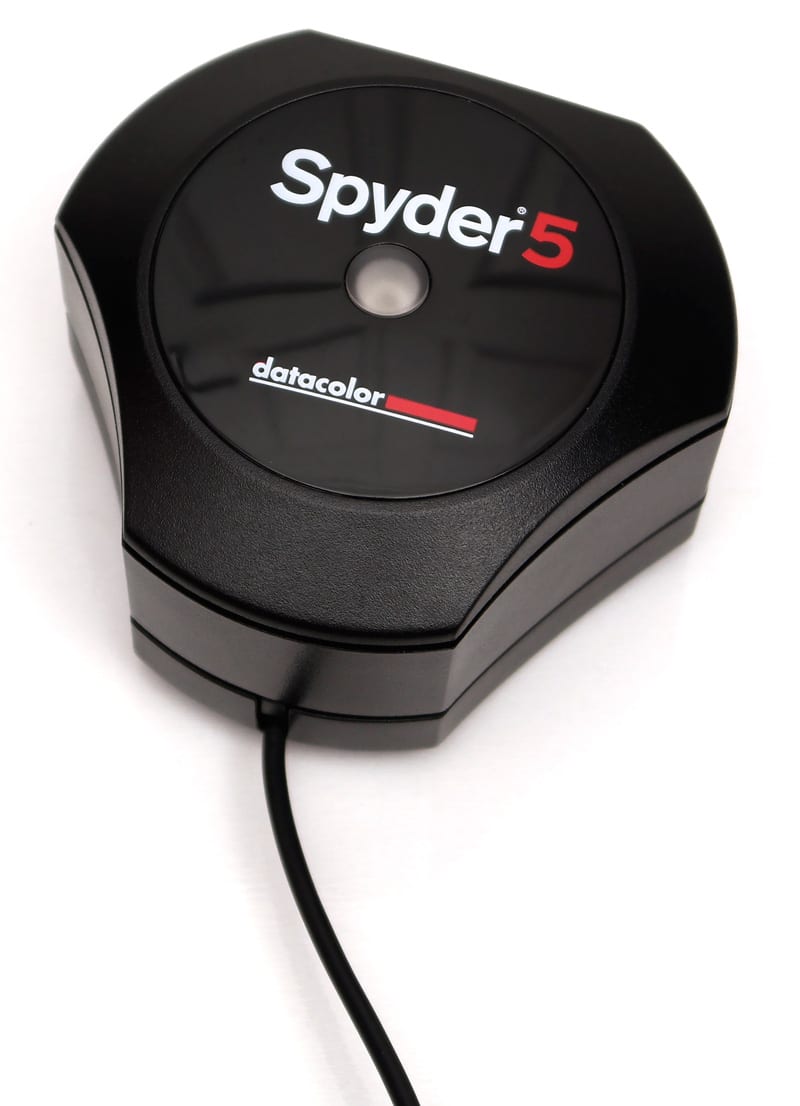
When I first received the Spyder5 Elite, I didn’t know that it opened. I then noticed that it opened up and the back is a counterweight to help stabilise the main section on the face of the monitor, clever!

Taking a look at the inside of the Spyder, we see a honeycomb style plastic opening. This is designed to sit flush on the face of the screen and monitor different parts of the screen. This is much more accurate that one single hole that covers the same area.
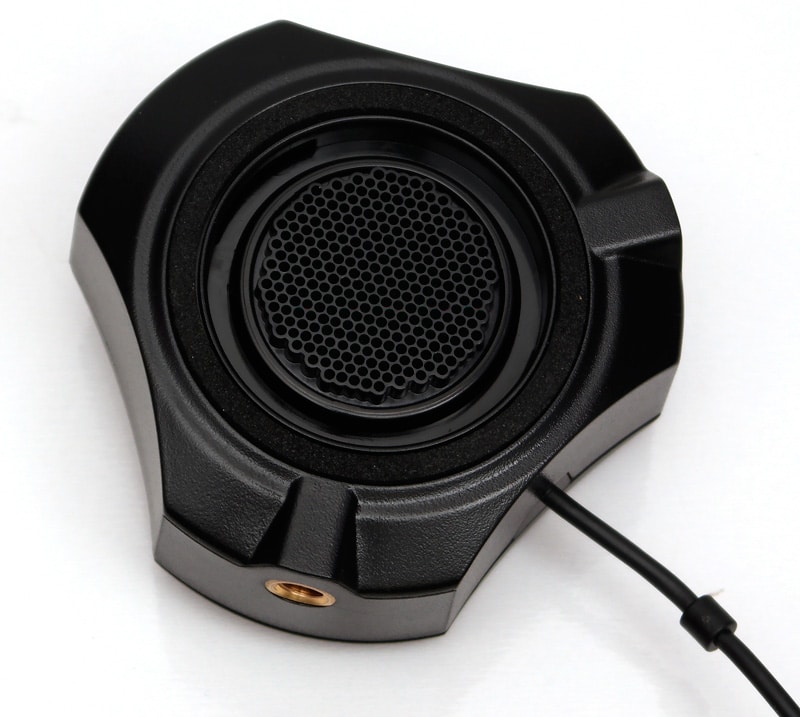
If you have a tripod small enough, this features a tripod mount to allow you to use it. This is good if your particular monitor doesn’t have a tilt feature or is hanging off the wall at a downward angle.
Installation and Usage
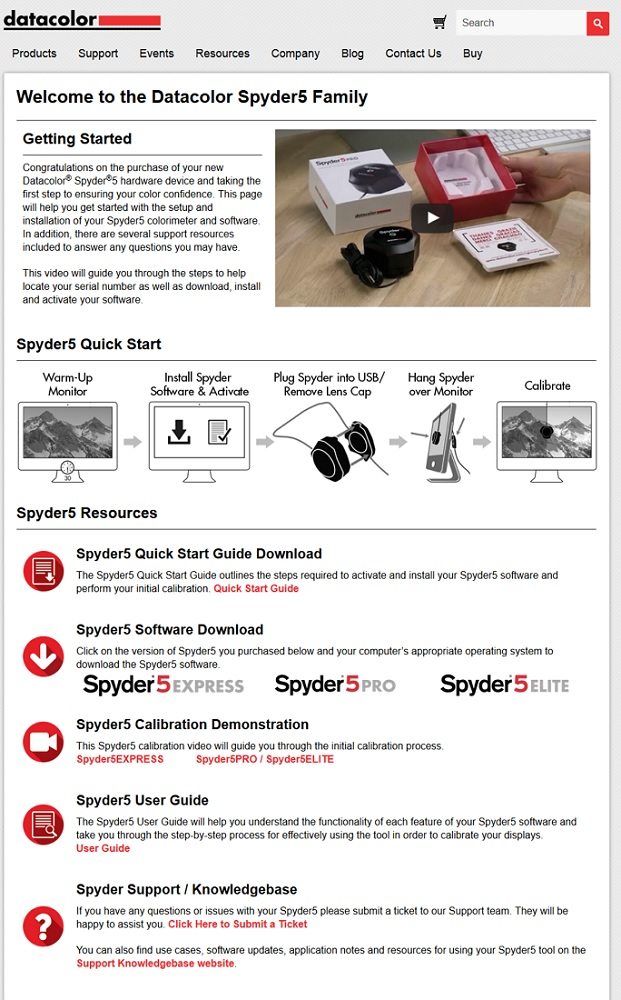
As we move onwards to a more digital life, we tend to not have an optical device installed on our computers to read discs. Datacolor has combated that by including a small leaflet with a web address to download the software from. If an installation disc was included, the box would have to be much larger also.
Head on over to the website on the small leaflet and click on what model Spyder you have between the Spyder5 Express, Spyder5 Pro and Spyder5 Elite.
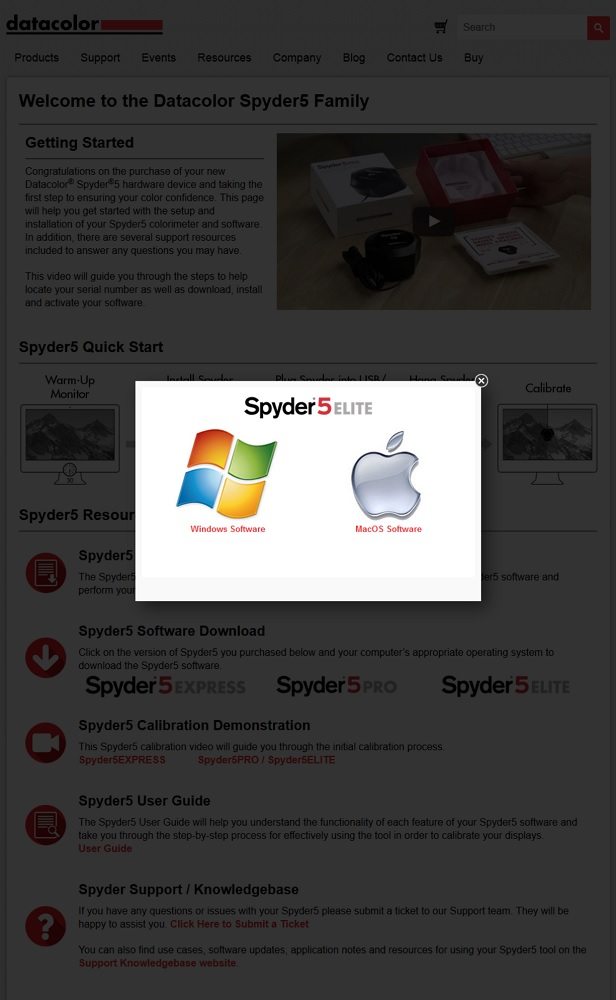
The software isn’t restricted to 32 or 64-bit Windows installations, so you simply choose your operating system.
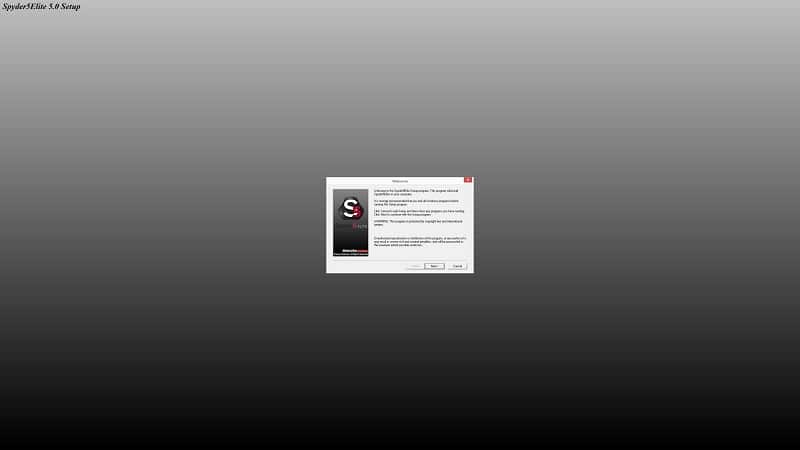
Once you have downloaded the software, it is as simple as following the on-screen instructions to the end.
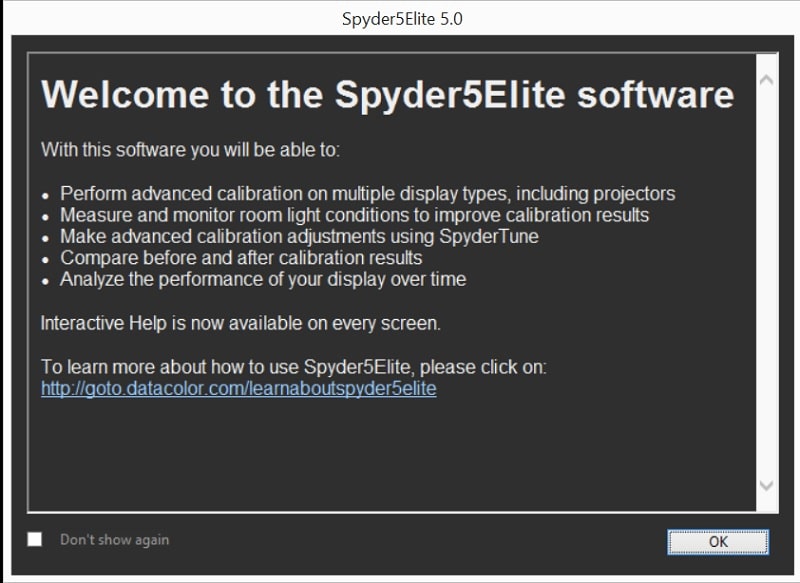
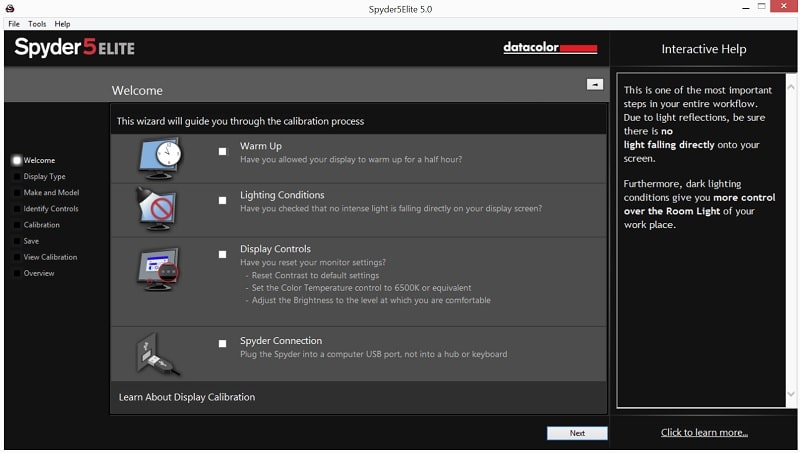
Once everything is installed, open up the software and follow the instructions. The first screen gives you a checklist to follow to ensure the correct conditions have been met before you calibrate the display. Much like energy saving bulbs, the monitor needs time to warm up to be at optimal operating temperature. Once you open the software, DO NOT move the window as it locates the position of the Spyder in the middle of the screen.
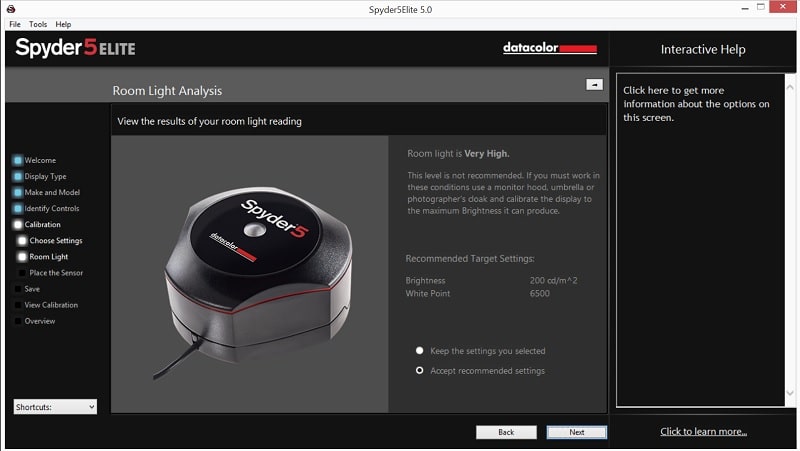
Through my testing, I found calibrating the screen at night is the most reliable as the ambient room brightness will not change like throughout the day. If a darkened room or night operation isn’t available, try to ensure no direct light is on your monitor or Spyder5 calibrator.
Unless you have any specific values to enter here, I would leave everything at the recommended settings. These settings are a “general” value and your display may require a much higher or lower figure to operate normally.
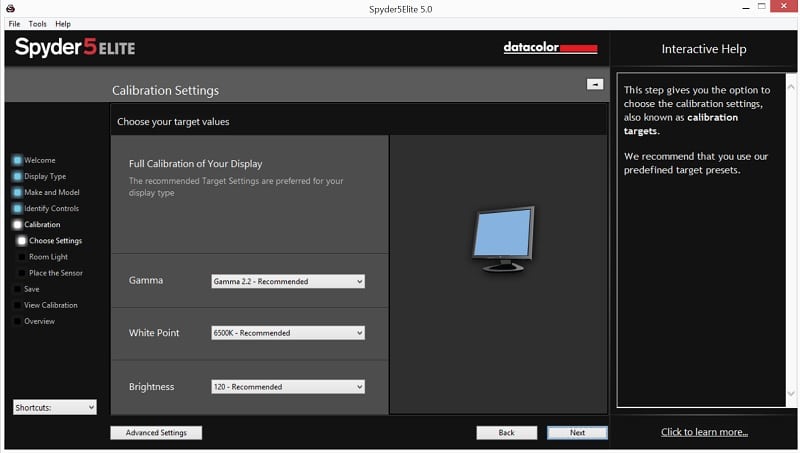
This step requires the Spyder to be on a flat surface on your desk. Ideally located between yourself and the monitor. Here it will record the ambient light and brightness levels to determine the best settings. Here you can go back to the previous screen to increase or decrease to match the values provided here.
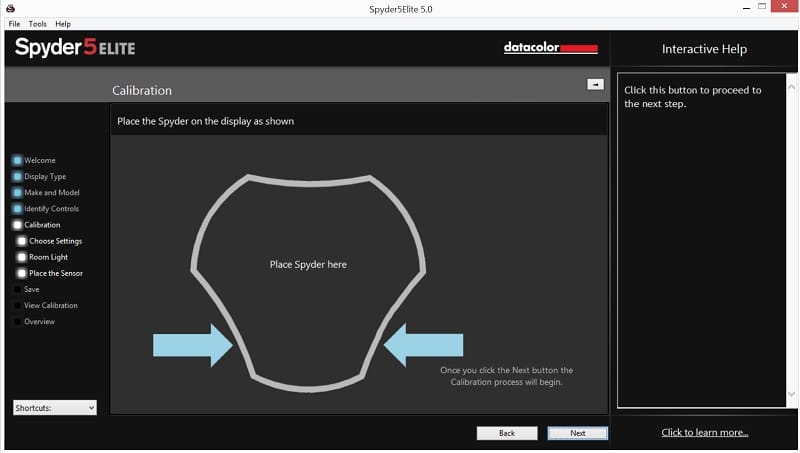
The software progresses and requests you to place the Spyder within the outline on the screen. Most monitors have a tilt feature to enable a flush seating, but others might need to be propped up to enable the best seating.
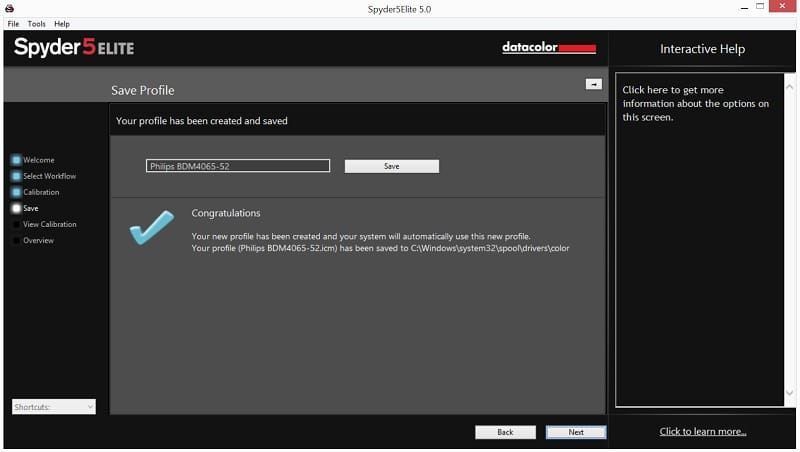
Follow the process and then save your new calibration setting. At certain points in the process you have to manually change certain settings of the monitor through the monitor settings menu. All of the calibration carried out by the Spyder itself is Operating system based so can be removed in the Monitor settings of your computer.
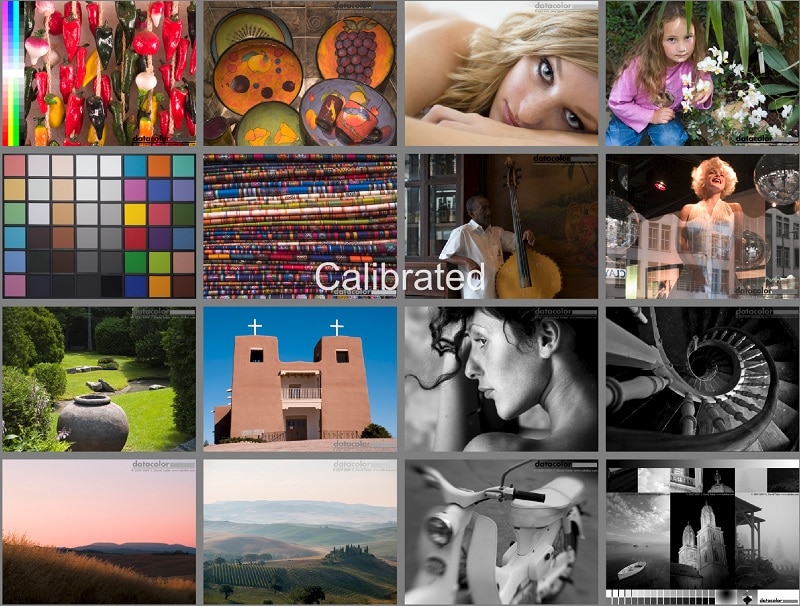
Once the calibration has been completed you will notice a huge difference in the display. There is a tiled image at the end of the process which allows you to compare the before and after settings.

Final Thoughts
Price
The Spyder5 Elite doesn’t come in cheap at a hefty €257.04. However, a product like this isn’t for the general consumer, it is for the professionals in the world that require ultra-precise colours. Generally those in the fashion and media sectors require this level of colour calibration.
Overview
As a whole package, the Spyder5 Elite is a great bit of kit for professionals. The general home user could never justify the cost of this just to use once or twice. As someone who will be using this on a regular basis, I love how simple the software is to use; I could even ask my 8-year-old daughter to carry out the process while I sip my coffee.
Everyone’s tolerance to brightness and what is actually white is different. Personally I like a higher than the average brightness of 8000K for me to perceive a blank word document as pure white while others can see white at 6500K. This is where this hardware comes in, it takes out the guess work so the monitor is always set to the best colours, removing the possible human error and providing more true to life recreations. Personally after the calibration, I found the screen to be too warm (orange) for my liking and reverted the settings back almost immediately.
Now everything has a down point and this is no exception. During my testing of the Philips BDM4065UC, I had to completely reconfigure my desk to give the Spyder5 enough slack to comfortably fit on every part of the screen without putting undue stress on the cable.
Pros
- Extremely simple to use
- Compact size
- Simple to use software
- Robust device
- Continuous light sensor to monitor environment lighting
Cons
- Cable could be slightly longer
- Expensive
- Calibration required manual input
“One of the best calibration tools on the market provided by innovation and over 40 years experience. If you work with colour perfect image, this is a must-have to get the best out of your monitor.”

Datacolor Spyder5 Elite Monitor Calibrator Review
Thank you Datacolor for providing us with this sample.


