Drobo 5N 5-Bay NAS Review
Bohs Hansen / 8 years ago
Setup – Initialization and Basic Dashboard
One of the first advantages of Drobo NAS comes during the initialization, because there really isn’t any. Insert your drives, connect it to power and network, and turn it on. After a short boot time, it is ready for your usage.
Connecting to your new Drobo NAS is a little different than with other NAS devices that come with a web interface. Instead, we have the Drobo Dashboard app that we install on our normal computer and from where we can control the entire device. As is, you can already access quite a few information without being logged into the device, but you can’t change anything – of course.
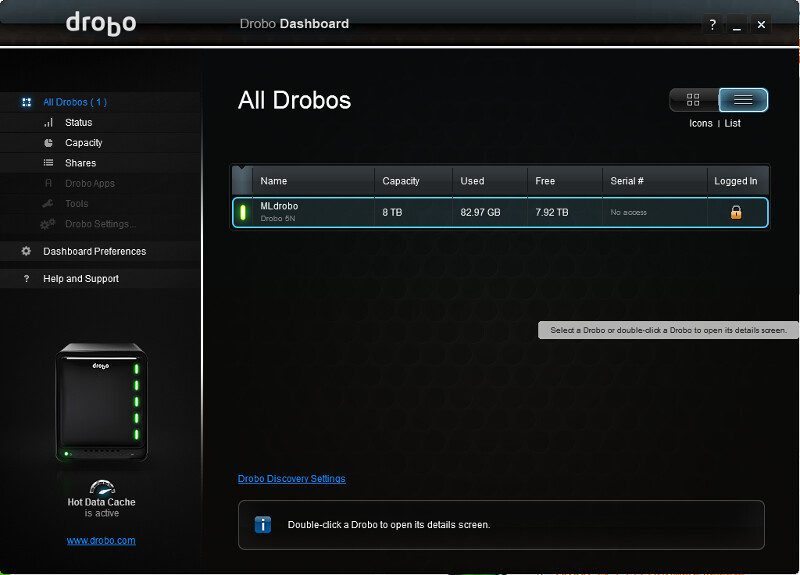
The first page in the Drobo Dashboard will list all Drobo devices, both NAS and DAS, that can be detected by the current system. You can sort them by health, name, or product.
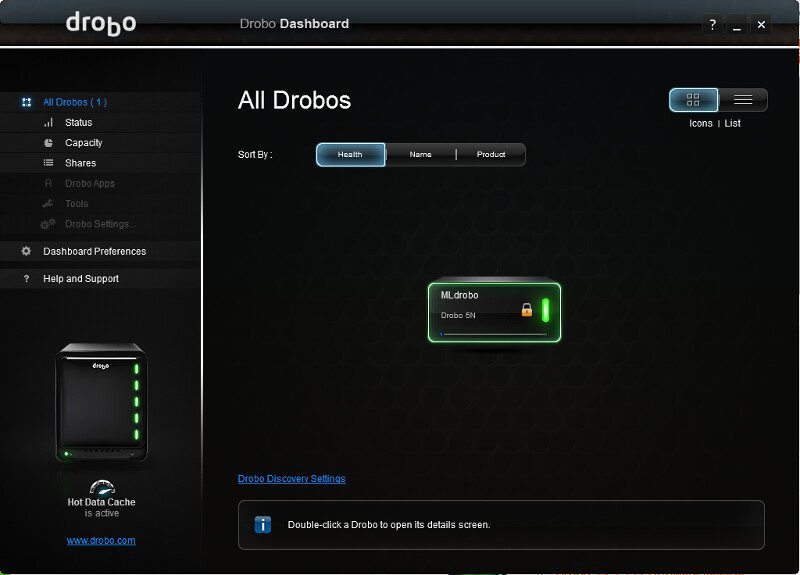
You can also switch between icon and list view where each has their own advantages in the information shown.
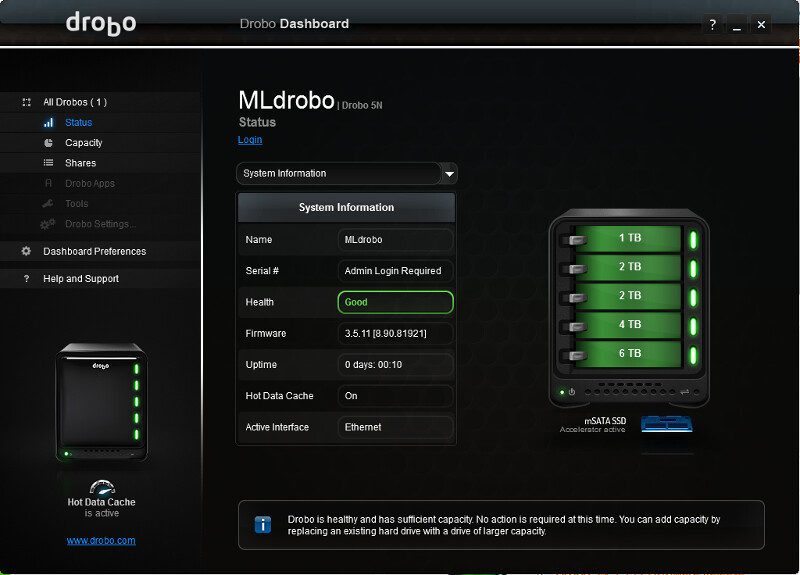
Selecting a device, in this case the Drobo 5N that I’m reviewing and the only one connected, will provide more details on the device. First, we have the system information itself. We can see the name, health status, uptime, and so forth. The serial number is hidden until we log in with our admin user. To the right, we also see the drive status that shows both the data drives and the accelerator drive if installed.
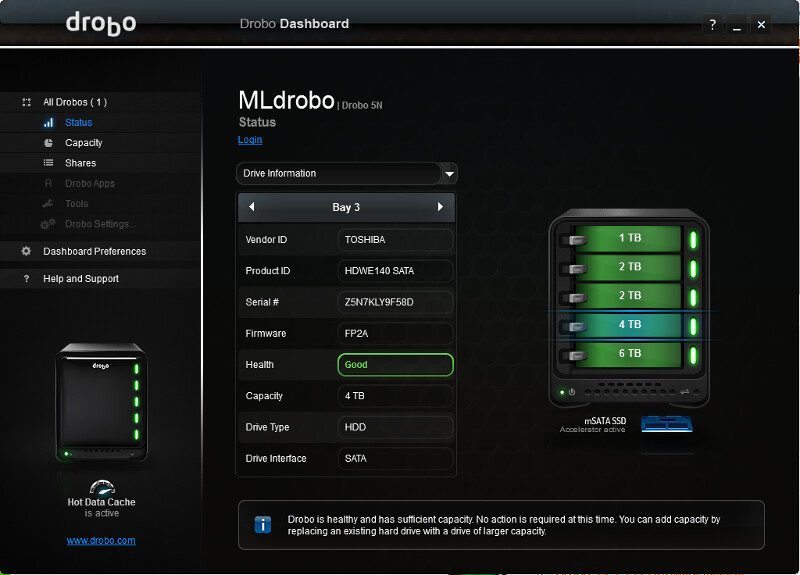
Next, we can take a closer look at the drive that we have installed. To the right, it’s clearly marked which drive we have selected while all the details are shown to the left. From health status to capacity and drive type.
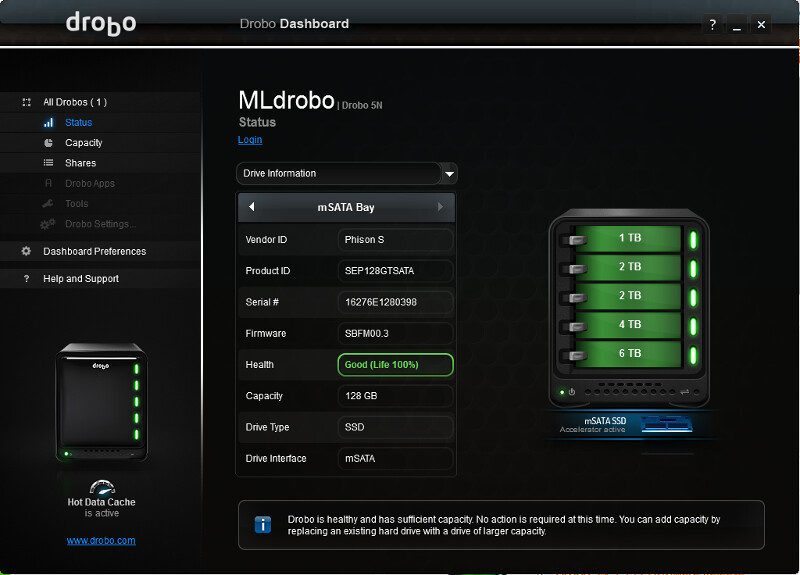
The same way as the data drives, we can check up on the mSATA accelerator drive that we have installed in the unit. The Drobo system will automatically cache hot files onto this and thereby speed up the access to frequently accessed files.
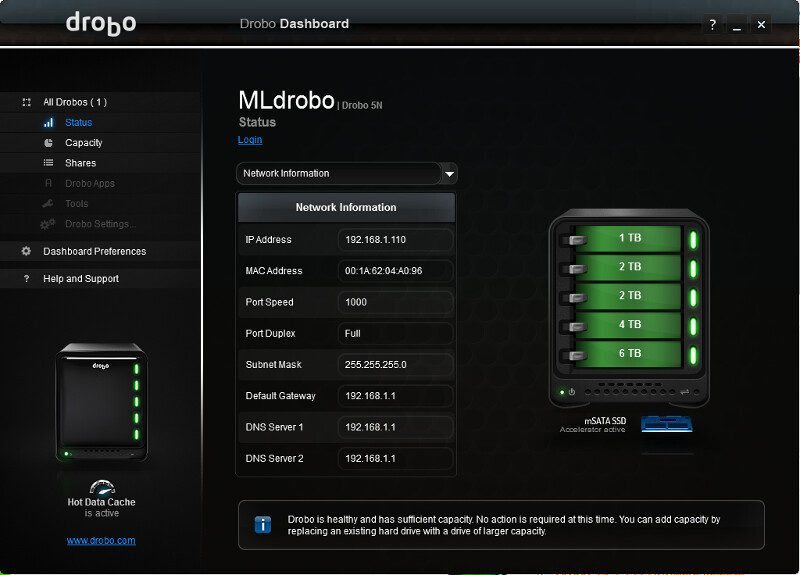
Last but not least, we can check up on our network connection. Since this is the only connection the Drobo has, we can only see this if connected – but we can check up on the details of this connection such as the connection speed, whether it’s full duplex and 1000 Mbps as it should be or some cable or switch on the way possible limited this for us. The IP, MAC address, and other connection addresses are also listed here.
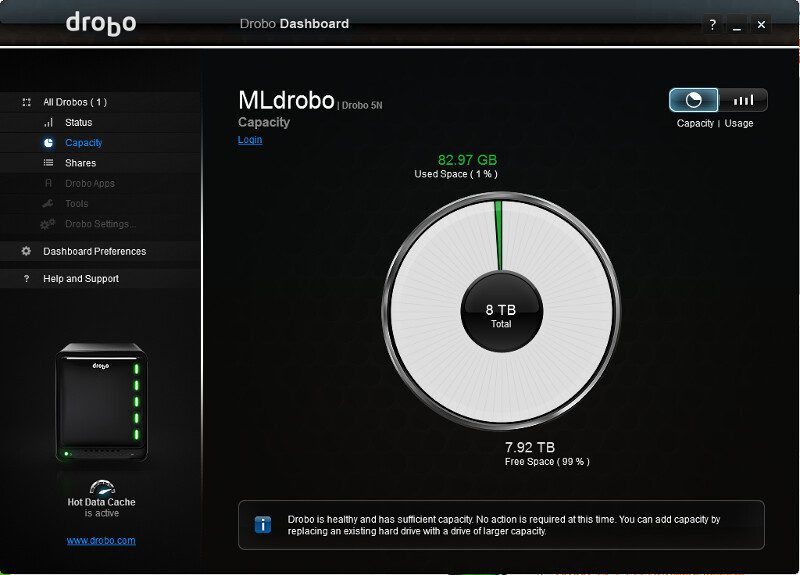
Next up, we have the capacity. We can view it as a pie chart which gives an easy view for some people on the usage. Our drive setup gives us a total of 8TB capacity in the current setup.
We can also move into the more detailed usage view on this page where it also tells us how our total RAW capacity of 15TB is utilized and how the setup is made. As a comparison to a normal RAID setup known from other devices and with these drive sizes, we get a lot more capacity available to us.

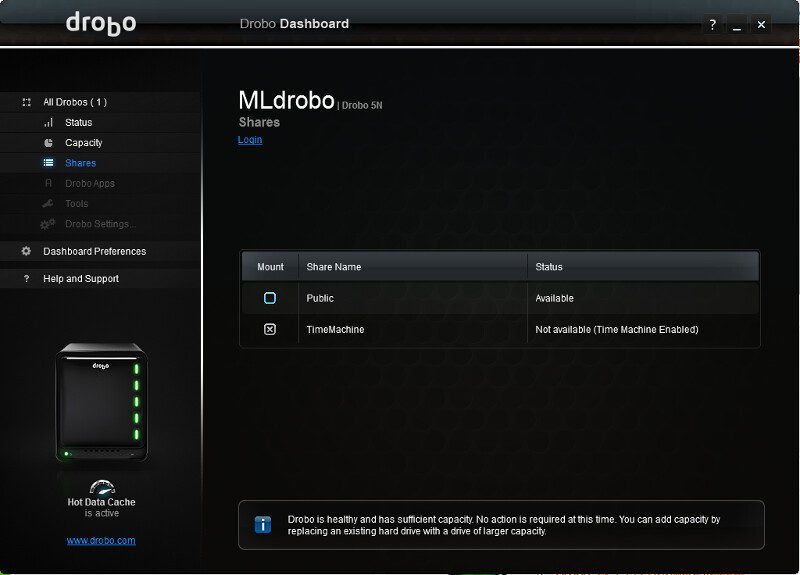
By default, we have two shares available: A public folder and one reserved for Mac OS users that want to use Time Machine backup option. This is currently disabled as Time Machine isn’t enabled yet.
The next three steps aren’t available until we log in with our admin user, so we’ll skip ahead for now and see what’s next without being logged in.
The dashboard preferences are for this app that we’re currently looking at. We can change the discovery settings on how Drobo devices should be detected, the update settings for the Dashboard app, as well as alert settings and email alerts.
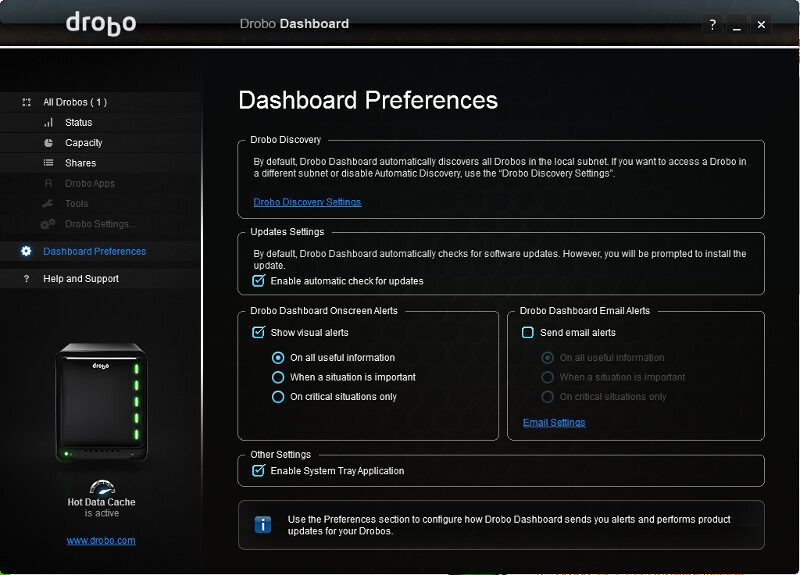
Especially the email alerts are useful as it will send out an email to the set address when something on the system requires your attention. A headless unit such as a NAS isn’t one that we log into every day once it is setup and running, and as such it’s an awesome extra security.

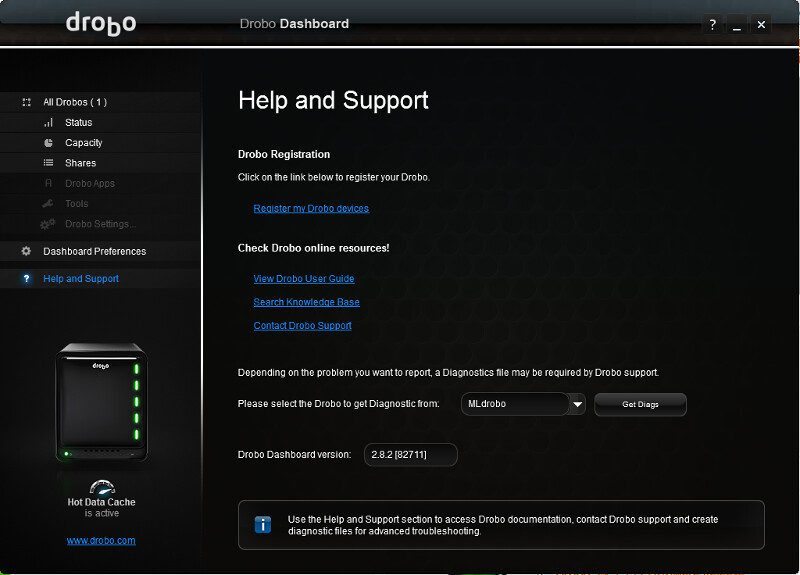
The last page is for when you need a bit extra help. You most likely never need this page, but if you run into trouble, that’s where you can go first. It provides links to register the system as well as access to the online resources such as the user guide, knowledge base, and contact to the Drobo support.
We can also download diagnostics from the system which then will be collected into a single file – which you can forward to your system admin or the support staff if something should go wrong.