Enermax Fulmo-ST Midi-Tower Chassis Review
Peter Donnell / 11 years ago
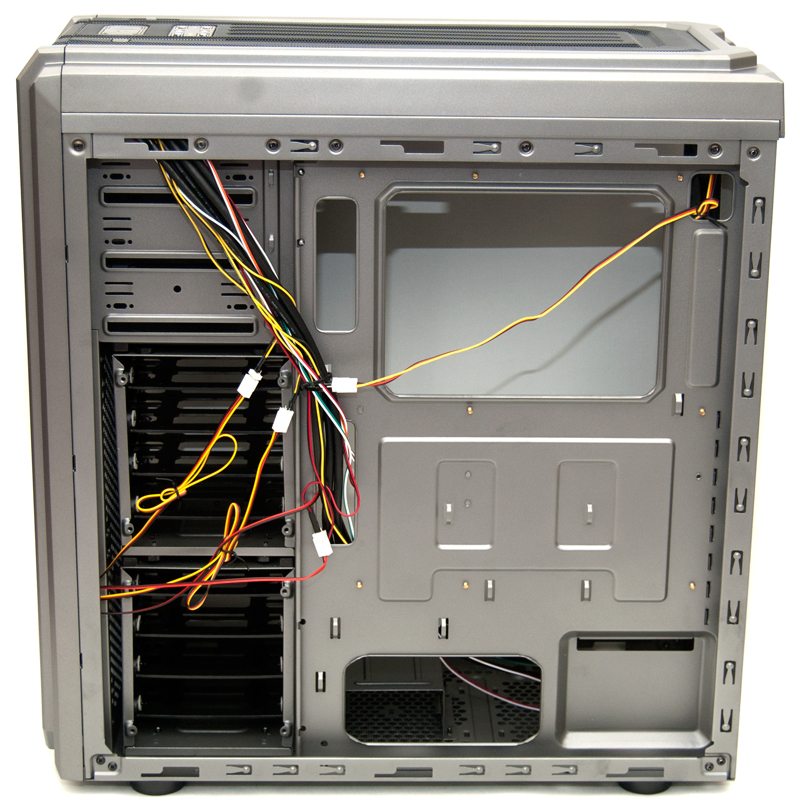
The chassis interior has been given the same high quality paint job as the exterior, giving the whole thing a super clean look. The stand-offs have been pre-installed and this will help make the build process a little quicker as will the huge CPU-cooler mounting cut-out on the back plate. There is a small cable routing hole on the top left, two tall ones on the right and a large one next to the PSU area, while they do not feature rubber grommets they do have rolled edges to prevent your cables from snagging.
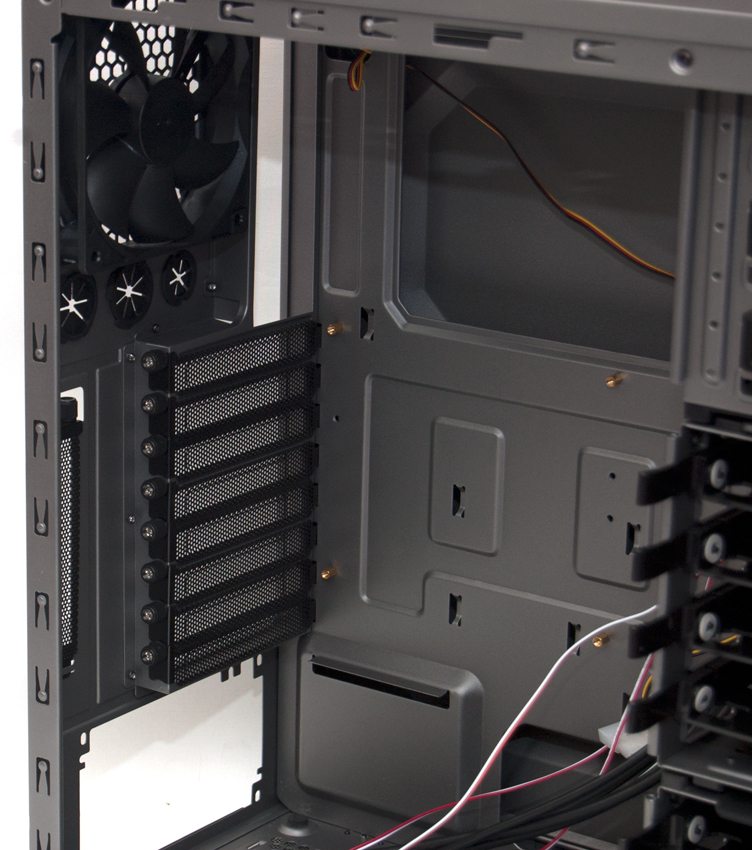
The rear 120mm fan is recessed into the chassis, this provides extra clearance from the CPU block, great for those mounting a 120mm radiator here as it should make it easier for a push / pull fan configuration without conflicting with your motherboard. The expansion slots are all fitted with quick release thumb screws for easy access and the bottom of the PSU mounting area features some rubber coated stilts to provide better support and vibration reduction.
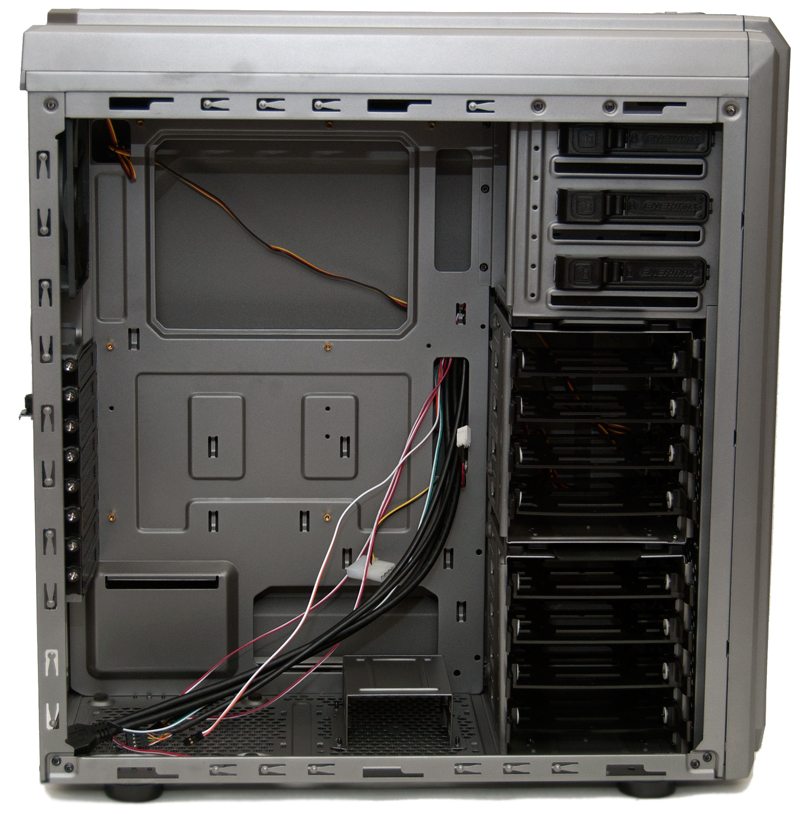
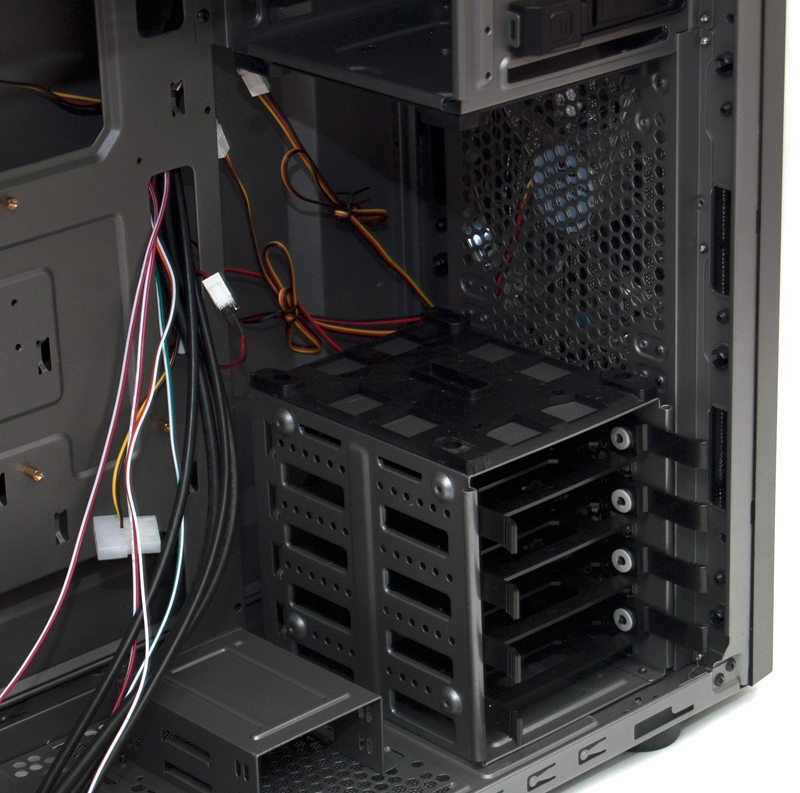
The front section of the chassis features 3 x 5.25″ drive bays all with high quality quick release clips for easy access. There are eight slide out HDD bays that support both 3.5″ and 2.5″ HDD’s, in a 4+4 format. Each of the HDD trays has four screw holes that can support a 120mm internal fan and the top bay can be quickly removed thanks to a simple clip-in mechanism.
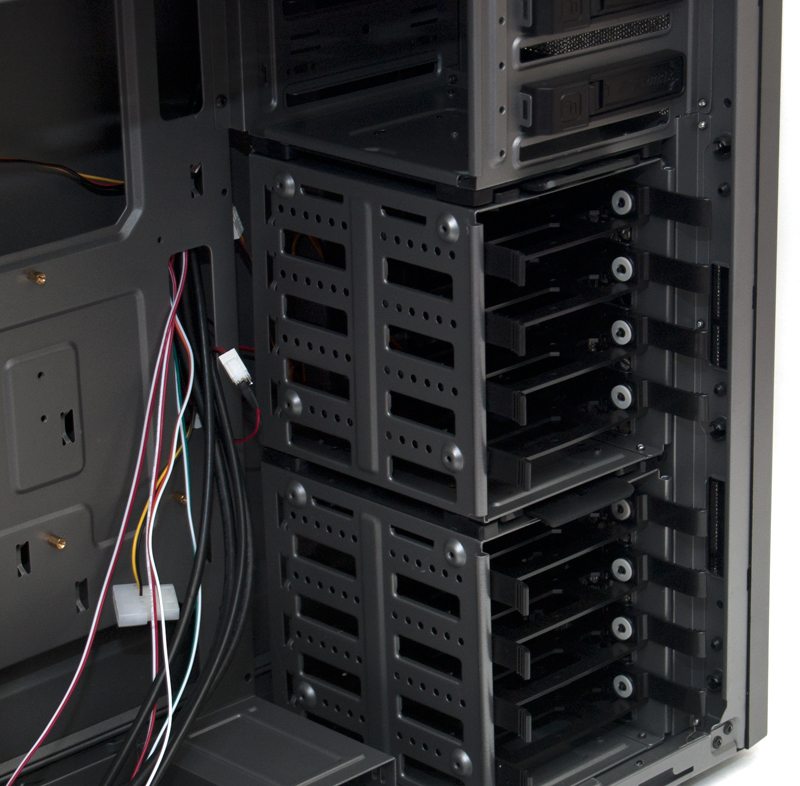
Removing the bay provides even more clearance for your GPU, although this isn’t a small chassis to start with and its unlikely that you will need it, however it could provide you with better airflow from the front fans dependant on your configuration. Fear not for loosing out on storage either as there are two more 2.5″ HDD bays in an extra dock to the left, although as I have shown you before this can be removed via 4 quick release screws on the underside of the chassis.
The top of the chassis features room to mount 2 x 120mm or 2 x 140mm fans, or an equivalently sized radiator.
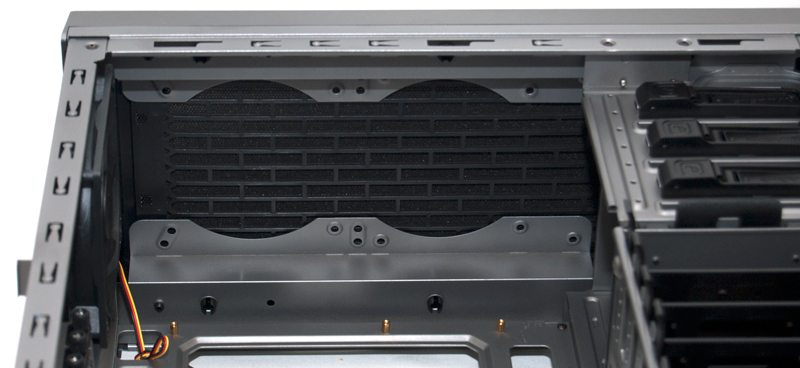
With the top and front panels removed you can see that the top fan / radiator mount is raised well above the chassis internals, this should minimise conflicts with ram modules and motherboard connections. The front of the chassis has two 140mm fans pre-installed and the model we have today features clear coloured fans with blue LED lighting built-in. There are two cable rooting holes at each side of the fan mounts to allow for routing of their cables.

Around the back we see there is 20mm of cable management space, but the recesses on the left provide around 35mm should you need the extra space. There are a few cable tie loops in the important areas to help keep your wires in order, handy given that there are already extra cables in place to handle the front fan controller, and in a chassis that can handle up to 10 storage drives things can get crowded back here pretty quickly, although with up to 35mm of space and the extra recess in the side panel I doubt you’ll have any issues with space.