Fractal Design North Case Review
Peter Donnell / 1 year ago
A Closer Look – Interior
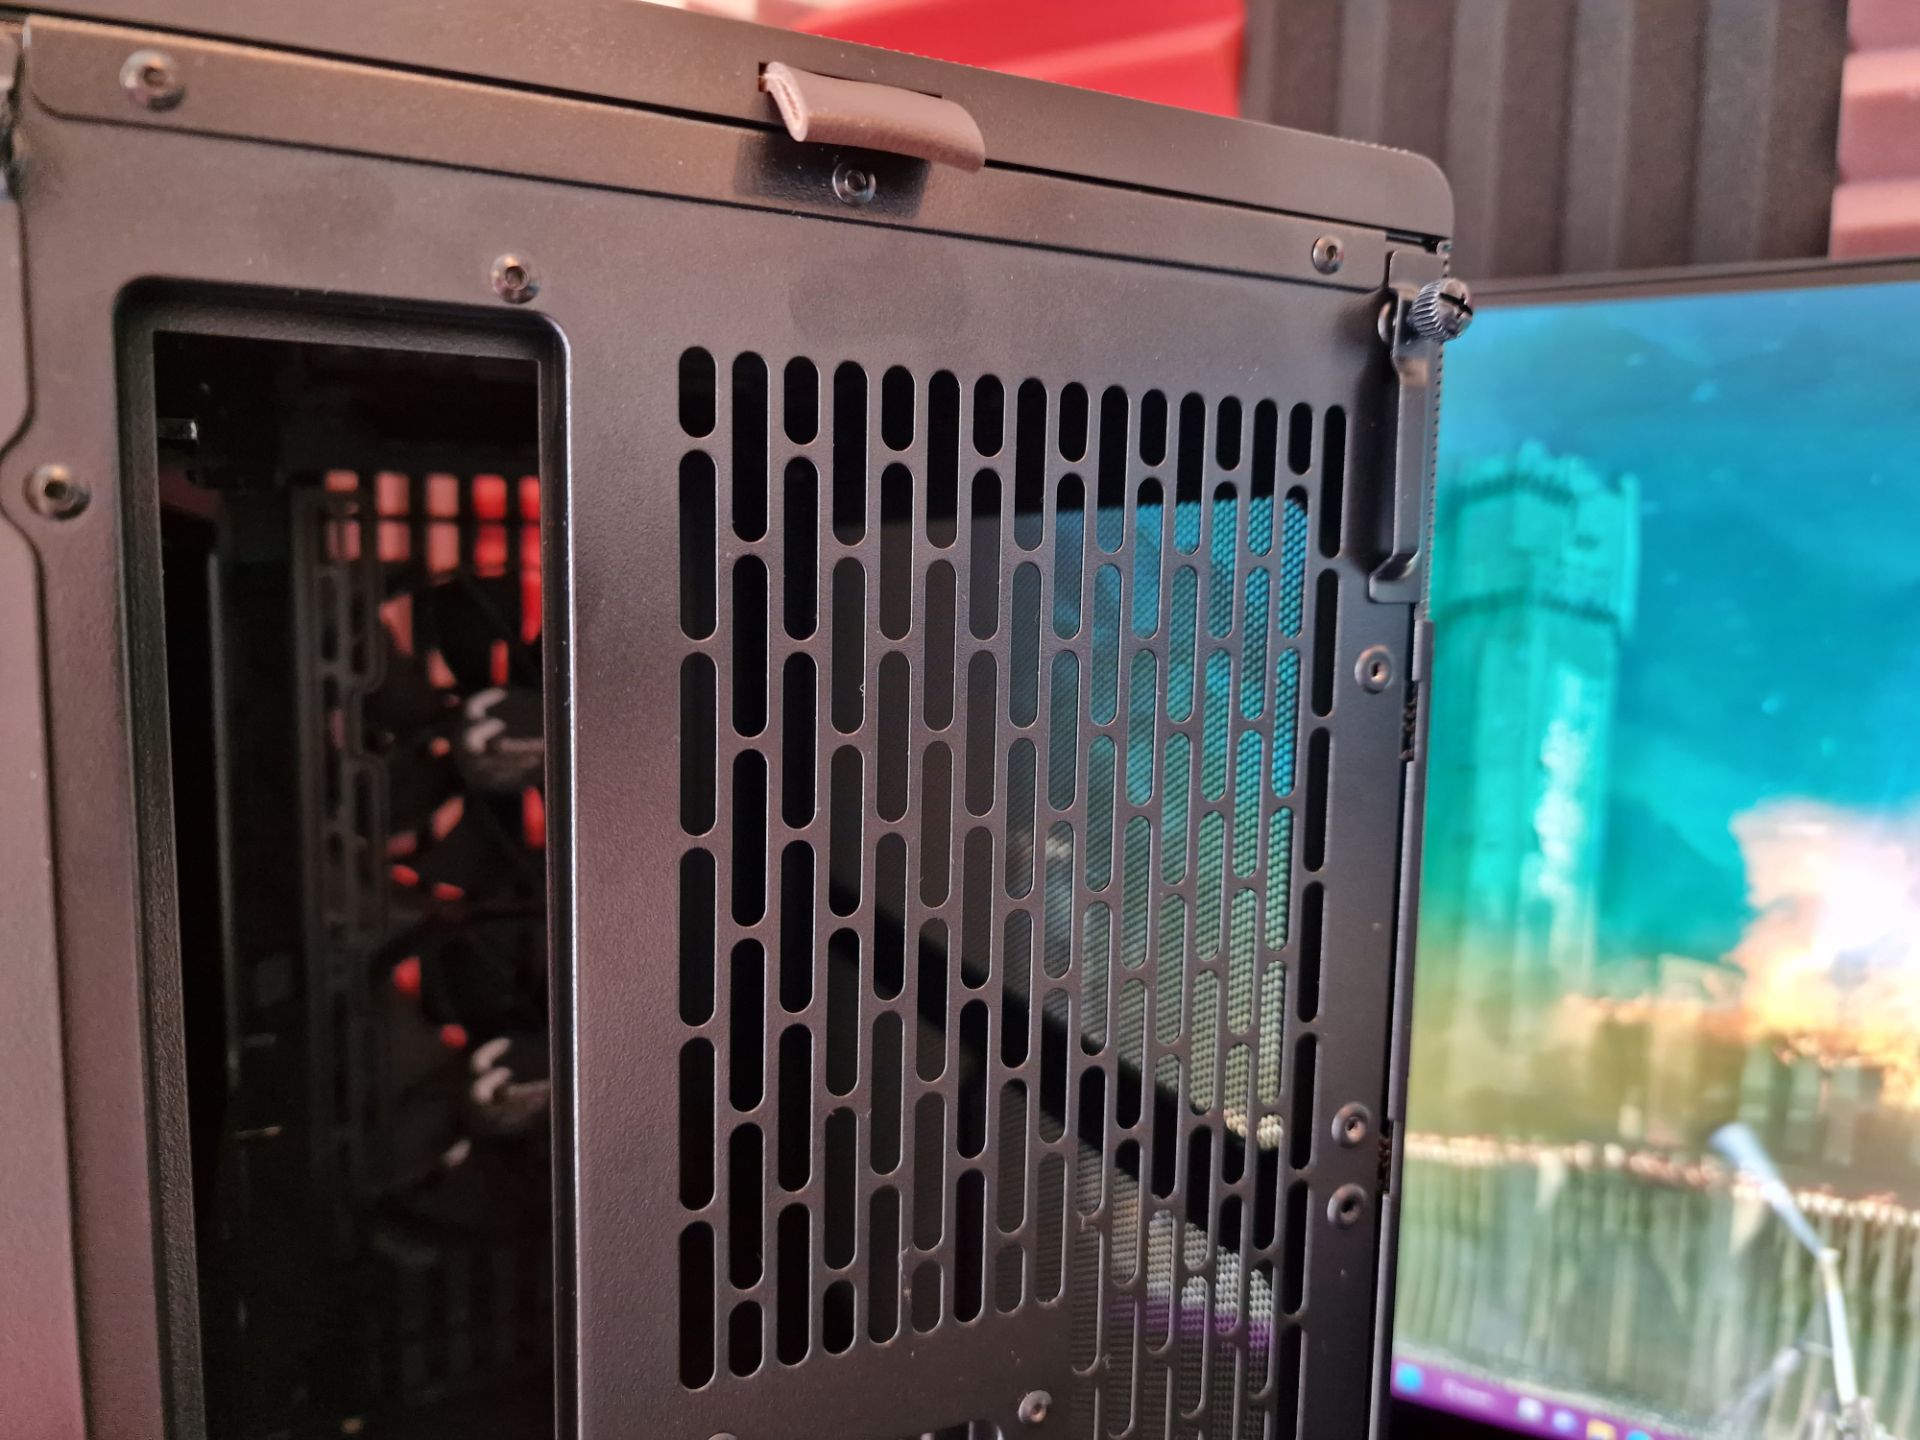
The case is easy enough to open up, just undo the thumbscrews at the back of the case and pop the panels off. The mesh side panel is nice and robust, and frankly, it just looks really cool too. Plus, it being mesh, it’ll still show off hints of in-case lighting you may have.

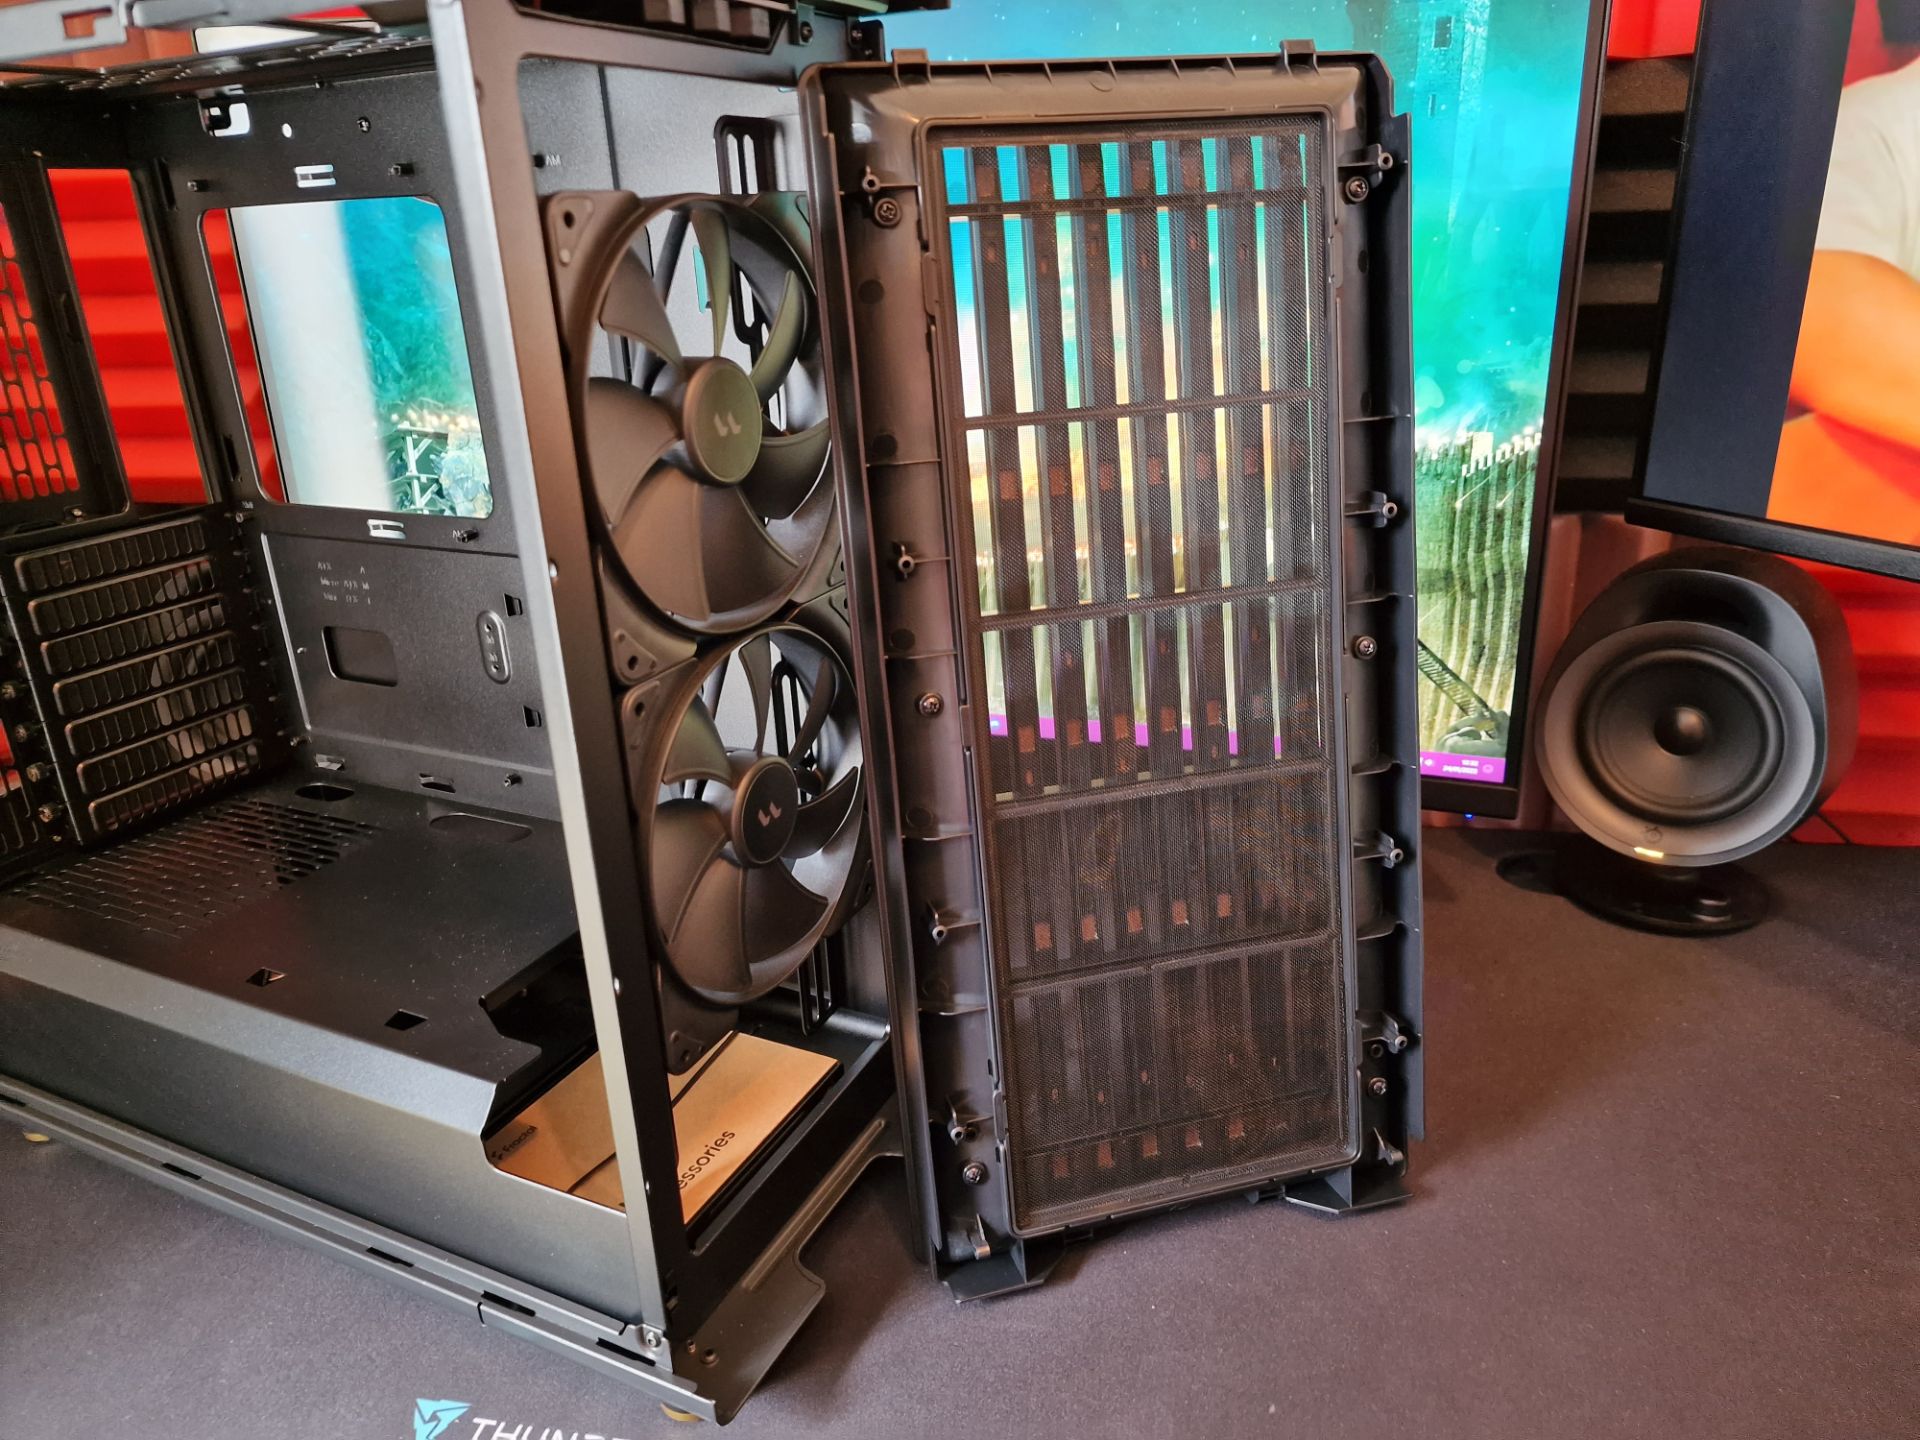
With it out of the way, you can see there’s plenty of room to install all your hardware. There’s a bracket included in the box, which can be used to mount additional fans to the side of the case. This will support an additional 2 x 120mm or 2 x 140mm fans. Even cooler? You can mount it at different heights to suit your needs.
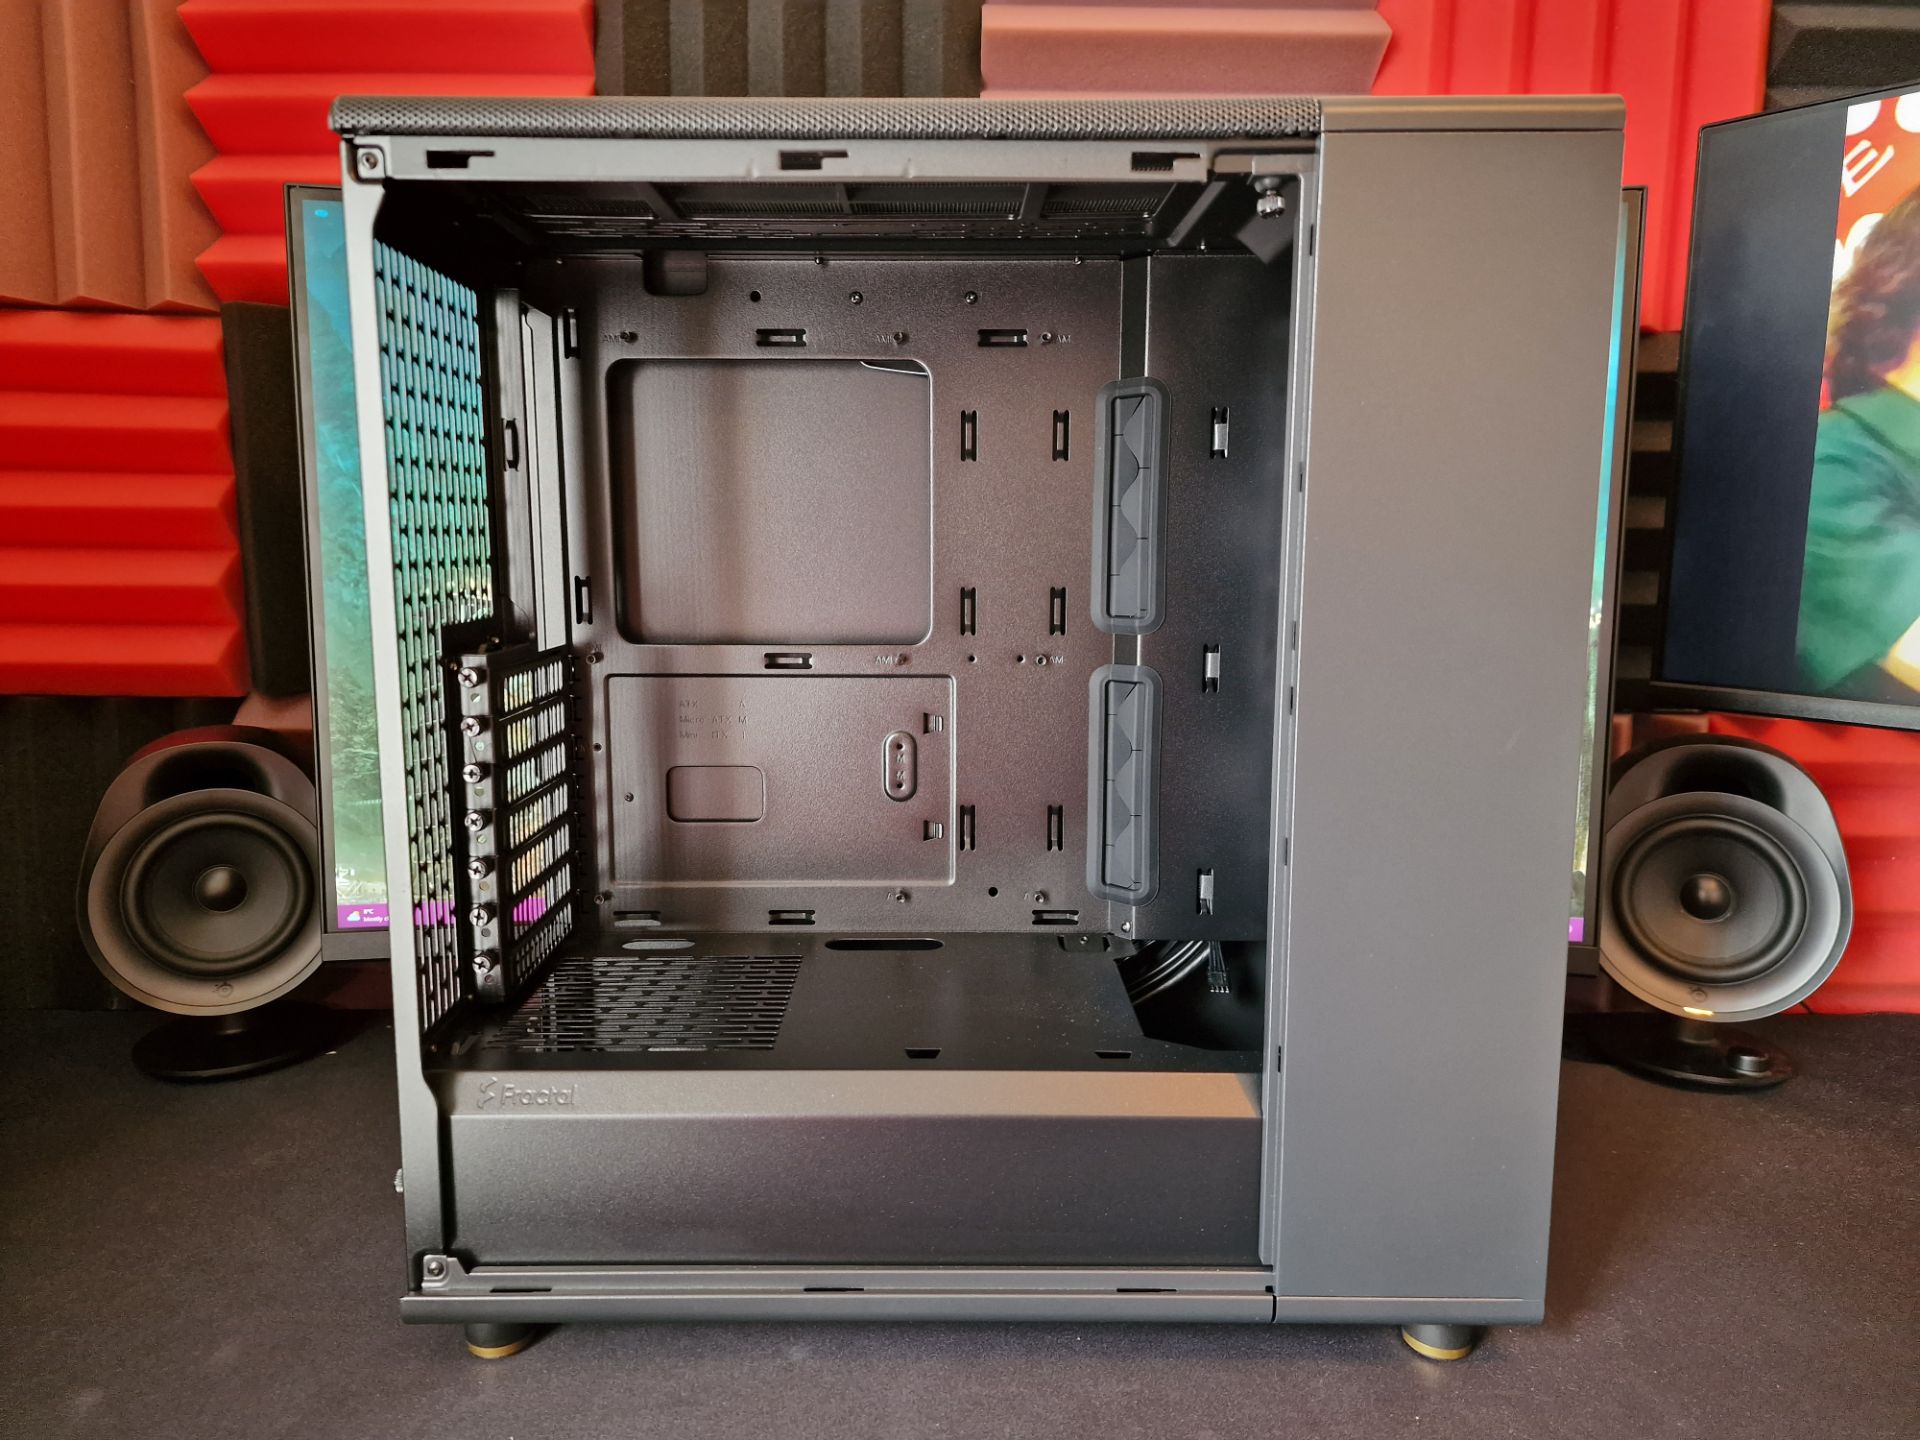
Plus, if that vertical cover is in your way at the front, you can pop that out, giving you greater access to the case interior.

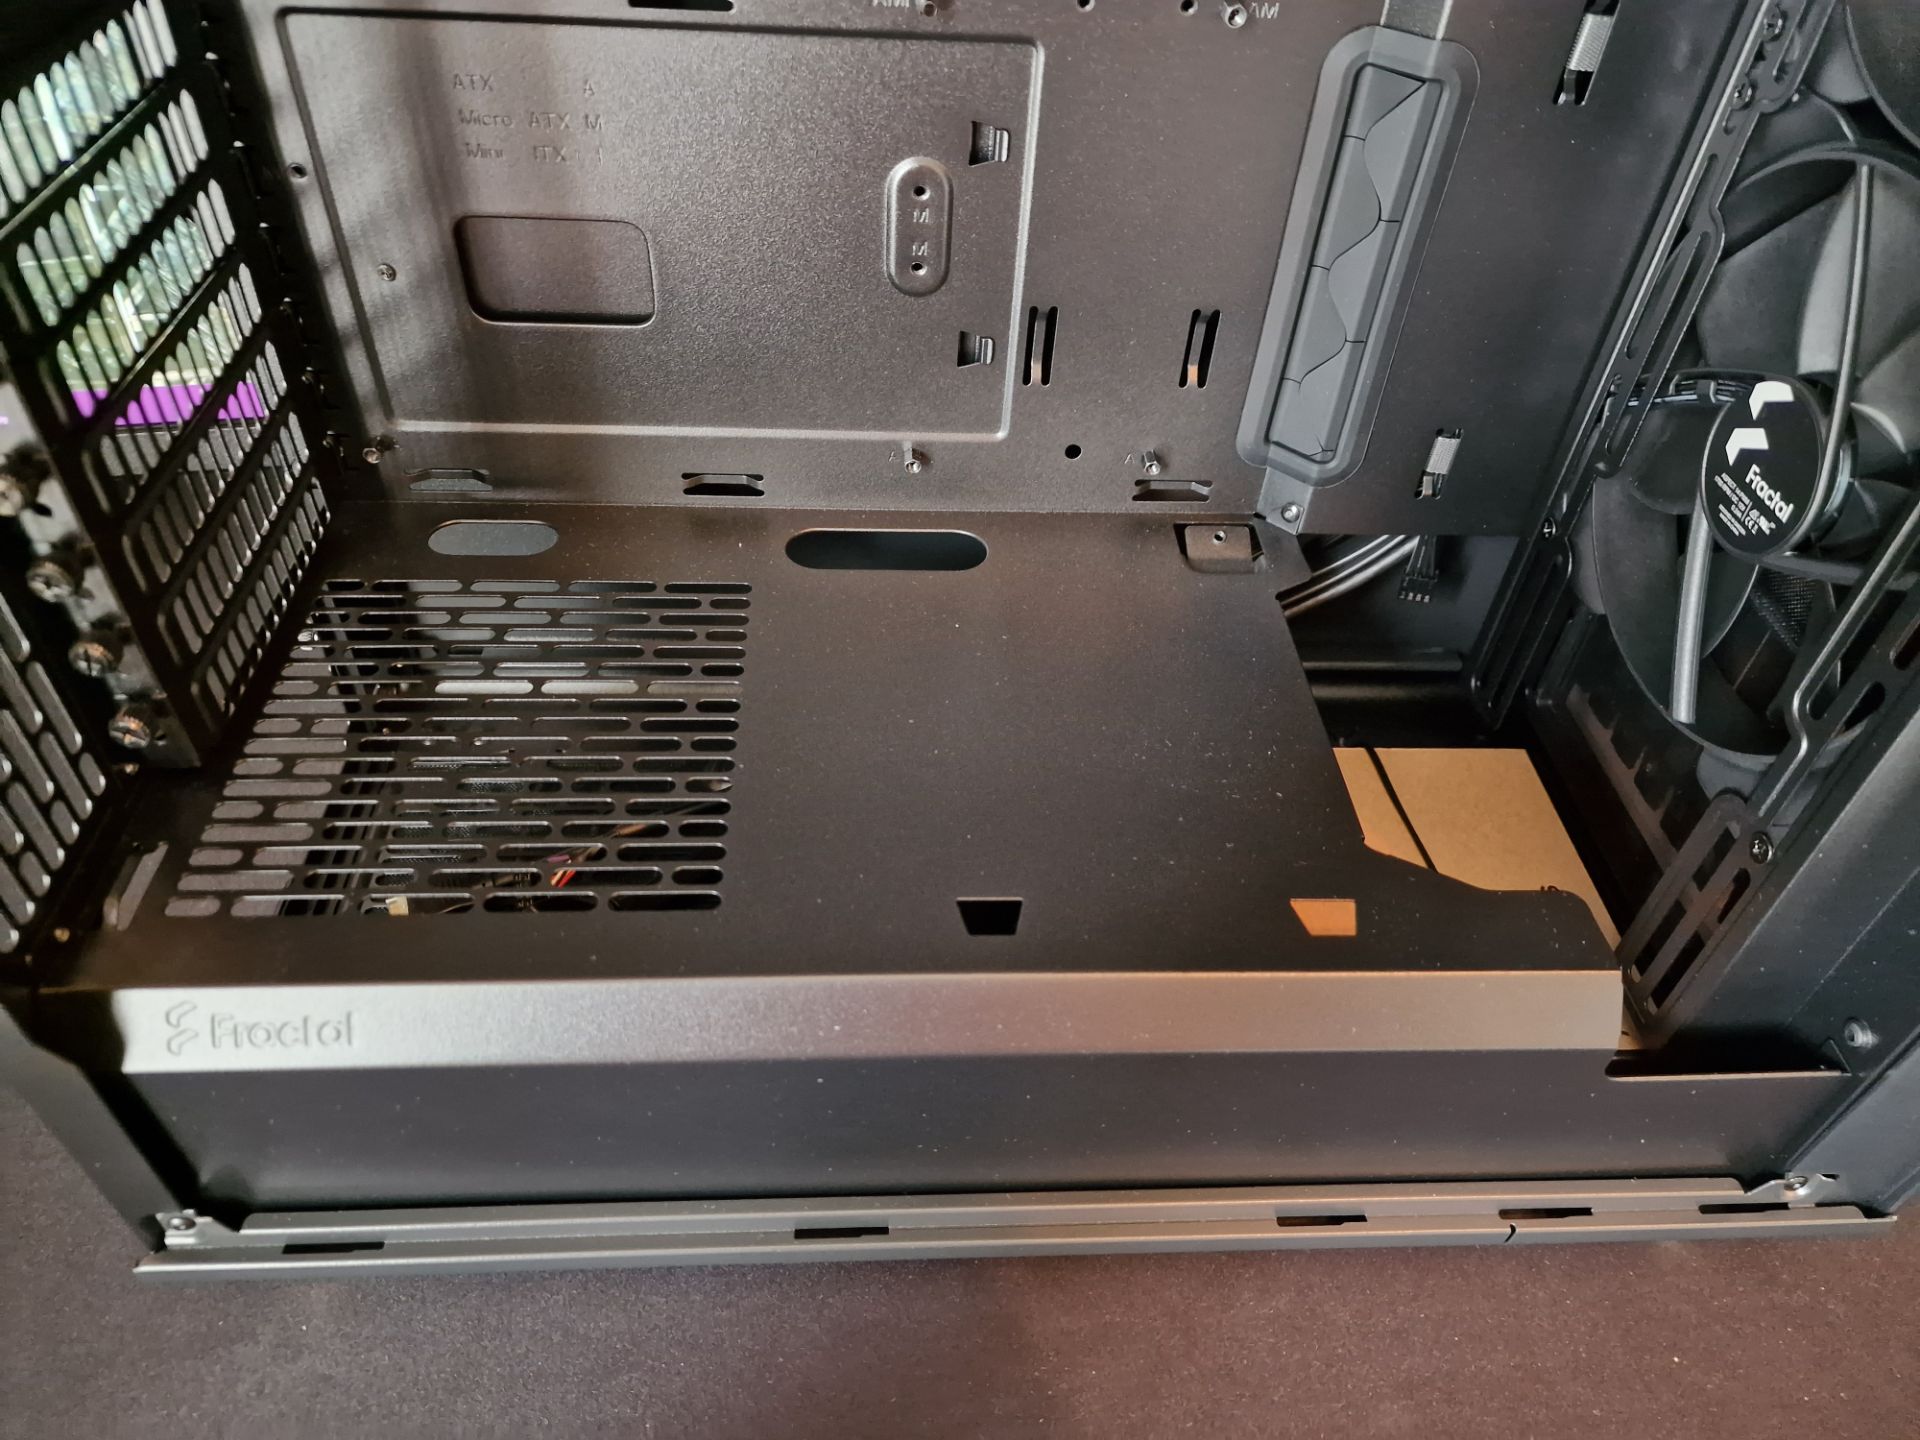
There’s a PSU shroud built-in too, which isn’t removable, but it offers up ventilation for the PSU section, cable routing holes for the motherboard, and cut-aways at the front to allow larger fans and radiators to be installed.
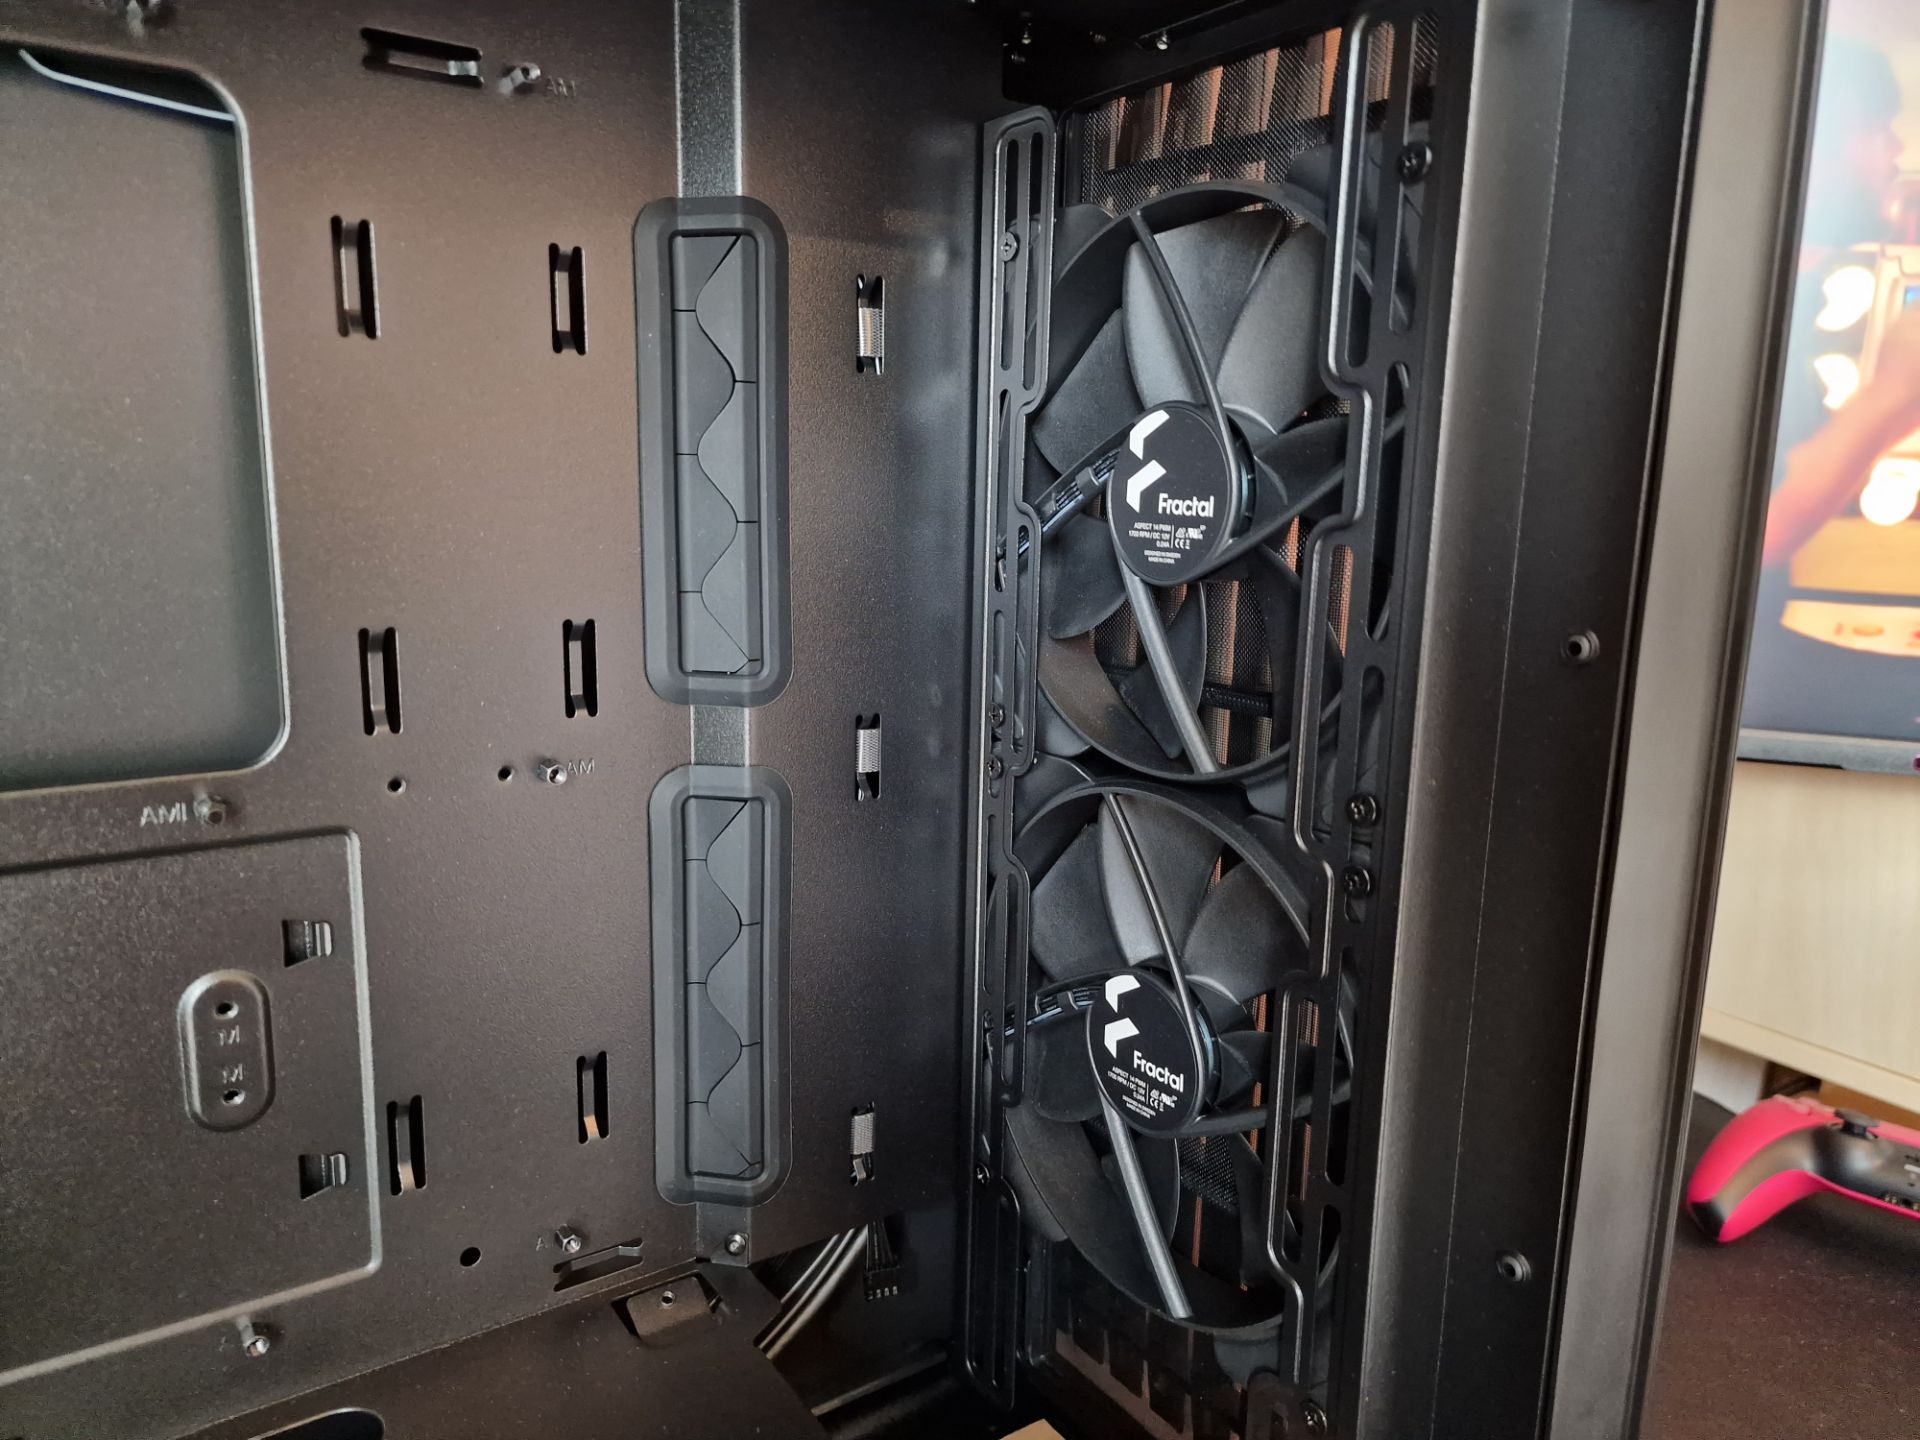
There’s room up front for 3 x 120mm fans or 2 x 140mm fans. However, there are two extremely lovely Fractal Aspect 140mm PWM fans pre-installed, and they’re some of the best fans you can get.
There’s room in the top for 2 x 120mm or 2 x 140mm fans. You can lift that top panel to mount them more easily.

There’s also space for a 120mm in the rear mount.
However, if you’re liquid cooling, you can get either a 360mm or 280mm in the front, 240mm in the top (but you’ll be limited to 35mm low-profile RAM), and you could even get a 280mm on the side fan mount too, but that may prove a little awkward, but it’s possible. However, it’s the all-in-one design of the front panel cover that I love. It features a removable mesh all enclosed in a durable frame that locks into the case, ensuring a good clean fit.
The motherboard mount has plenty of cable routing around it, with large rubber grommets and angled cut-outs that’ll ensure cables pass through as cleanly as possible.
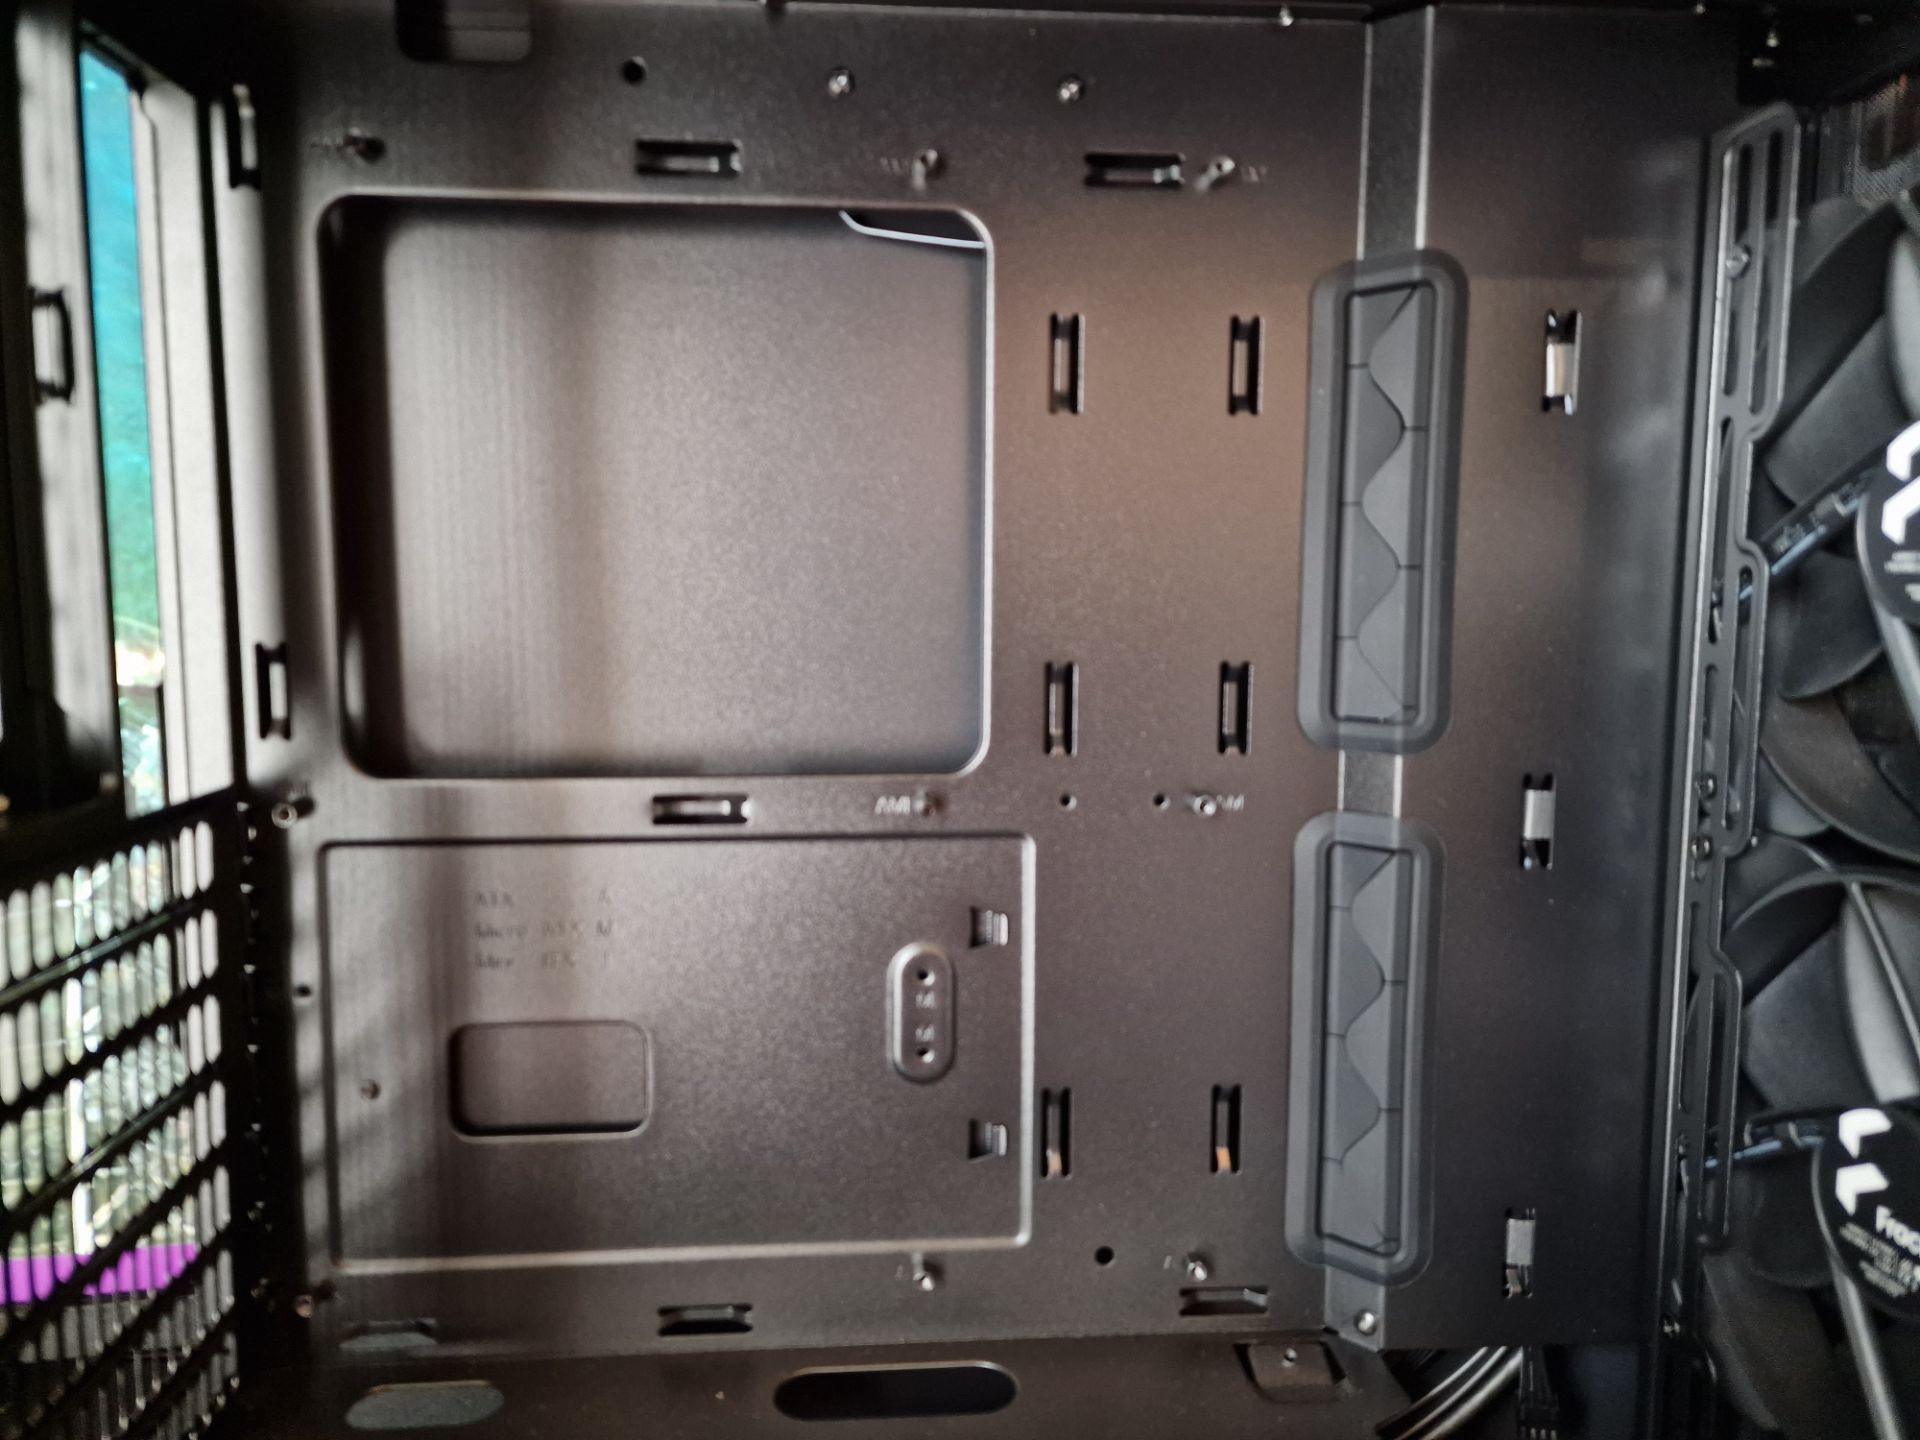
Behind the motherboard, there’s plenty of cable routing space too. However, with the addition of the PSU shroud, the excess cable is easily tucked out of sight.

There’s a removable bracket, offering support for a pair of SSDs behind the motherboard.
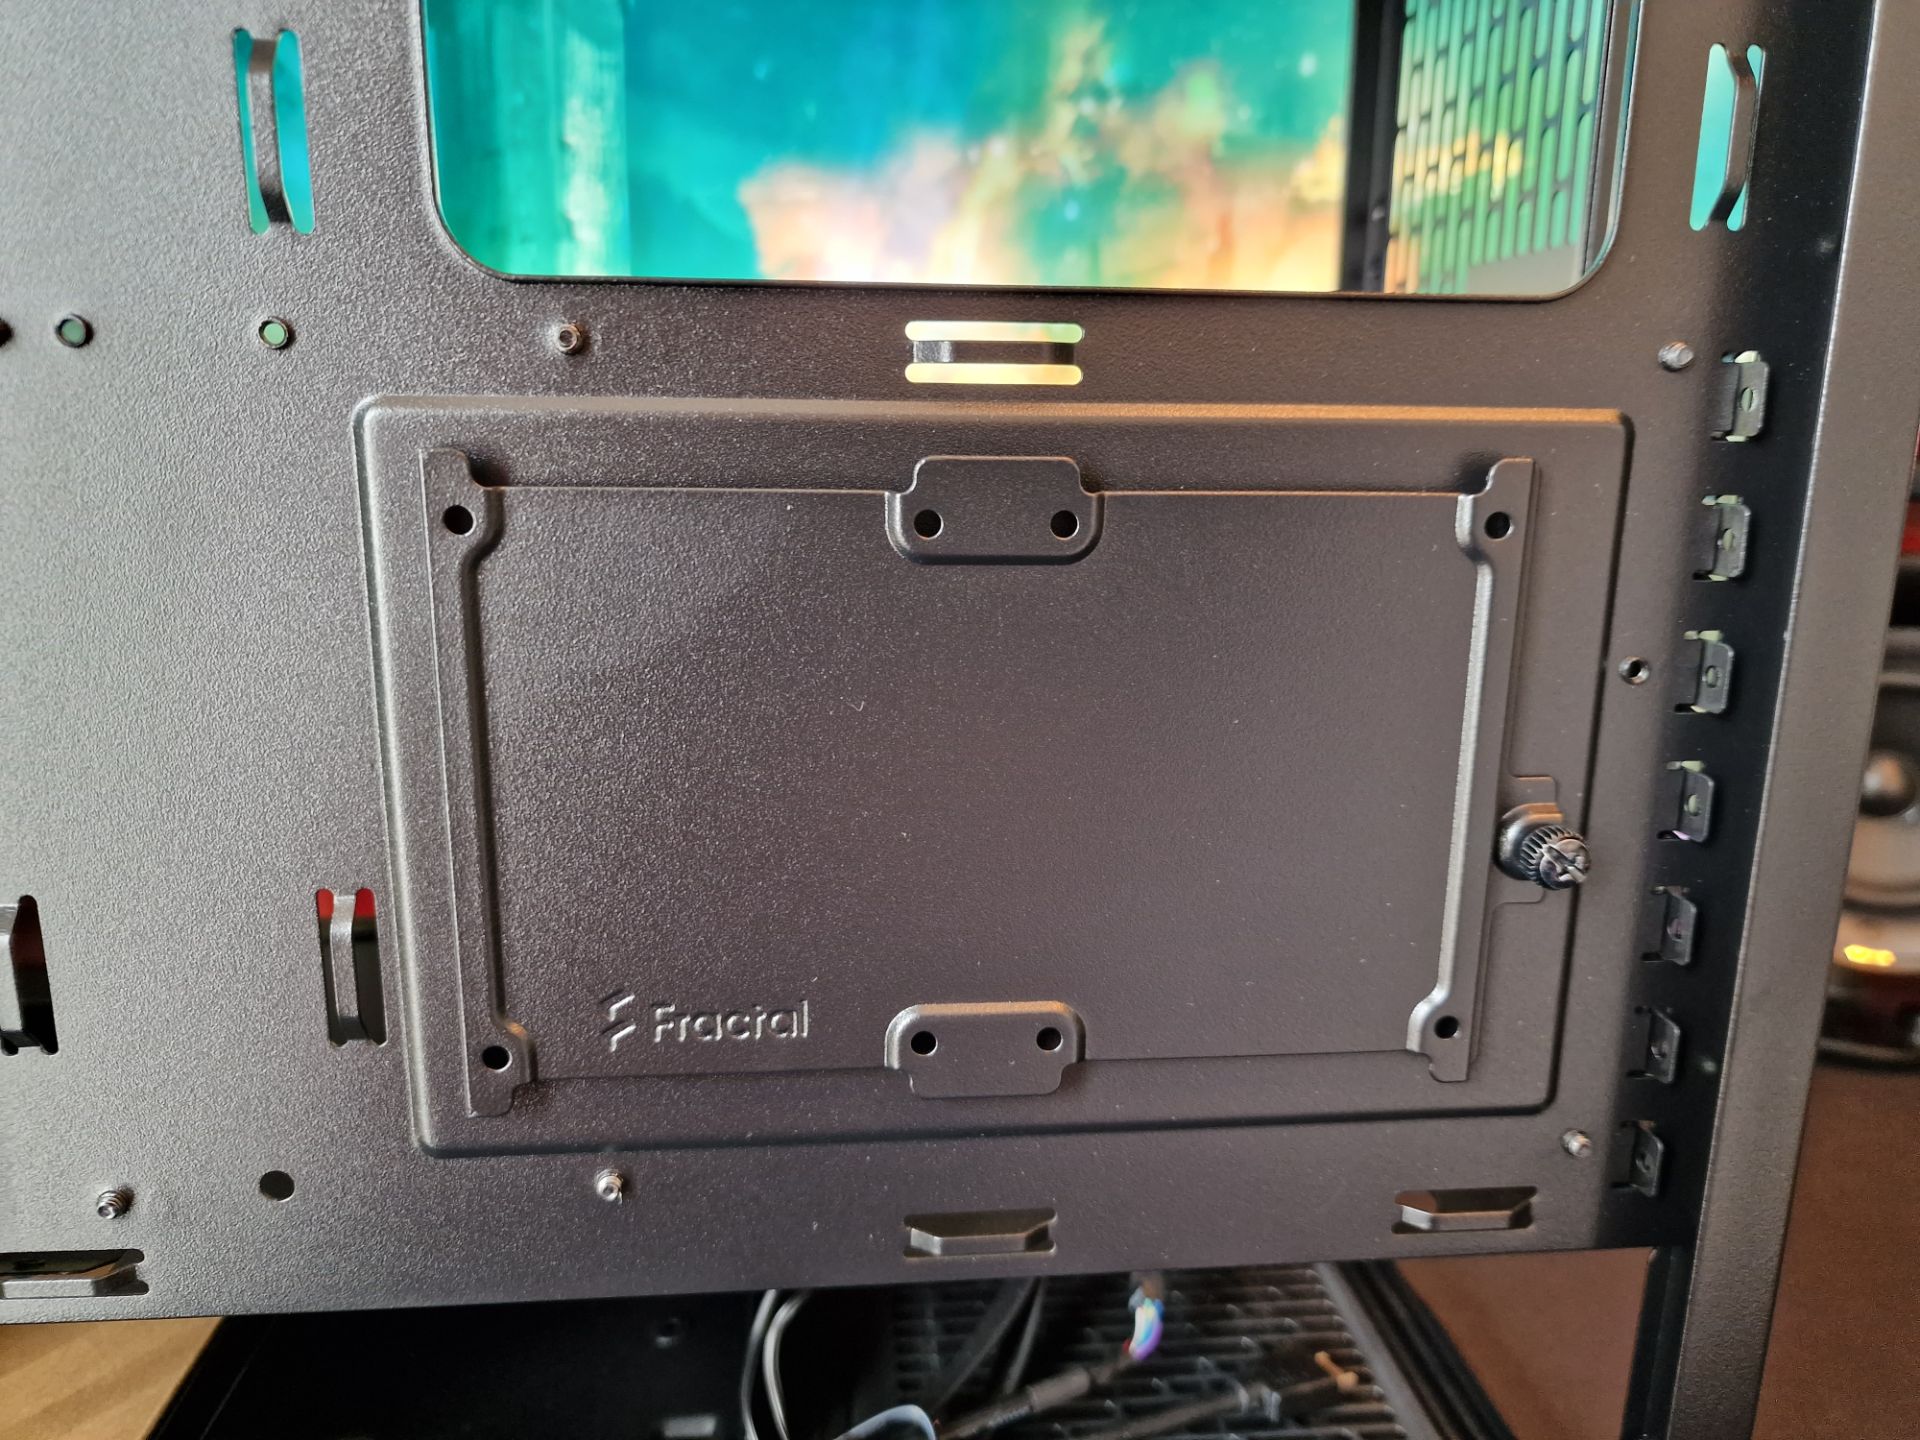
As well as two trays that support either 2.5″ or 3.5″ drives. Each of the trays can be removed with a single thumbscrew, making for a very easy build. Another tiny detail, all the thumbscrews are captive, which means they loosen but don’t come out of the screw hole but not the panel they’re put through, so you can’t lose them.

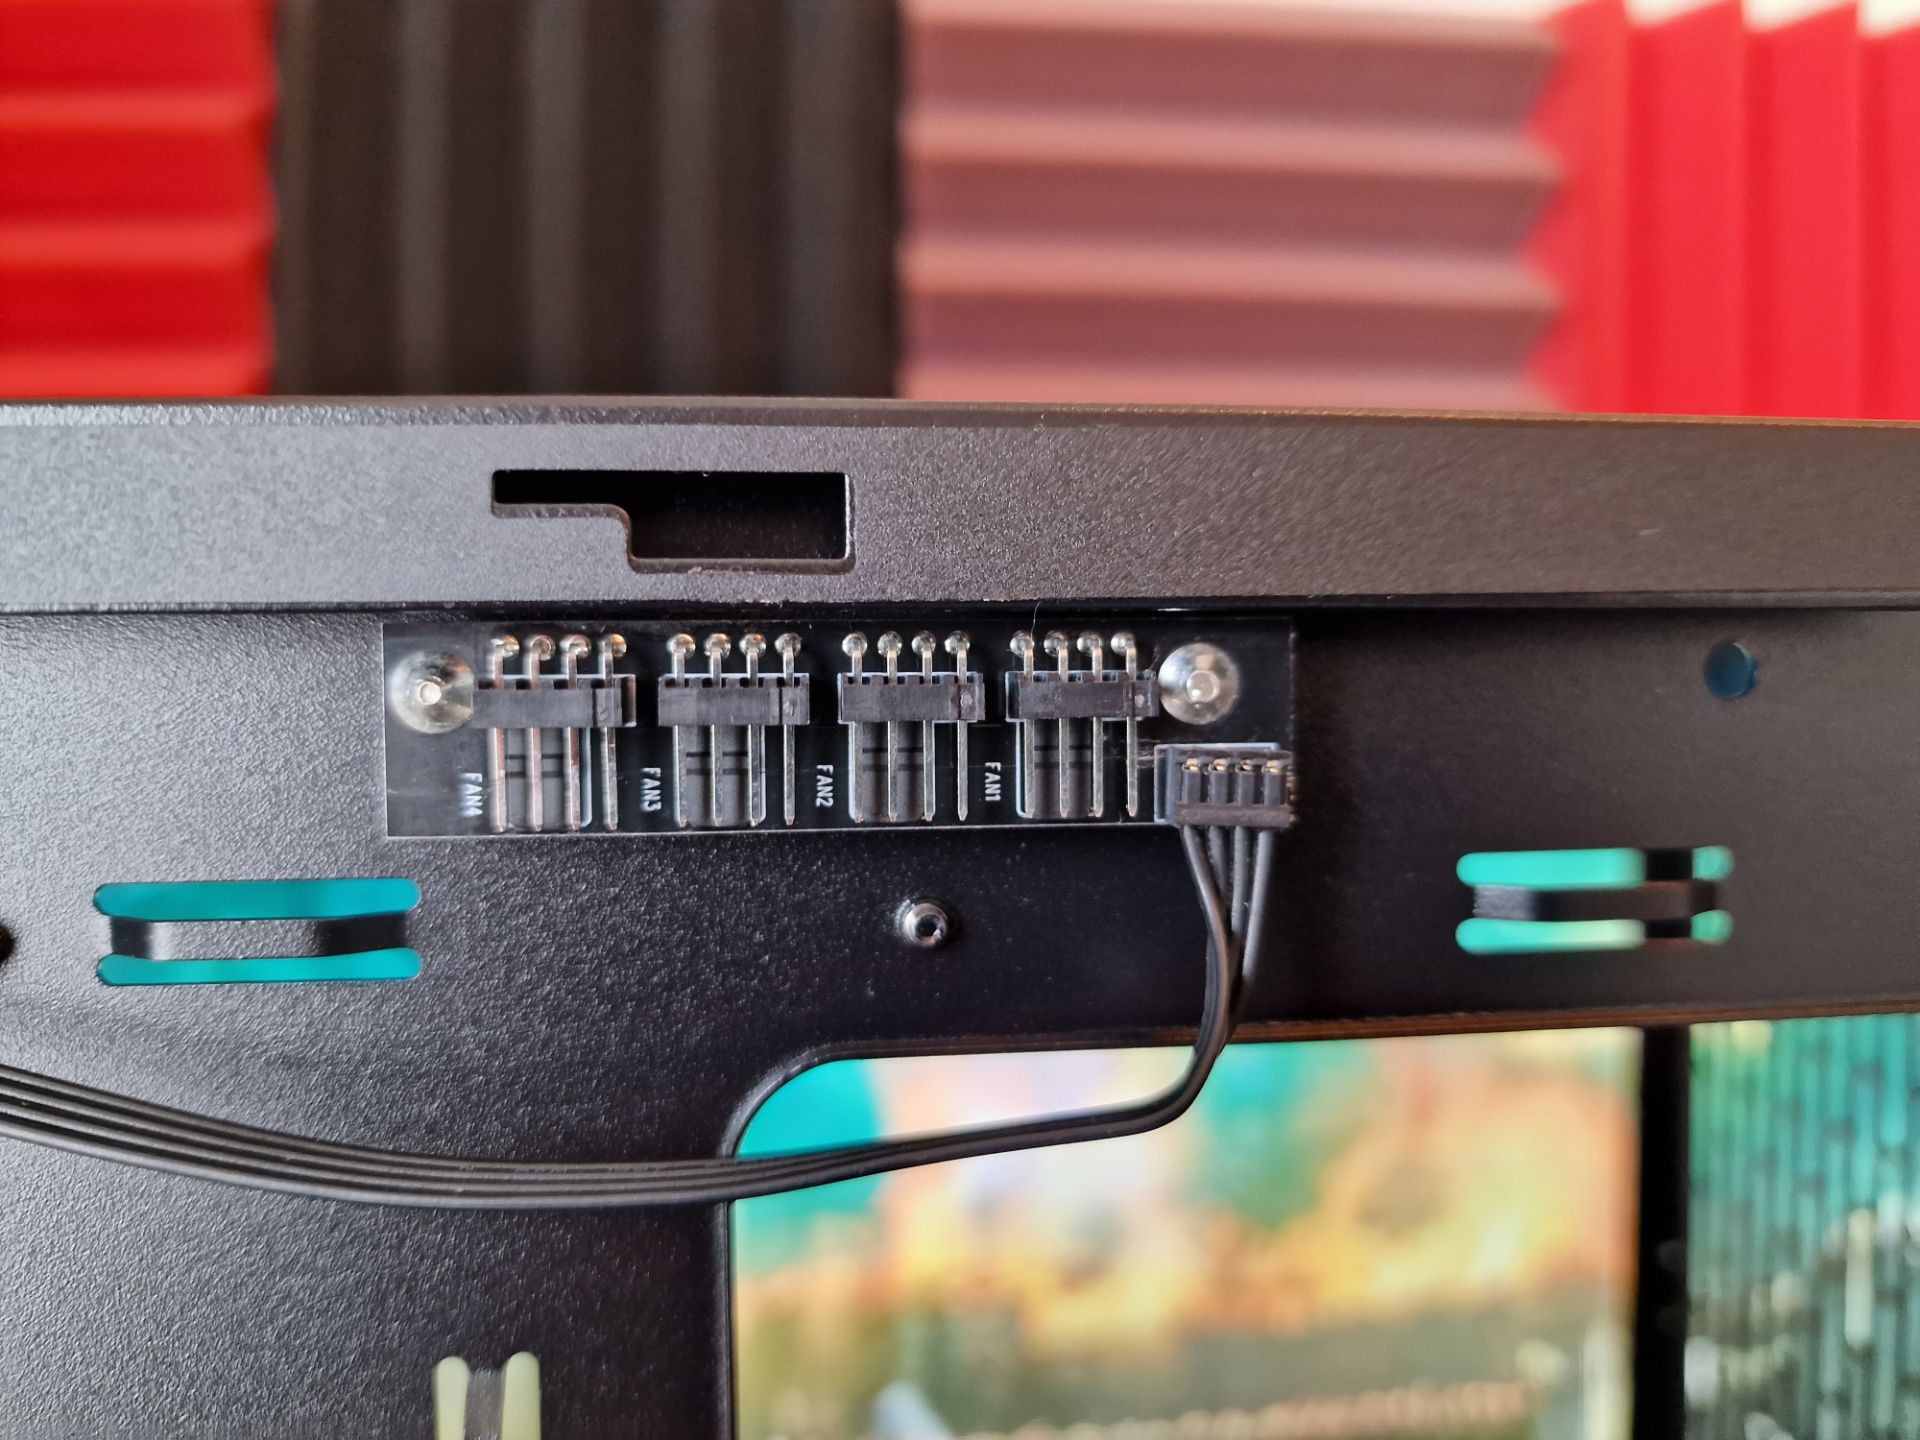
Tucked into the top, there’s a 4-port PWM fan hub, which just like everything else, is designed in such a way that it’s easy to use.