Game Max Obsidian Gaming Chassis Review
Peter Donnell / 6 years ago
Complete System
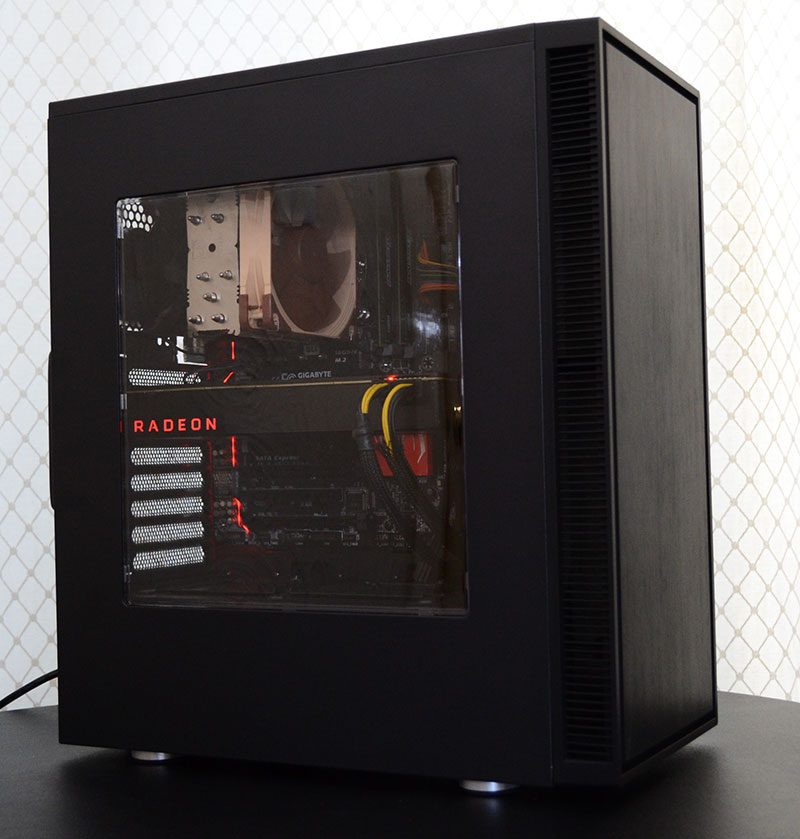
For a budget chassis, the Obsidian is full of little surprises that give it the look of a much more premium quality and more expensively priced product. The side panel may not be tempered glass, but it’s still looking great, and is perfect for showing off your new hardware on the interior. The indirect airflow on the front panel is a nice touch too, as it will help cut down on fan noise, while still providing plenty of airflow. Remember, there are no front fans pre-installed here, so may be best to pick up a fan or two at the checkout.
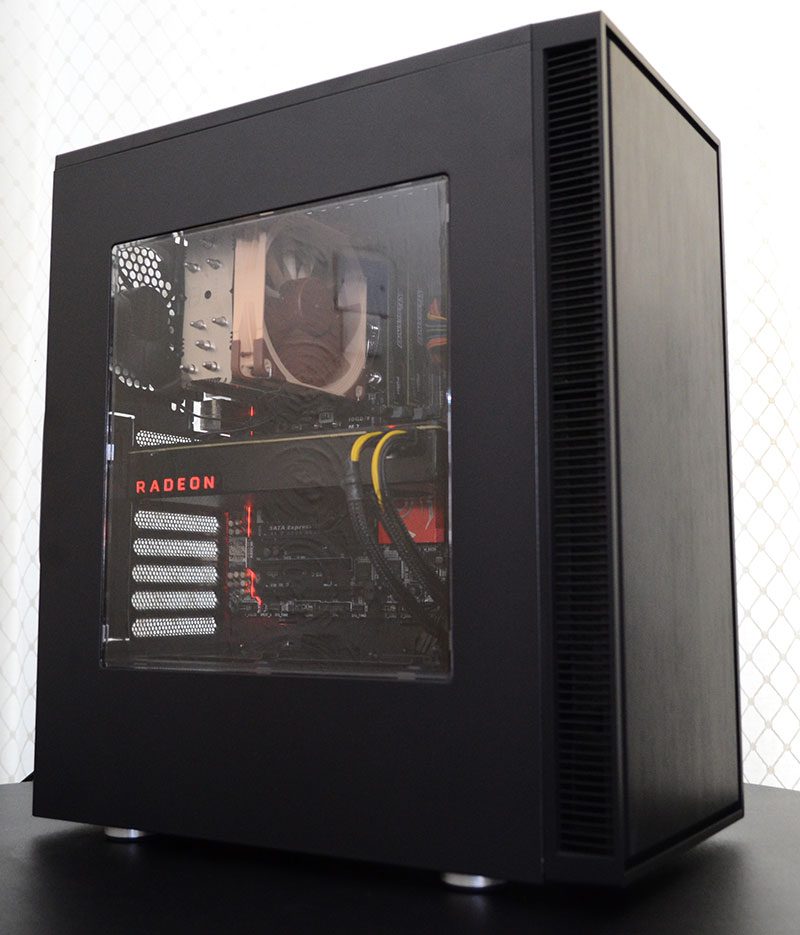
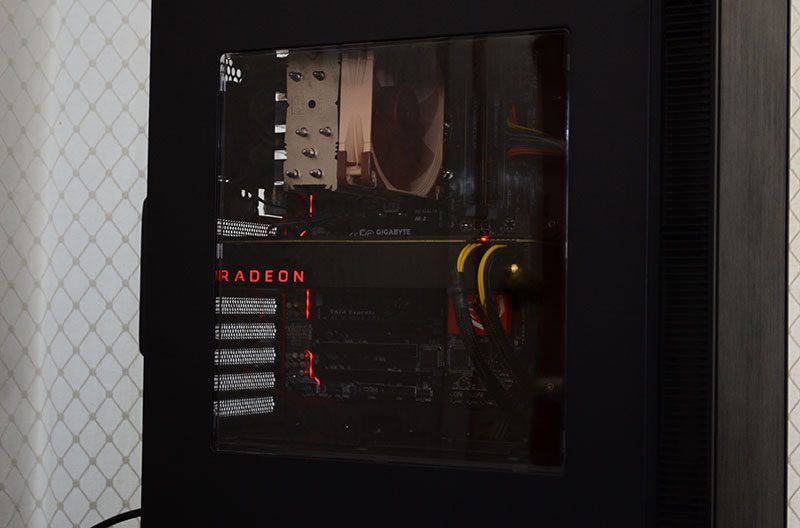
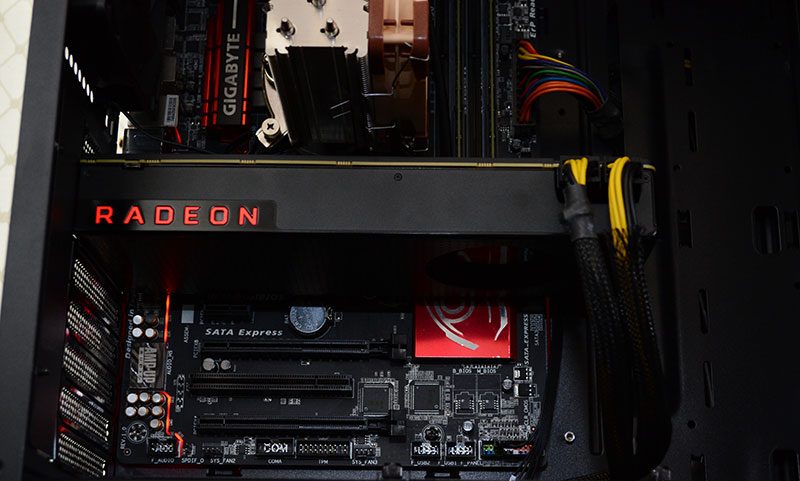
If you’ve got some LEDs on your hardware, the window is a great way to see them in action too. As you can see, our VEGA 64 and our motherboard are lit up rather nicely on the interior.
Multi GPU?
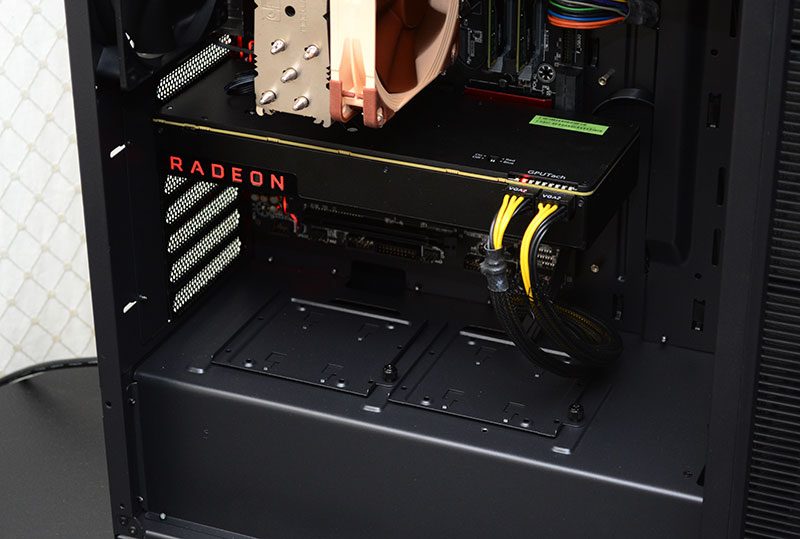
There’s plenty of room in here for those planning on installing a couple of large graphics cards. The chassis does look a little short, but I doubt you’ll have any compatibility issues. Of course, if you’re rocking the longest graphics cards in the world, and want a thick radiator in the front, you may be pushing your luck, but it’s unlike you’ll be shopping for a chassis in this price range with those component requirements.
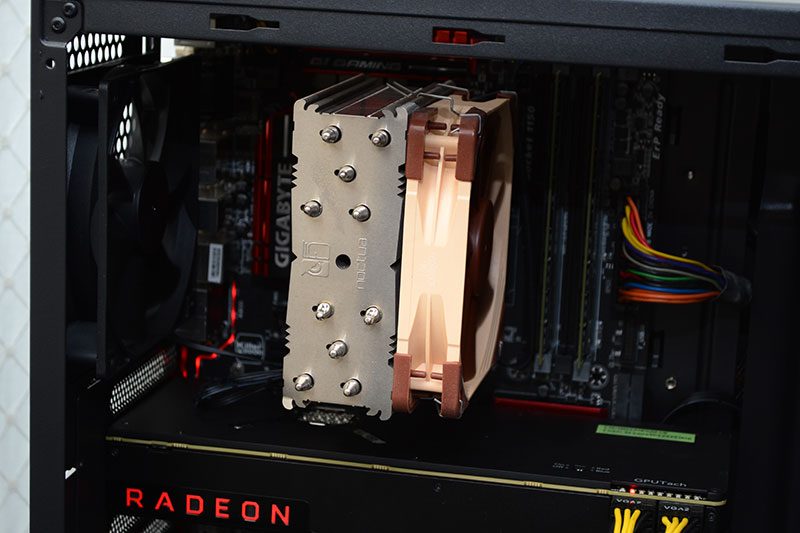
Air Cooler or Water Cooler?
Space in the top of the chassis is at a premium, and slim radiators or fans only should be considered here. However, there is plenty of room for a good-sized air cooler, as you can see. However, a 120mm or 140mm AIO cooler will fit in the back with ease, and by doing so you could always move that pre-installed fan to the front, where it’s sorely needed.
There’s a huge air intake here, and 120mm and 140mm fan spacings. The dust filter will provide clean airflow, but again you really need some fans or a radiator here to promote good airflow.
I do appreciate the cut-out in the PSU cover though, as it’ll free up room for an additional fan further down, as well as some airflow to the HDD bays hiding under the PSU shroud.
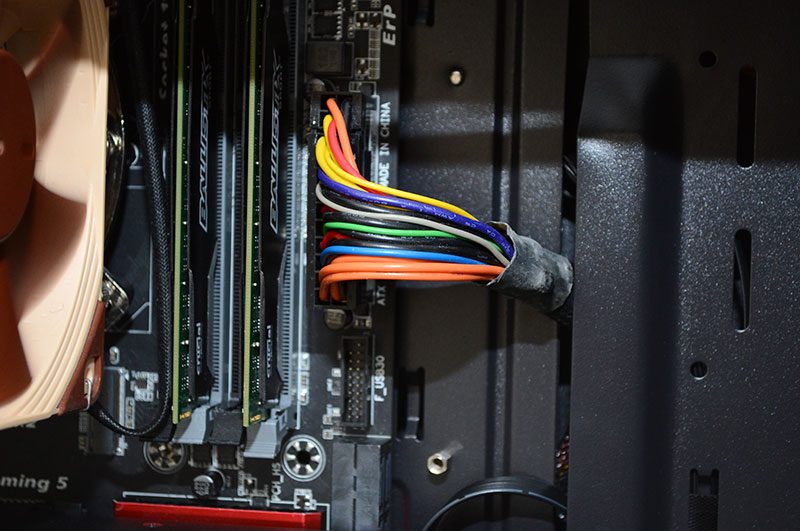
Cable Routing
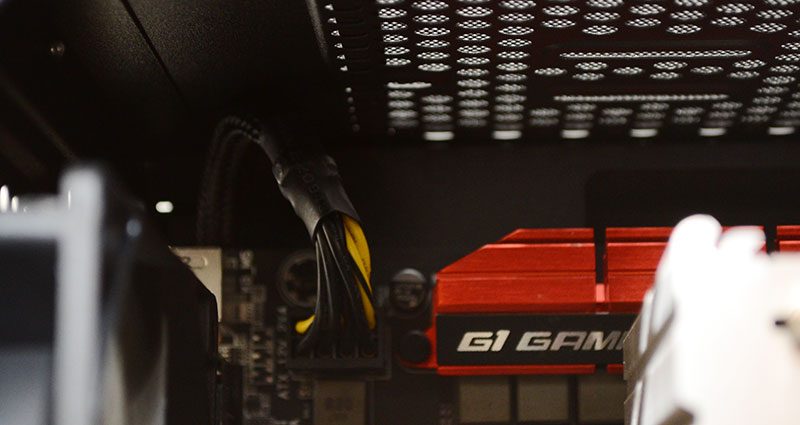
The routing looked pretty limited, and it pretty much is. I did squeeze the 24-pin cable through here, the issue being is I literally mean squeeze. I damn near bent the chassis pulling the metal to make enough room for this cable to pass through. Overall though, it went through, it looks clean, and there’s no excess cable run.
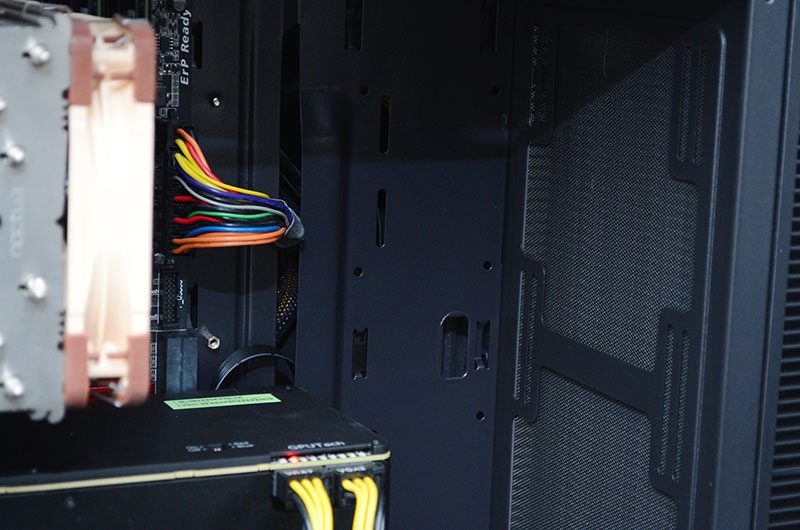
Same with the top cable routing holes, they’re a little tight, but they got the job done.
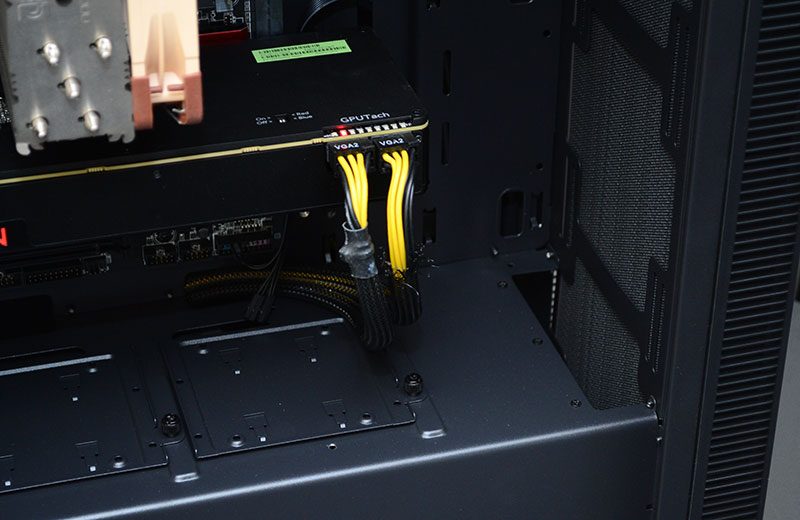
There’s no vertical pass-through on the PSU shroud, unfortunately. However, there are a few routing holes at the back for the HDD bays that worked pretty well for the GPU cables.
Overall, it’s not perfect, but any issues are ones you’ll only have to face the one time. The end product doesn’t show these issues, and for under £50, it looks superb!