[Guide] Go Custom With The Cooler Master Eisberg Prestige!
David Key / 11 years ago
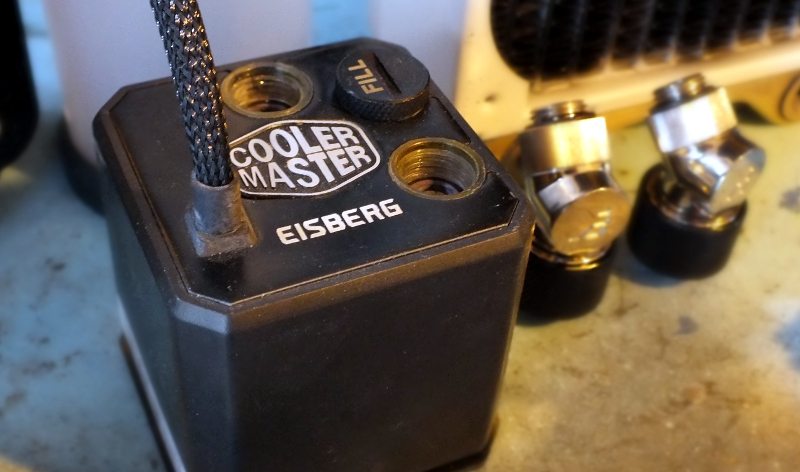
Fitting the Eisberg
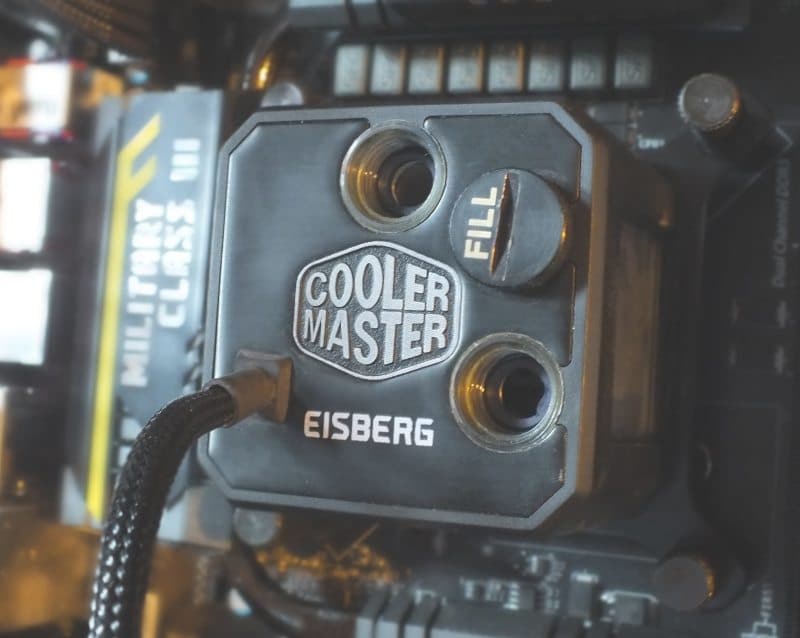
Before building the rest of the loop I chose to fit the Eisberg Prestige first because my fill and drain ports will be on the reservoir, bypassing the need to use the fill port on the Eisberg itself. When I got it I thought this would be the usual affair of grabbing a backplate, adding standoffs and mounting the cooler down with the aid of springs and nuts. This time only some of that happened as it seems Cooler Master have taken a different approach..

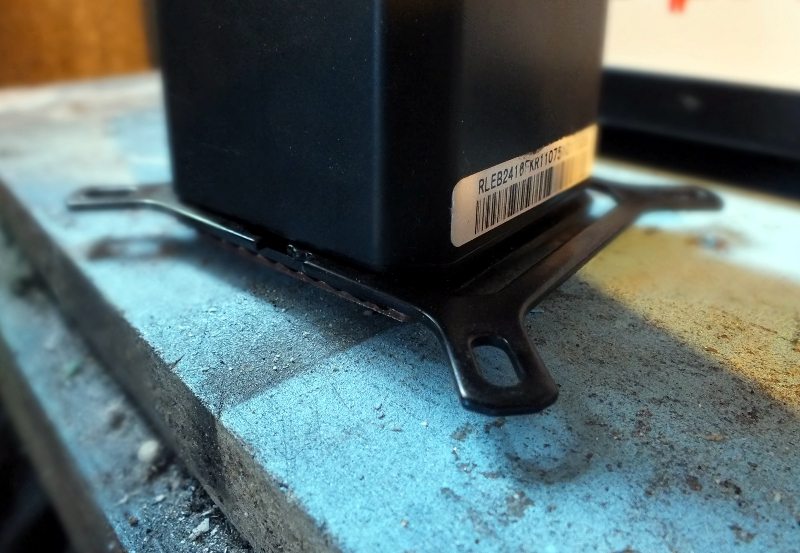
I was confronted with these. Not being sure I would get a good mounting pressure I thought lets try it anyway.
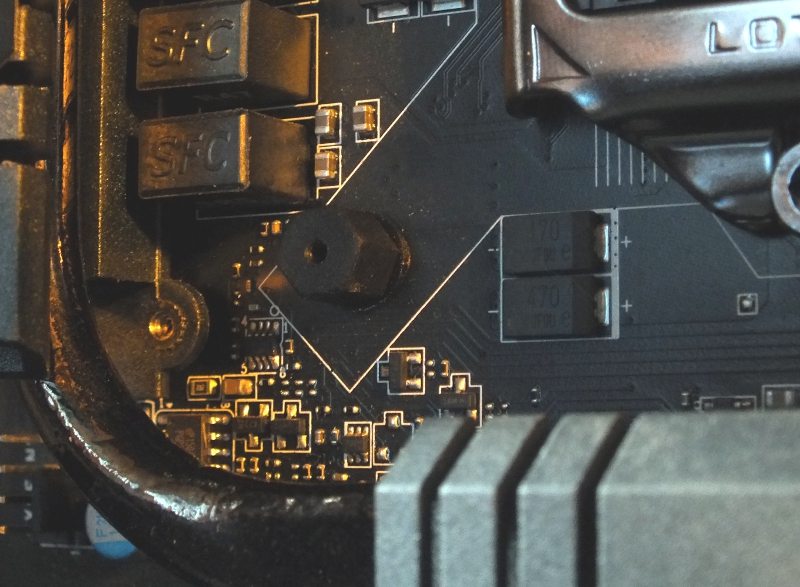
You twist the plugs into the motherboard holes and you hear a click when they are seated. I gave each of the plugs a quick tug before committing to the next step and sure enough they held fast.
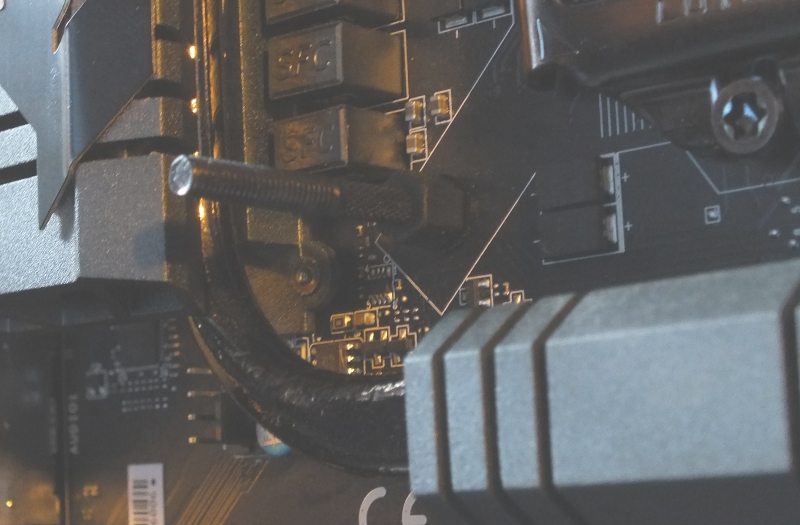
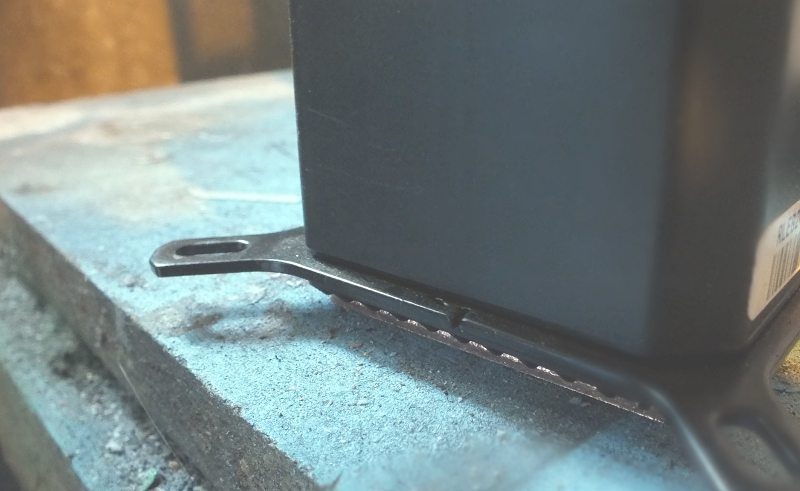
The next step was to screw in the long screw into the stand off, as this goes through it widens the stand off slightly to give a better anchor onto the motherboard.
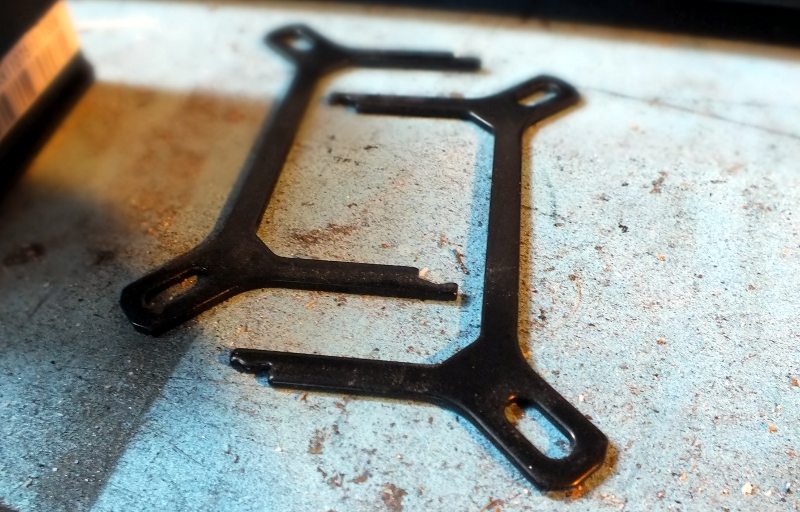
Now that the motherboard is sorted we move on to the top mount for the Eisberg Prestige. These two plates lock together to form the mount as shown here
There is a lip along the sides of the Eisberg unit to slide the plates along.
Now the plates simply lock together for a secure mount.
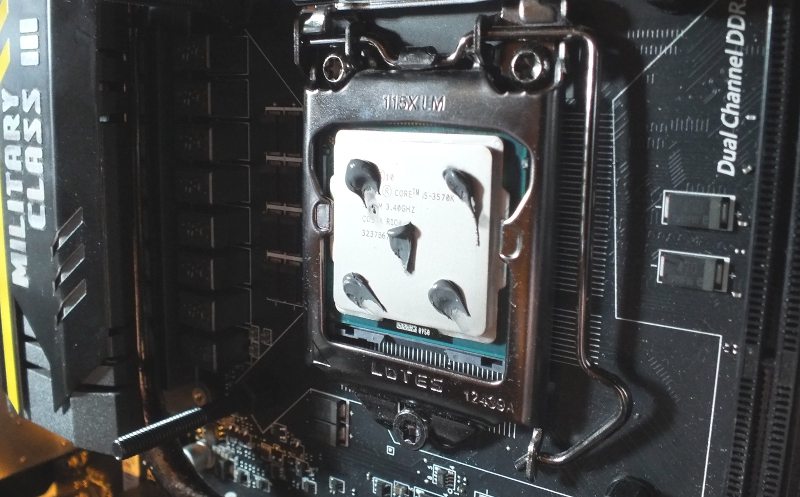
Next step is adding thermal paste. I used a little too much here. Everyone has their chosen methods, I like 5 dots, some spread it, some put a blob in the centre.
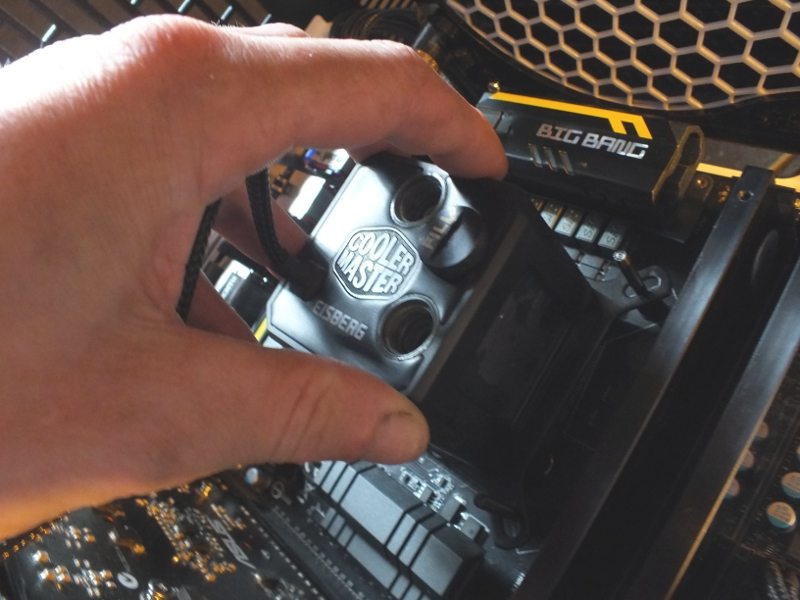
Now Ive put the rig on it’s side to mount the block. I push the block down gently and give it a little wiggle to help the paste spread, it’s hard to explain, you ‘feel’ it flow and go even. Never pull it back up, that will allow an air bubble to sneak in or make the paste spread unevenly.

You now need to slide over the four supplied springs in the mounting kit
I think we have a mount! Last step is to screw down the block with the four supplied nuts in a diagonal pattern to ensure an even mount. Job done so lets move on to the rest!


