Kensington SD4600P USB-C Universal Docking Station Review


/ 8 years ago

« Previous Page

Next Page »

Zero Footprint Mounted Usage


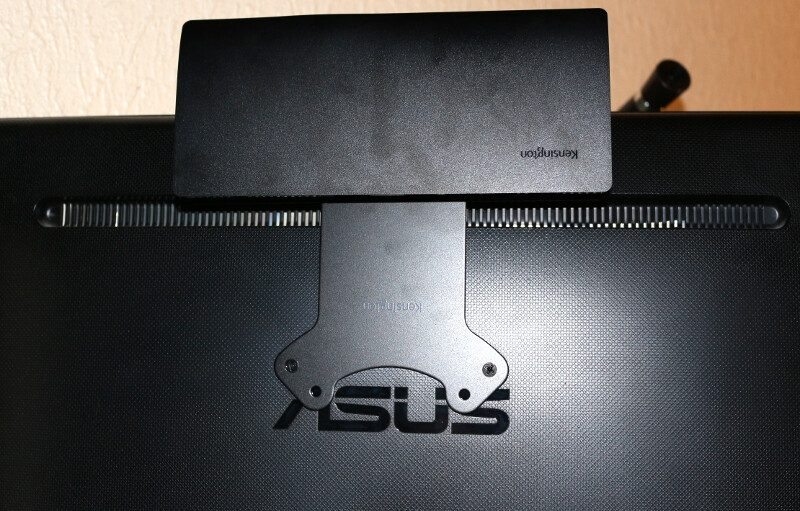
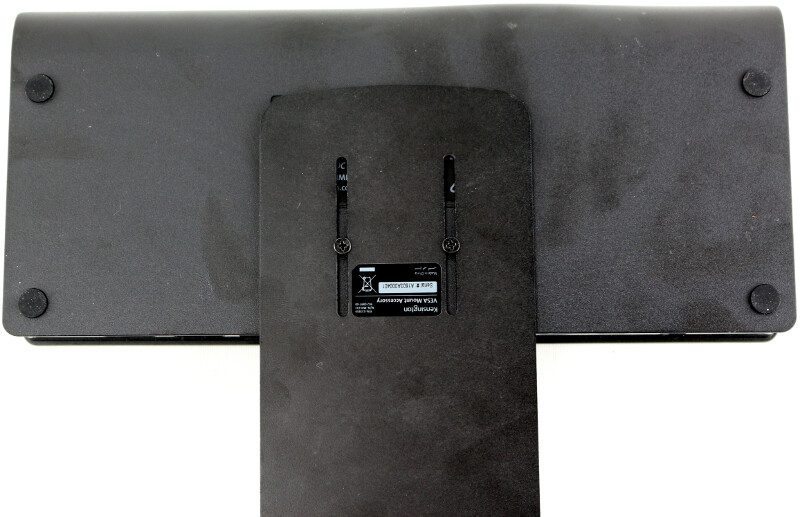
The time has come to put all this to use. First thing is to mount the bracket on the docking station and that’s quickly done. Two screws and we’re done with this step.

Kensington_SD4600P-Photo-Mounted 1

Next up is to mount it to the back of the monitor in the VESA mounting holes available. The bracket is also easily slim enough to fit between the monitor and possible mounting solutions such as stands, arms, and wall mounts.

Kensington_SD4600P-Photo-Mounted 2

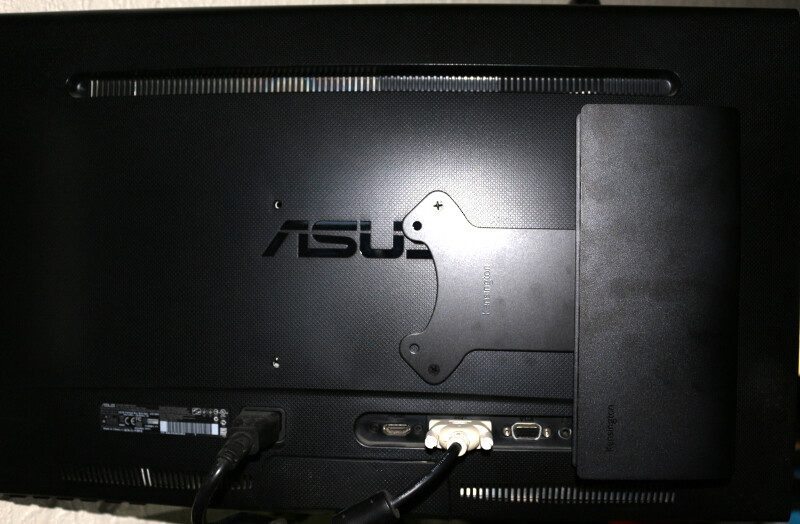
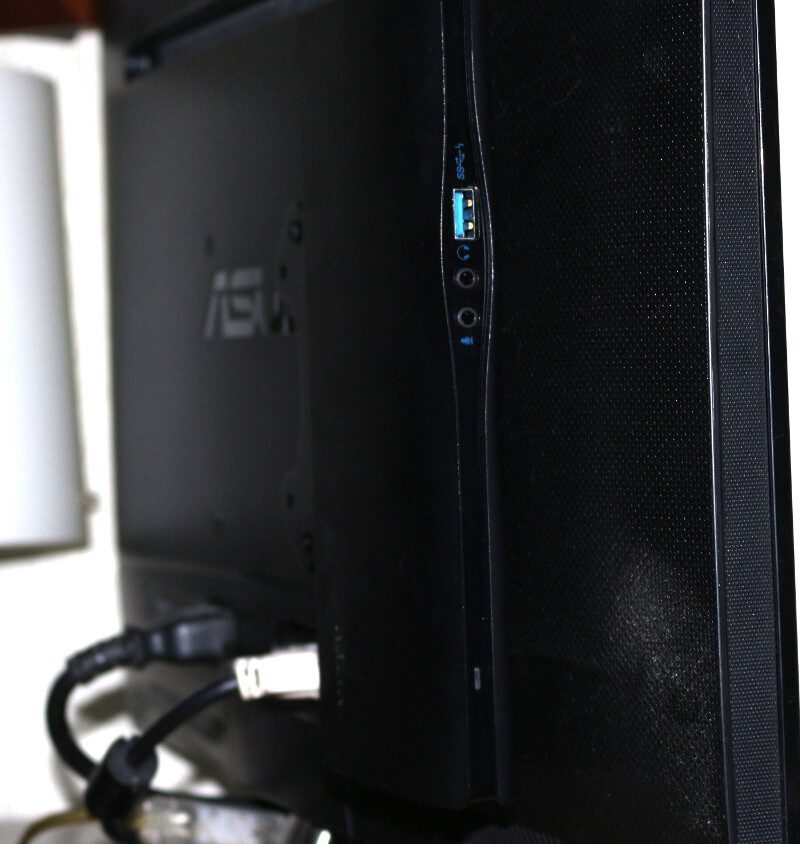
The most likely ports for hotplug usage will face one side while the more static ports will face backward, allowing easy access to what you need and keep what you don’t need all the time tucked away.

Kensington_SD4600P-Photo-Mounted 3

As mentioned before, you can choose the direction you want to mount it and depending on your monitor size, you can even make it reach over the side. It all depends on where in the slots you placed the docking station.

Kensington_SD4600P-Photo-mounted 4

« Previous Page

Next Page »


Topics: , , , , , , , , , , , , , , , , , , , , ,

Support eTeknix.com

By supporting eTeknix, you help us grow and continue to bring you the latest newsreviews, and competitions. Follow us on FacebookTwitter and Instagram to keep up with the latest technology news, reviews and more. Share your favourite articles, chat with the team and more. Also check out eTeknix YouTube, where you'll find our latest video reviews, event coverage and features in 4K!

Looking for more exciting features on the latest technology? Check out our What We Know So Far section or our Fun Reads for some interesting original features.

eTeknix Facebook eTeknix Twitter eTeknix Instagram eTeknix Instagram
  • Be Social With eTeknix

    Facebook Twitter YouTube Instagram Reddit RSS Discord Patreon TikTok Twitch
  • Features


Send this to a friend
})