Lian-Li DK-01 Aluminium Desk Chassis Review
Peter Donnell / 9 years ago
Complete System
Time to get the work of art turned into a system! As I said before, it took me nearly an hour to get everything out of the box and ready. It then took me a further 90 minutes to get it built into the desk we’ve seen so far. Beyond that, it’s also taken me almost two hours to get my test system installed in there, which is a long time given that this isn’t a crazy high end build, if you’re planning on water cooling and getting a super neat build, expect to clear your whole weekend; admittedly, the effort will be worth it.
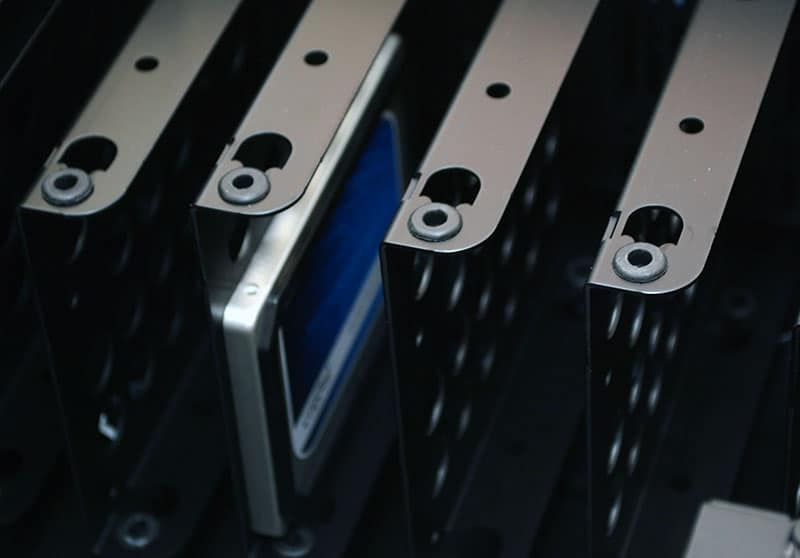
First up, hard drive installation. The bays remove with a simple thumb screw on each.
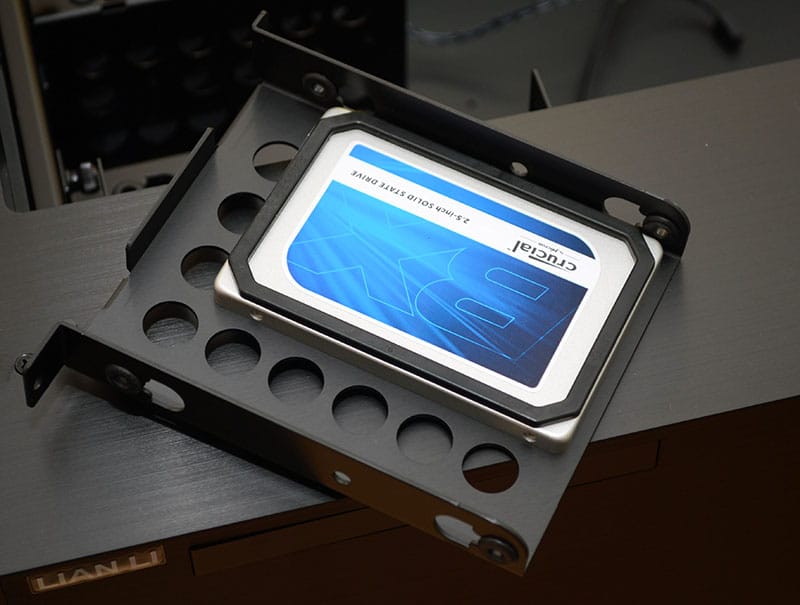
The drive slotted back into place, certainly enough bays for an epic RAID array here.
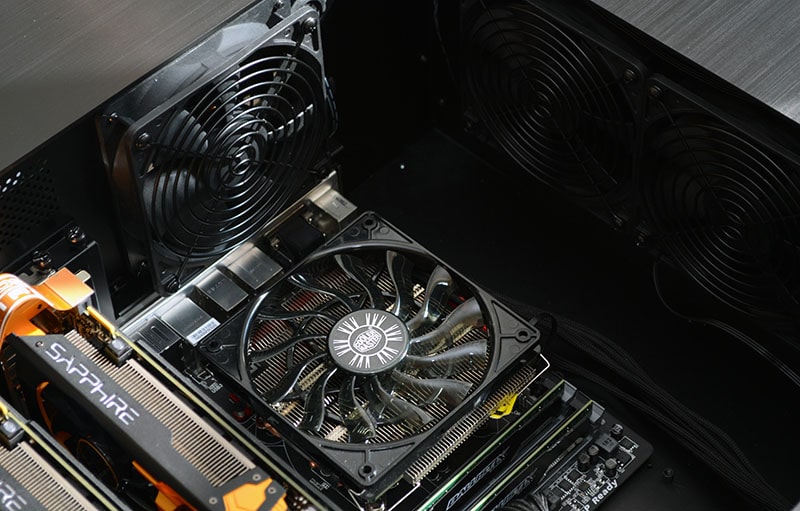
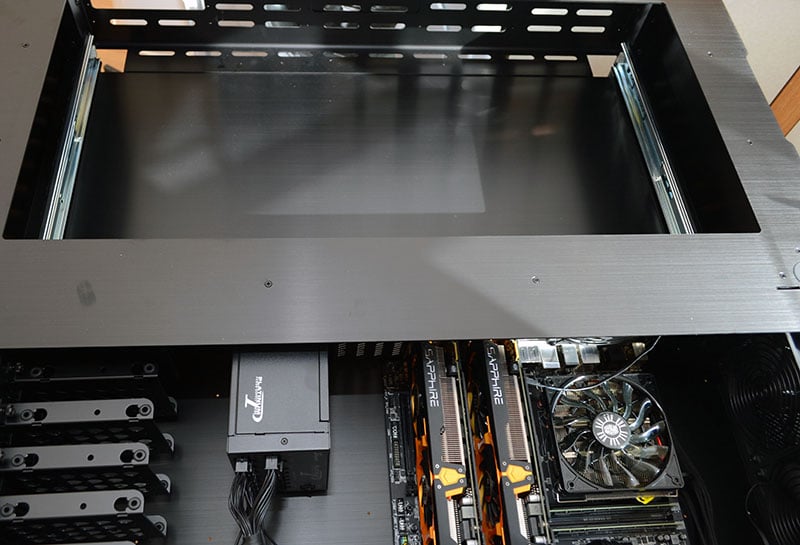
All the major components dropped into place easily enough, there’s certainly no shortage of space, so there were zero issues with compatibility here.
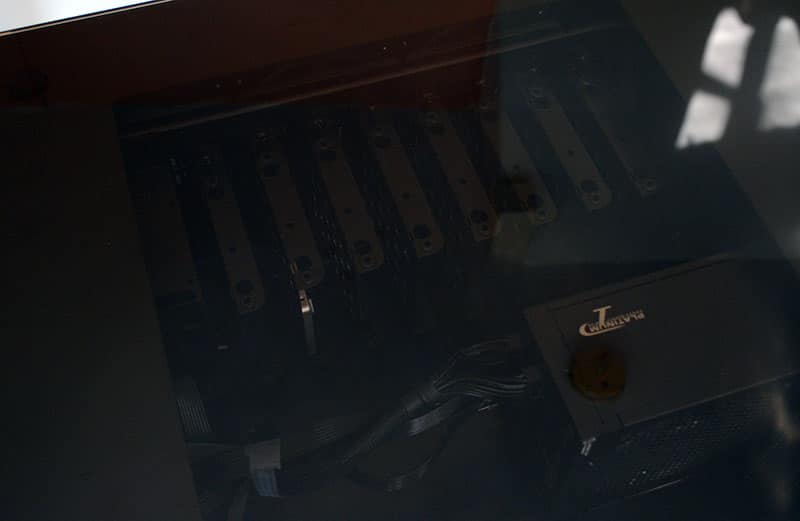
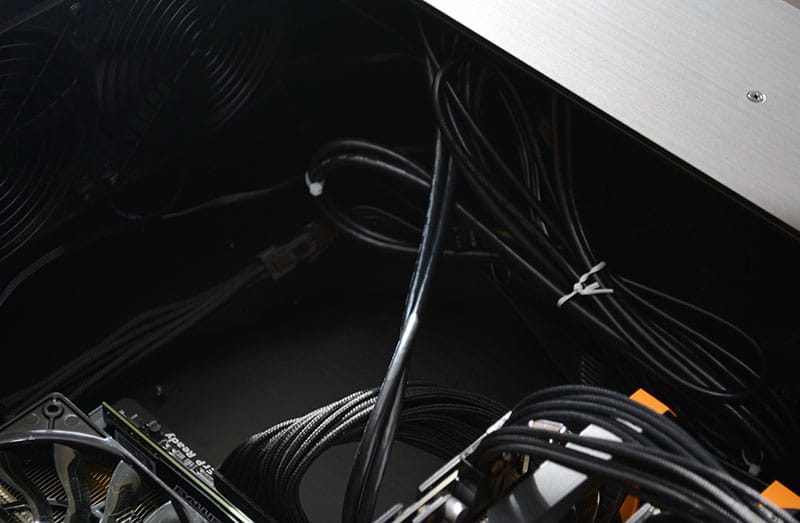
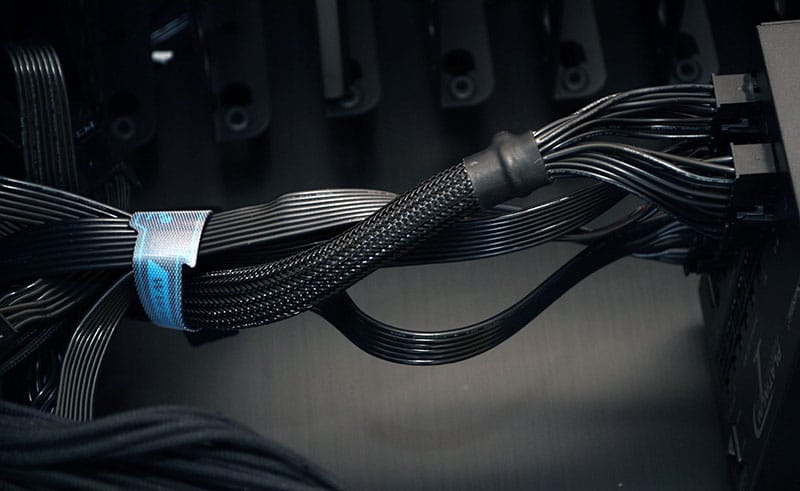
Excess cable is your biggest enemy here, fortunately, there’s a little overhang on the top panel, so a few cable ties can keep things out of sight and the fact that all internal cables are black is a big help. I’ve also employed the use of some black braided cable extensions, but the obvious prime choice in my opinion would be custom-made sleeved cables, all of the exact lengths you require.
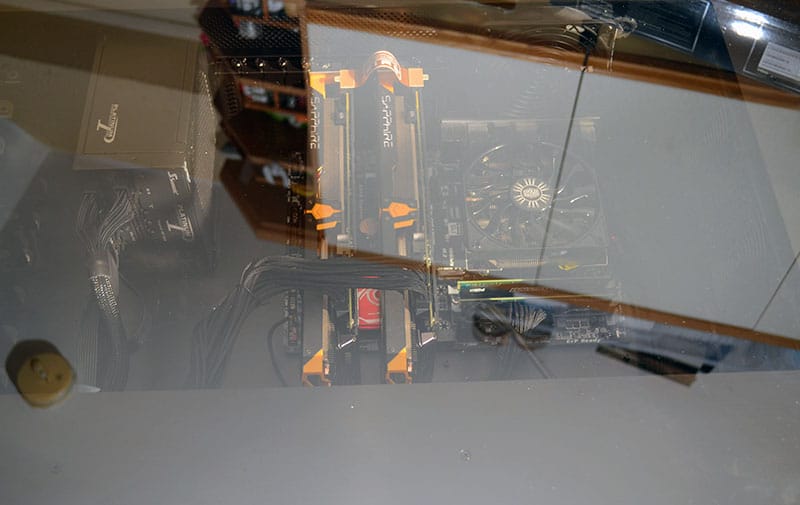
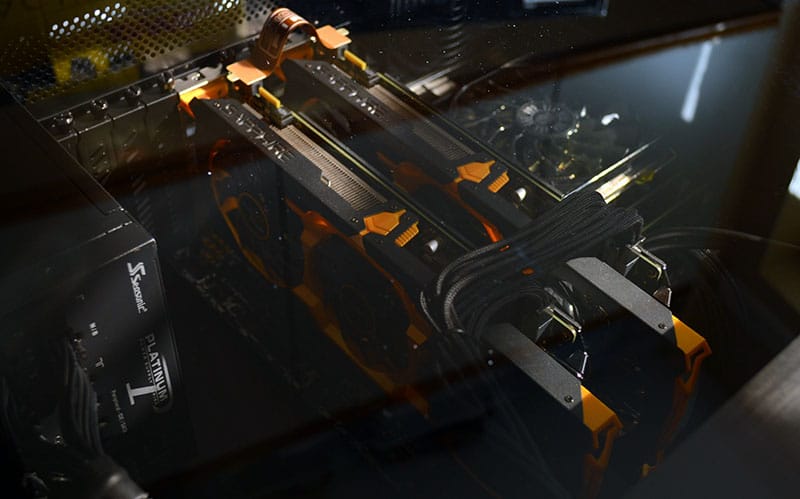
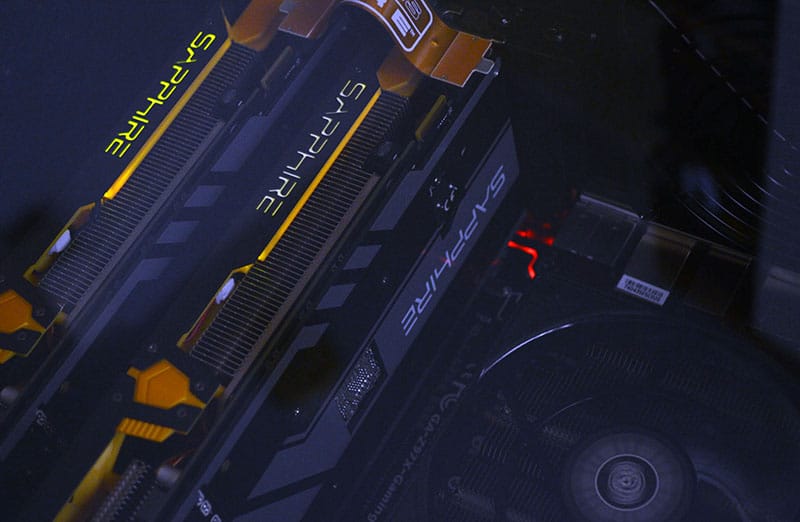
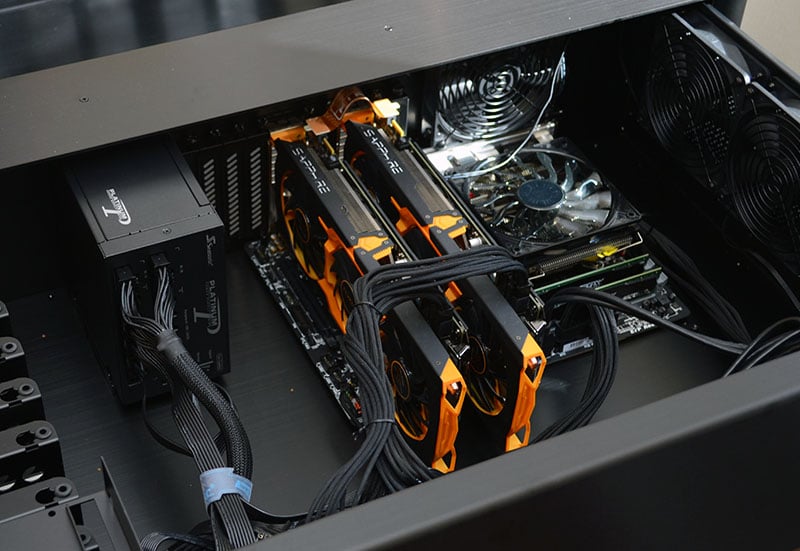
The GPUs installed, again, no room issues here, despite the fact that our Sapphire R9 270X Toxic have that massive cooler on them.
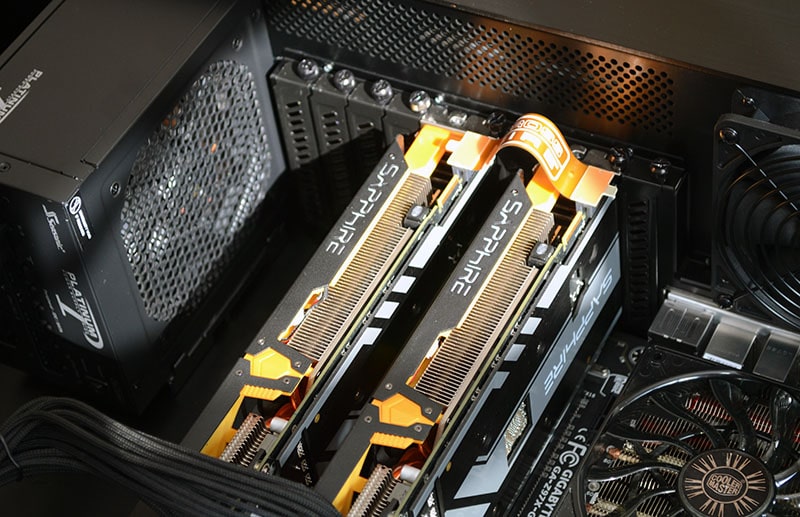
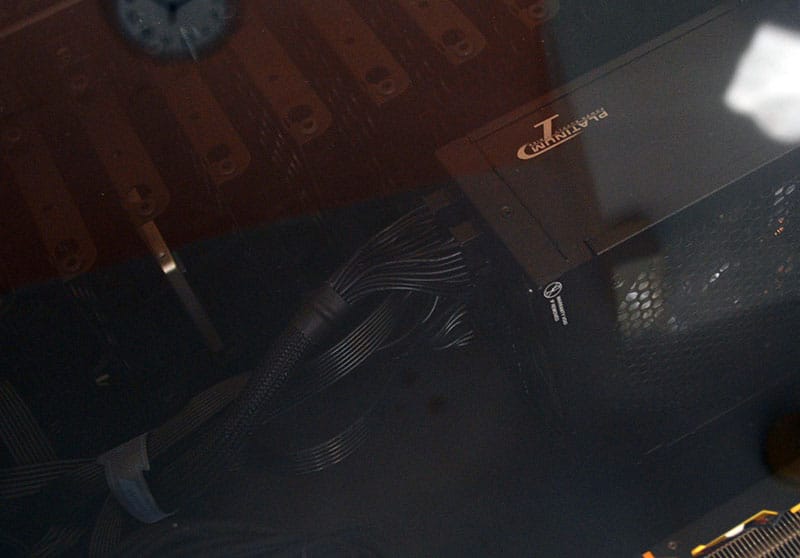
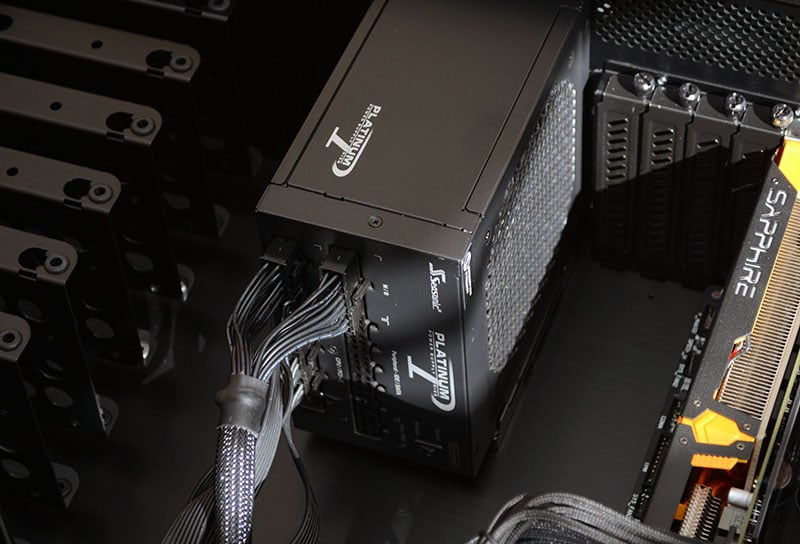
PSU installation was a breeze, with loads of room for cabless and it’s great for those who need to upgrade their components, as you can quickly access the power connectors.
A couple of Velcro straps help keep the cables in check, wouldn’t want it looking messy in here!
The tray does slide out, but be advised that shifting that much weight forward could cause the system to tip forward a bit, or worse, tip over altogether! Common sense will go a long way in this respect, but it’s certainly an awesome feature for quickly cleaning our your dust filters or tweaking a component.
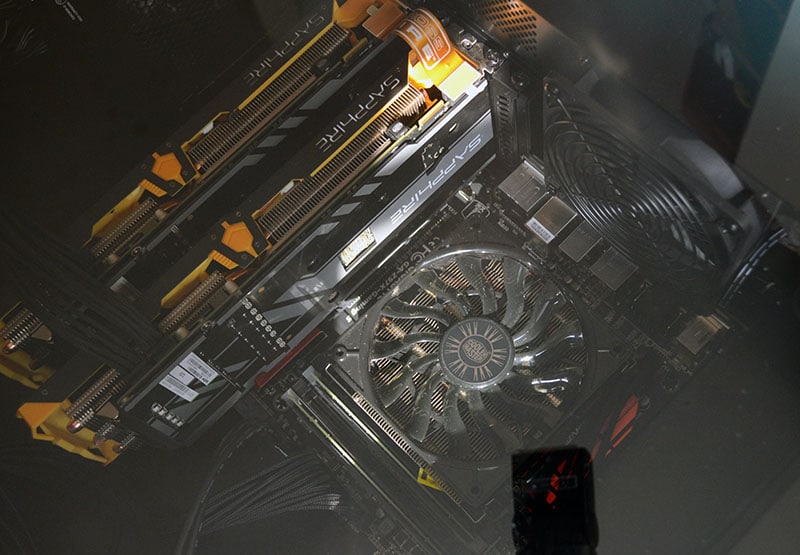
The build really does look great and it’s awesome to see everything laid out like this.
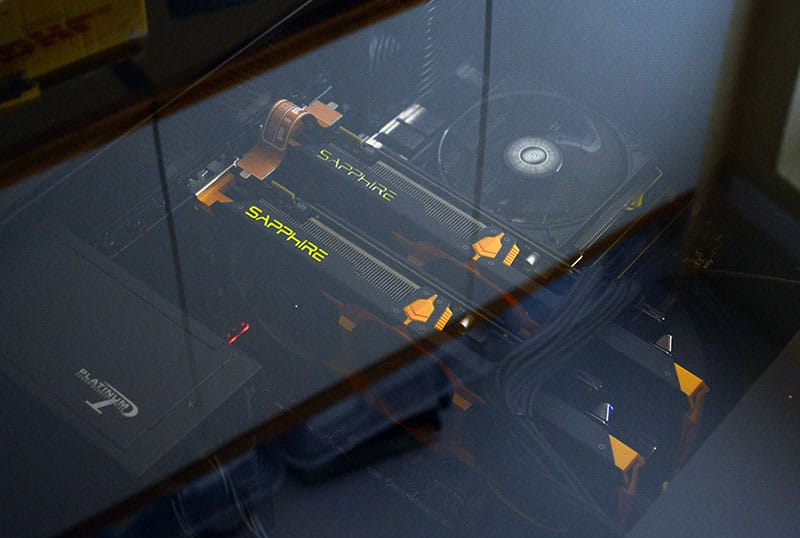
Now that we’ve got the glass panel back in place, you can see that there’s quite a heavy tint to it. This means that most cables and other bits and bobs are obscured from view, but lighter details are easily visible. Some of the pictures below make it easy to see inside, but keep in mind I played around with the shutter speed and ISO of the camera as well as various lighting conditions. In reality, the tint does look quite dark.