Lian Li PC-T80 Modular Test Bench Chassis Review
Peter Donnell / 10 years ago
Introduction
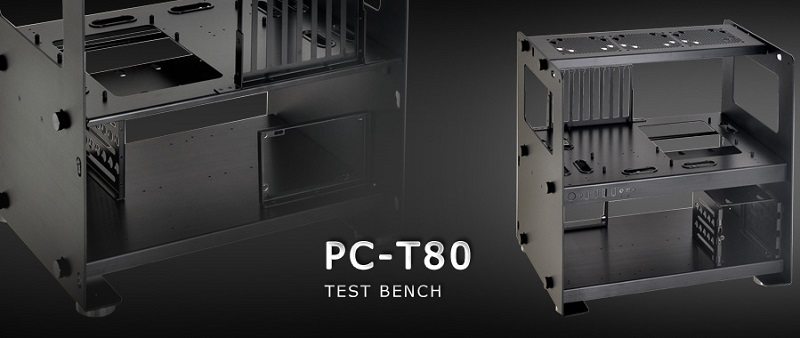
Test benches are a vital part of the work we do here at eTeknix. They’re used for our motherboard, processor, CPU cooler, graphics card, hard drive reviews and no doubt many other components we’ve reviewed have been hooked up to a system on one of our test benches. Of course, we’re not the only people in the world with need of a good quality test bench, as there are many professional industries and enthusiast users that need easy access to their components for everything from product testing and design, through to overclocking and modding. With all that in mind, having a modular test bench that is capable of many different tasks can be a huge boost to your productivity and with Lian Li having already created some of the best test benches in the business, we’re eager to see what their latest one is capable of.
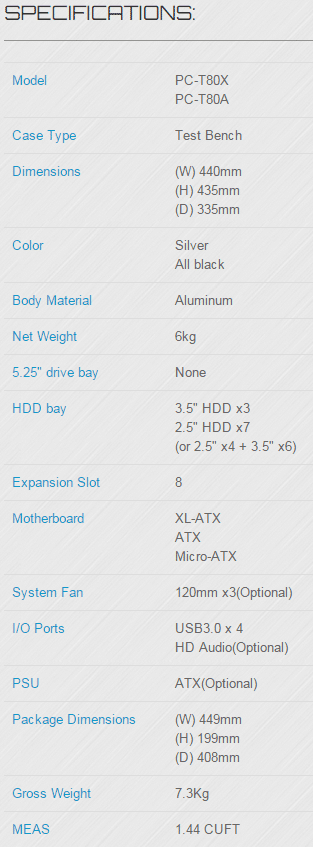
As you can see from the specifications below, the T80 is available in two models, silver (PC-T80A) and black (PC-T80X), both of which are made from aluminium, lending to them only weighing 6KG each. Both chassis are capable of holding an impressive array of storage devices and motherboards of up to XL-ATX.
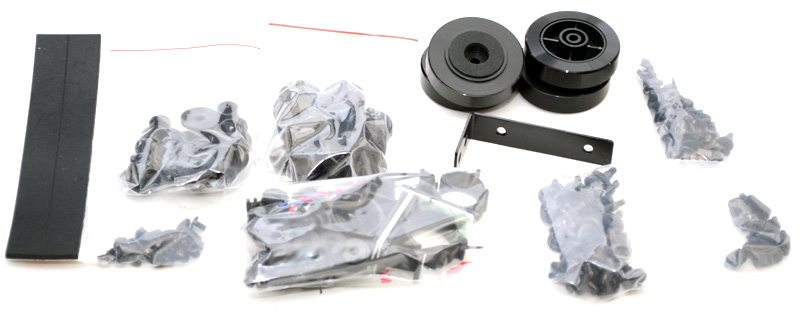
While I normally just list the few components that come in the box, the box was full of a wide range of panels, poles and screws; you have to build the chassis yourself. The instructions are far from clear, with only small pictures and limited descriptions, but as anyone knows, instructions are rarely perfect.

There are lots of screws, thumb screws, rubber strips, rubber washers, retention brackets, feet, motherboard stand-offs and more included.
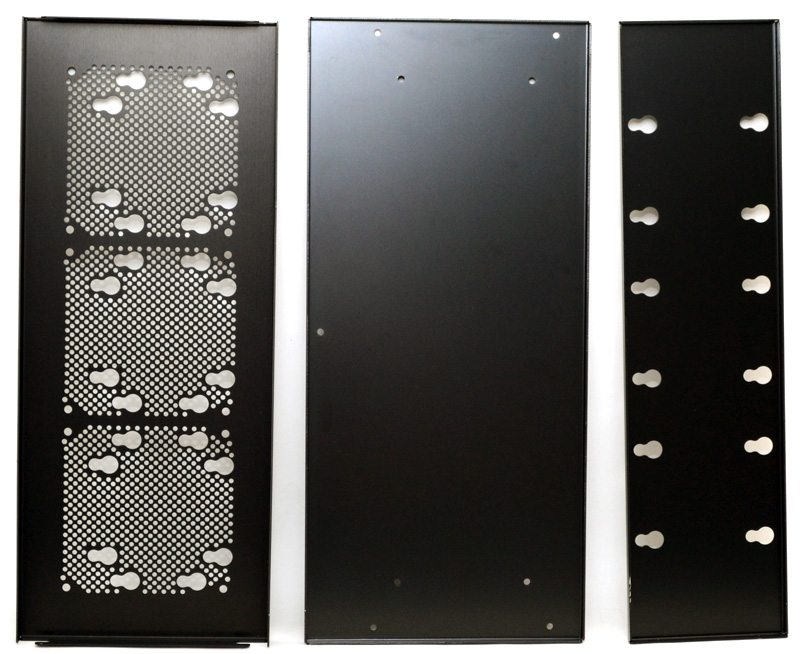
All the major components are individually wrapped in plastic, which took about ten minutes just to unpack! From left to right, we have the hard drive/cooling mount, the lower plate and the hard drive tray.
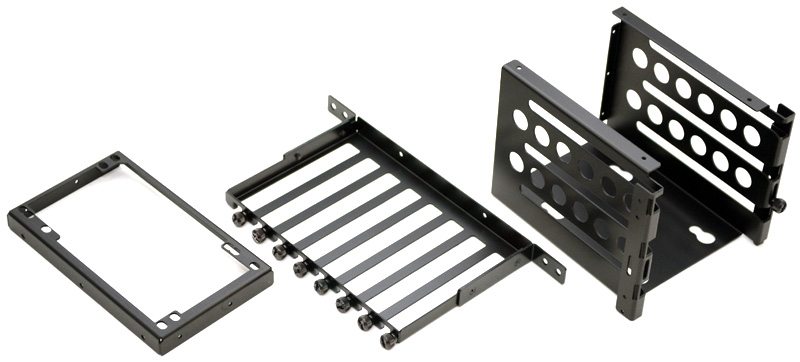
Literally every component is movable in some respect, if you don’t need a component, there’s no need to install it to the chassis. Here we have the PSU back plate, expansion slot bracket and a hard drive caddy. The drive caddy features a locking system slide in rails for 3.5″ drives and an extra fitting in the top for a 2.5″ drive.
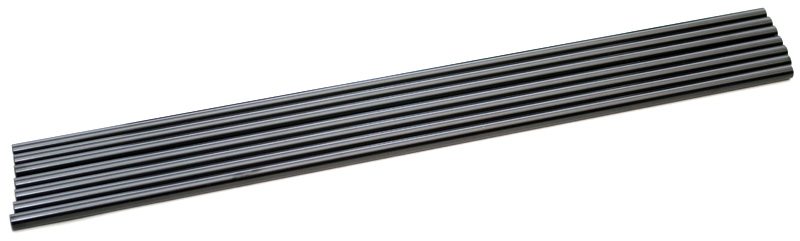
These are the support poles that run the length of the chassis, but we’ll come back to how these work in a moment.
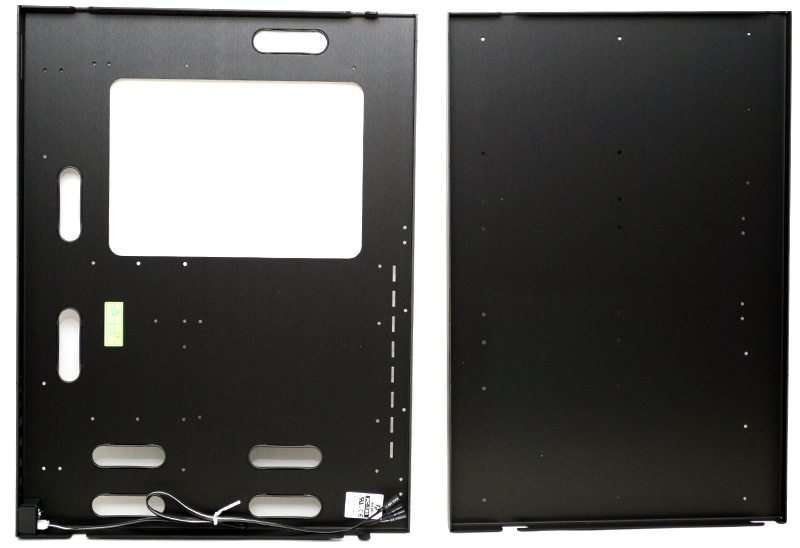
The left and right side of the chassis, which are funnily enough upside down in this picture, but I didn’t realize that at the time. Each of the key-shaped holes is for mounting one of the bars you see above, while the large cut-away offers you side access to the upper levels of the chassis, as well as forming a kind of handle.

The motherboard tray is huge, with several cut-outs for cables routing and a massive CPU-cooling mounting cut-out. The tray on the right is cut with holes to mount the PSU bracket, as well as the storage caddy; you can mount each in multiple locations to best suit your needs thanks to the extra screw holes.