Lian Li PC-V359 M-ATX Chassis Review
Peter Donnell / 9 years ago
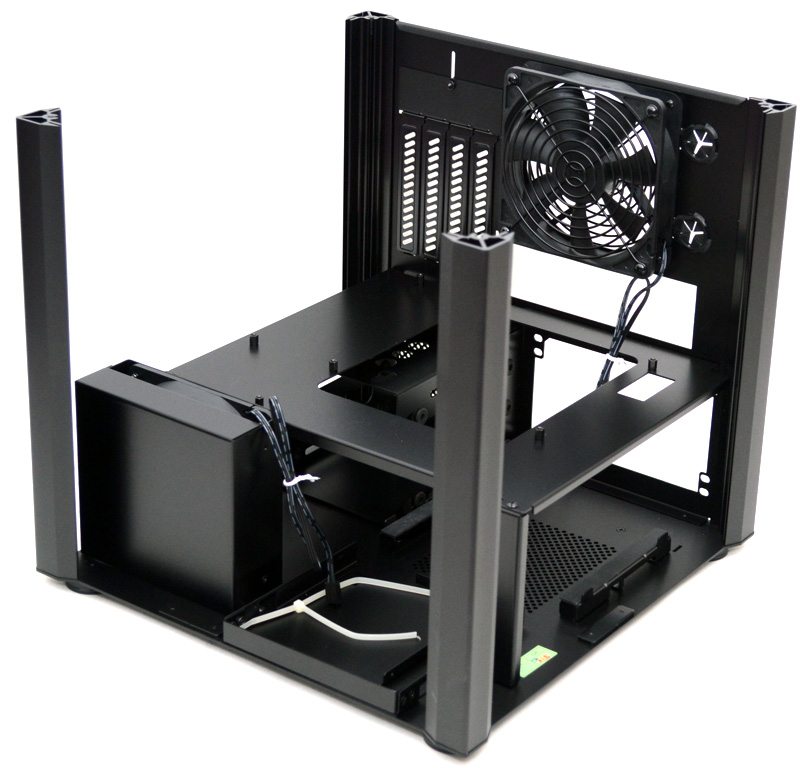
Interior
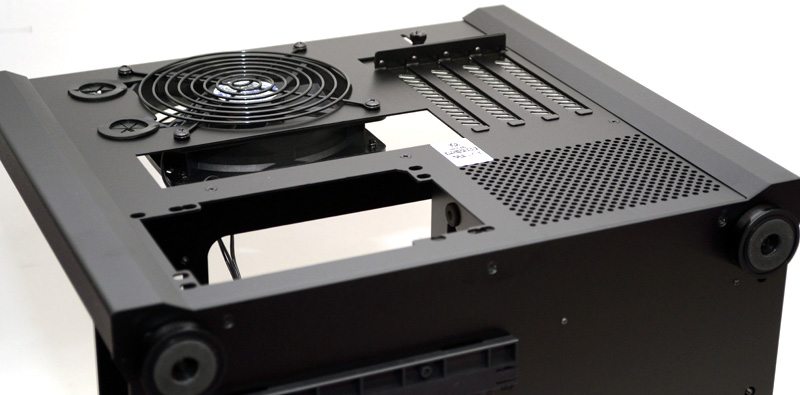
You can access the chassis by unscrewing and lifting off the top panel; giving you easy access to install and maintain your system.
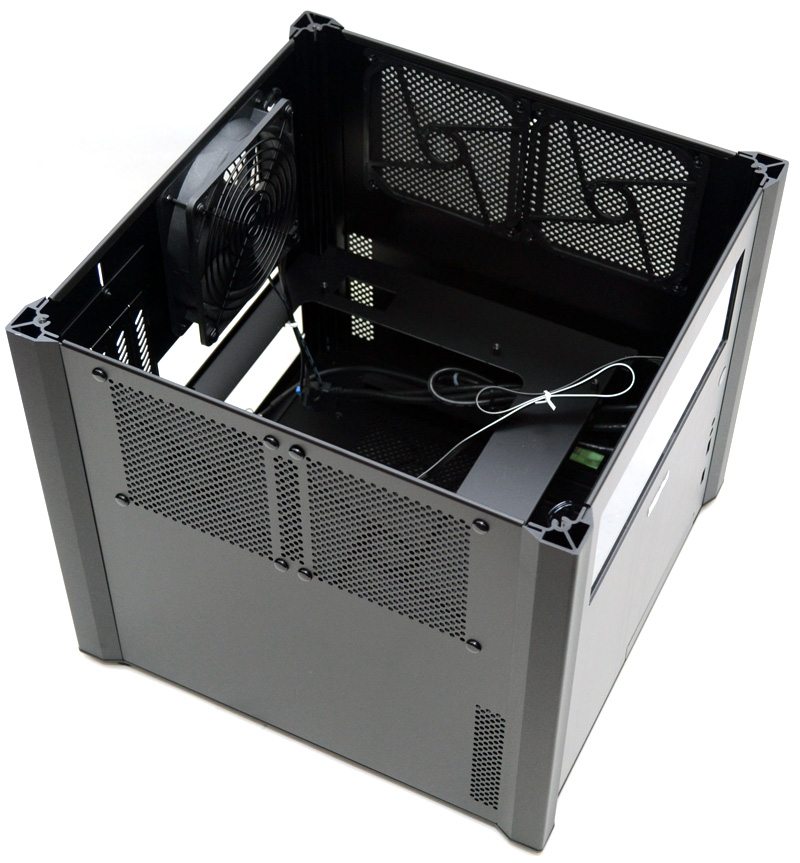
With the top panel removed, the left side panel can be lifted up and out of the chassis; this makes accessing the interior of the chassis a very quick and easy process.
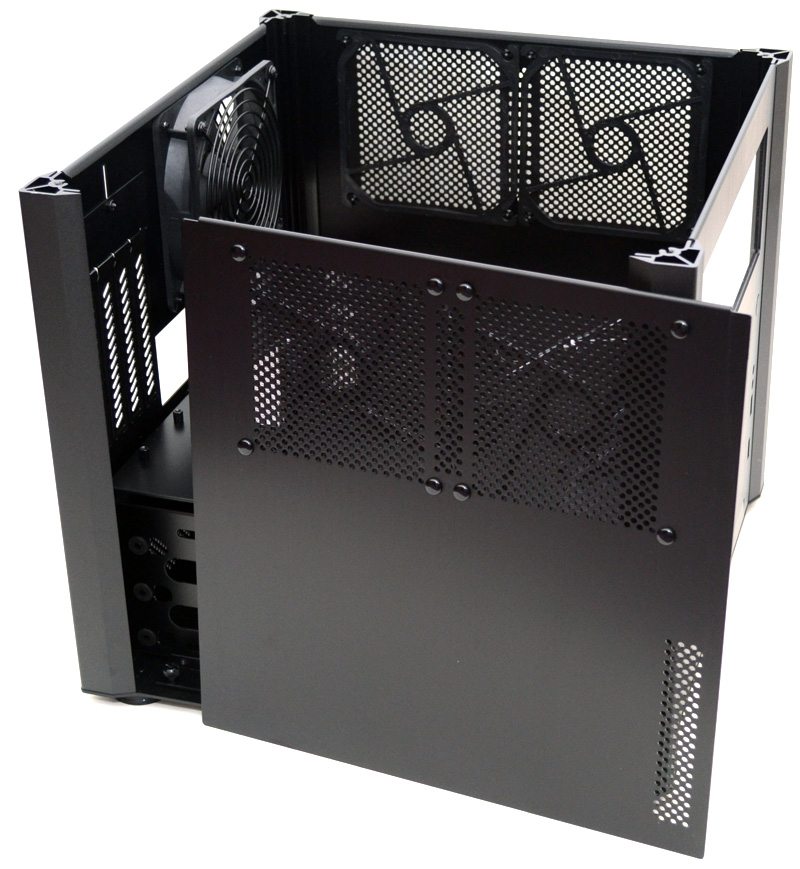
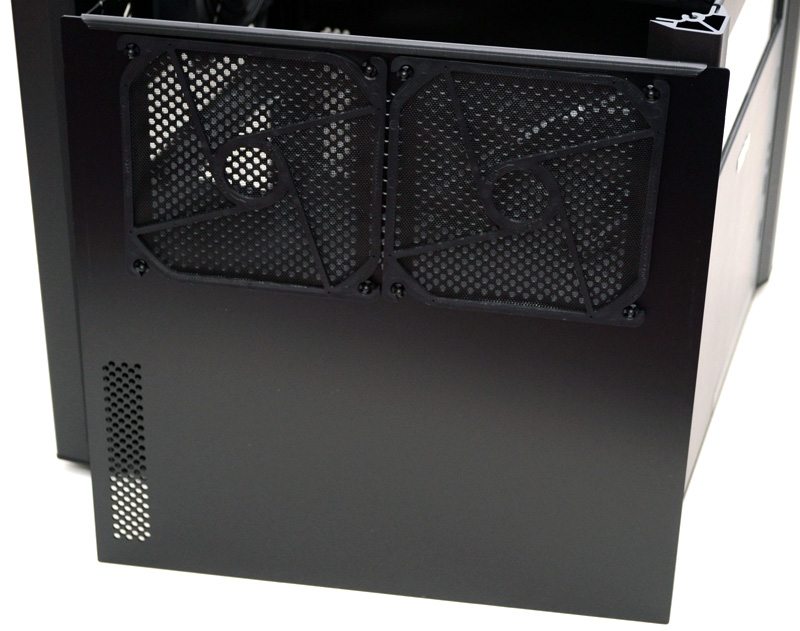
On the inside of the left panel are two clip in dust filters; you can optionally mount two 120mm fans here.
The motherboard stand-offs are pre-installed for both mini-ITX and micro-ATX motherboards. Below the motherboard tray you’ll find the hard drive bay, which support 3 x 3.5″ drives and a single 2.5″ drive.
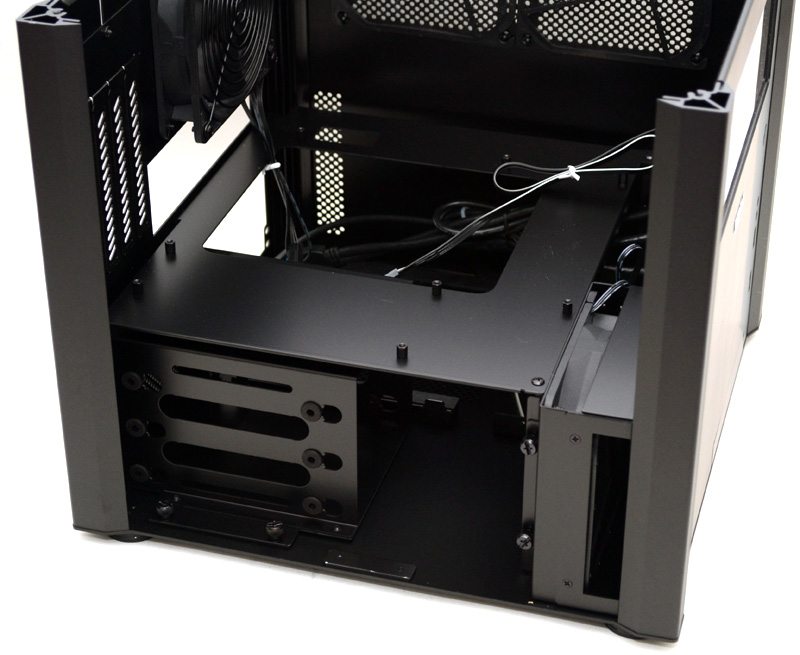
The right side panel can also be lifted straight out (once the top panel is removed), it also features the same dual filter/fan mount design as the left pane; with this panel removed you can access the PSU installation bay in the bottom of the chassis.
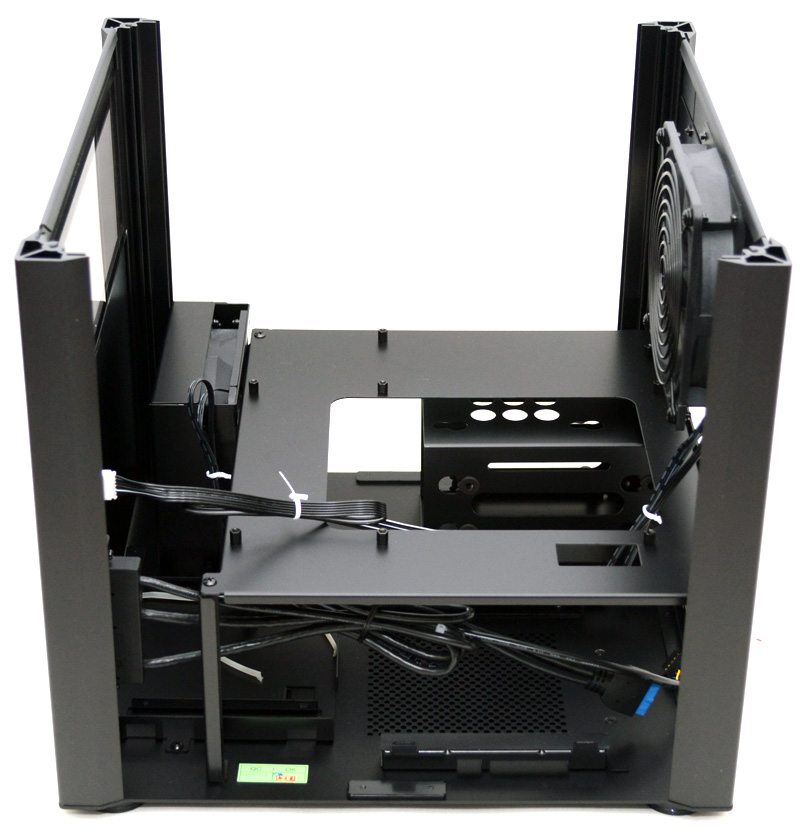
There is a 120mm fan pre-installed in the back of the chassis, with a removable screw-on fan guard on each side; you could easily install these fan guards on your own aftermarket 120mm fan or radiator.

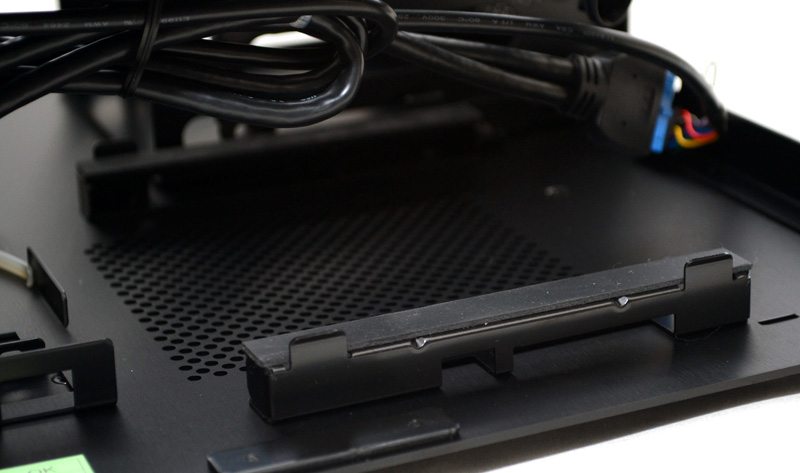
The PSU can be installed from the right side of the chassis once the side panel is removed, where it will sit on a pair of support rails, each covered with an anti-vibration rubber strip.
The front panel can also be lifted out, which is very handy if you need to hook up cables to a modular PSU as it gives you much more space to access the bottom half of the chassis.
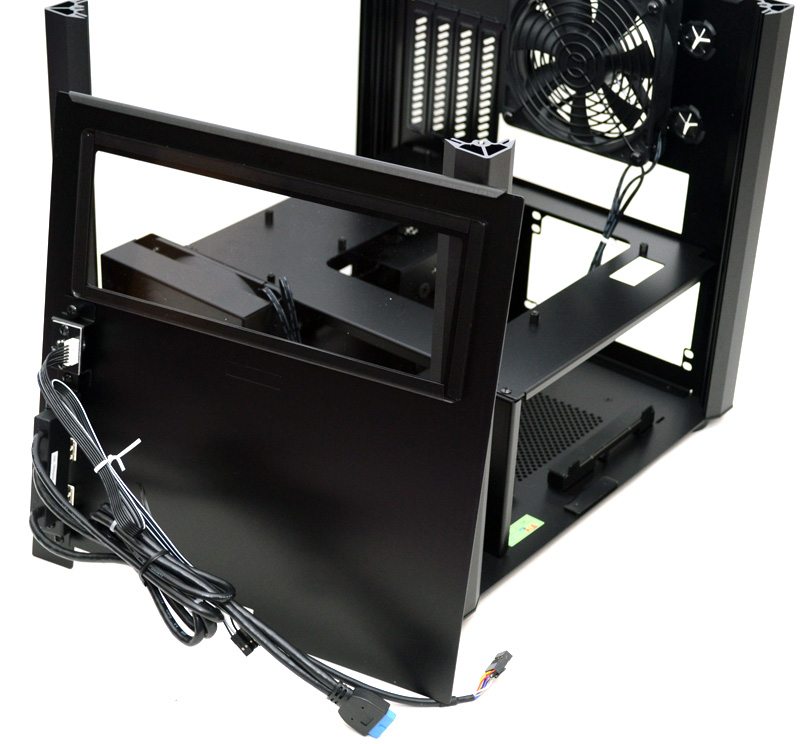
With the front panel removed you can also easily access the slim ODD mounting tray in the base of the chassis.
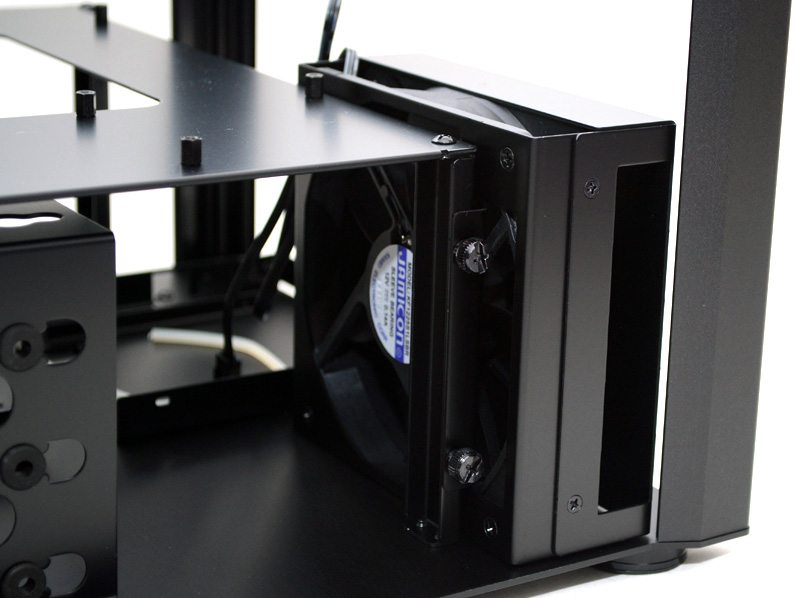
At the front left is a single 120mm fan with a side vent, you’ll also remember there’s some ventilation on the front left side panel to allow airflow into this fan; perfect for keeping your hard drives nice and cool.
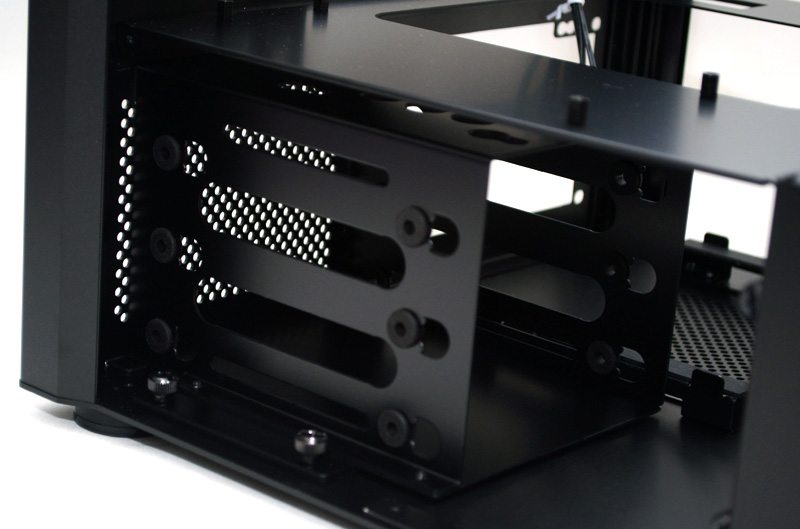
The hard drive bay can be removed via two thumb screws and features 3 x 3.5″ drive bays and a single 2.5″ drive bay.
The back panel can be removed, but to do so will require you to remove three screws in the base of the chassis; I’m not sure why you would need to, but I’m sure modders will love being able to strip the chassis down into its various components.