Linksys LRT214 Business Gigabit VPN Router Review
Bohs Hansen / 7 years ago
GUI – Introduction and Quick Start Guide
There is no need to install any software or tools to find a new router as long as you’re smart enough to find your own IP address and replace the last digit set with 1, so getting to the user interface of the Linksys LRT214 Gigabit VPN Router is as easy as it could be.
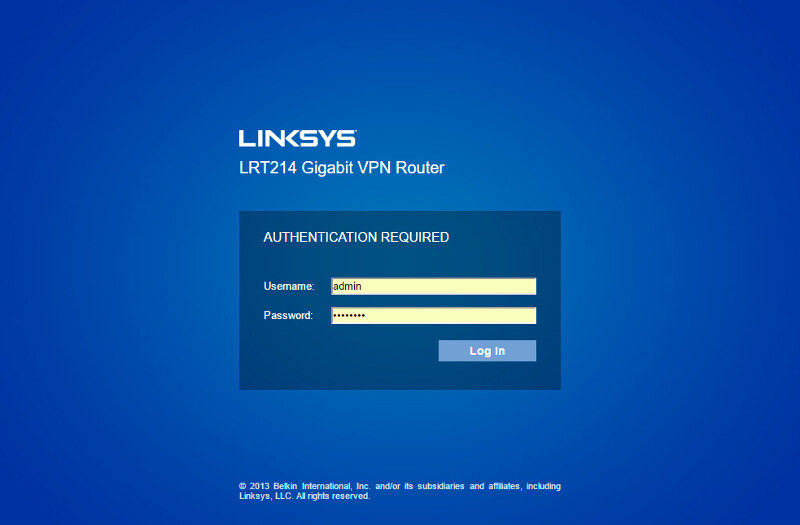
Login
The login screen is kept simple for a quick loading time. The LRT214 supports both the normal HTTP connections which it is set to by default as well as the secure SSL-protected connections with an unsigned certificate – you can, of course, change the certificate should you wish to do so.
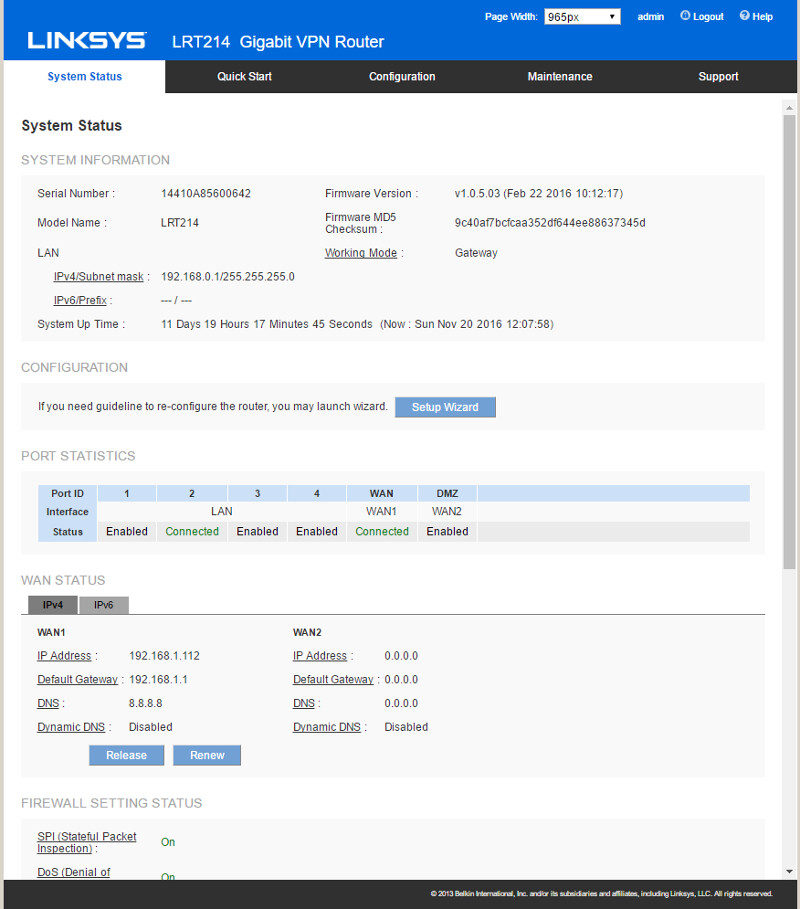
Dashboard and System Status
The initial page when logged in, is the System Status page where you get a quick view of the routers setup as well as connections to and through the router. Key features also have buttons that when clicked will take you directly to the appropriate settings page.
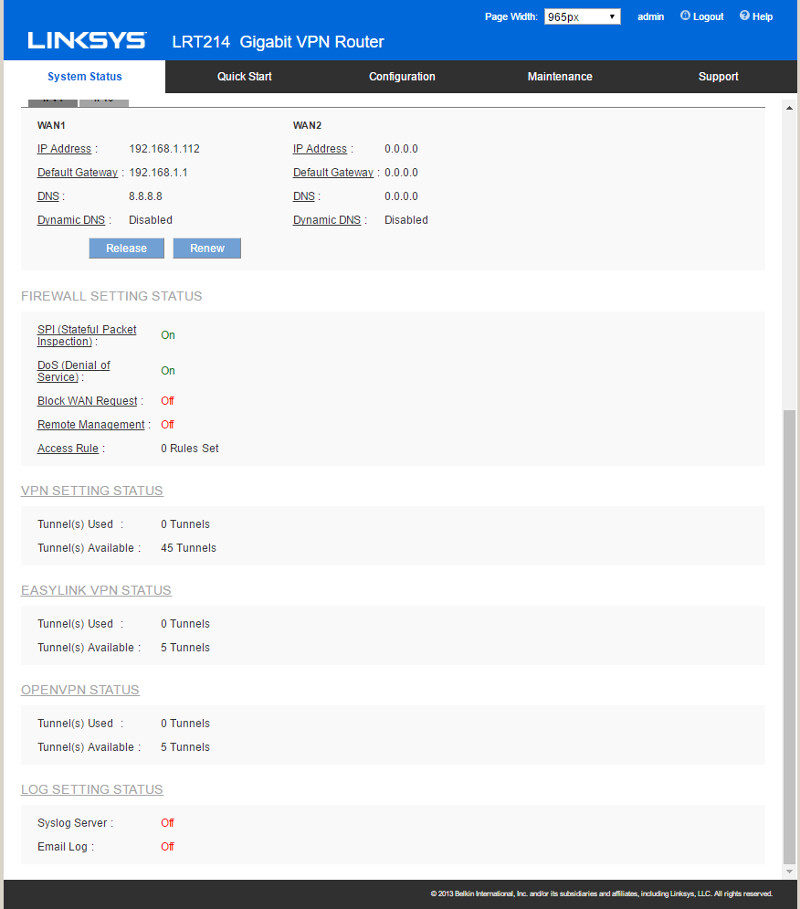
Firewall status and the various VPN options can be found on the same page when scrolling down a bit.
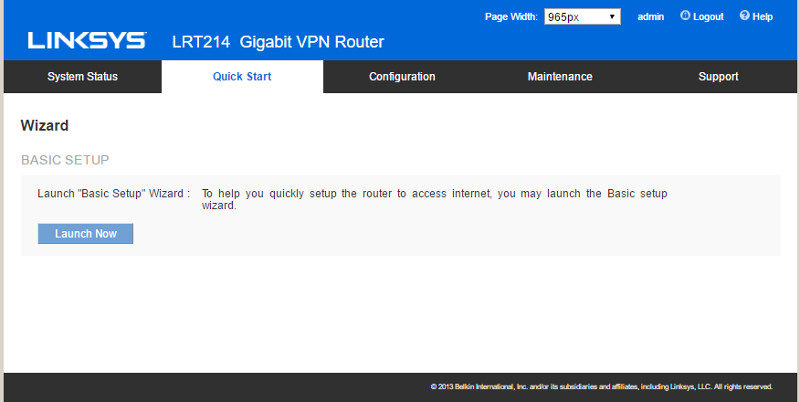
Quick Start Setup Guide
The quickest way to get the basic parts of your new router configured is through the Quick Start feature. Launching the guide will open a popup window with a few steps that should be done on all headless units whenever they’re set up.
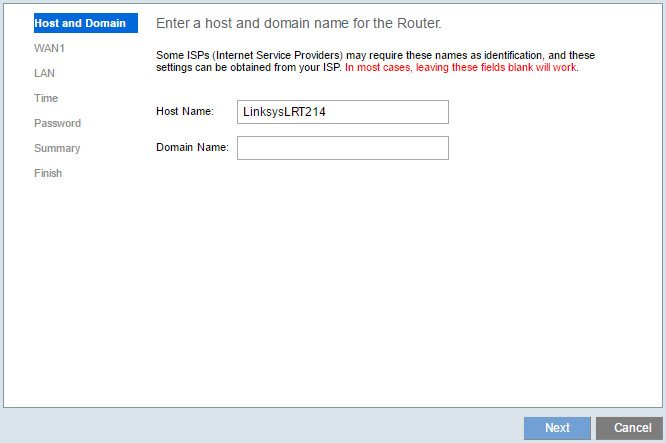
The first thing is to give the router a name and add it to a domain, should you wish to do so. Both cases will work blank in most cases.
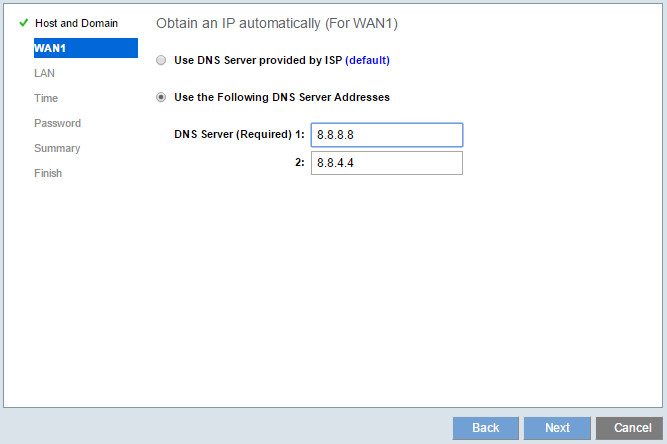
The next step is to tell it how to get its own external IP address, whether to get it automatically via DHCP or manually with a static IP or PPPoE should that be needed in your location.

The DNS server settings can be set separately from the WAN settings. You can get the automatically where provided or set them manually as seen here.
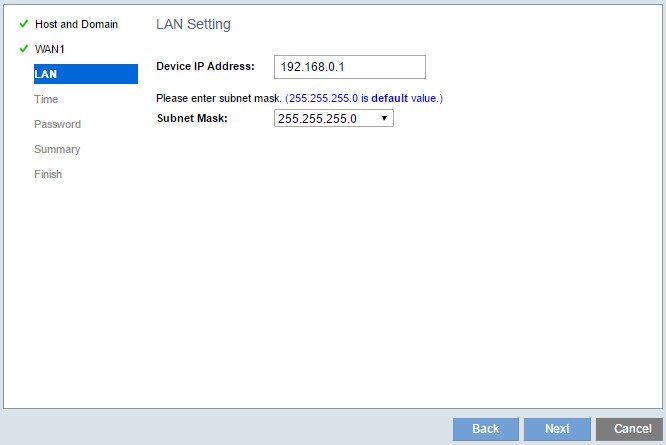
The LAN settings will specify the IP range the router has to operate within. Any viable local address will work here, as long as its free.
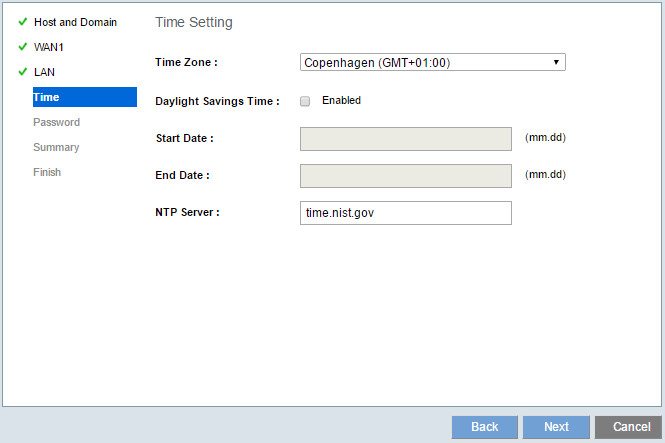
The time can be set manually or via NTP servers for a worry free setup.
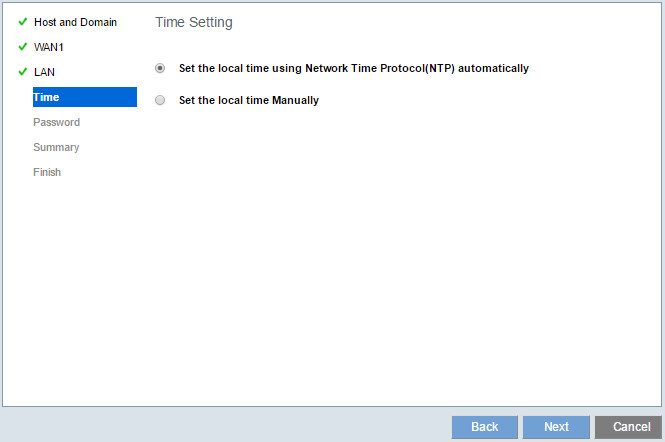
Daylight Savings dates and times will have to be entered manually, but a quick google search will tell you that in case you don’t know.
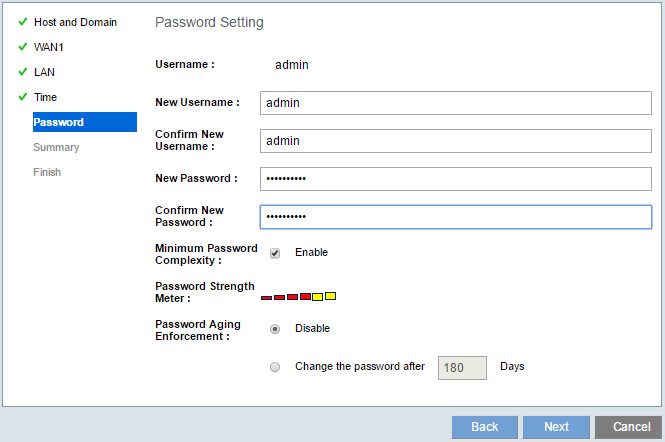
The last part is the administration user. We need to change the default password and optionally, we can change the user name too. There are a couple password rules too that can be enabled upon choice.
You get a final page to look over your settings before they’re applied and when they are – your brand new Linksys LRT214 is ready for your final configuration of features such as your VPN. After all, the LRT214 is a VPN router.


