MSI Z170A GAMING M7 (LGA 1151) Motherboard Review
Rikki Wright / 9 years ago
BIOS and Overclocking
Most motherboard manufacturers these days offer multiple BIOS styles for users to enter and tweak the system settings. The latest implementation of the BIOS type is the UEFI (Unified Extensible Firmware Interface), which is a simpler version to view and interact with. Each manufacturer has a different style and each motherboard could have a different colour style.
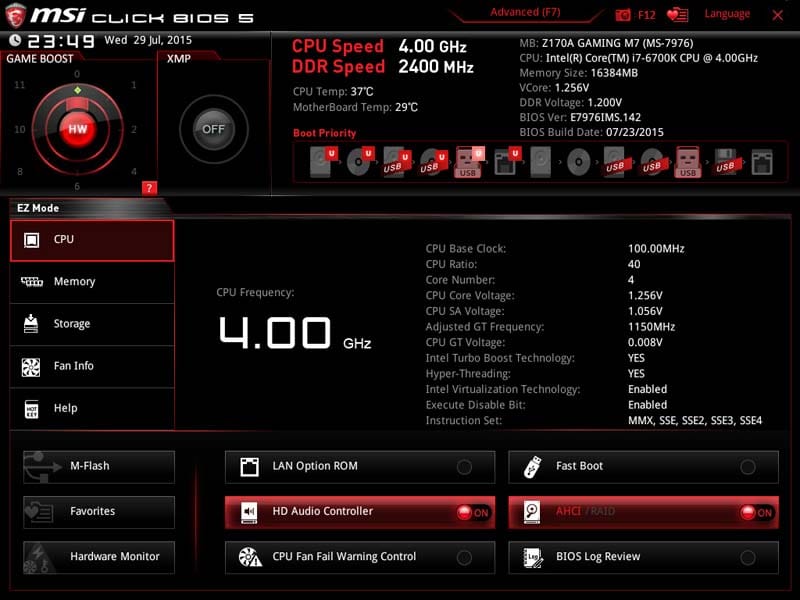
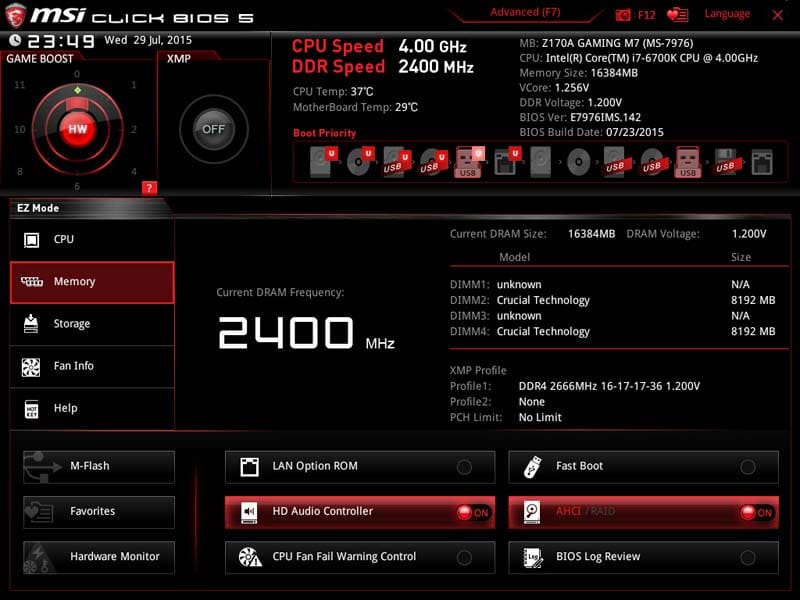
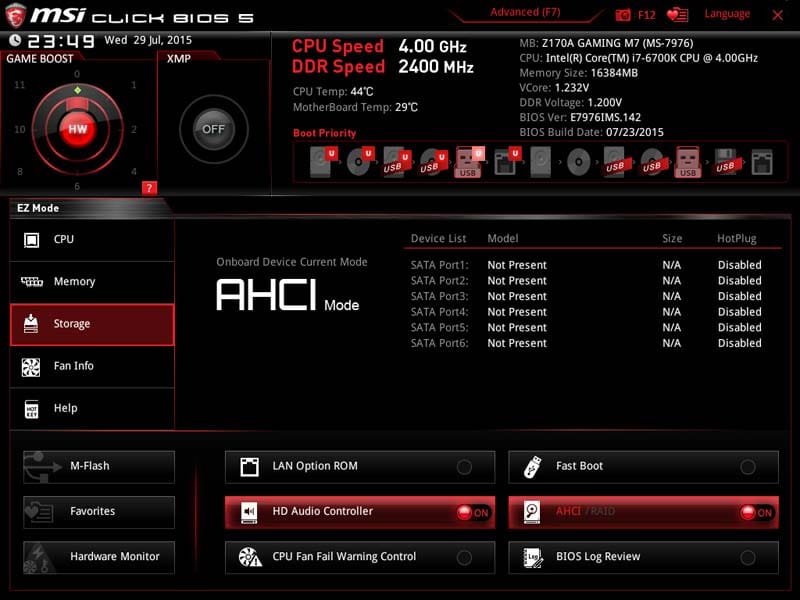
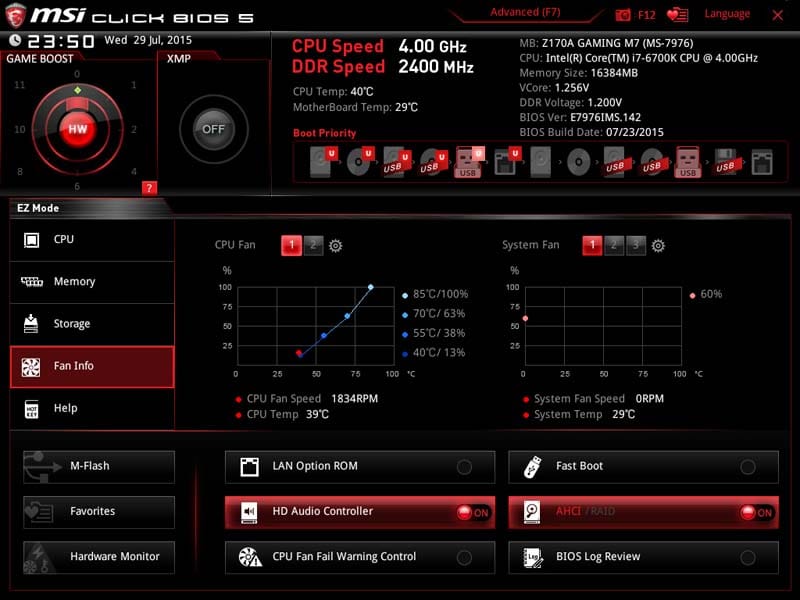
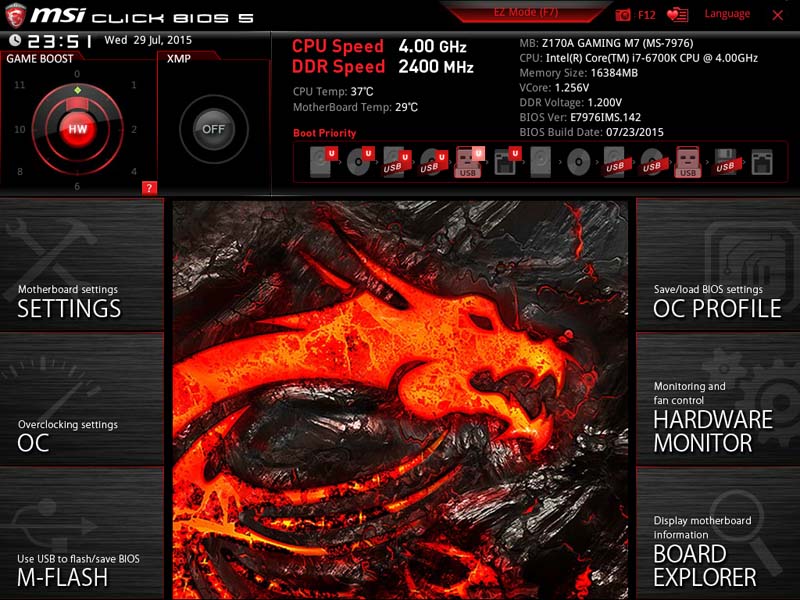
MSI are on the fifth iteration of their Click BIOS and in this time, all of the bugs have been ironed out; well from what I can find anyway. Offered in two versions, EZ and advanced, MSI are thinking of enthusiasts and new users. The EZ mode is a slightly cluttered overview, probably just a little too much information which could scare some new users. However, if you are used to venturing into the BIOS, this can be a pleasant experience. Everything is laid out simply and identified under each heading, from CPU to fan info. Each heading then contains a small amount of information regarding that particular piece of hardware. In the top left corner is the brand new Game Boost dial, with 8 settings from Off to Max (or 0 – 11), this gives the user more refinement of the overclocked settings than the old OC Genie button. You can activate it either through the BIOS or from the board itself, although it won’t take effect until the next reboot.
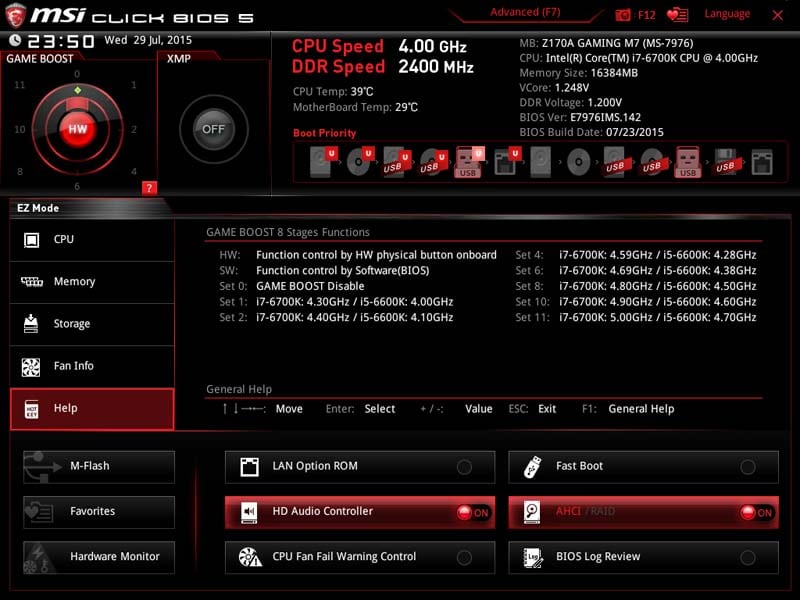
The Help tab is probably the most interesting, generally when you enable the overclocked button; you don’t quite know what overclock you are getting until you enter the OS. Here it shows you what overclocks you can expect to achieve from both the i7 6700K and i5 6600K. Setting 11 gives the i7 a huge 25% (1GHz) overclock from the turn of a dial; amazing if it works.
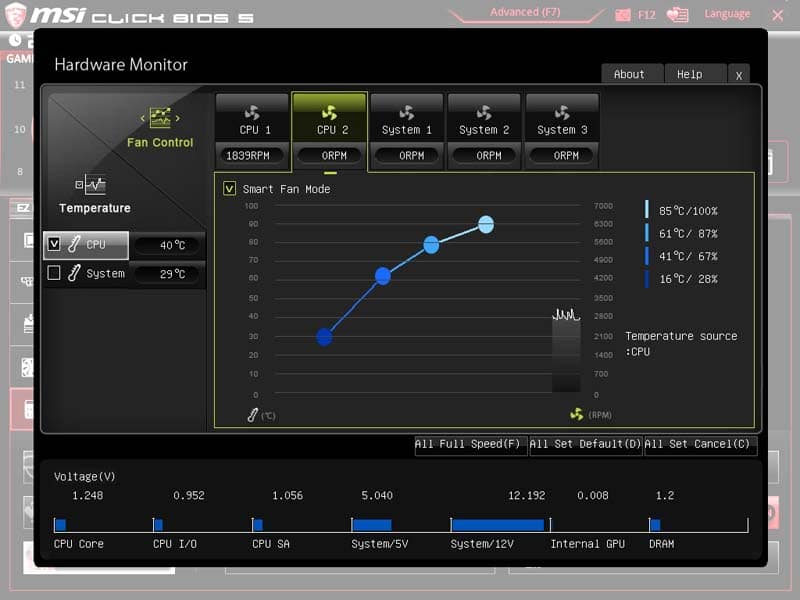
The hardware monitor on this board is an overlay, which is then interactive with the fan control.
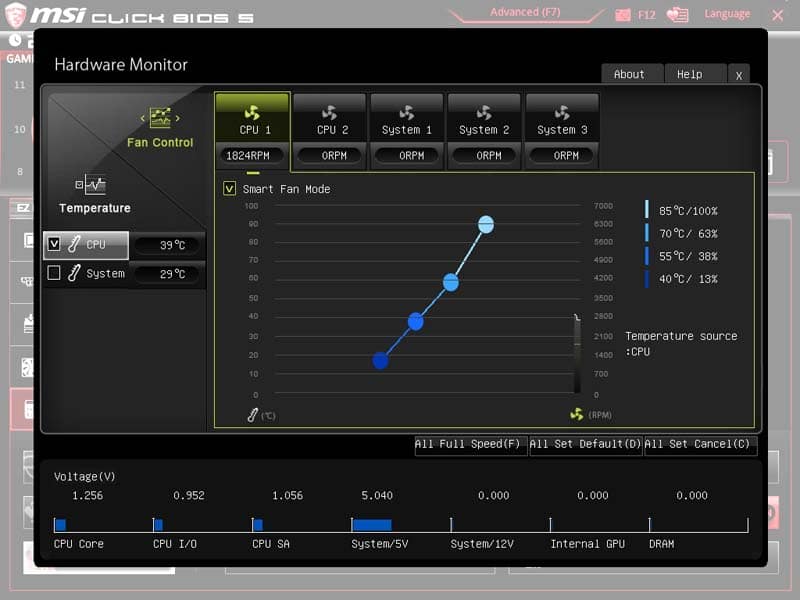
Here you can monitor the temperatures and adjust the fan profiles to your tastes.
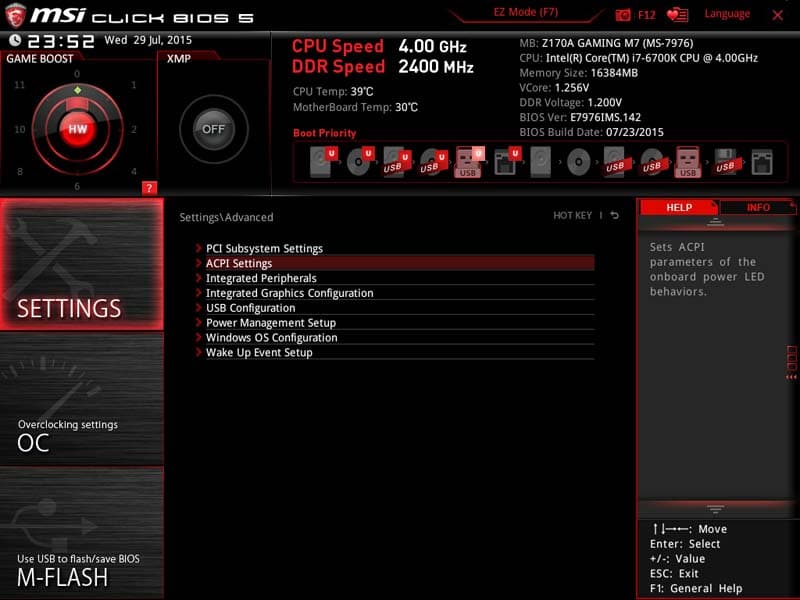
If you have read any MSI reviews or own a recent MSI GAMING motherboard yourself, you will recognise this display. This is the Advanced screen and I personally really love the layout and division of all of the settings. The M-Flash tab is probably the most useful tab here thanks to an instant BIOS save or flash through a simple walk through guide.
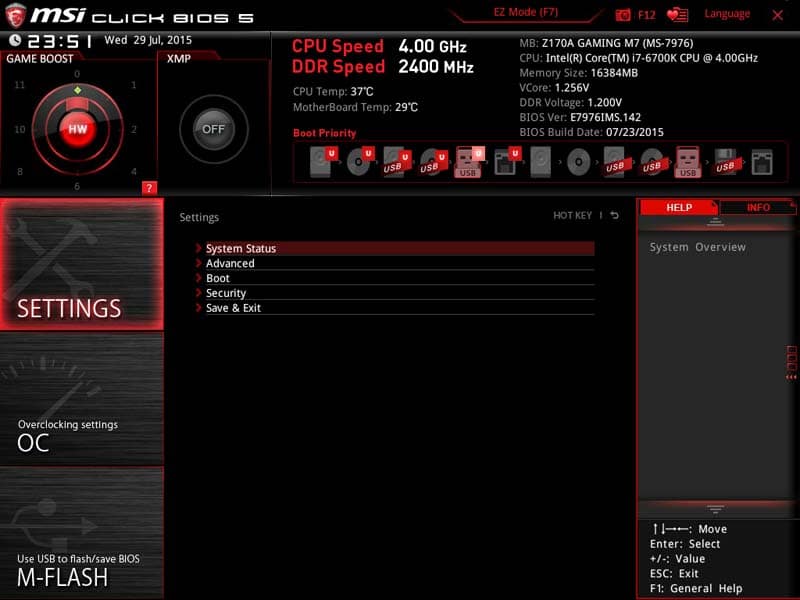
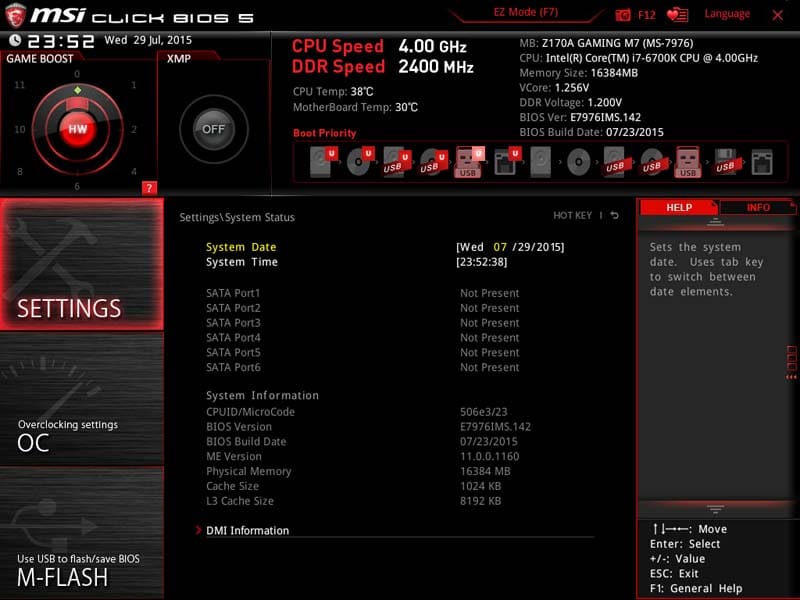
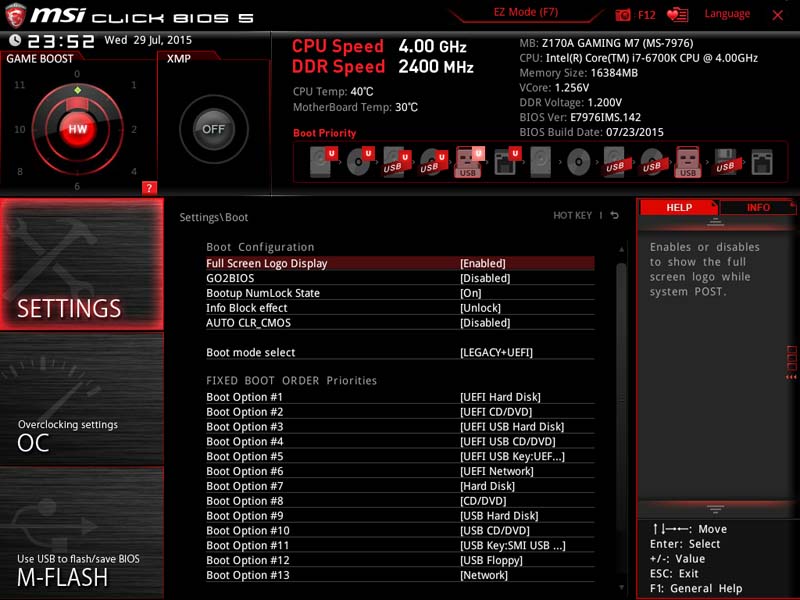
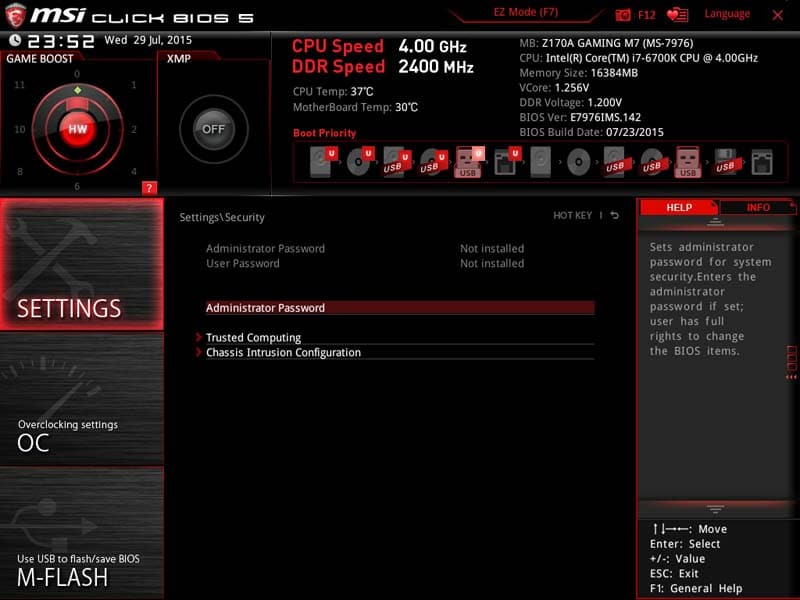
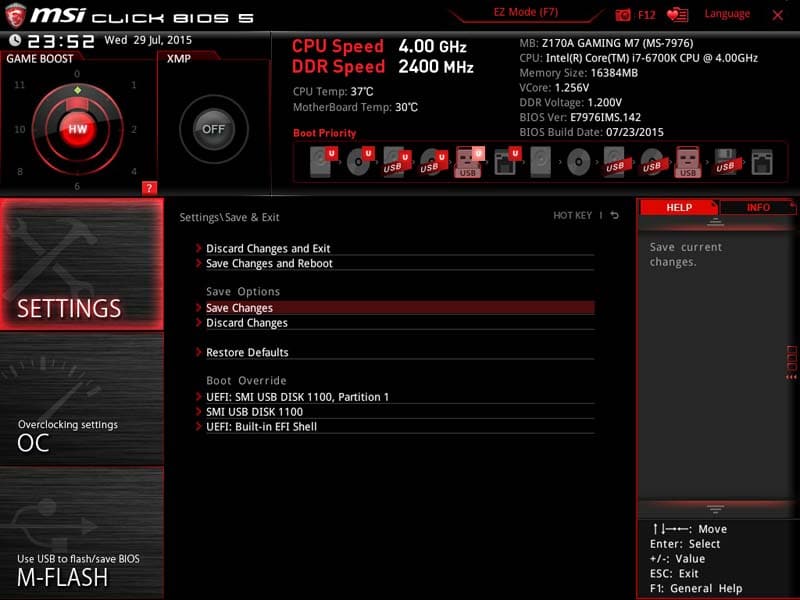
The first tab you can click is the Settings tab. In here you have the system status (hardware monitor), boot, security and exit paths which all contain settings relating to each heading; so don’t expect to find CPU voltage under the Advanced heading.
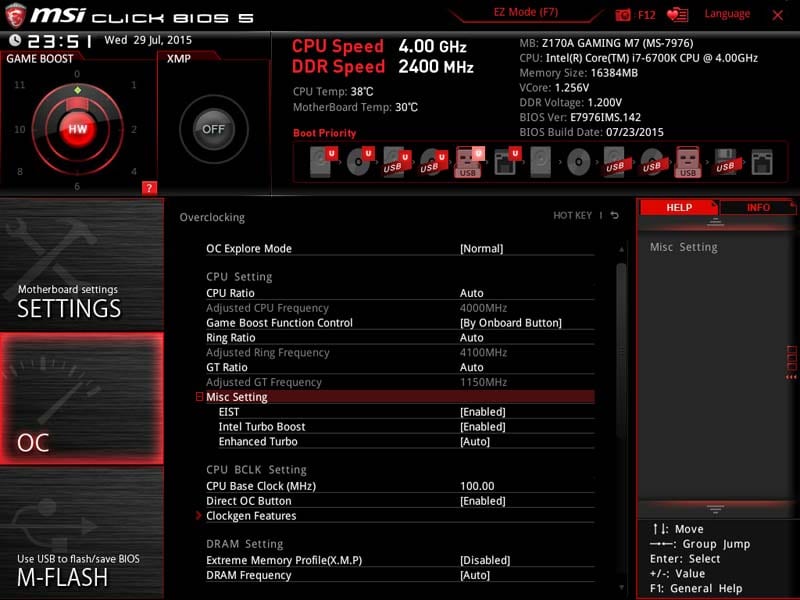
Next is the OC tab and it is comprehensive. Luckily all of the OC settings are contained within this one heading, so you know if you can’t find it; this board either doesn’t support it or you aren’t looking hard enough.
Next is the OC profile page. If you have saved any Overclocking settings, you will find them under whatever heading you saved them under; a simple click will load the profile ready for use. A good feature with this is the fact that you can save your OC settings and give them to a friend with an MSI motherboard; good if they don’t quite know how to overclock.

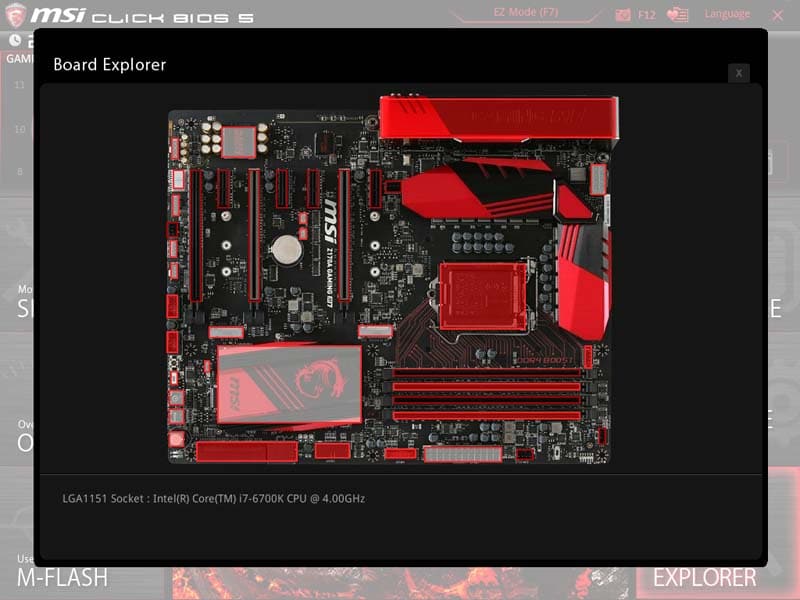
Then we have the board explorer, something I quite like about the recent generations of motherboards.
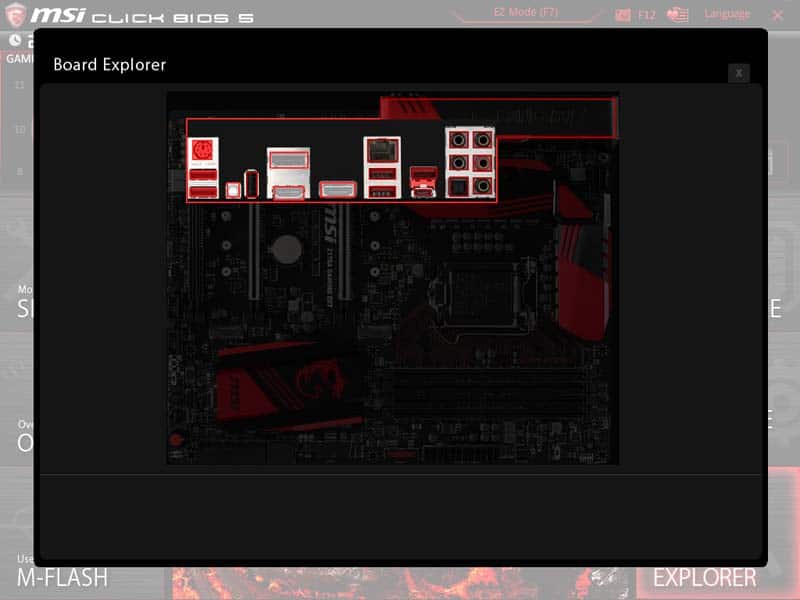
This is a simple way to check if everything you have installed is being recognised without having to physically check the board and realise that you only have 1 stick of RAM instead of 4.
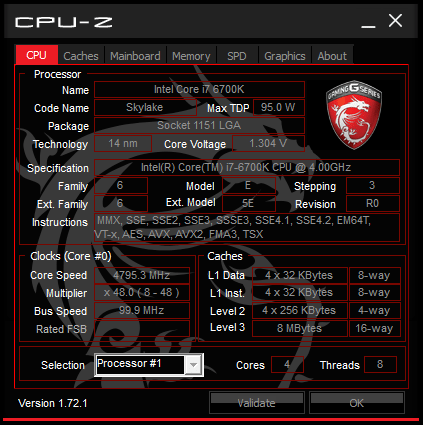
Overclocking
This is the first time overclocking our i7-6700k and it didn’t fail to impress. Despite all efforts, the system was unstable above 4.8GHz. CPU-z is still a bit sketchy with voltages due to the new technology but we managed to get the voltage stable at 1.25v, though during heavy stress testing, the voltage did peak at around 1.32v due to added vdroop. The CPU is good for around 1.45v but even adding this extra voltage didn’t see the chip budge from 4.8GHz so we decided to lower the voltage to a safer level as a higher voltage was simply unnecessary.