NZXT HUE+ Advanced PC Illumination Kit Review
Peter Donnell / 9 years ago
Introduction

Tired of not having enough customisation when it comes to your chassis’ lighting sceme? Sure you can buy a few LED strips, but they’re often fixed with a single colour and changing them can be as complex as buying a whole new kit and re-installing it all, just to go from blue to red. The same goes for LED fans, they’re often single colour, many can’t be turned on or off and their colours are fixed. NZXT have the solution with their HUE+ RGB lighting kit, as it gives you control over each lighting strip/zone within your system right from your desktop, allowing you to endlessly customise it as often as you like and with minimal effort!
“HUE+ lets you light up your system like never before. It is a digitally controlled lighting solution that combines intuitive software and versatile routing options to give you unprecedented PC illumination possibilities.”
The new HUE+ uses the latest NZXT CAM software, which comes equipped with 8-preset effects, as well as extensive customisation options to create your own. There are two channels on the lighting engine, each capable of supporting four LED strips, which can be configured to run separate effects; you get four LED strips included in the box.
https://www.youtube.com/watch?v=4ittFz72CnA
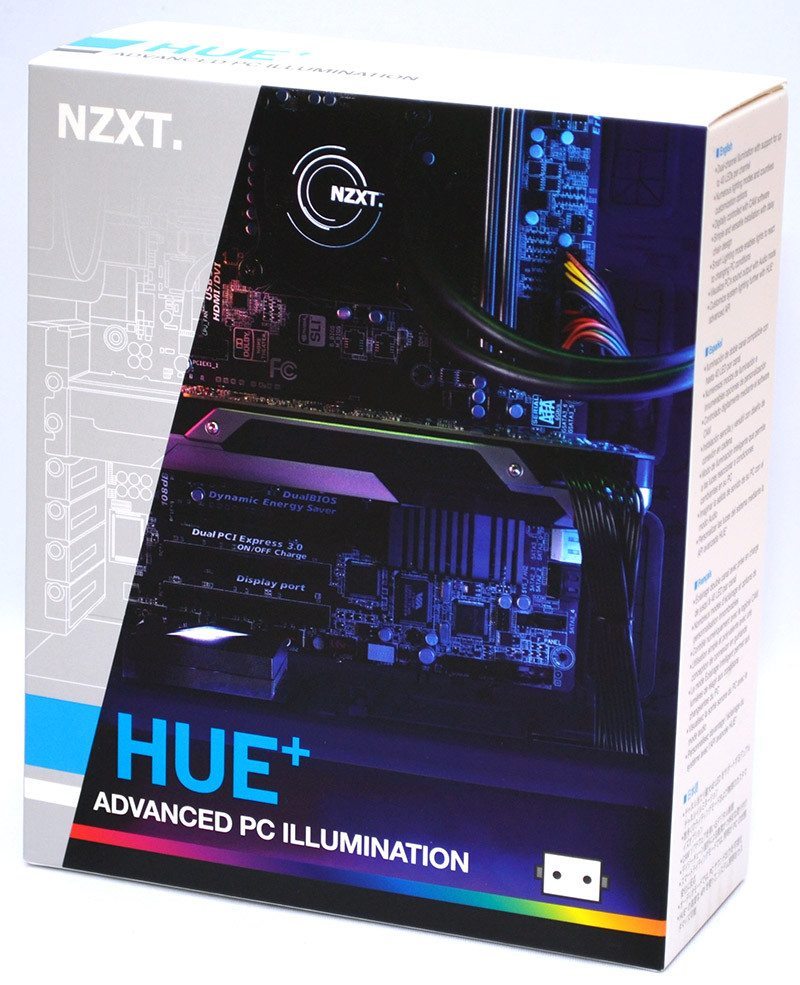
The packaging is nicely designed, showing how the HUE+ can display full RGB lighting to the interior of your system.
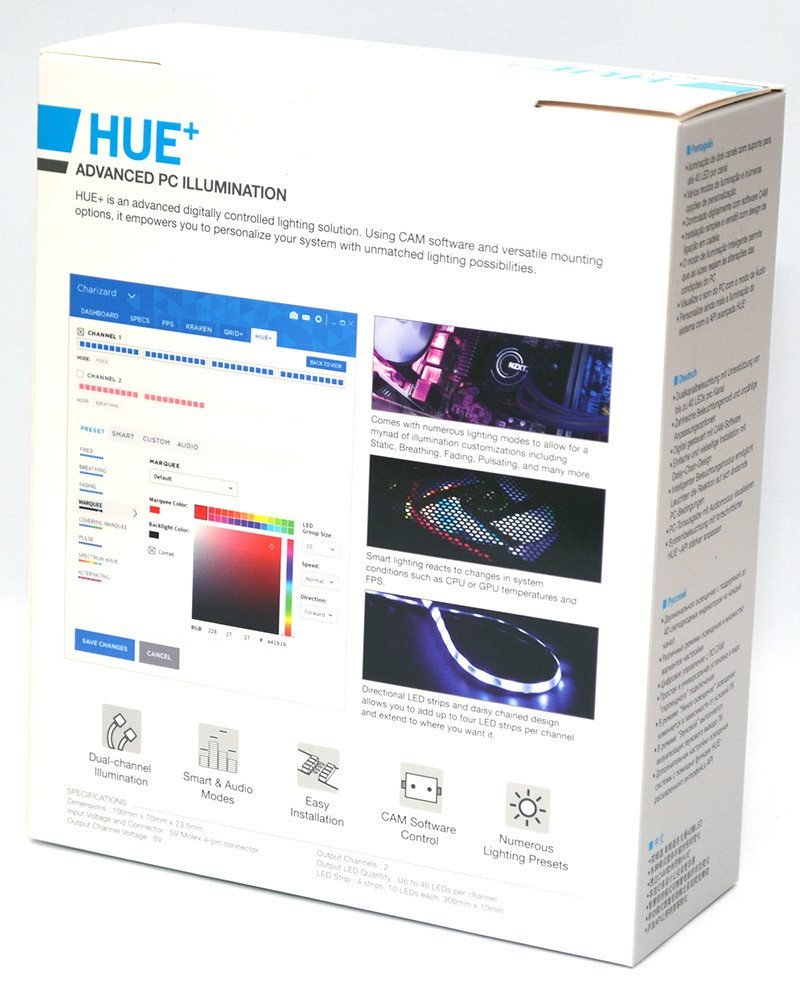
Around the back, there’s a quick rundown of some of the features you’ll find in the CUE software; it all looks pretty straightforward, so let’s take a closer look.
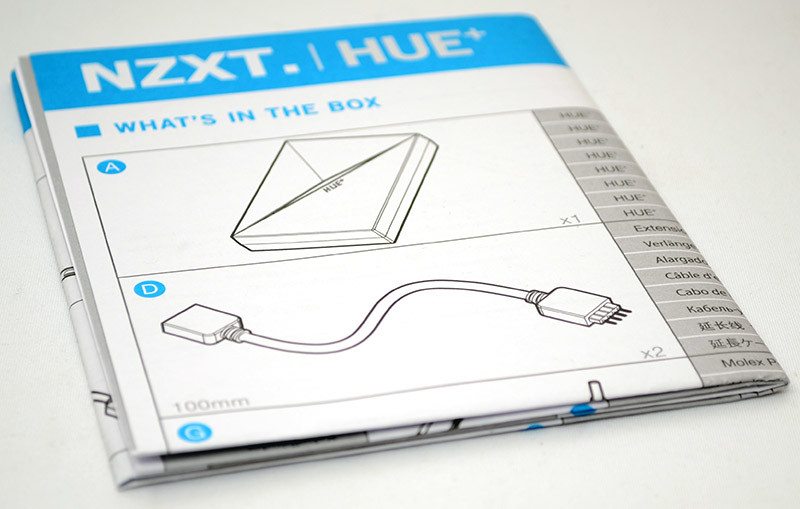
There’s a nicely detailed user manual included, which folds out and has lots of large pictures to help explain each step of the installation. It’s certainly worth reading too, as you wouldn’t want to wire all the lights in backwards and them not operate properly, if at all.
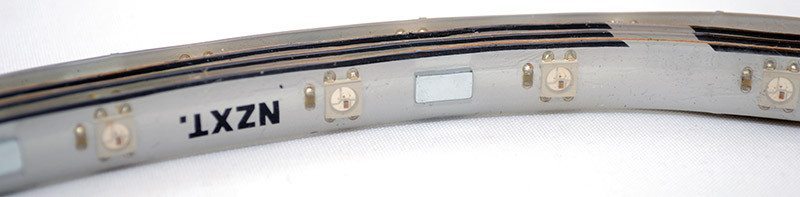
In the box, you’ll find four RGB lighting strips with modular connectors on each end.
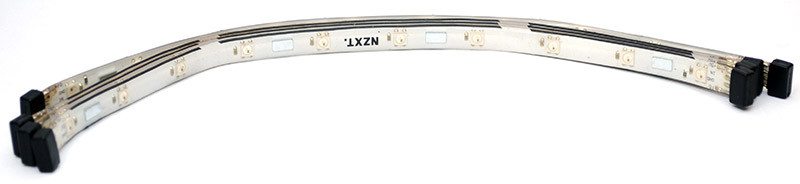
While the strips do have 3M adhesive on the back, you can also take advantage of the four strong magnets that are placed on each strip, allowing you to quickly snap the strips into place, but also quickly remove or move them as needed; so long as your case is metal of course, 3M is needed for plastic panels.
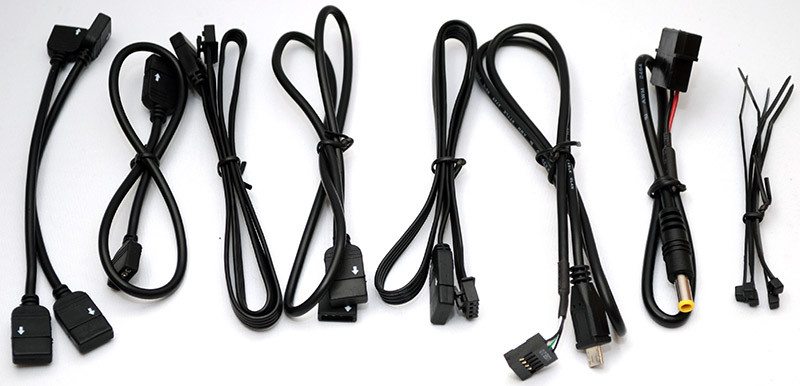
All the cables you’re likely to need are included, such as extensions for linking together multiple light strips, a Molex to DC jack for the controller, USB motherboard header to MicroUSB for the CUE software and HUE+ to communicate with each other, and some cable ties to keep it neat and tidy.
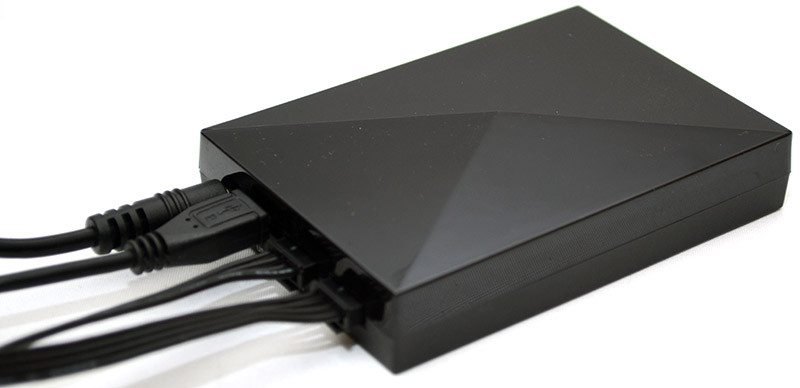
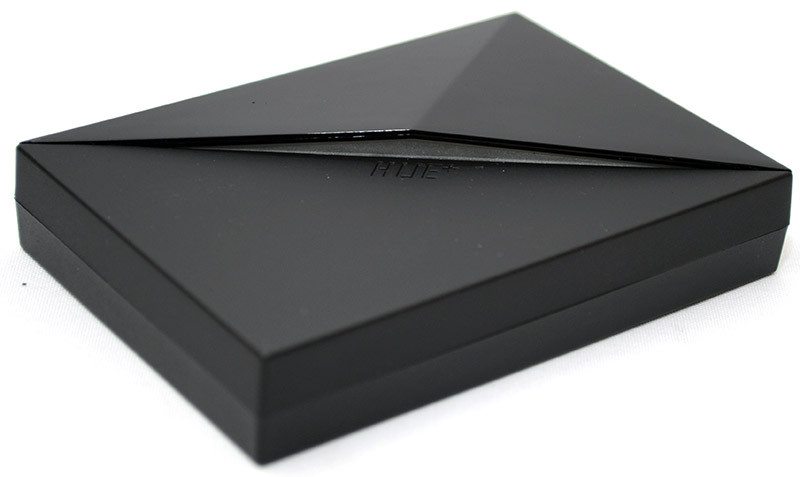
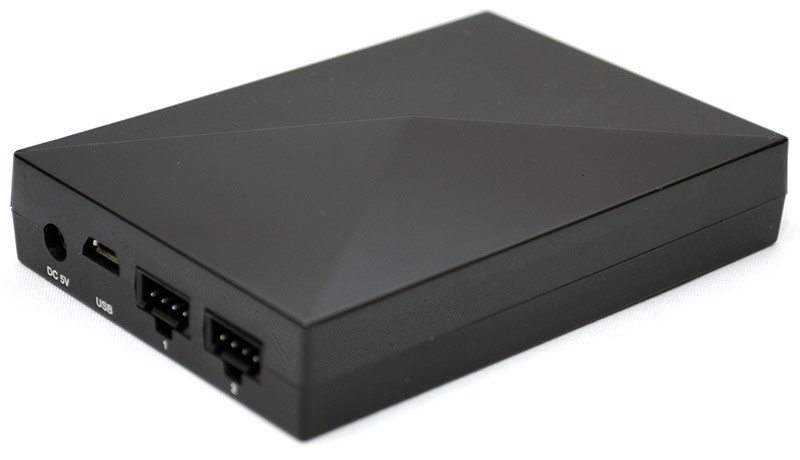
The actual controller is quite compact, fitting into a 2.5″ hard drive form factor, albeit a little taller. There’s an angular top to give it a bit of style, with a strip of lighting in the top; even if it is on show inside your system, it should still look great.
Around the back, there are four ports, DC 5V, USB and two lighting channels. It’s all pretty self-explanatory and setup should be nice and easy.
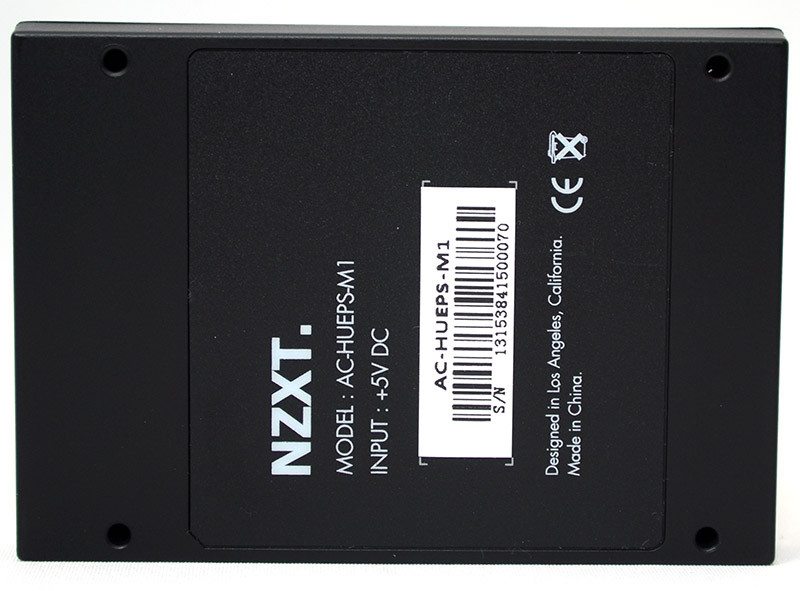
The 2.5″ form factor is no accident either, as you’ll find four screw holes on the base to mount it to a hard drive bracket. This is handy for NZXT chassis such as the H440, which has an on-show 2.5″ mount below the motherboard.
Setting up the HUE+ is pretty easy overall, there are only four ports on the back and it’s pretty obvious where all the required cables go. The power cable and USB cable are essential to the operation of the device, but it’s up to you how you use the light strips. You can use any number of the four LED strips included, and with two channels you can set up to four strips to each one; to keep things nice and simple, I’ll be using two LED strips per channel.