Installation
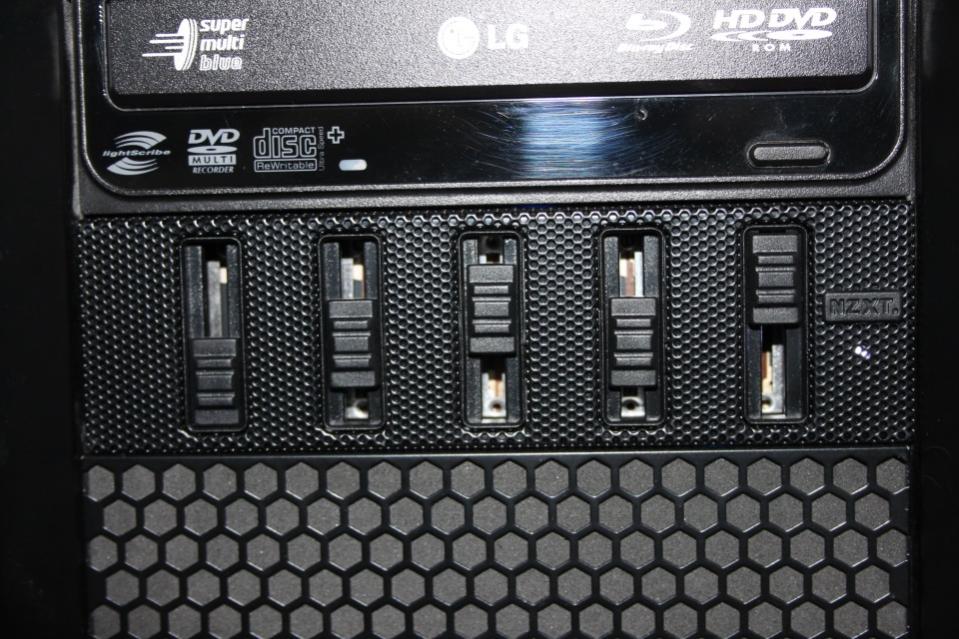
Installing the NZXT Sentry Mesh into the test PC was a simple process, very similar to installing an optical drive. Once the NZXT Sentry Mesh was installed into the 5.25″ drive bay using two screws on each side the fans were then connected to the 3pin fan headers of the NZXT Sentry Mesh. Finally the molex power connection was connected to power the NZXT Sentry Mesh.
Once the PC has been turned on the NZXT Sentry Mesh has a white LED which lights up just under the NZXT logo on the right of the NZXT Sentry Mesh to show it’s turned on.
Introducing the Montech AIR 903 series – the ultimate upgrade for PC enthusiasts. It offers…
Dive into superior PC cooling with the Vida Aquilo 240 AIO Water Cooler. This cooler…
Thermaltake introduce the amazing gaming bundle of Tt Esports Combo mix-RGB Gaming Keyboard & Mouse.…
[Dynamic Visual Spectacle] Gaming mixer audio, a versatile device elevates your audio experience to new…
[XLR Connection for Upgraded Audio] Featured with high accuracy and decent transmission performance, the XLR…
Experience Unbeatable Gaming: Unleash your gaming prowess with KOORUI 27 Inch IPS Gaming Monitor. 240Hz…