Phanteks Enthoo Luxe Elite Tempered Glass Chassis Review
Peter Donnell / 7 years ago
Complete System
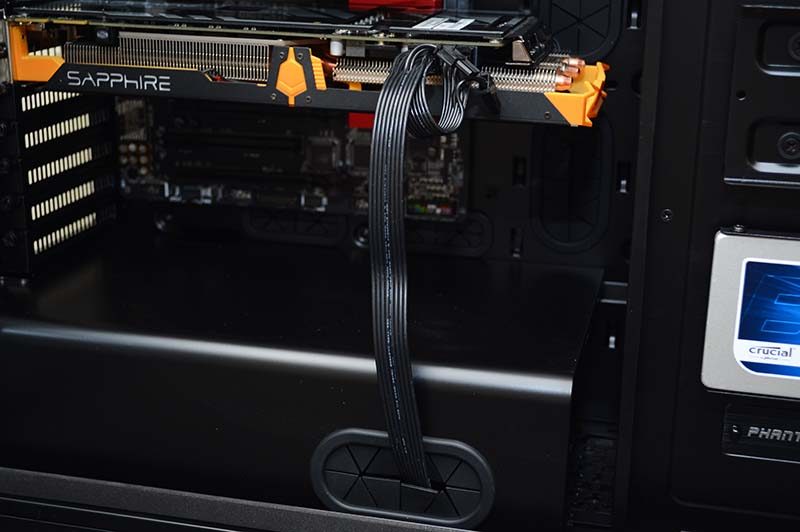
This system is huge, so fitting your components is going to be a pretty straight forward job. The design of the chassis is fantastic, with cable routing grommets everywhere you could need them, a huge PSU shroud, and lots of space behind the motherboard, so you’ll have virtually zero issues with getting great looking cable management.
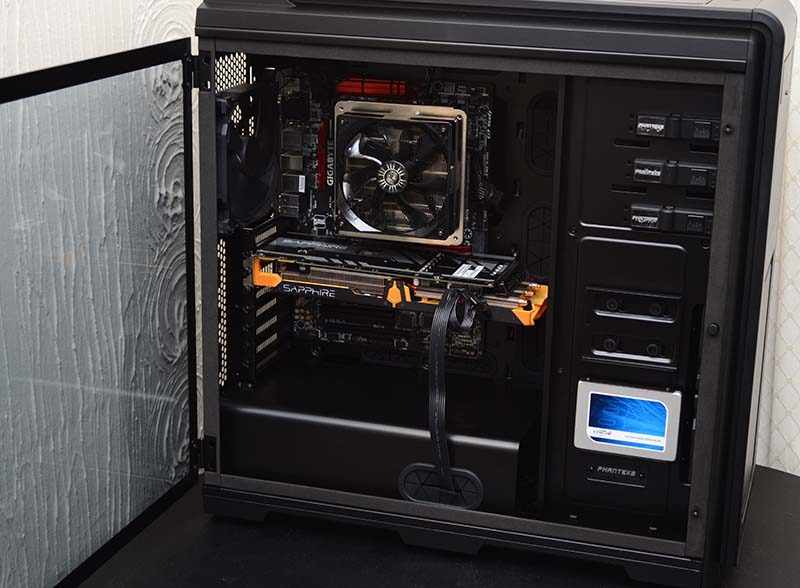
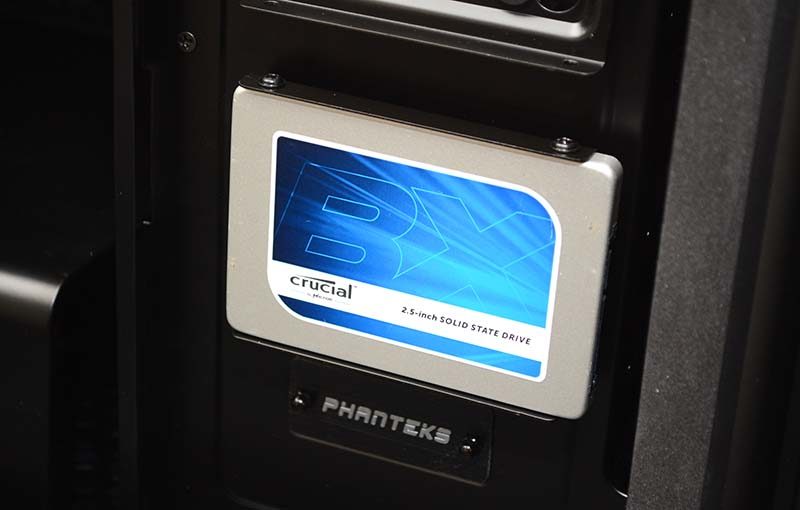
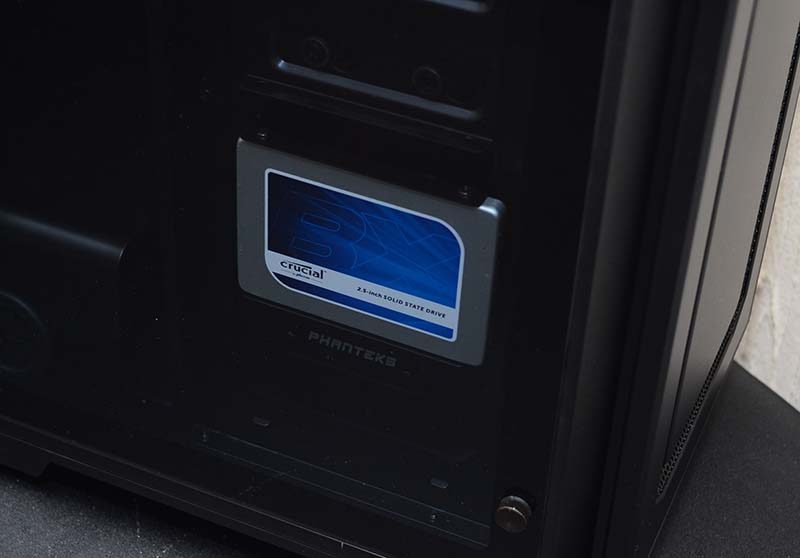
The dedicated 2.5″ drive mounts are really cool, giving you a fun way to show off your new driver, opposed to just sticking them in a drive tray out of sight.
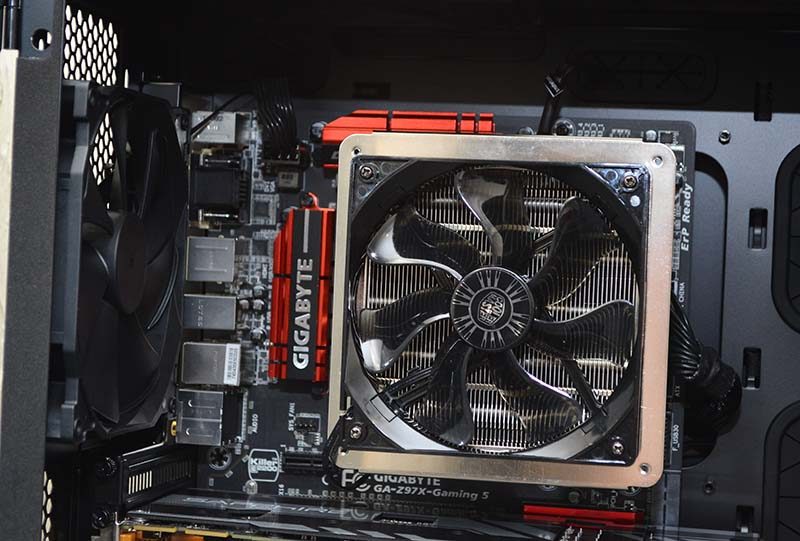
The chassis is nice and wide, so larger air coolers will fit with ease, and there’s a lot of clearance above the motherboard for a good sized radiator and fan configuration, as well as good clearance for the rear mount if you’re using a custop loop or AIO radiator there.
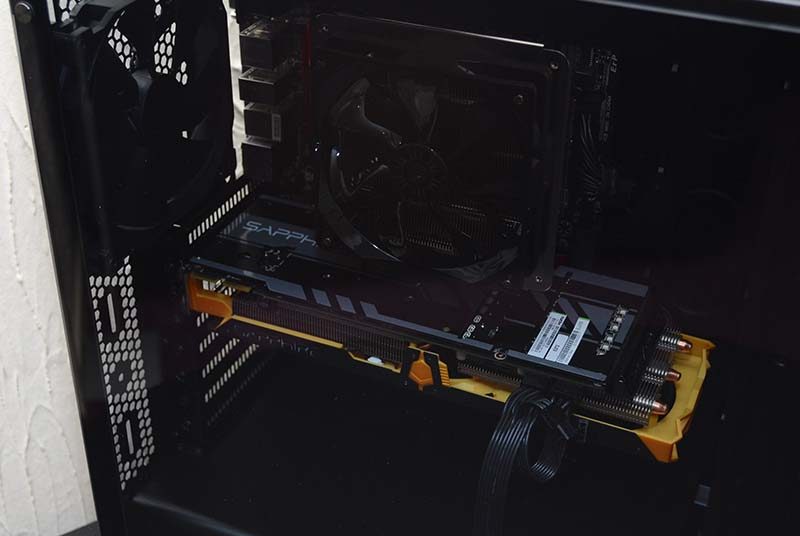
The Sapphire 270X Tri-X Toxic is massive, yet it has no issues fitting in here with room to spare. You can remove the HDD bays if you need to, but it’s unlikely that will be required for most builds.
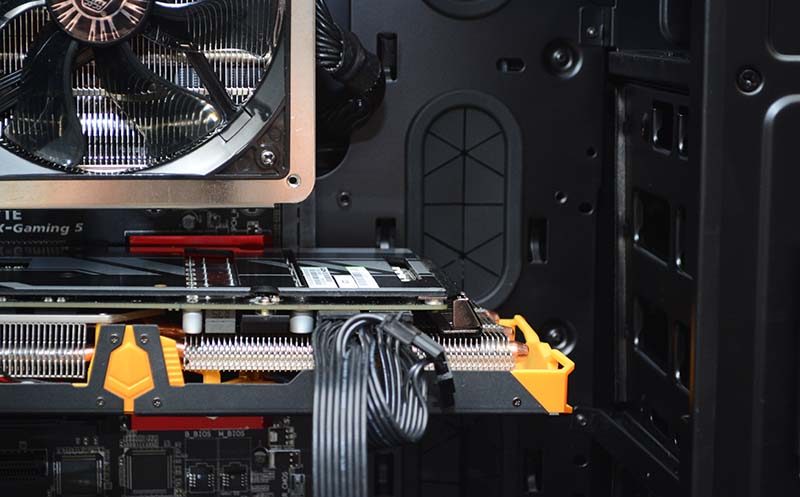
Many graphics cards come with side-mounted PSU connectors, which often means trailing the PSU cable over or under the card. This chassis has a grommet on the side of the PSU shroud, allowing you to neatly run a cable right up to the graphics card with ease.
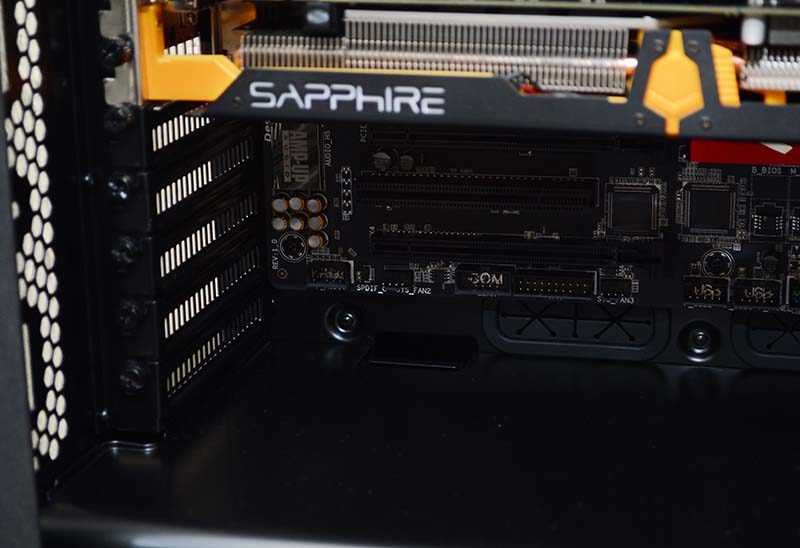
E-ATX motherboard support and 8 expansion slots is good news for those wanting a multi-GPU configuration, and the added width here will prove useful to those using wider GPUs and custom loop cooling hardware.
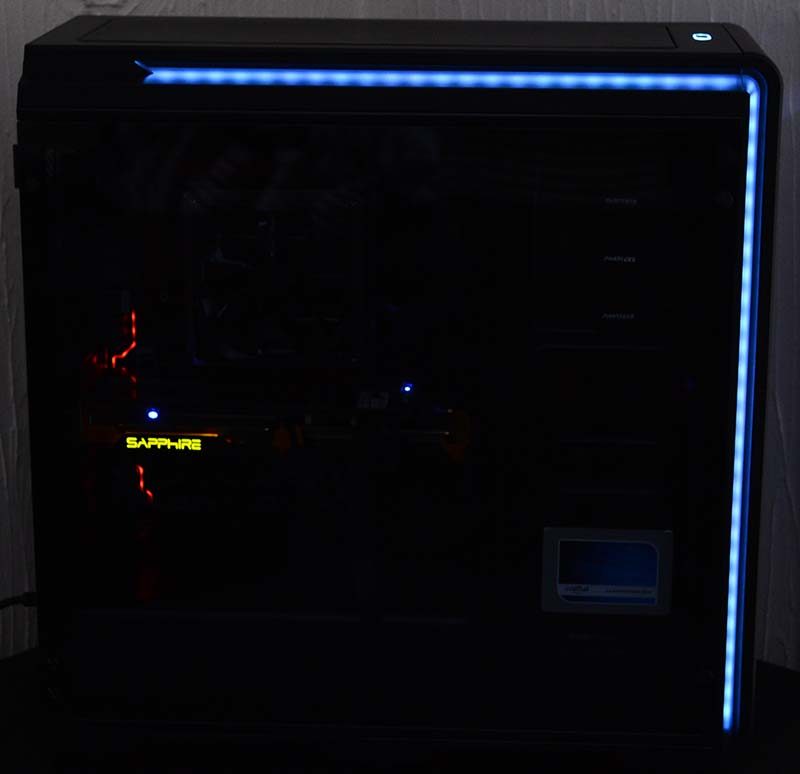
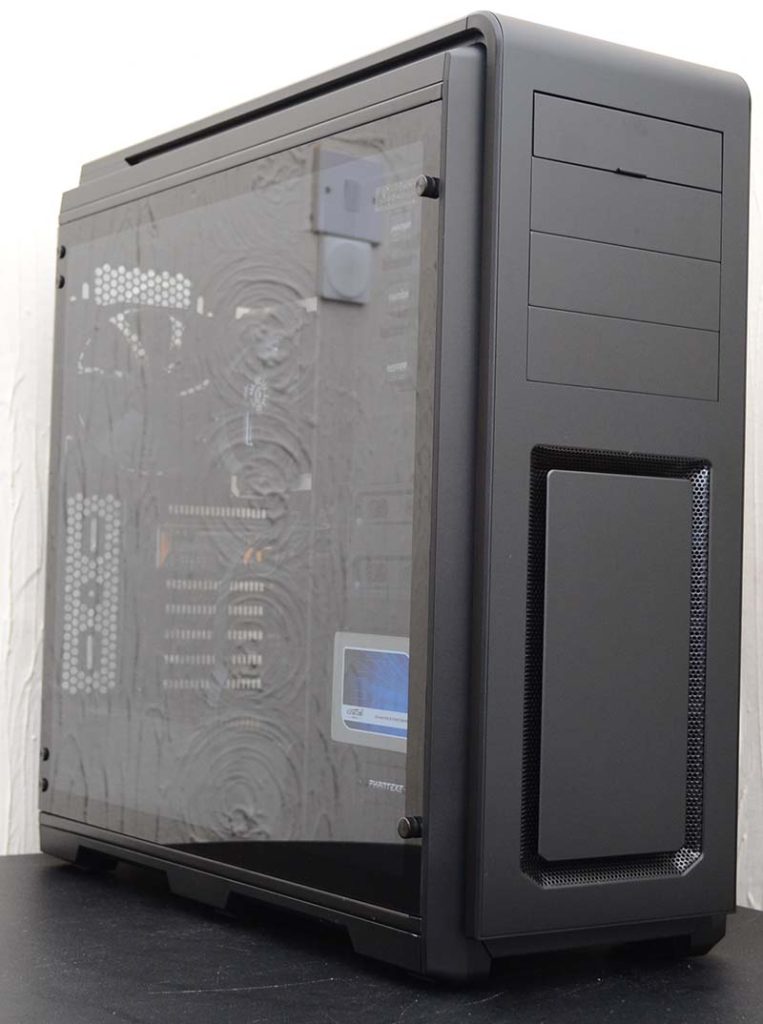
With the side panel back in place, you can see just how clear that glass is, showing off all the hardware very nicely against the black interior of the chassis.
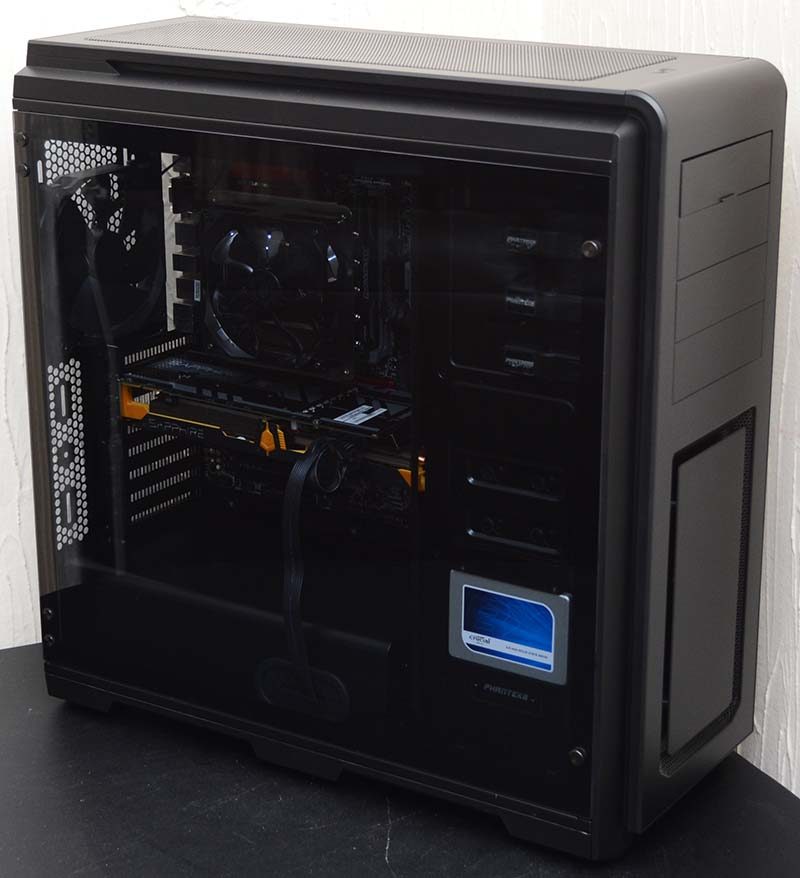
That neat and tidy cable routing is paying off big time, with such an exposed view of the interior, it’s important to keep things tidy, as it’ll all be easily visible.
You can easily see the SSD through the glass too, and it’ll look even better if you throw in a bit of LED lighting.
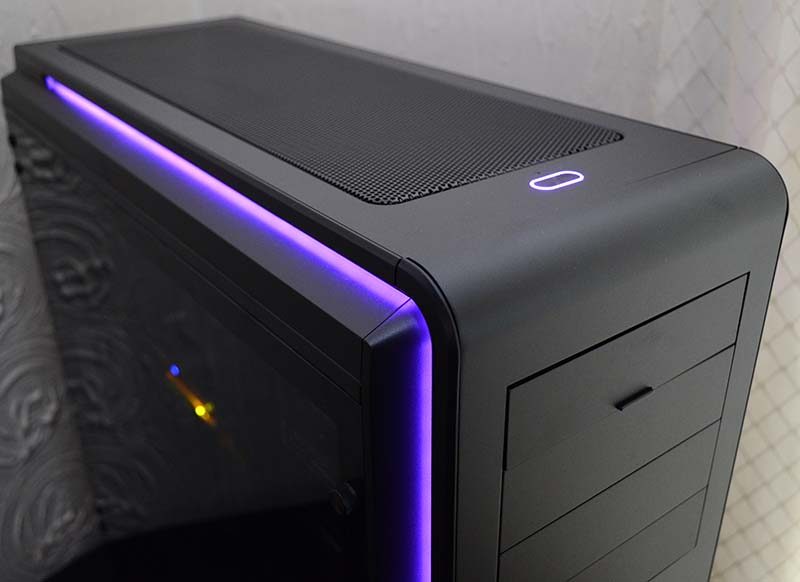
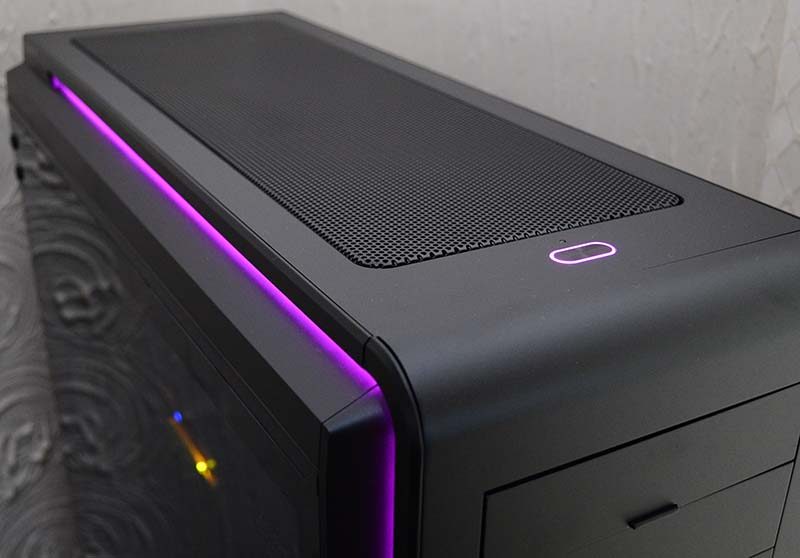
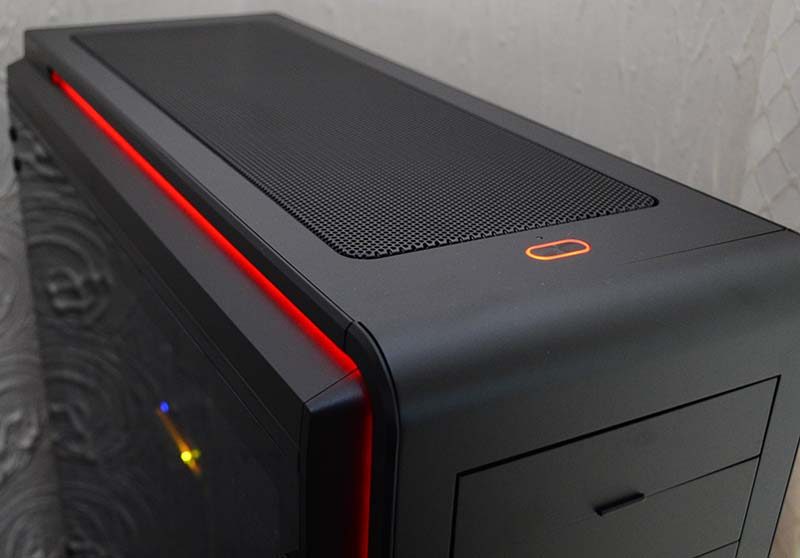
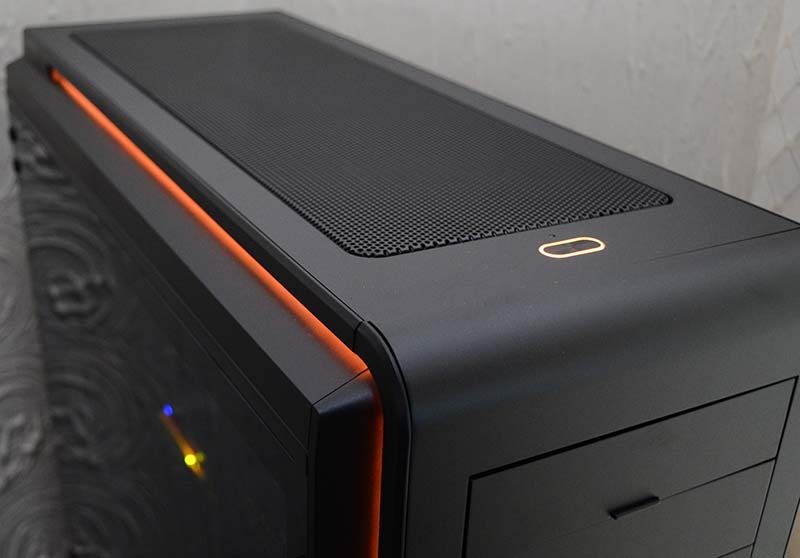
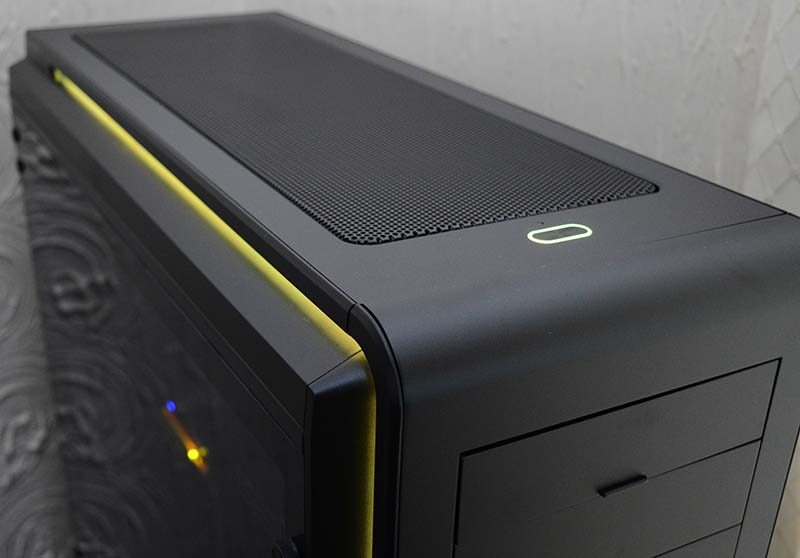
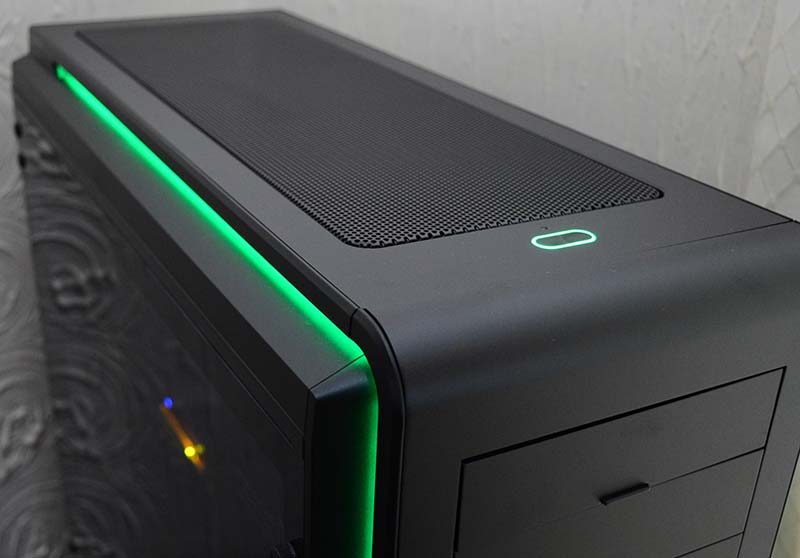
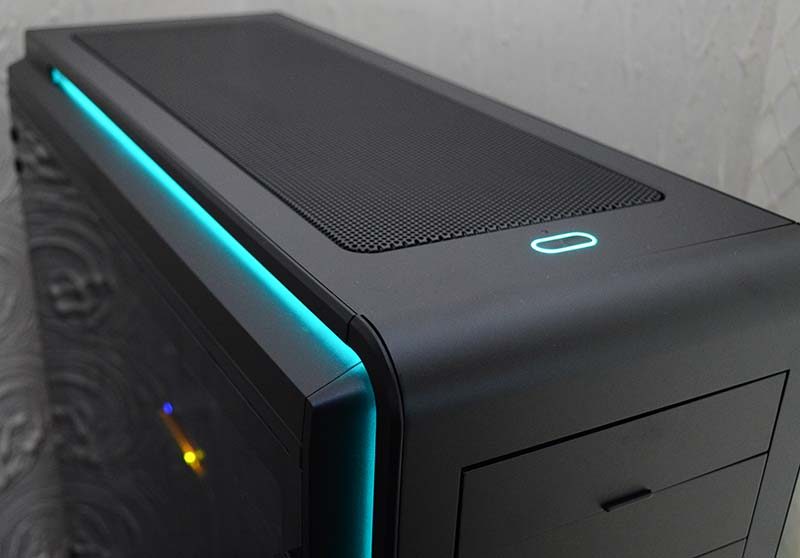
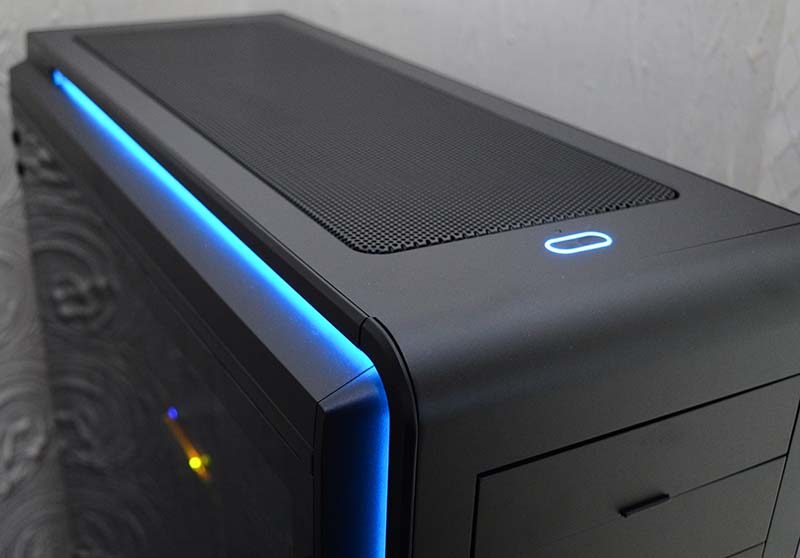
Overall, this is one of the best looking chassis I’ve ever tested, and it’s not out of party tricky just yet either; let’s plug it in and start the light show!
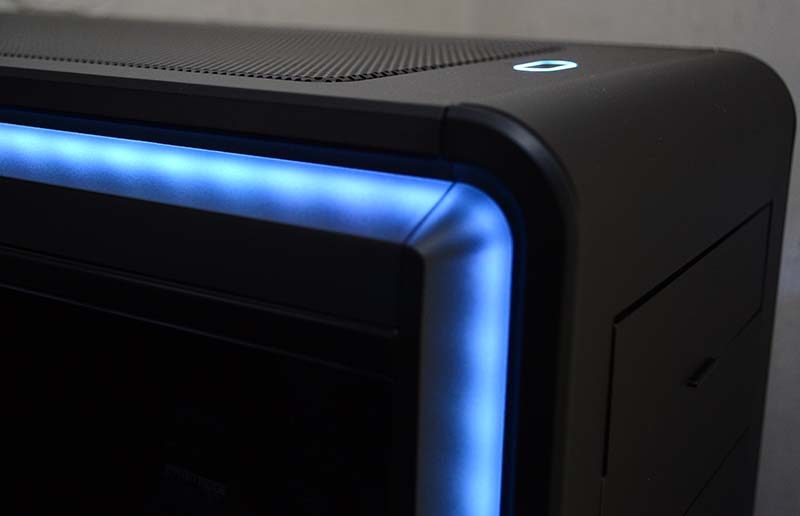
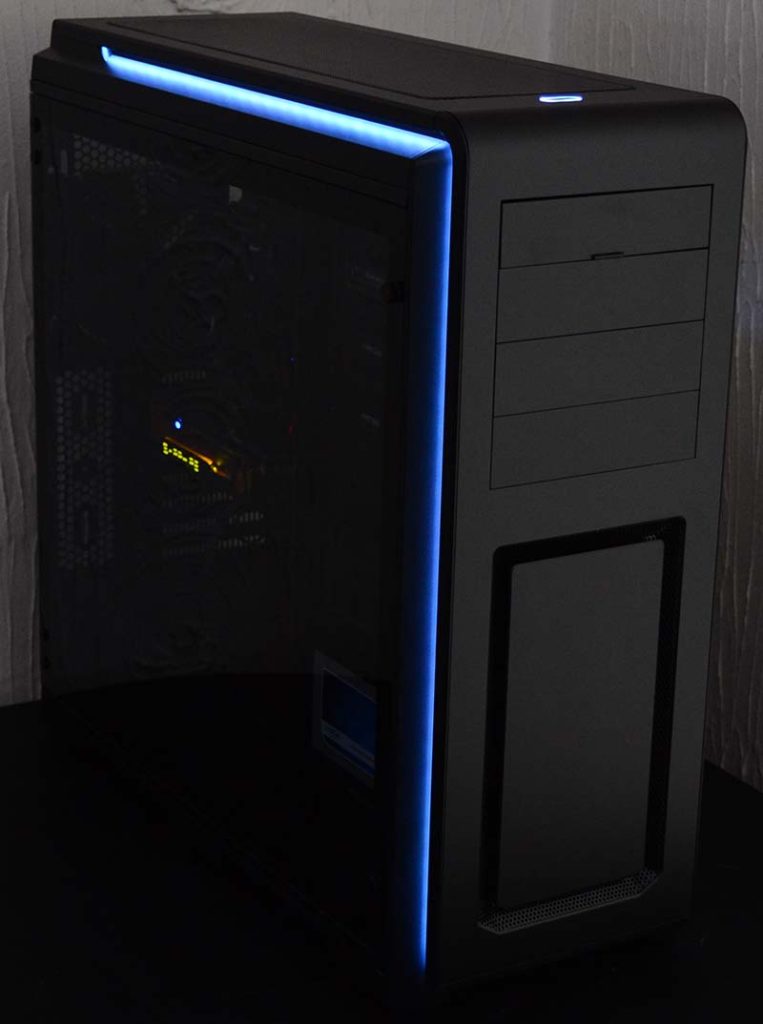
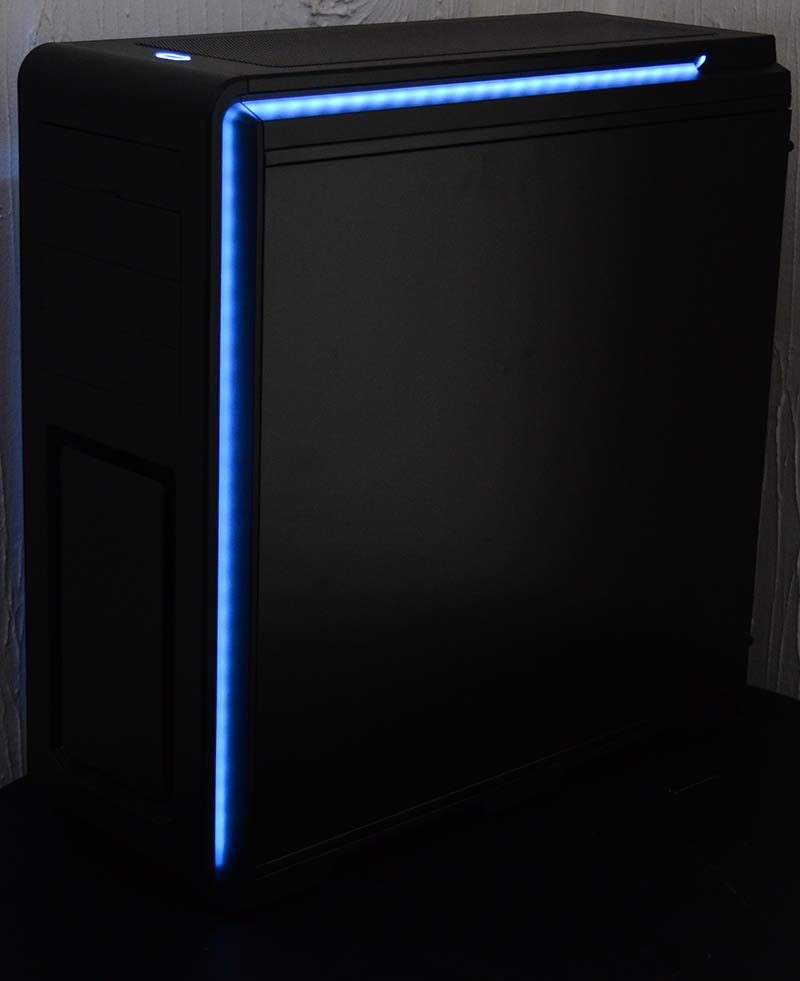
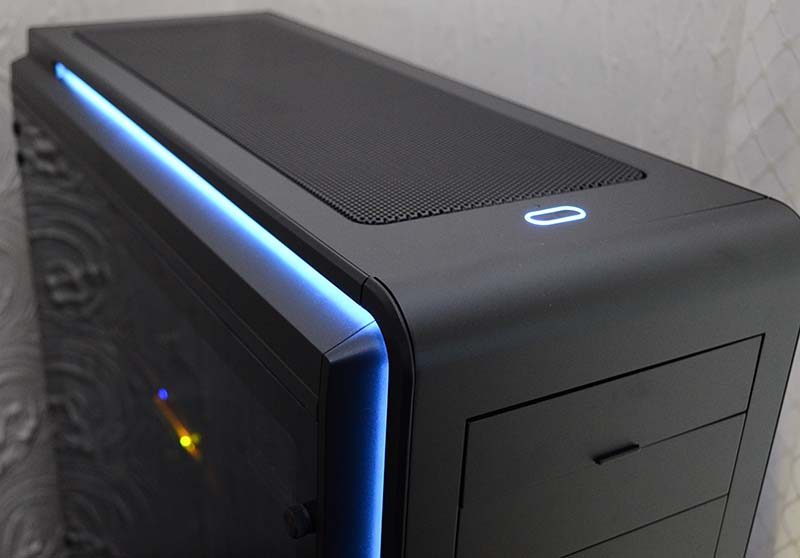
The front and top panel each have recessed LED strip lighting on each side of the chassis. You can turn it off if you want, or you can cycle through a nice range of built-in colour modes using the button on the front I/O to suit your taste. A picture speakers a thousand words when it comes to showing off LED lighting, so get ready on your scroll wheel and enjoy the show!