Prolimatech Panther CPU Cooler Review
Luke Hill / 12 years ago
The first step of the installation process was to screw the mounting arms to the cooler itself. This process was very simple provided you own a long screwdriver.

The solid metal backplate has to be held in place while you secure the cooler to it via the other side of the motherboard. This can become a little tricky if you don’t have a flat surface to balance your motherboard and cooler on.

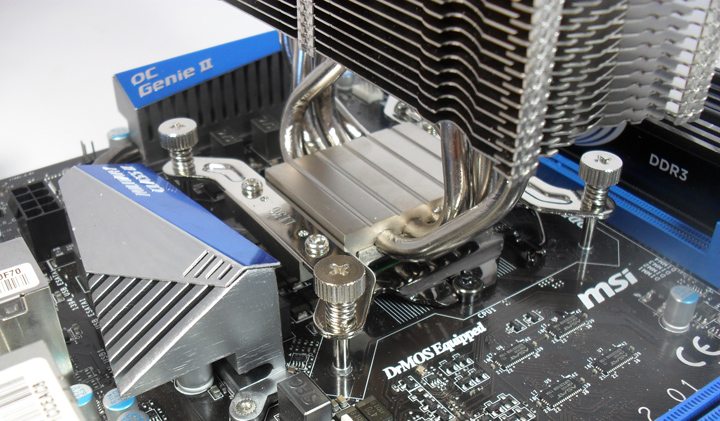
4 spring-loaded screws firmly secure the cooler to its backplate.

Once attached, the cooler is mounted very securely meaning that there is no need to worry about anything being damaged due to an ineffective mount.

The Panther’s RAM and VRM heatsink clearance is excellent. On our MSI P67 motherboard, the first DIMM slot isn’t even reached, let alone surpassed.

With the cooler installed in our NZXT Phantom test case, the non-interference design becomes evident. There is plenty of room to reach cables and screws along the upper edge of our motherboard.


