QNAP TS-251 High-Performance 2-Bay Prosumer NAS Review
Bohs Hansen / 9 years ago
Setup – Initialization & Storage

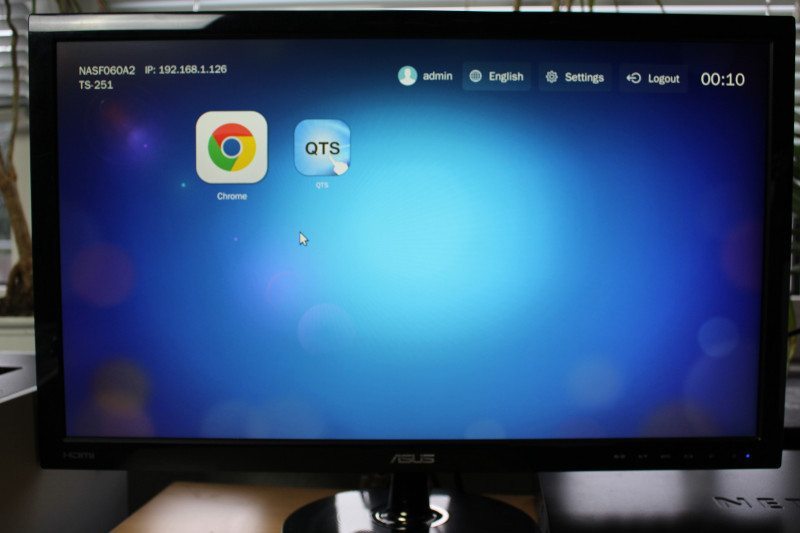
There are multiple ways that you can initialize the QNAP TS-251. You could use the QNAP utility on your PC or the manual way through Windows device detection, but that is kind of boring by now. QNAP offers two more ways to initialise this NAS, through myQNAPcloud or directly with a keyboard, mouse, and monitor attached. Today I will be using the last mentioned method and initialize it directly with attached monitor and peripherals.
I have to say right away that my camera went a little out of focus during these shots, it’s a new one that I’m not fully accustomed to yet. This page is more about showing how easy it is to initialise it directly and not so much on the actual screen content, we get to see all that later too.
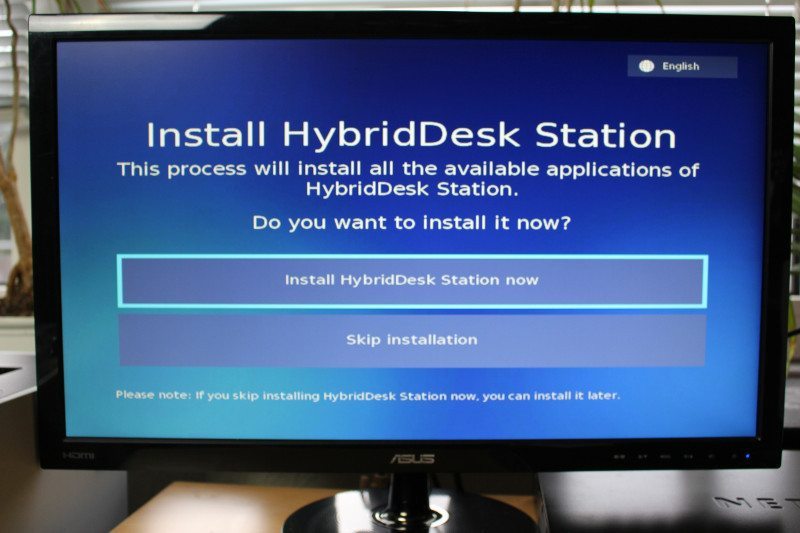
To get started, just connect your keyboard, mouse, and monitor and power the NAS on. After a short boot period you will be presented with the choice to just initialise it, but also with the option to install the HybridDesk Station right away. We want the latter as this is one of the coolest features, to be able to use the NAS directly.
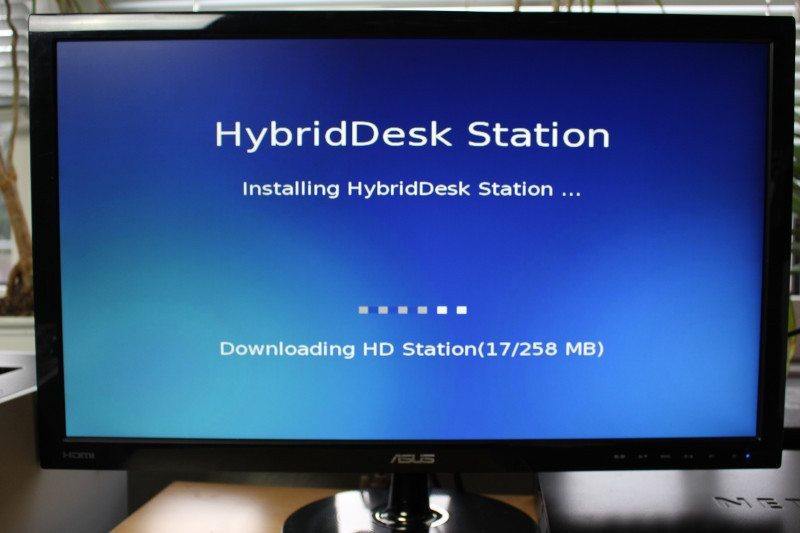
The NAS will now download and install the HybridDesk Station, which doesn’t take long.
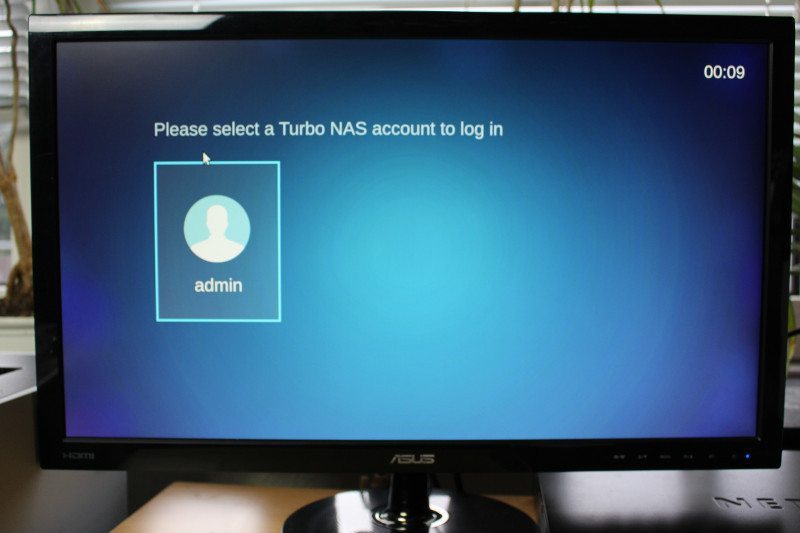
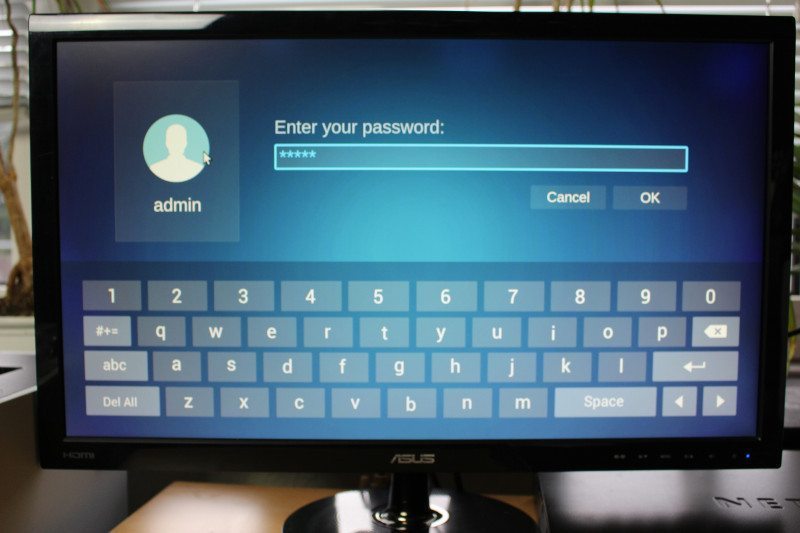
The next step would be to login with the default admin user and password.
And that’s it. The NAS is running and you can directly access the settings right from the dashboard, launch chrome or go to the QTS configuration panel. We want to configure the NAS right away as there are two important factors. Change the default password and update the firmware.
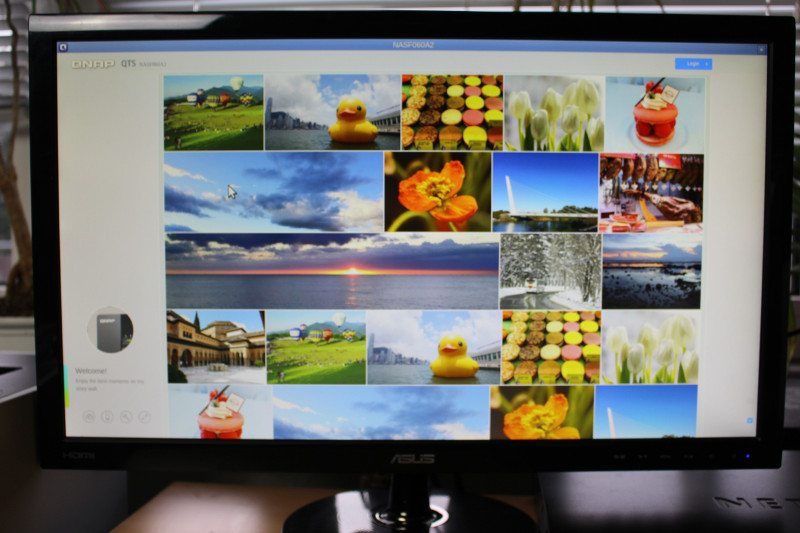
The QTS login looks the same on the device itself as it does when you connect via a web browser. Hit the login button, enter your details and you are ready to roll.
QNAP has set QTS to automatically check for updates and it will automatically notify and prompt you whether you want to update when you log in or not.
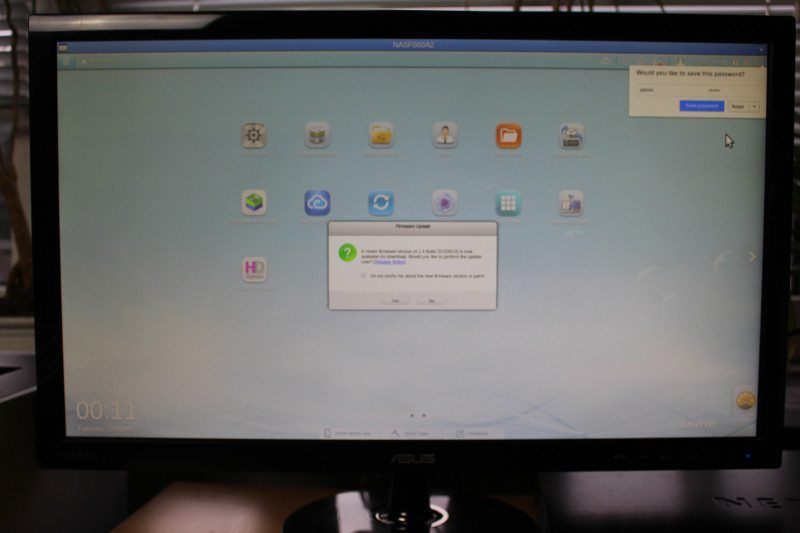
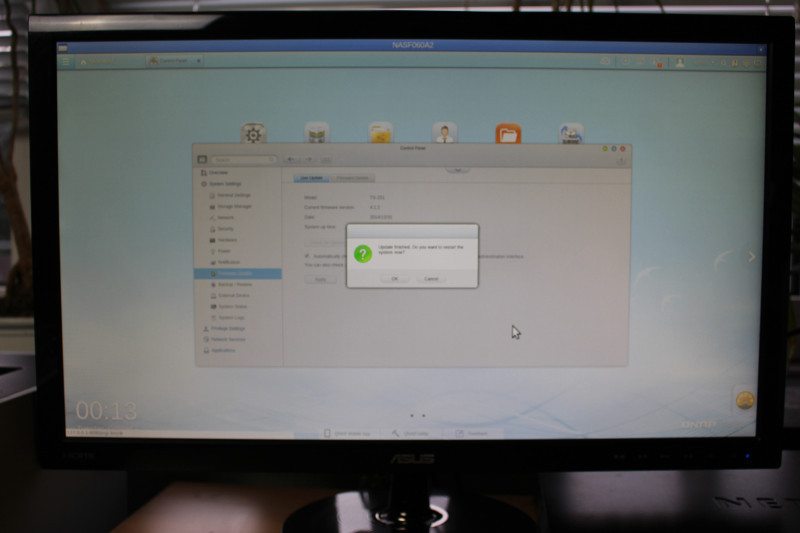
Since the NAS was built and I received it, QNAP released a major new QTS version, 4.2, and I’m naturally going to apply this update right away.
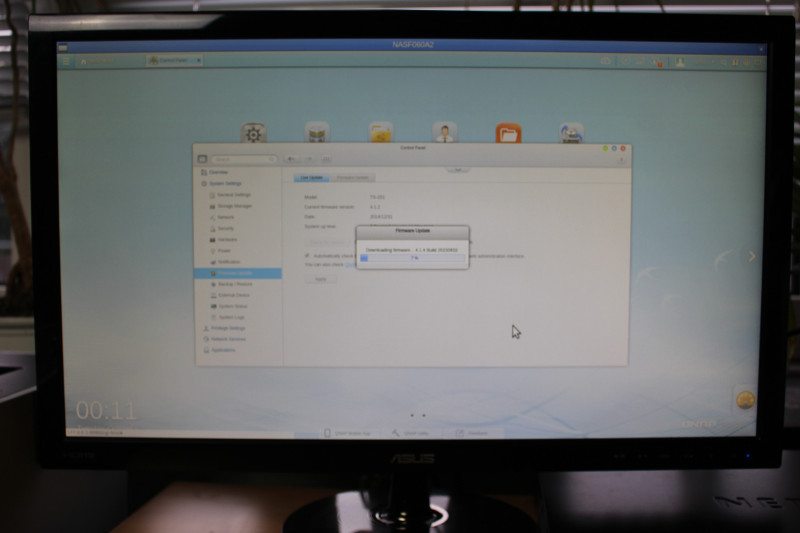
The NAS is done a few minutes later and all that is left to do is to reboot the device. You could also choose to wait and change the admin password first.
Now the NAS is initialized, I’ll be switching back to the PC and my browser for the rest of the configuration. It simply gives the better screenshots for you to view.


