Raijintek Asterion Mid-Tower Chassis Review
Peter Donnell / 7 years ago
A Closer Look – Interior
With that huge side panel removed, we can see there’s a vast amount of room on the interior of the chassis, as well as a dark black finish to almost all of the hardware, which should make it vanish through that tinted window, only showing off the highlights and LEDs of your system build.
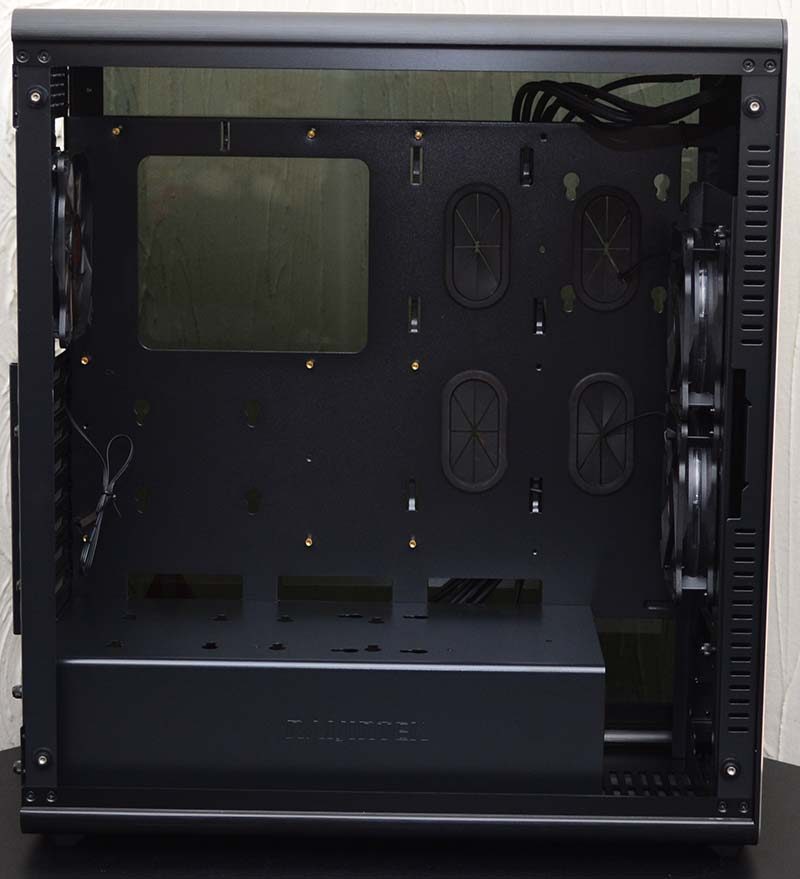
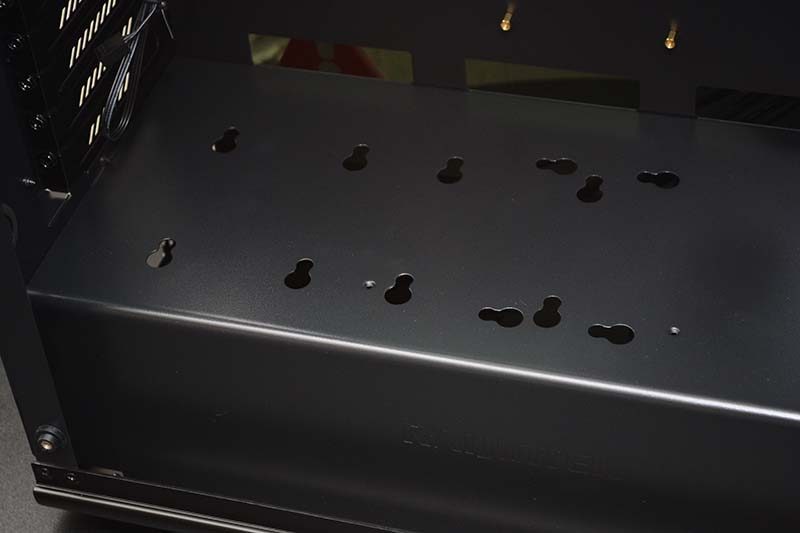
There’s a near-full-length PSU shroud in the base, which features mounts for a few extra hard drives, and the rubber grommet covered screws to mount them are included in the box.
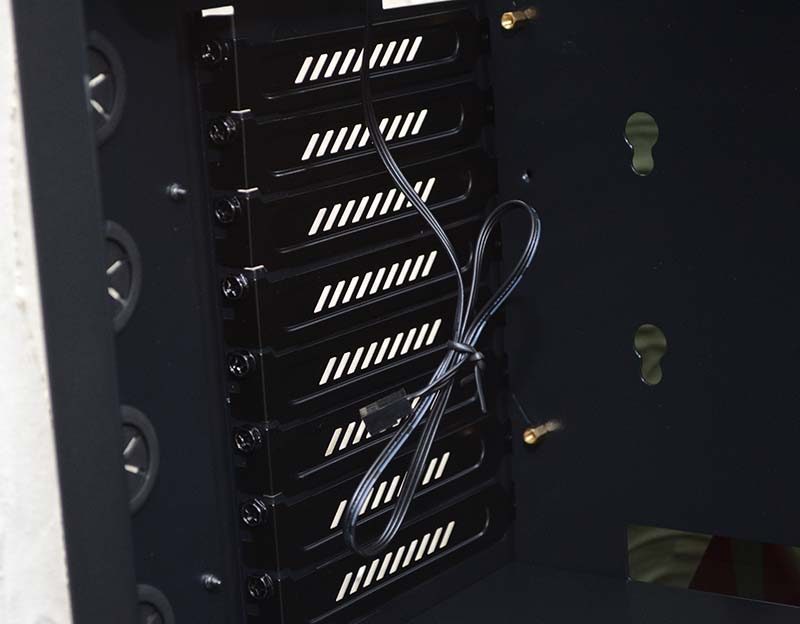
All of the eight expansion slots come fitted with reusable and ventilated metal covers; none of those cheap snap-off ones here!
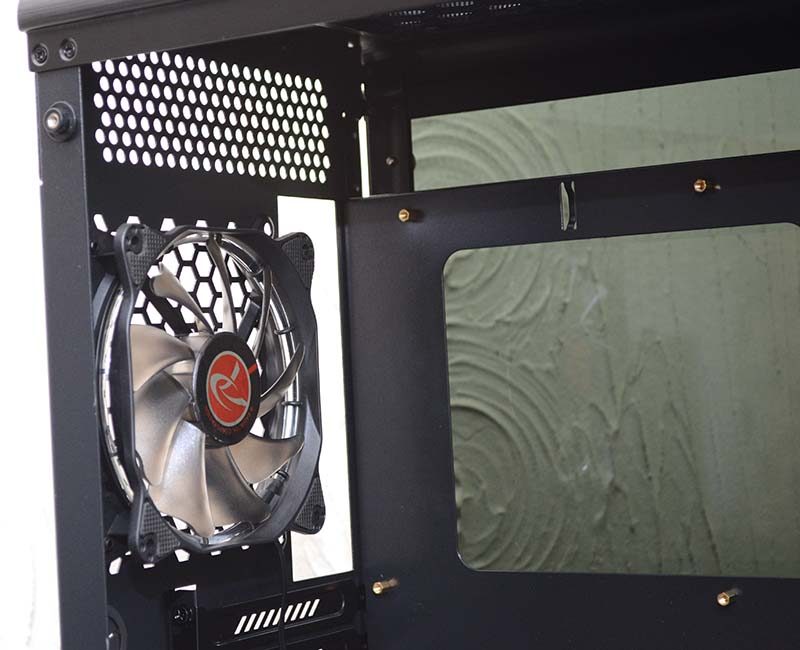
Further up, we’ve got a pre-installed 120mm fan, which delightfully comes with ring LED lighting that’s sure to look stunning when powered on, but we’ll get to that shortly. You’ll also notice very generous headroom above the motherboard; perfect for those who want to put thicker radiators up top.
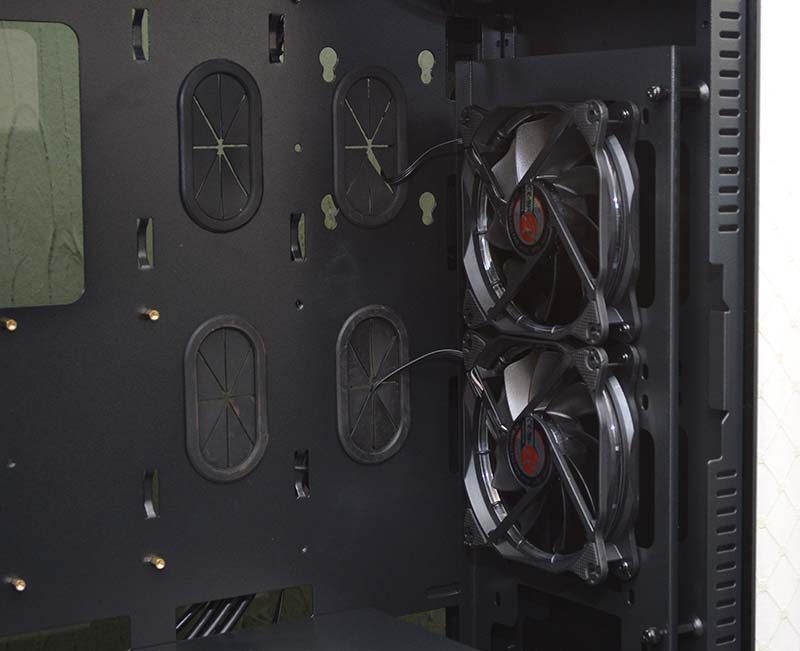
In the front of the chassis, a removable mounting bracket for your fans and radiators. Just undo the thumbscrews, lift it out, and you can very easily fit your cooling hardware. The PSU shroud stops short of the front too, so full-height radiators won’t be causing any conflicts with the chassis interior. There are also two more of those lovely LED fans here, bringing the pre-installed total to three.
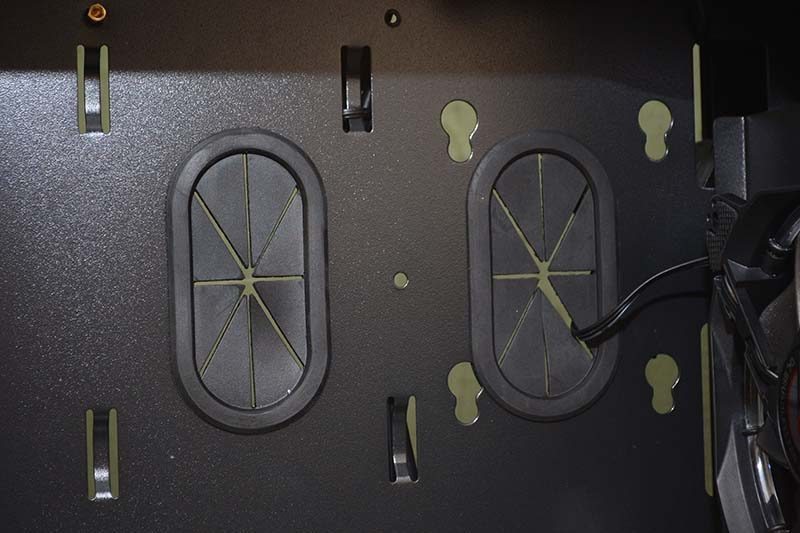
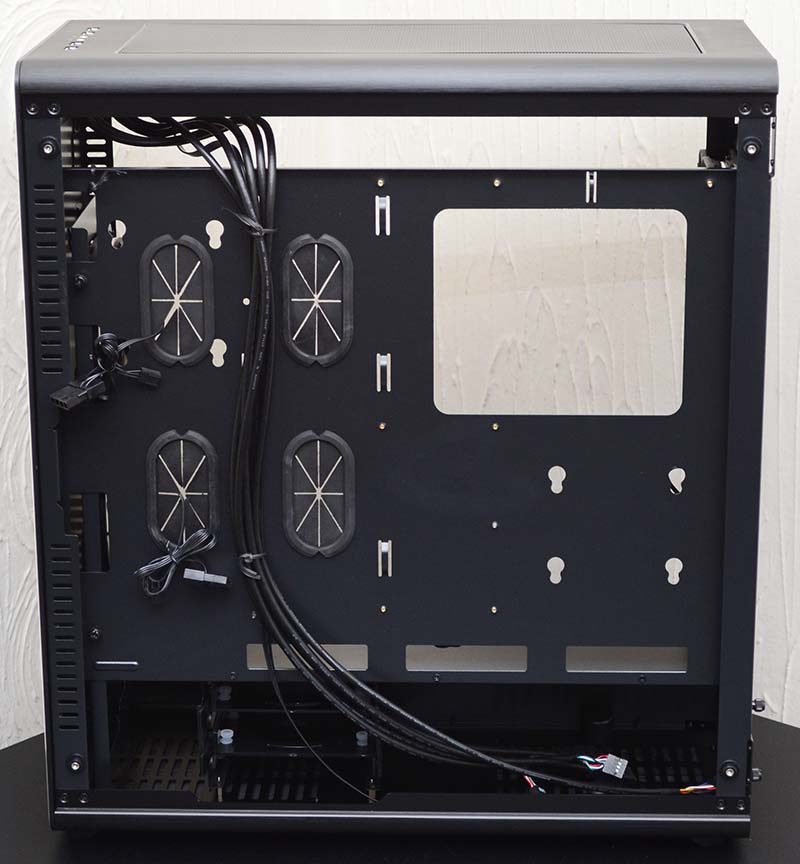
On the back plate, four large, thick, and durable cable routing grommets, as well as more key-hole mounts for storage drives should you need them.
Around the back, you’ll find plenty of room for cable routing, although you’re unlikely to need much give that there’s a huge PSU shroud in the base, so lots of room to cram excess cables out of sight.
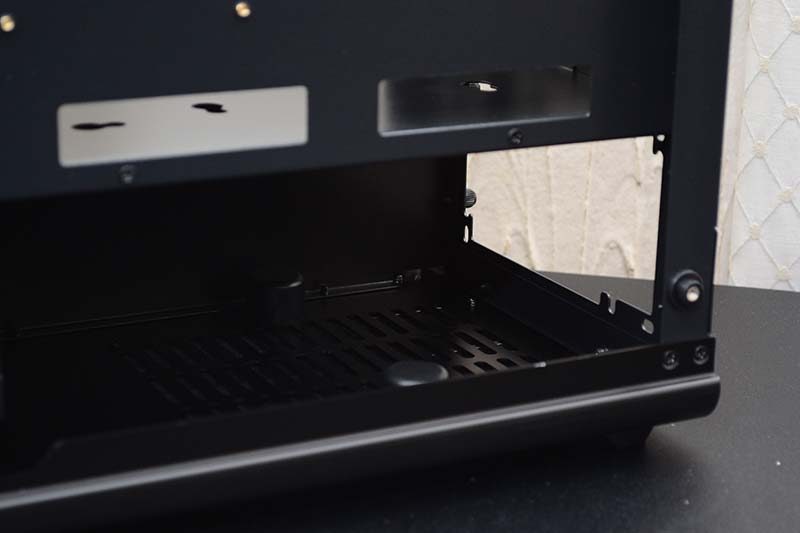
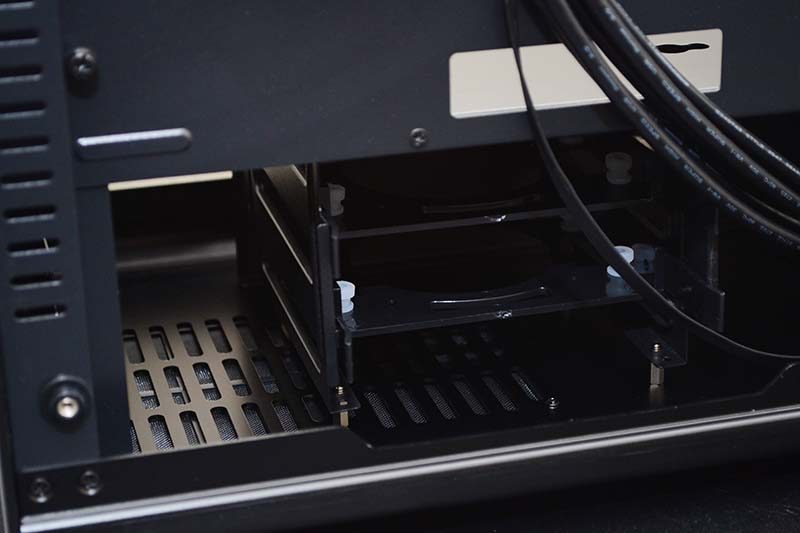
Tucked out of sight under that shroud is a HDD bay, with room for 2 x 3.5″/2.5″ drives. Again, this is set away from the front to allow room for a full-height radiator. Screws on the base of the chassis also mean you can strip this bay out completely should you need to.
Finally, the PSU mounting area, which comes with lots of clearance for extra cables and connectors, as well as two large mounting stumps to ensure a level fit for the PSU.