Roccat Kiro Modular Ambidextrous Gaming Mouse Review
Peter Donnell / 8 years ago
A Closer Look
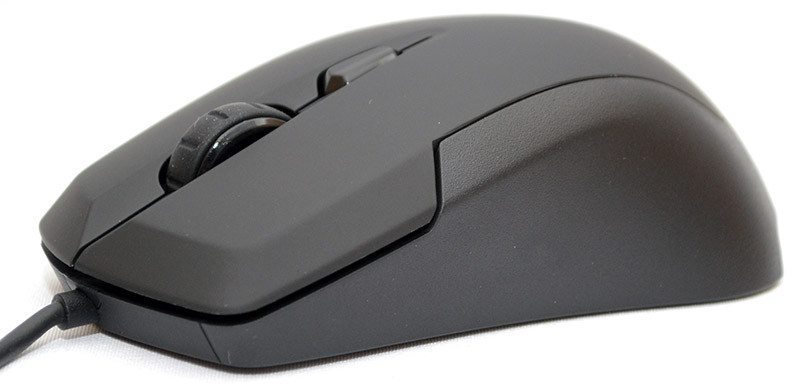
The Kiro comes hard-wired with a lightweight, yet durable USB cable. It’s fairly straight forward, nothing too fancy, nothing too cheap.
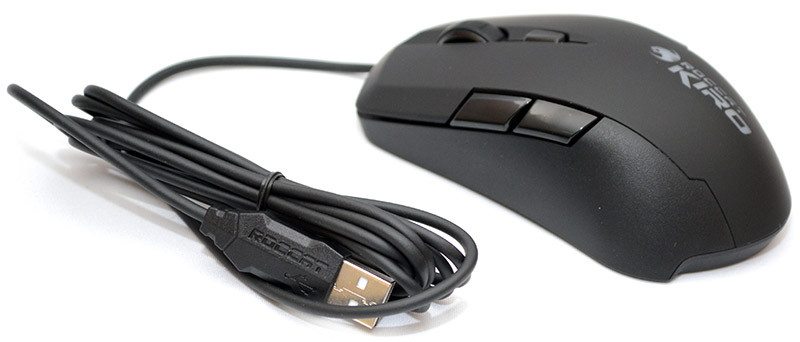
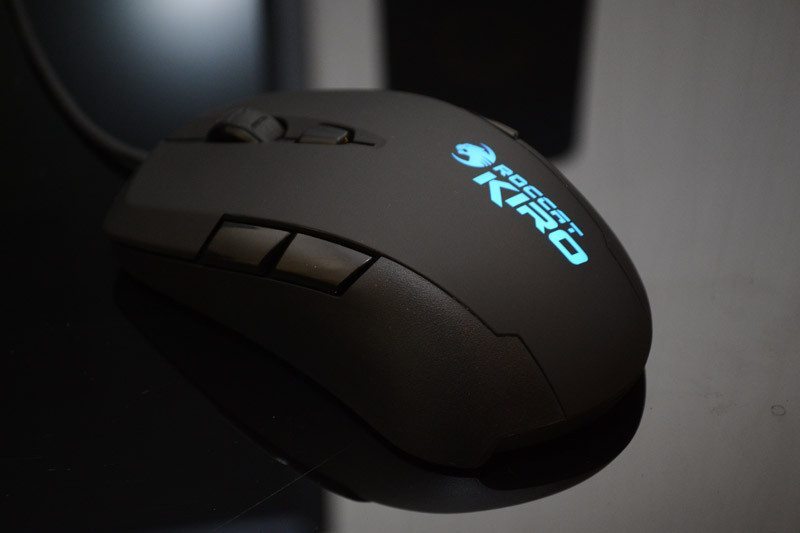
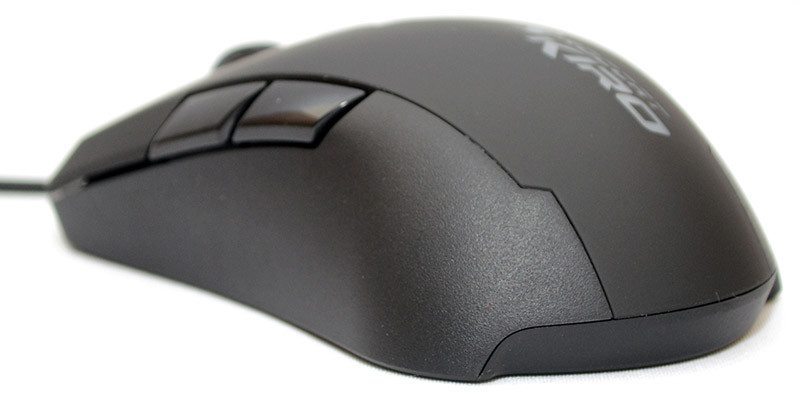
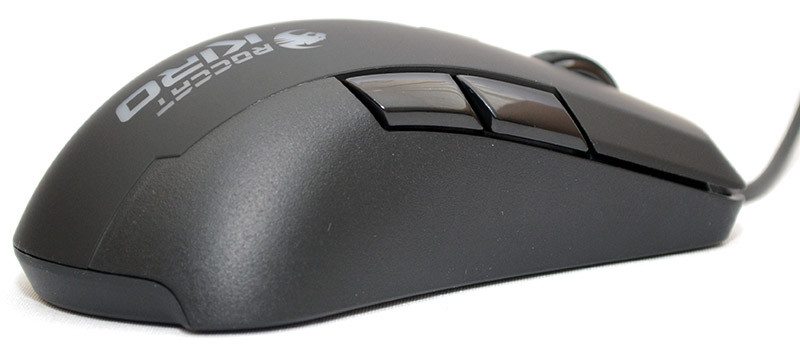
The mouse has a quite simplistic looking design, with a powder black finish that gives it an almost stealthy appearance. There are two side buttons down the left side, again pretty standard stuff, but they’re nice and large and ergonomically shaped to make then as comfortable and easy as possible to use.
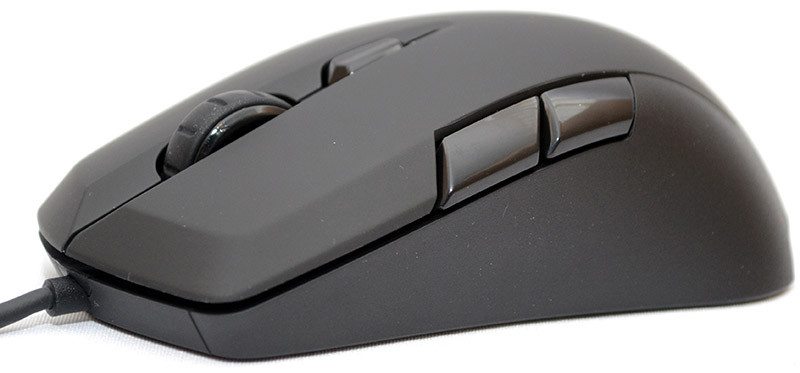
The side of the mouse has a harder wearing finish, which nicely compliments the hard-wearing rubber coating on the top panel, giving you a nice balance for optimal grip and durability.
The rear top section of the mouse is branded with the a Roccat logo and the Kiro brand name. The logo is transparent to allow the internal LED lighting to shine through.
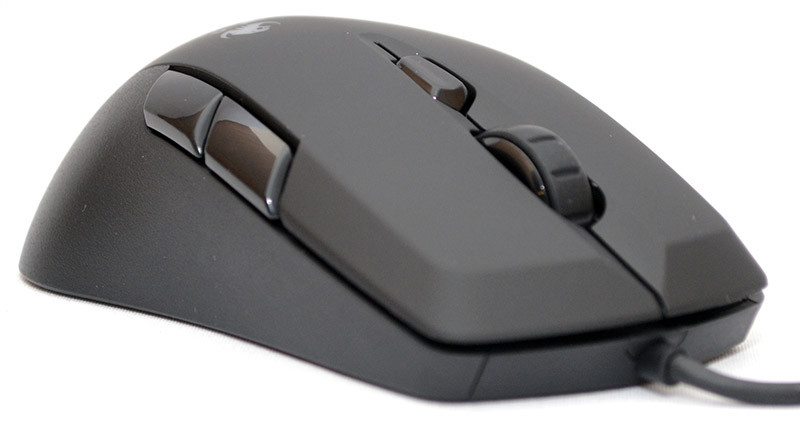
The wheel is nicely weighted with a smooth but noticeable tactile bump and a soft rubber grip for extra control. There’s also a small button behind it, ideal for changing DPI, but all the buttons can be re-programmed to suit your needs.
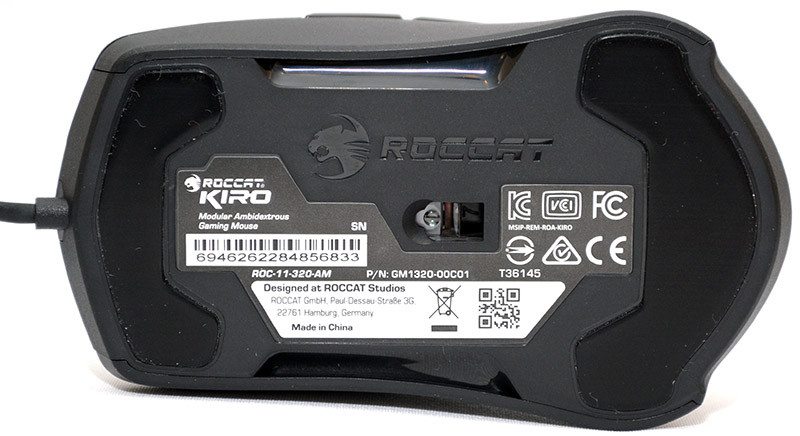
There are two very large, at least relative to the size of the mouse, slipmats on the base of the mouse, giving it exceptional levels of glide. There’s a small cutaway under each of the side panels, allowing you to easily remove them from their magnetic mounts.
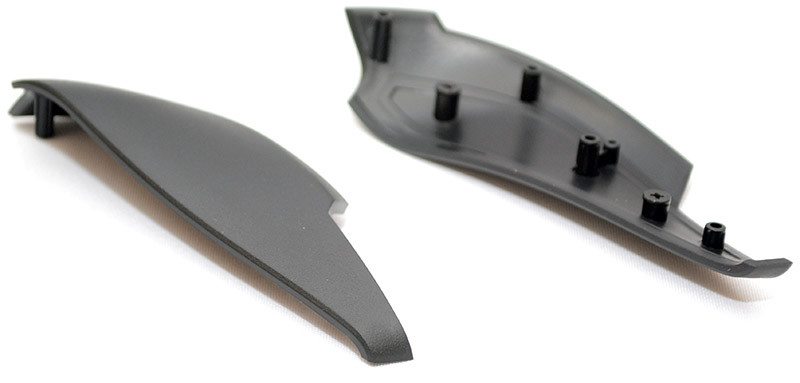
When you take off the panel, you can see that the side buttons are on the panel, not on the mouse.
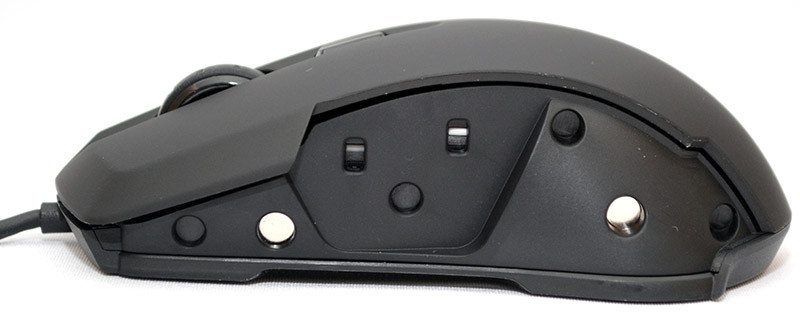
The replacement side panels have no side buttons, allowing you to fully tailor the mouse to exclusive left or right-sided configurations. Of course, you can use both side buttons if you really wanted to.
Overall, a very clean-looking mouse with nice ergonomics and a very handy side panel customisation feature that should help it suit your play style.

The stock panels are easy enough to change, but with Roccat soon releasing the 3D templates, you could always 3D print your own!
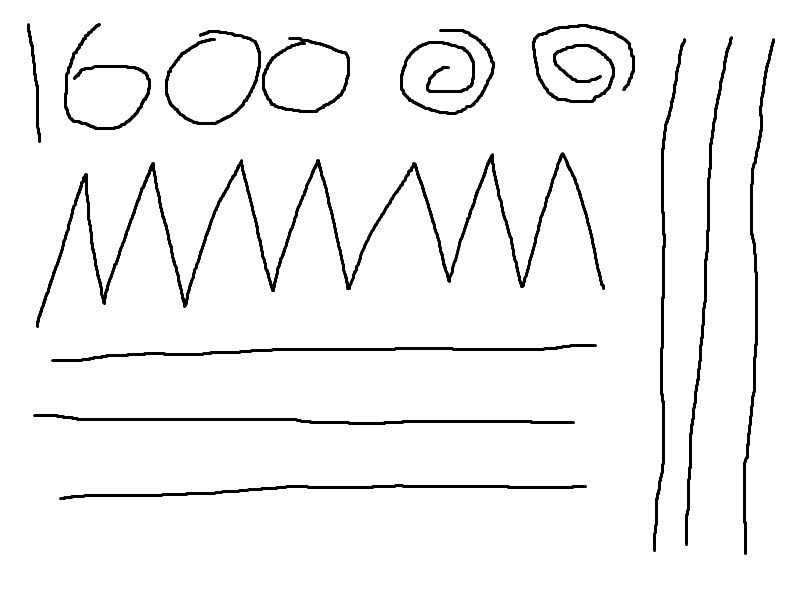
The sensor performance on the Kiro is certainly impressive and with a fully adjustable DPI sensor, as well as an adjustable lift-off height, it’s easy to get the best performance out of the Kiro when you need it. At 400 DPI, it’s silky smooth, great for precision work and gaming.
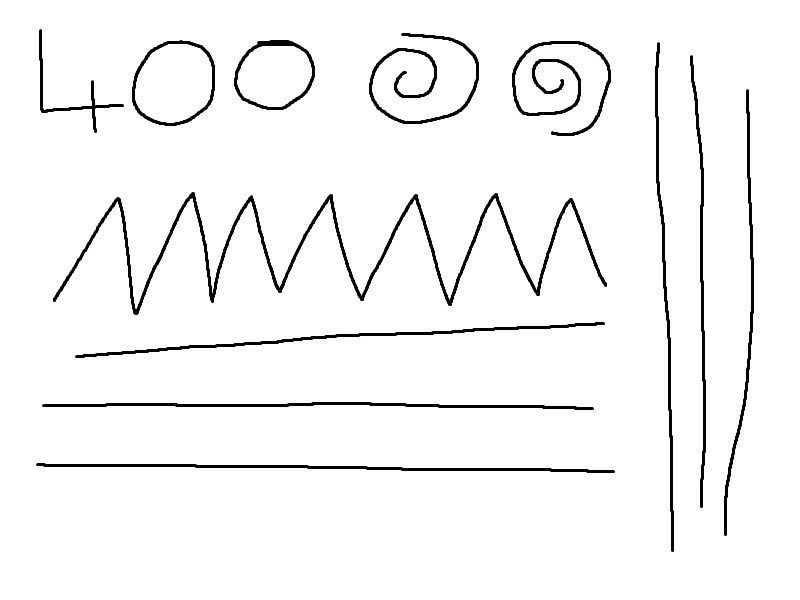
Equally good at 800.
This was the sweet spot, fast and accurate while still remaining perfectly smooth to use.
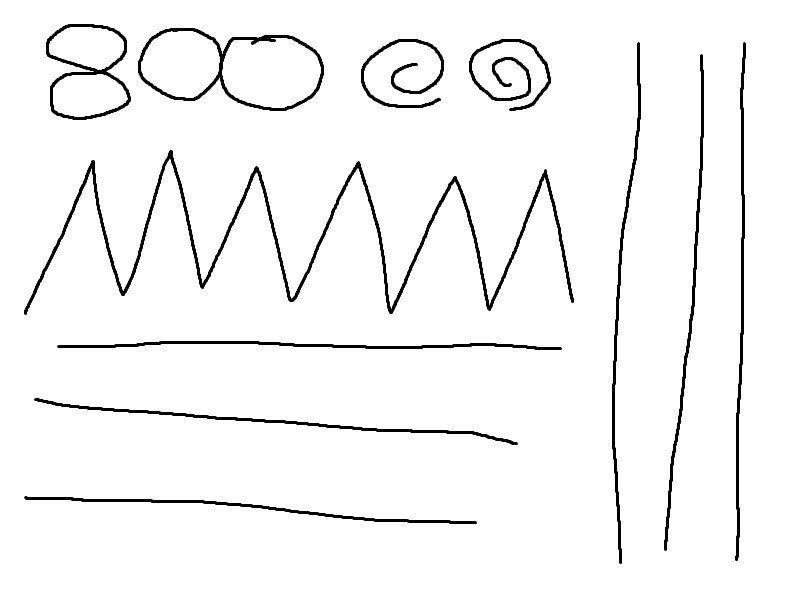
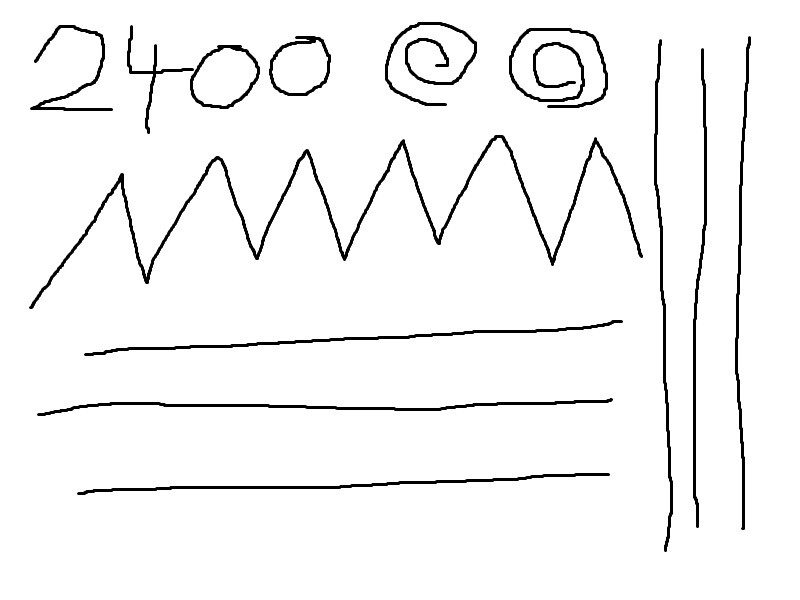
There’s a little jitter creeping in at 2400, but nothing that you’ll really notice in day to day use.
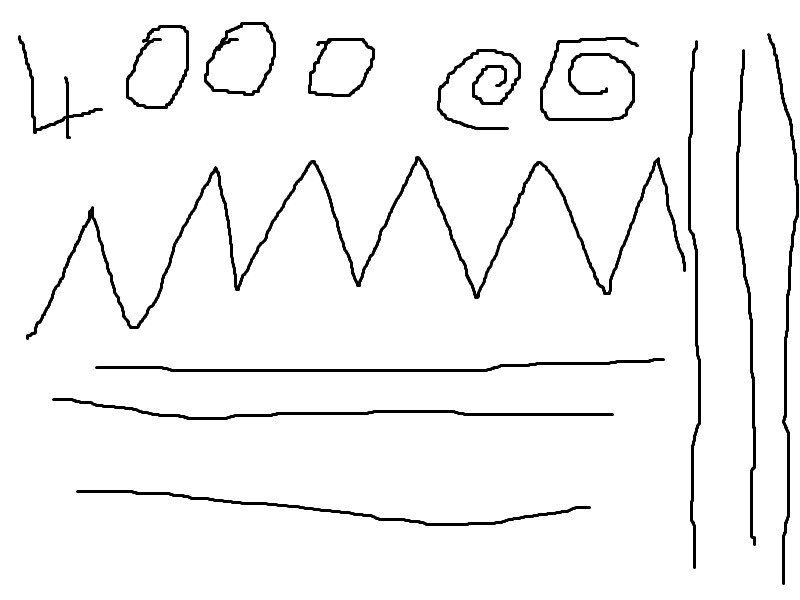
A little more jitter and a tiny bit of angle correction at 4000 DPI, although this setting is more to be used for quick navigation or edge-scrolling rather than accuracy, so it’s still well within tolerable levels.
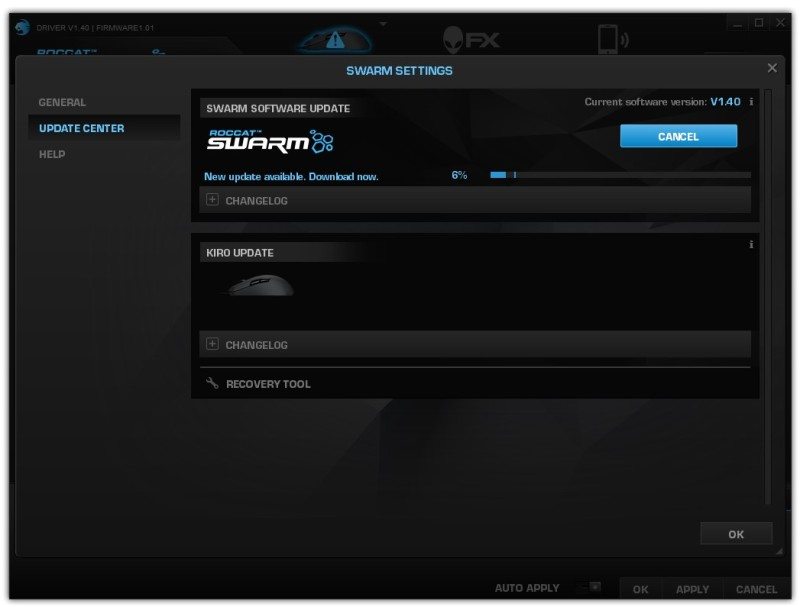
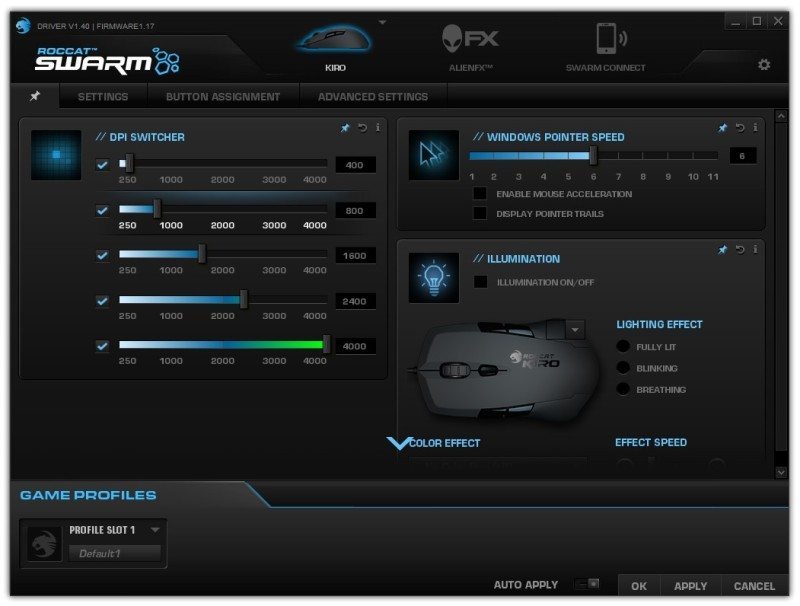
The downloadable desktop software is nice and easy to set up, just install it, then download any firmware updates to the mouse to ensure you’re getting the best performance.
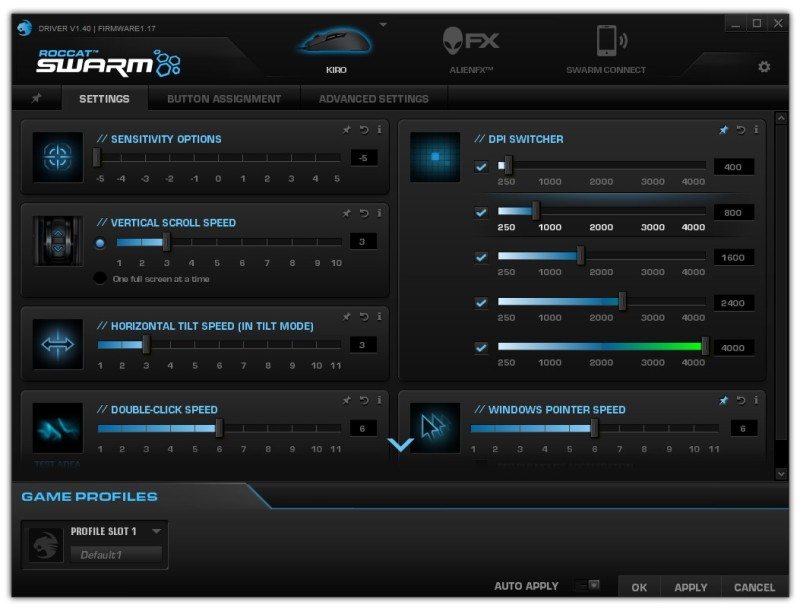
Swarm software makes it nice and easy to tweak the sensor performance of the Kiro. Personally, I found the default 400, 800 and 1600 DPI levels to be perfect for gaming and day to day usage, but you can tweak it however you desire. When gaming, the smooth sensor is fantastic to use and combined with the light and nimble shape of the mouse, it’s a lot of fun to use for twitchy FPS games such as CS:GO.
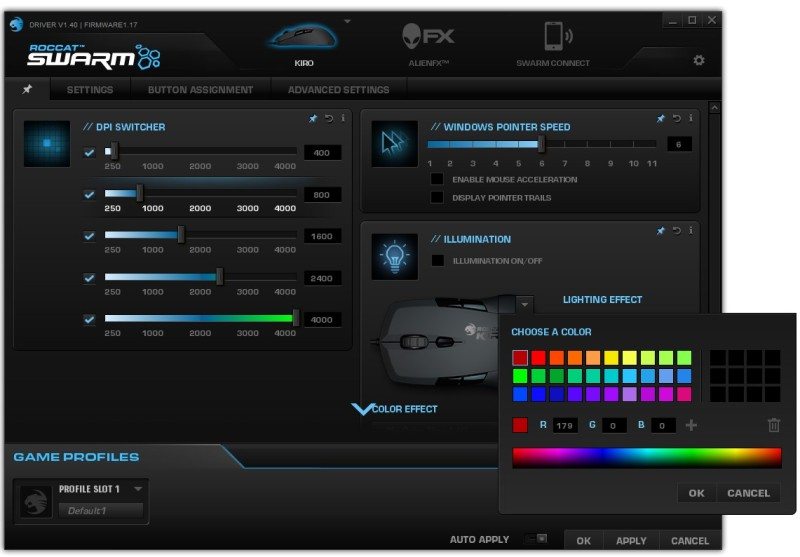
RGB lighting is a popular trend these days and you’ll find a nice range of settings on offer here, as well as AlienFX and device syncing, perfect for being able to see which profile you’re on a glance, or just adding a bit of colour to your desktop.
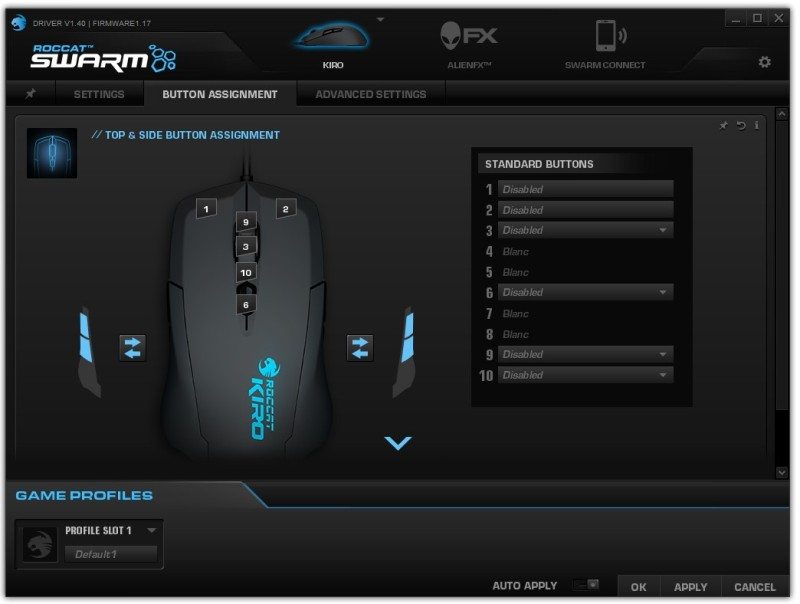
This is one of the most important pages, as it allows you to fully customise the button layout. Given that you can swap the side buttons and panels, there’s three main configuration for this mouse, but how you setup the buttons is down to you. I quite like having the side buttons on each side of the mouse, as it’s great for deploying a few extra macros and shortcuts, something that makes the Kiro a little more MOBA and MMO-friendly.
The default lift-off height is quite high, but can be set to low for those of you who prefer to use a lift-off tracking technique. The ergonomics of the mouse work really well with a fingertip grip, so quickly lifting the mouse while gaming is nice and easy.
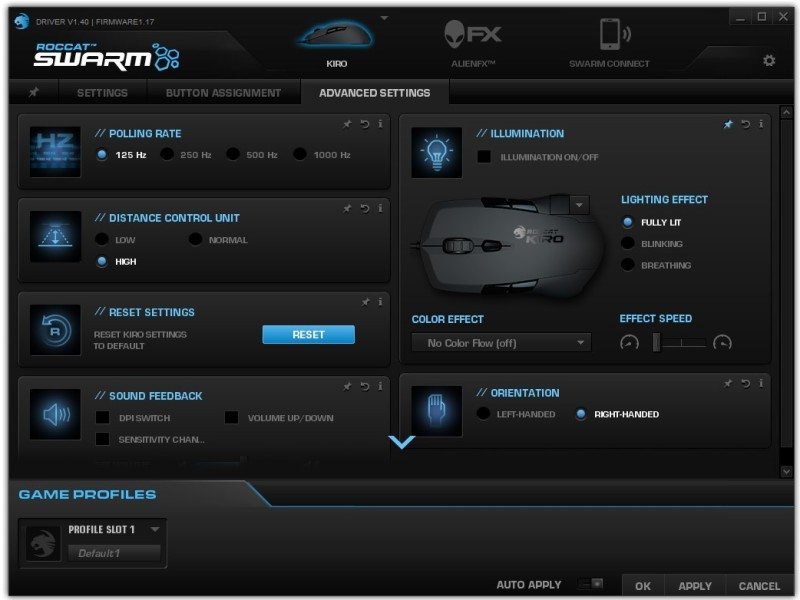
The RGB lighting is fairly self-explanatory, although I would have liked a little lighting towards the front of the mouse too.
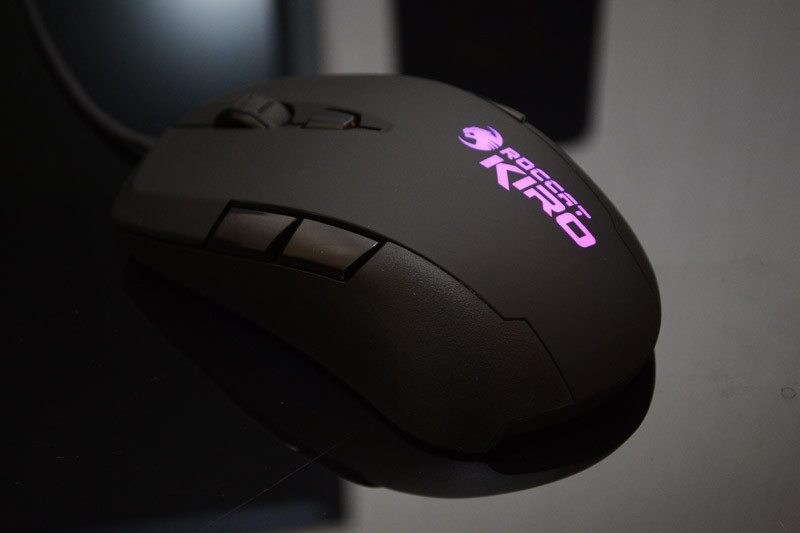
Perhaps Roccat could add lighting to the scroll wheel, but either way, it still looks great.