Shuttle XPC SZ170R8 Barebones PC Review
Peter Donnell / 8 years ago
A Closer Look – Interior
As you can see, the interior is fully crafted from aluminium, making the system lightweight and durable. Most of the hard stuff is already done for you too, with the motherboard pre-installed, as well as all the basic I/O cables such as the USB headers.
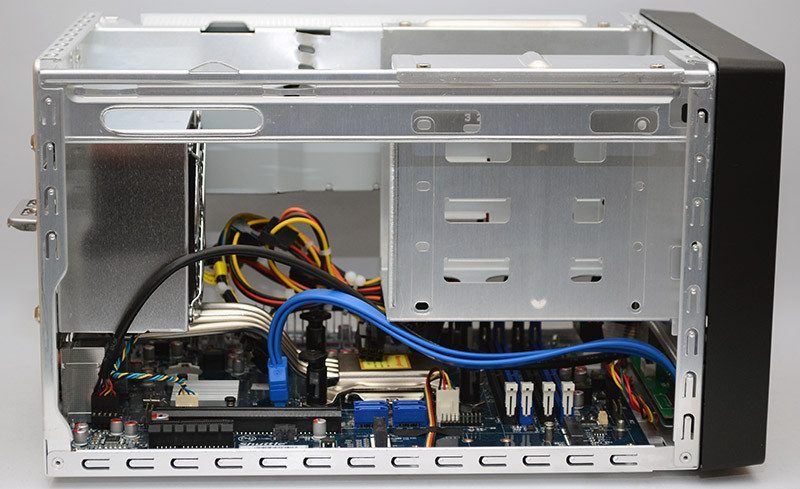
There are two PCI-e slots available, one full-size and one half-size. This means you could use add-in cards for connectivity or even just a dual-slot graphics card.

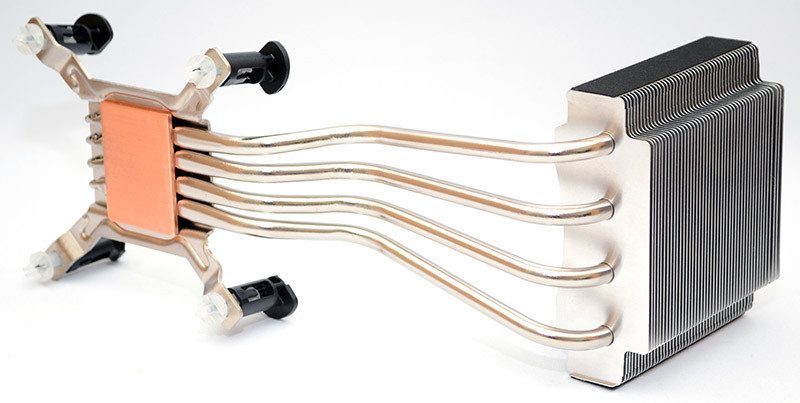
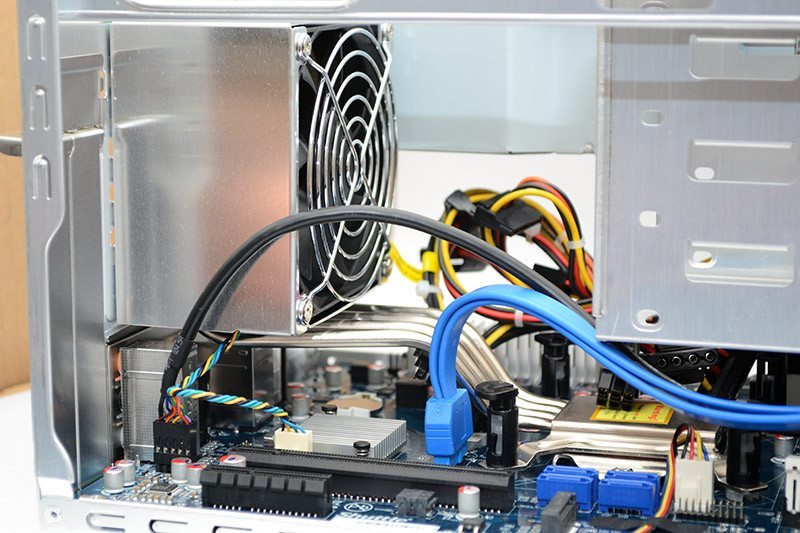
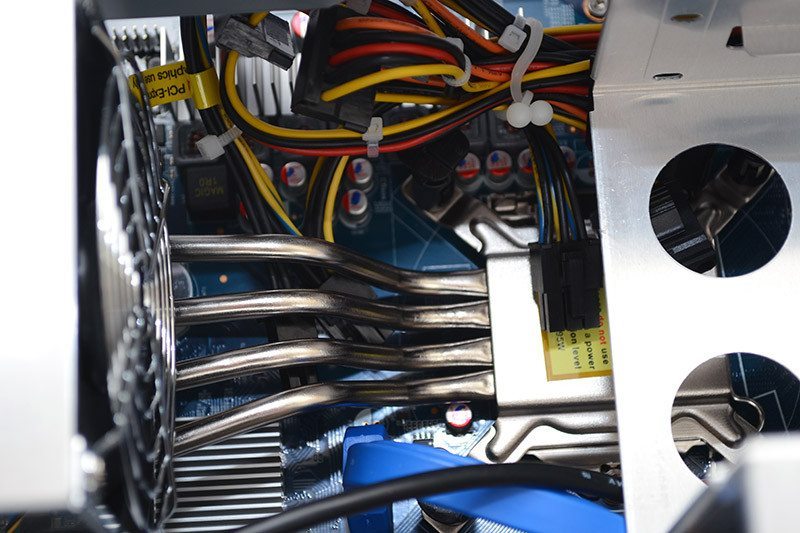
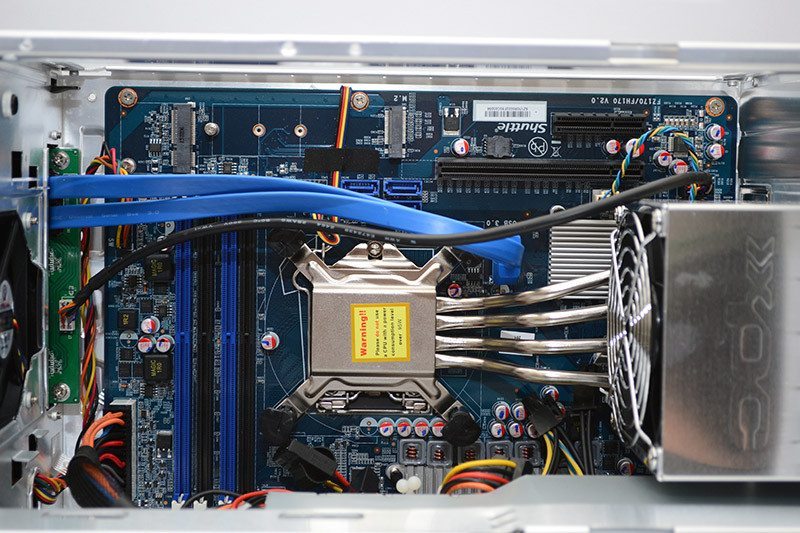
The CPU cooler is a unique design, where the block runs four heat pipes to a good size radiator in the back, where you’ll find a pre-installed 90mm fan setup in push configuration to exhaust heat through the back of the system.
The heat-pipes are quite thick too, so expect it to be capable of shifting a decent amount of heat.
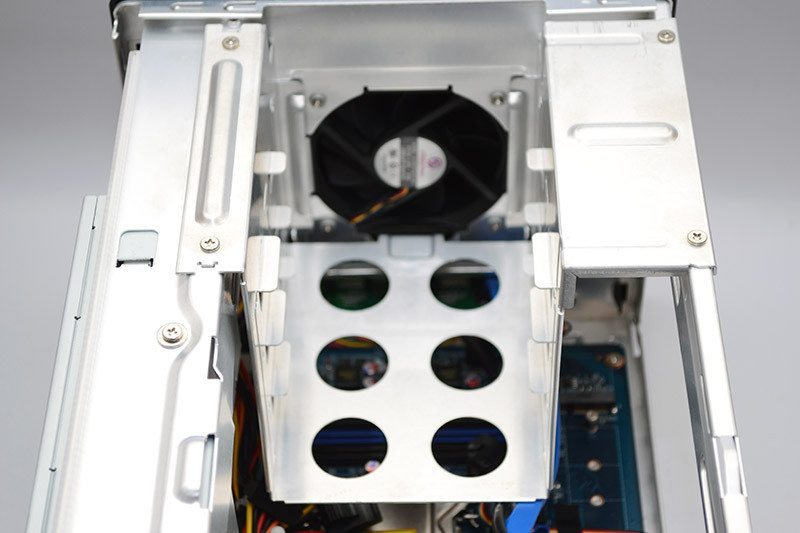
There’s a removable hard drive rack towards the front, as well as another pre-installed fan on the front panel.
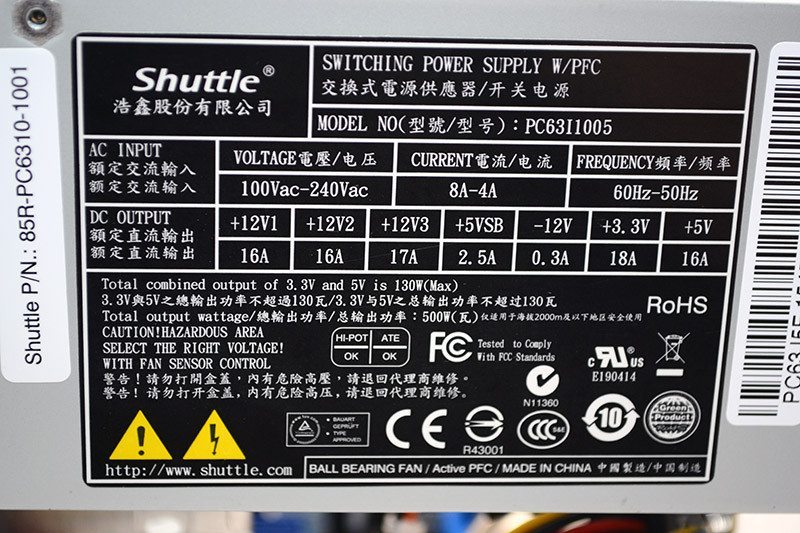
Built-in PSU
Around the other side, you’ll find the pre-installed 500W 80 Plus Silver PSU. It’s a compact form factor that keeps it out of the way of the storage and motherboard components, meaning you’ll have easy access while installing your hardware.
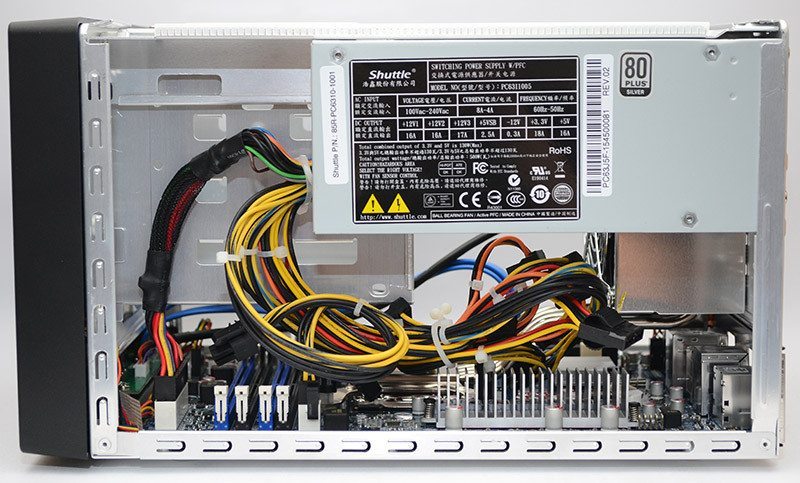
The PSU is pretty decent overall, offering more than enough power for a good CPU and GPU combo.
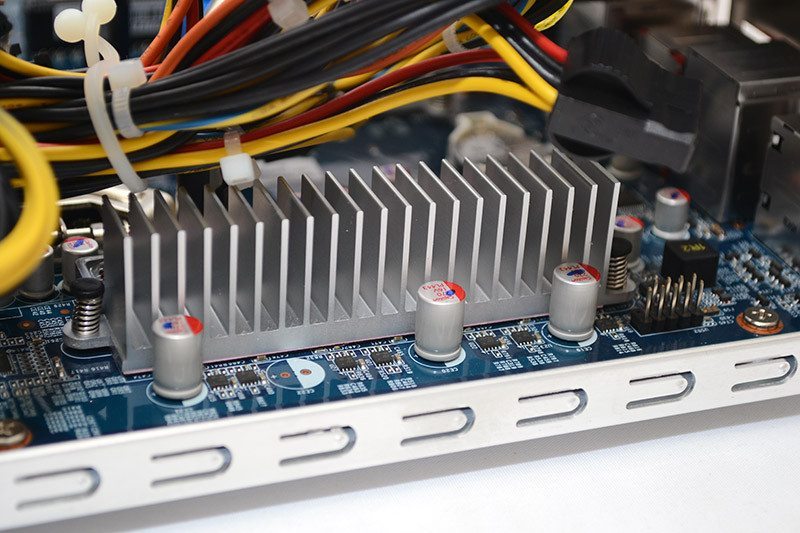
On the motherboard, you’ll find some durable looking VRM cooling fins.
Removable Storage Bays
Removing the hard drive bay means that it is very easy to get all your storage installed, then simply drop it back into the chassis and hook up all your required cables.
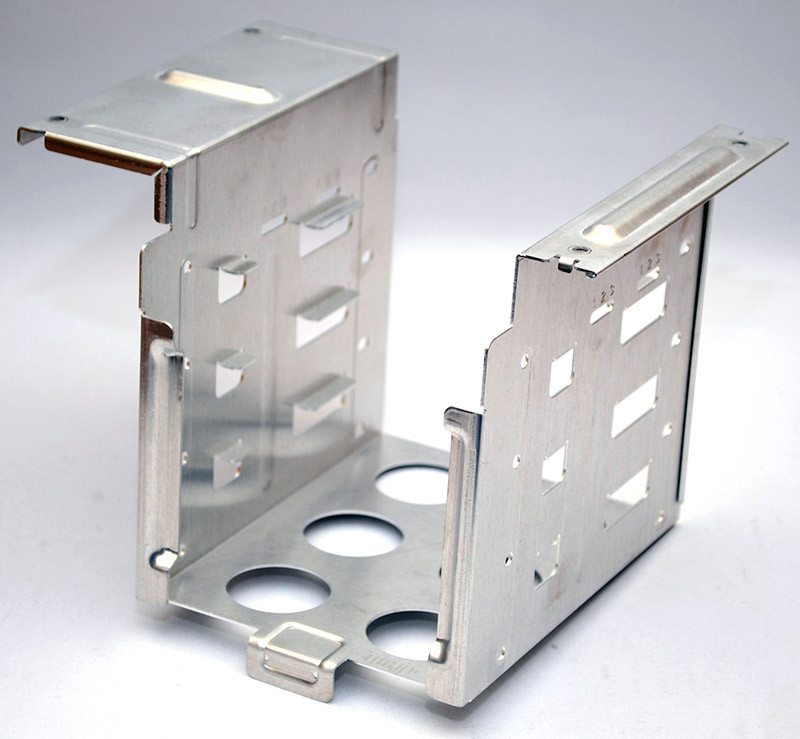
By removing the drive bays, it’s also much easier to access the CPU cooler mount, which uses push-pins, the like you normally see on stock Intel CPU coolers, so it’s quick and easy to install/remove. You also gain much easier access to the four DDR4 slots by removing the drive bays.
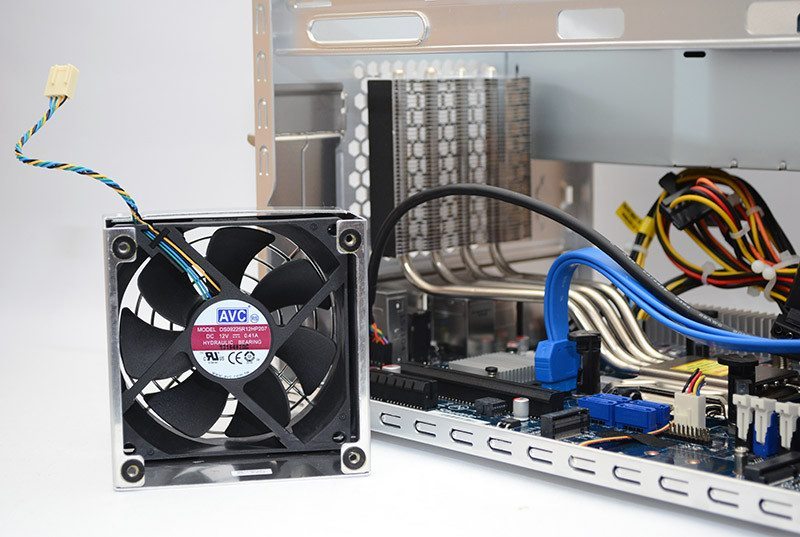
The CPU cooler fan housing can be removed by the screws at the back of the chassis, allowing you to clean and maintain the fan easily enough. It’s a 12V AVC 92mm model, equipped with a 4-pin PWM header.
The cooler is easily removed. Below which you’ll find the CPU socket. There is plenty of room around it to allow for an easy CPU installation process.
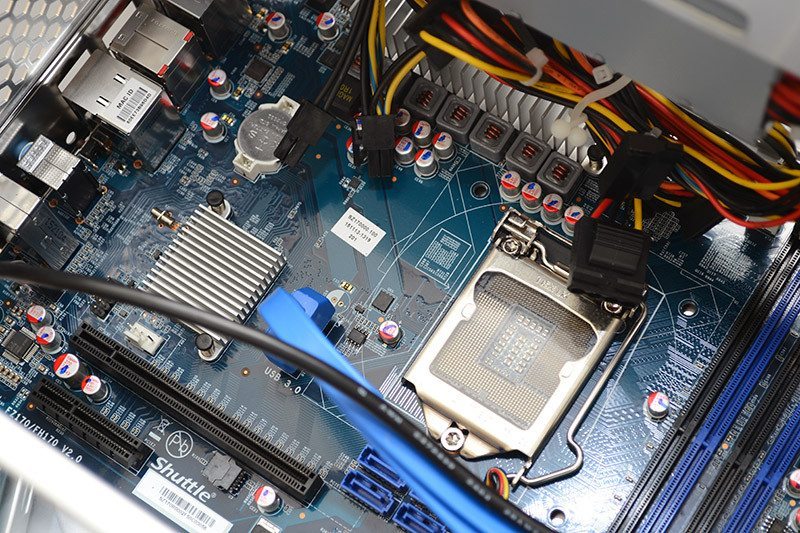
The cooler features a large copper base plate, behind which you’ll find the four heat pipes provide excellent coverage of the contact surface. The heat fin array is quite nice too, providing plenty of surface area to help dissipate heat from your system.