SilverStone AR02 CPU Cooler Review
Ryan Martin / 11 years ago
Here is another quick look at the installation hardware so you can see more clearly how we installed the SilverStone AR02 onto our LGA 1155 test system.
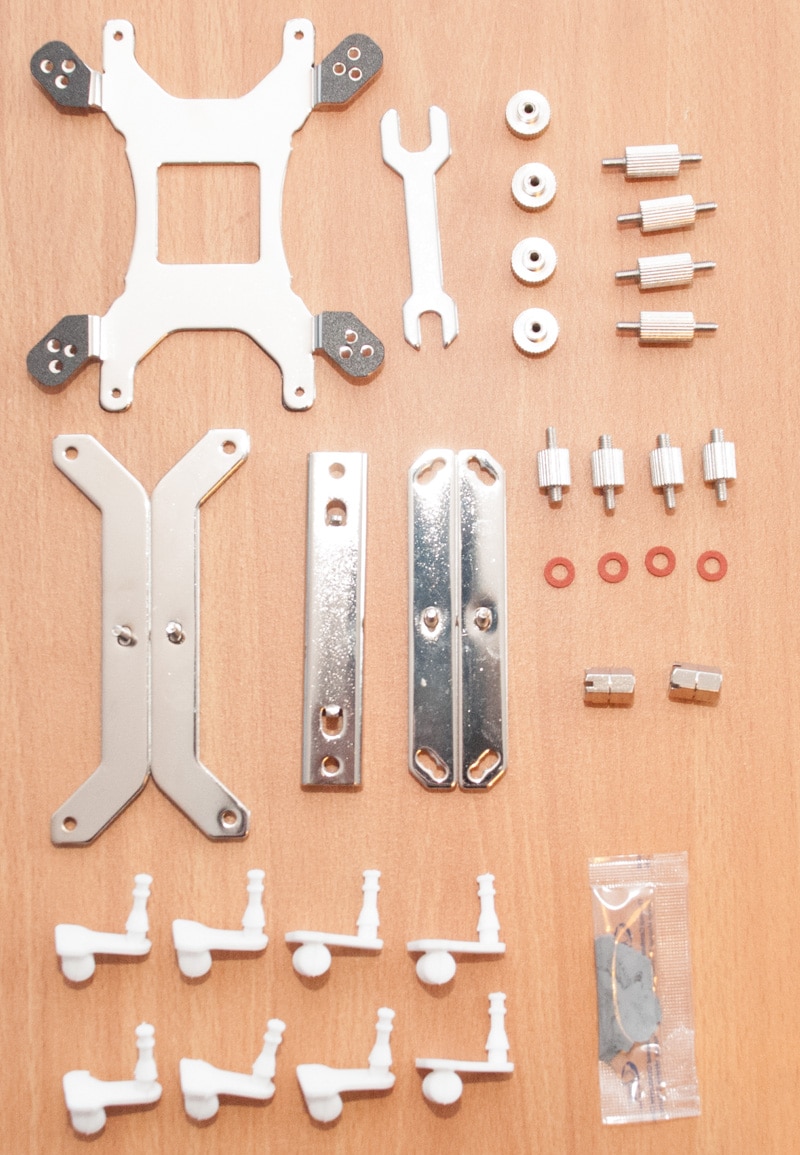
Here you can see the stand offs for LGA 1155 being installed and they require a red spacer to prevent short circuiting.
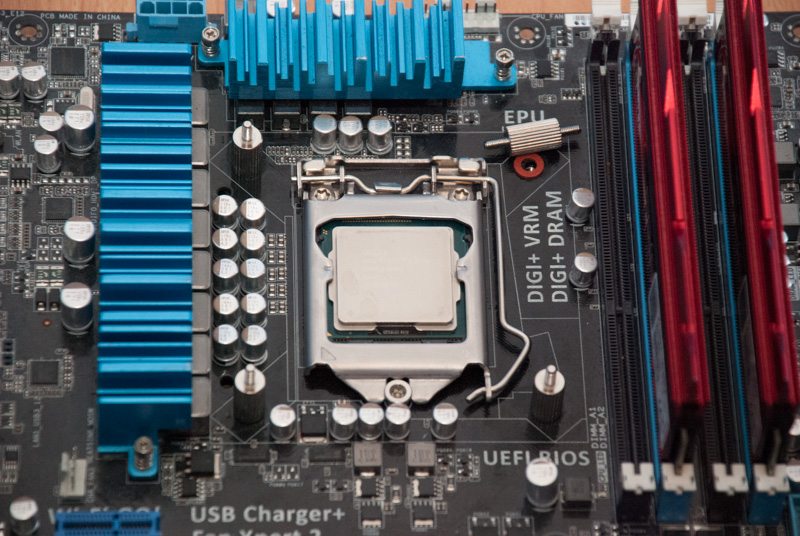
With them all installed properly it looks like this.
They secure by screwing into the backplate. Unfortunately the backplate doesn’t have socket labels on each hole which is annoying and confusing at times.

Next you have to install the Intel brackets using the provided locking nuts. Note the slant faces inwards towards the socket. You then add the pressure bracket and screw that down with its locking nuts.
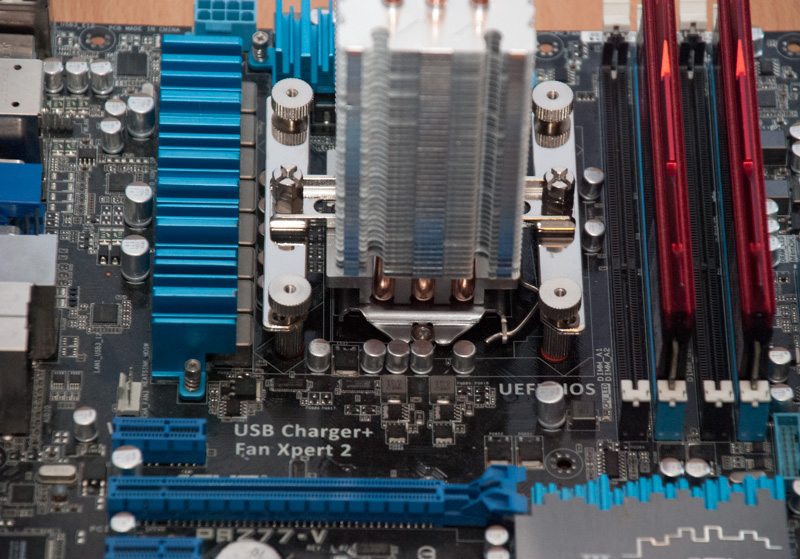
Here you can see a bit closer how it all works.
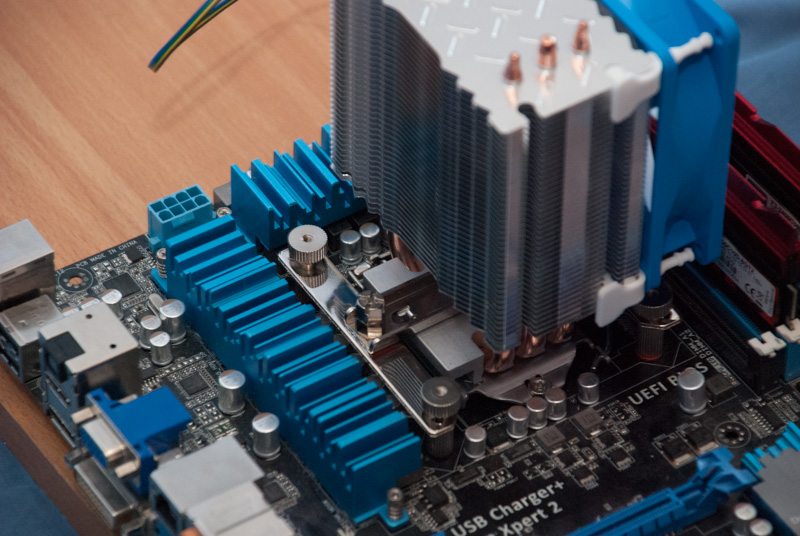
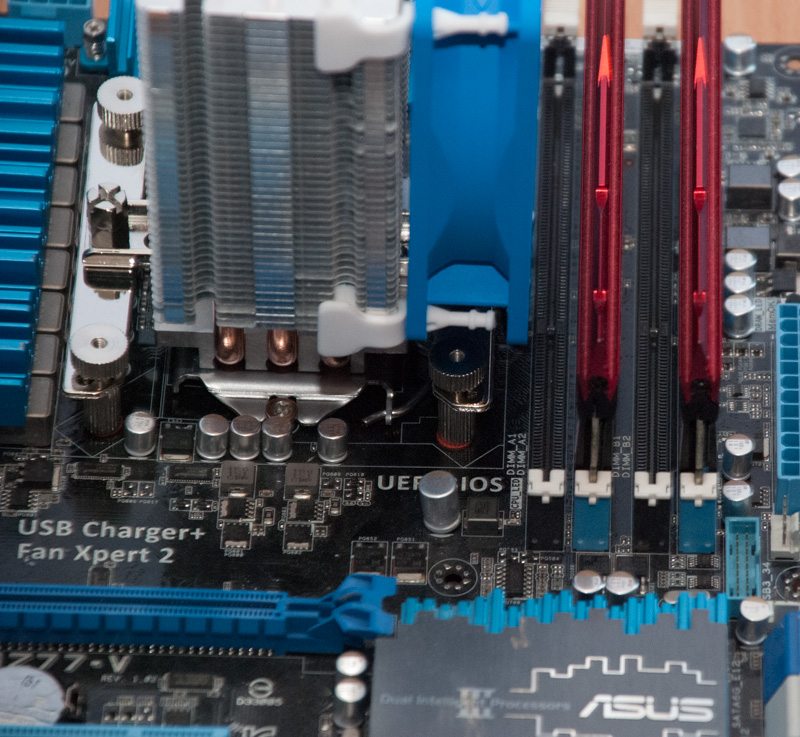
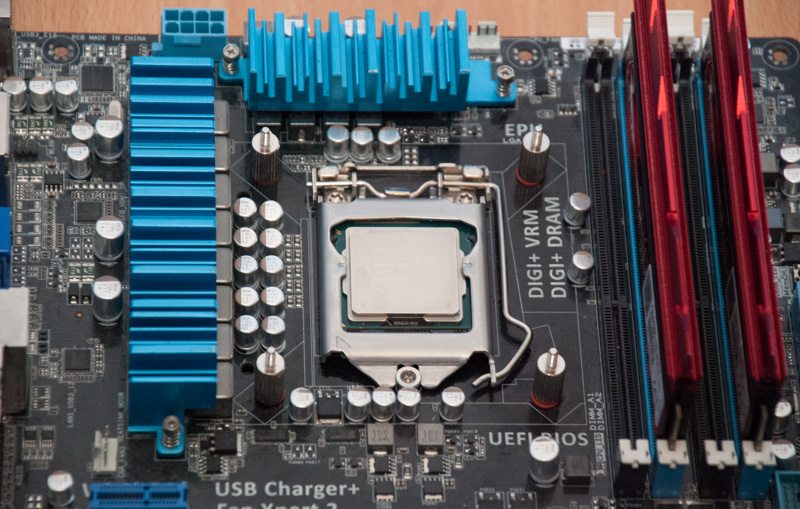
We found that spacing was pretty tight but on a normal LGA 1155 motherboard you can get four high profile DIMMs in easily. On a mini-ITX or micro-ATX motherboard you might struggle a bit depending on how close the motherboard vendor has placed the RAM slots to the CPU socket area.