Silverstone SUGO Series SG10 Micro-ATX Chassis Review
Peter Donnell / 11 years ago
As I said before, the top panel and side panels are a single piece, this helps keep a nice clean look to the chassis edges as there are less joins required. It’s a fairly durable panel and is held in place by some slide-in hooks, four thumbs screws and a side screw, this keeps it well locked in place and keeps the chassis feeling sturdy and rattle free.
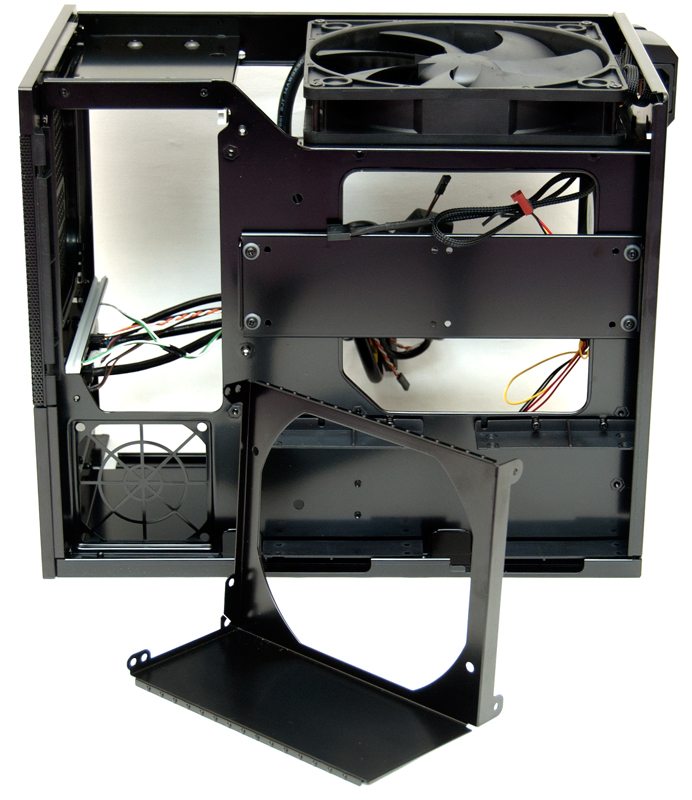
With the large panel removed you’ll notice that the fan mount area panel is still in place, this attaches / detaches separately and this means you don’t have to remove all your mounted fans every time you need access to the main areas of the chassis.
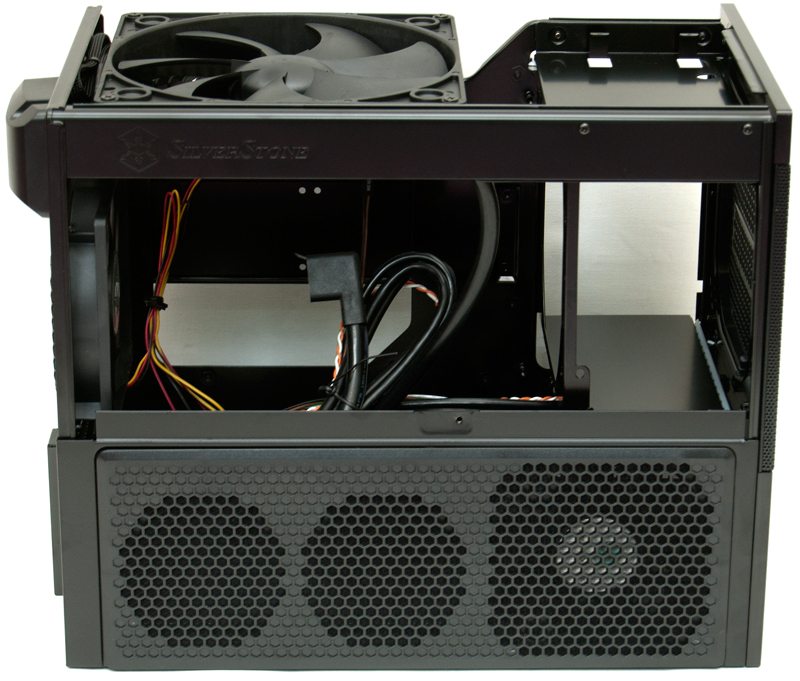
In the top we see the powerful AirPenetrator 180mm fan which is mounted as an air intake, this should provide some seriously hefty airflow to the system. In front of the fan we have a bay that supports a slim optical drive, complimented nicely by the disc slot area on the chassis front panel, although I have just noticed there is no universal eject button, so this will have to be done from software.

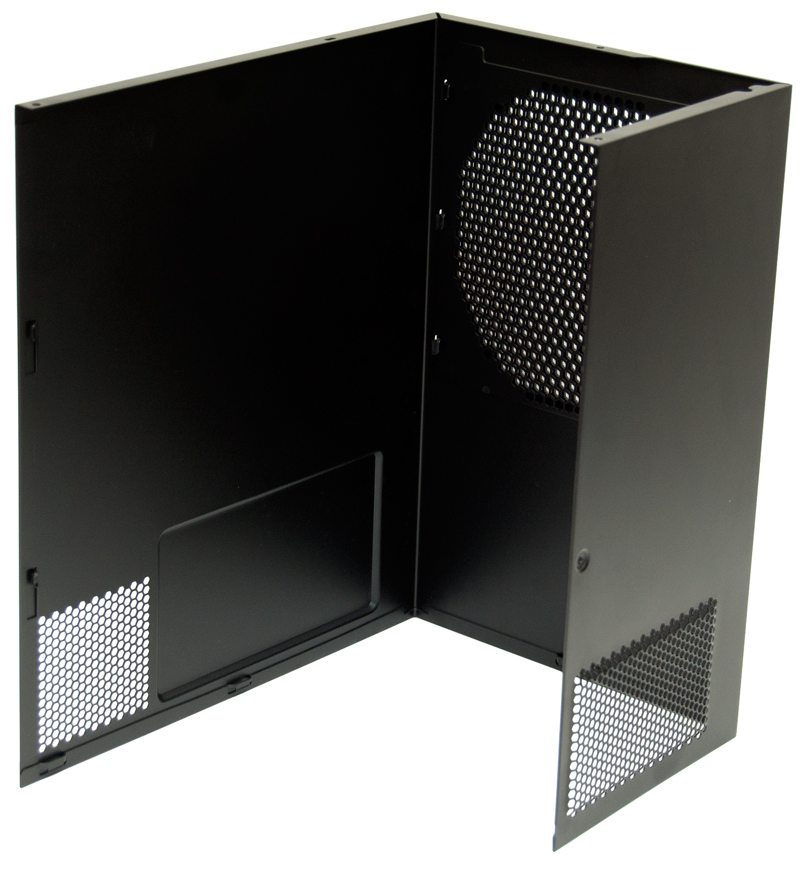
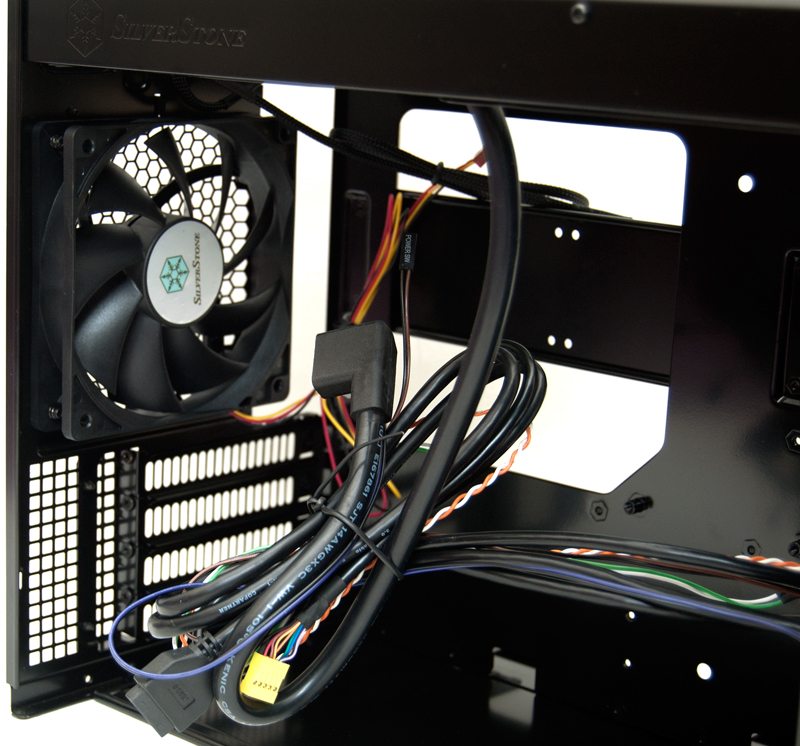
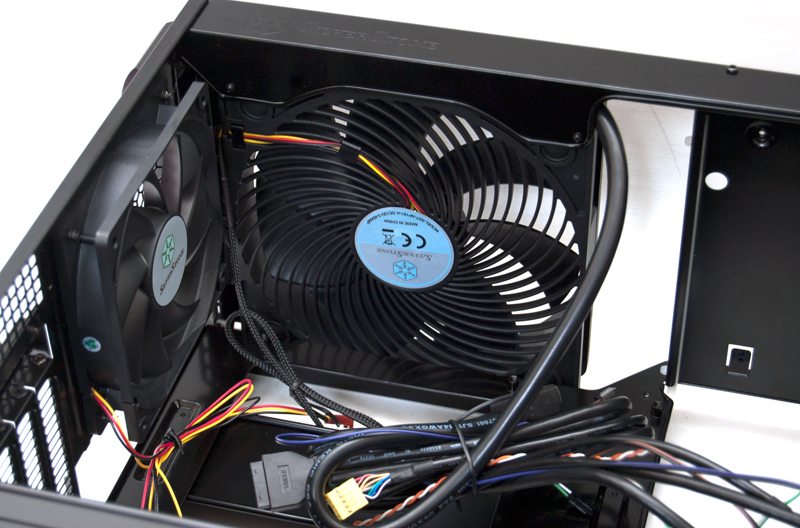
With the fan side panel removed you can see that there is a 120mm fan mounted as an air intake, with room for two smaller 80/92mm fans.
Behind that we see a large bottom section, more than enough room for two long graphics cards in SLI / Crossfire configuration.
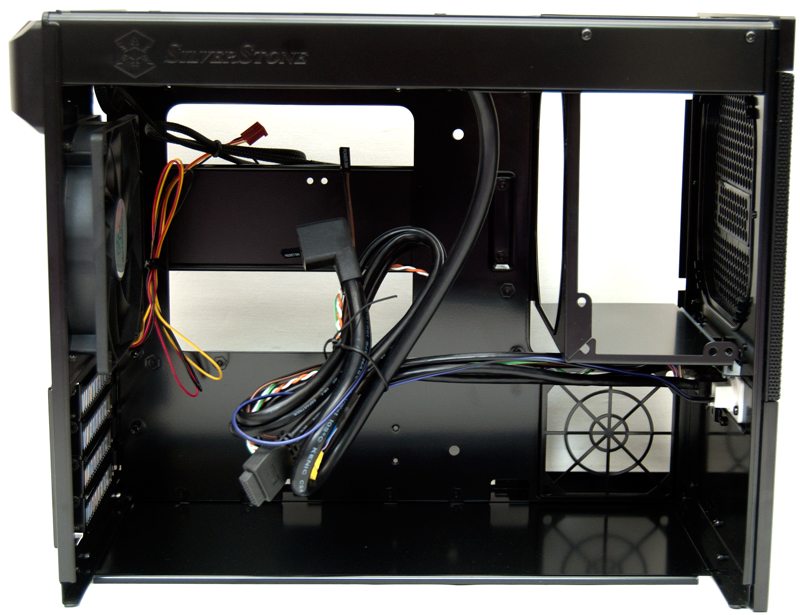
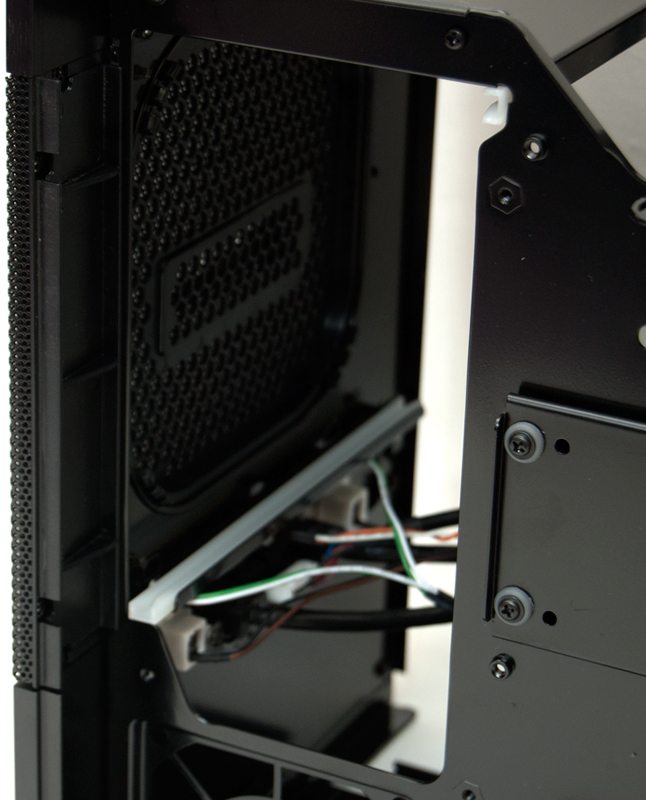
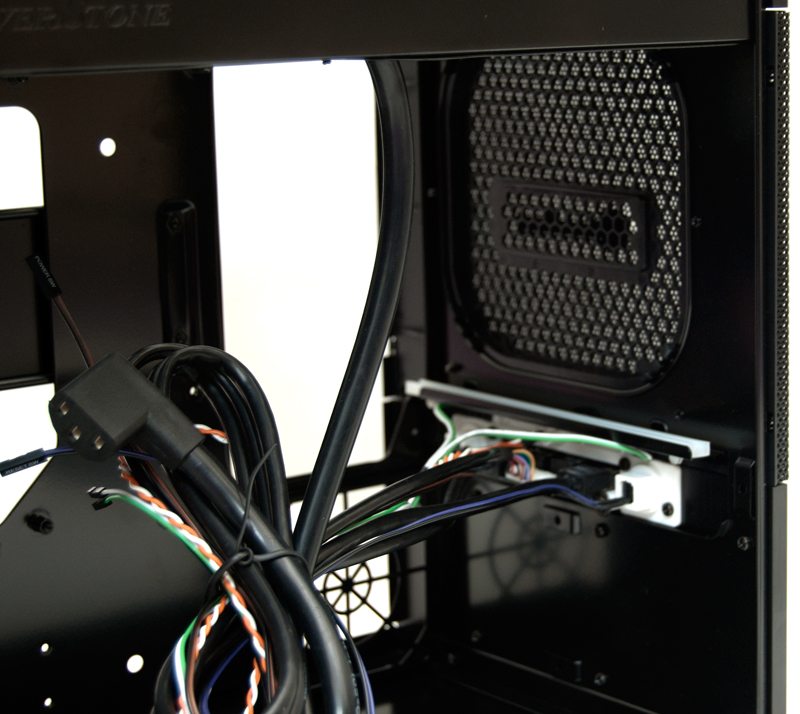
On the left we have a 120mm exhaust fan and you can also see the PSU extension cable that runs from the front PSU mount to the rear jack socket. Silverstone have also included a native USB 3.0 header cable.
The front has a small PCB for the front I/O panel, which doesn’t look very tidy in my opinion, but given this chassis has no windows I wont worry too much about the internal appearance.
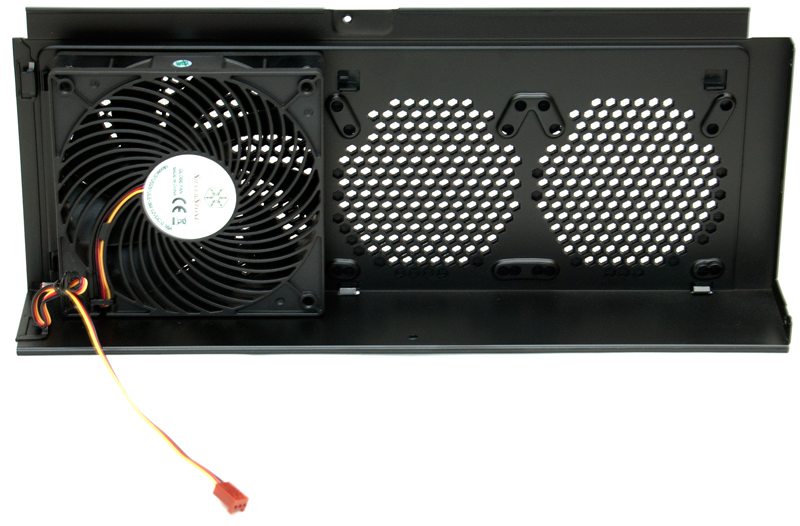
Here we can see the underside of the 180mm air intake fan.
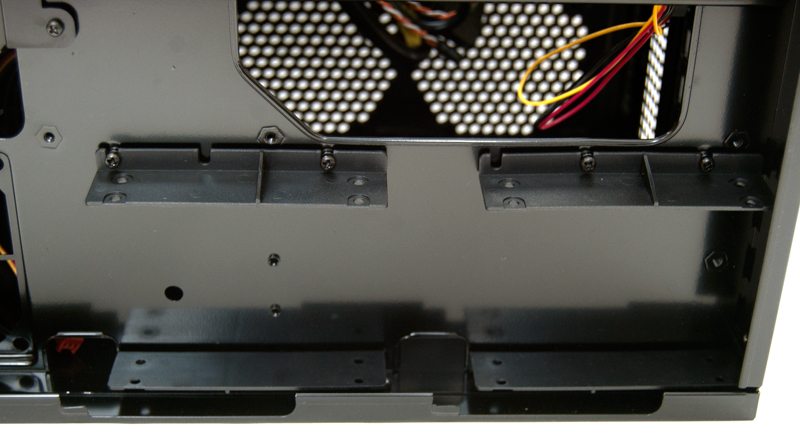
Around the back we have a PSU mounting area on the left, a small 80mm fan mount below that. while on the right we have a removable panel for the 2 x 3.5″ drive mounts (via the included attachable brackets), as well as some clip-in 2.5″ hard drive bays. Behind the 3.5″ bar there is also a large cut out, this will come in handy for some light cable routing as well as mounting of the CPU cooler.
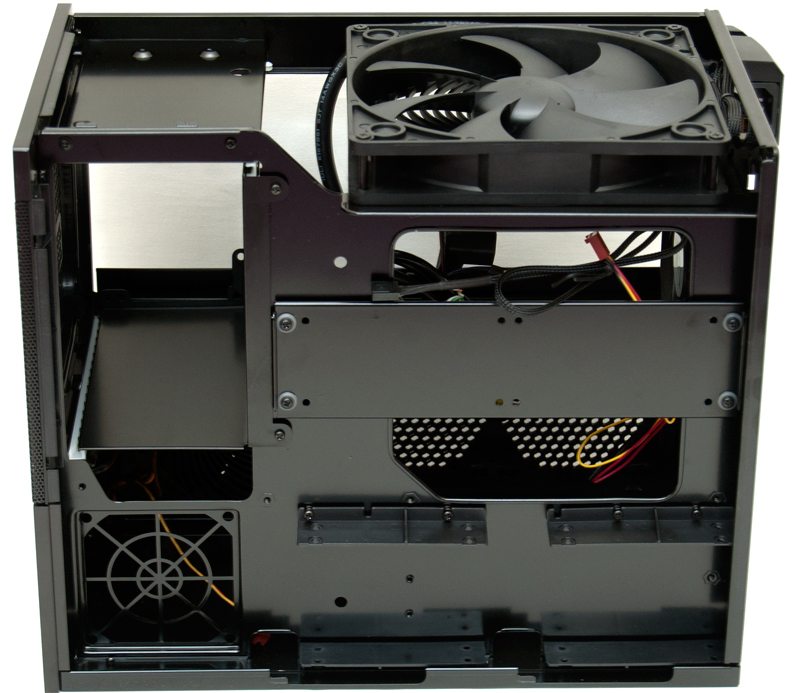
The bottom section has two bays that support 2 x 2.5″ drives each, bringing the total number of HDD’s to 6.
The PSU mount is accessed via two screws, this allows you to slide out a mounting bracket that screws onto the PSU.
The bracket allows you to slide the PSU back into the chassis and secure it in place.