SuperMicro C7Z170-OCE (LGA1151) Motherboard Review
John Williamson / 8 years ago
BIOS and Overclocking
Unfortunately, it’s extremely challenging to show the motherboard’s BIOS in a clear manner due to the lack of a screen capture button. Additionally, the UI’s bright blue theme, which highlights the section currently being read, creates a great deal of camera glare. Nevertheless, the images outline the BIOS’ range of options and provide an indication of the overall layout.
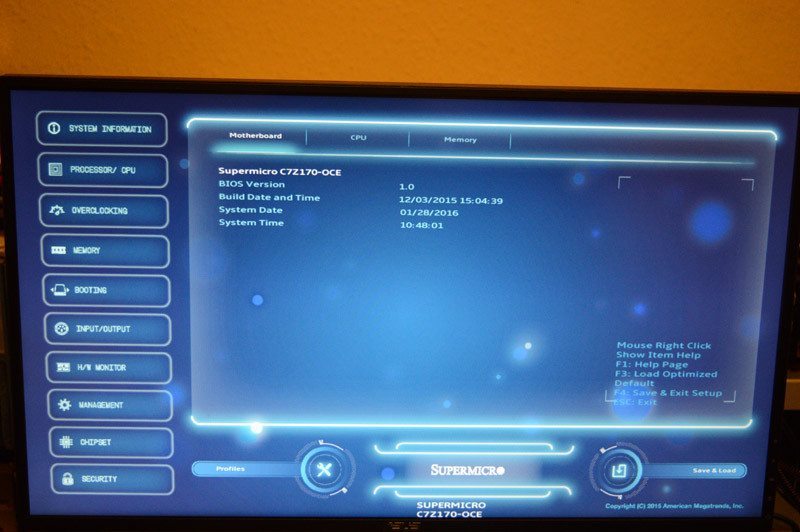
On the first page, there are three tabs describing key system statistics including motherboard model, BIOS version, CPU ID and SPD details.
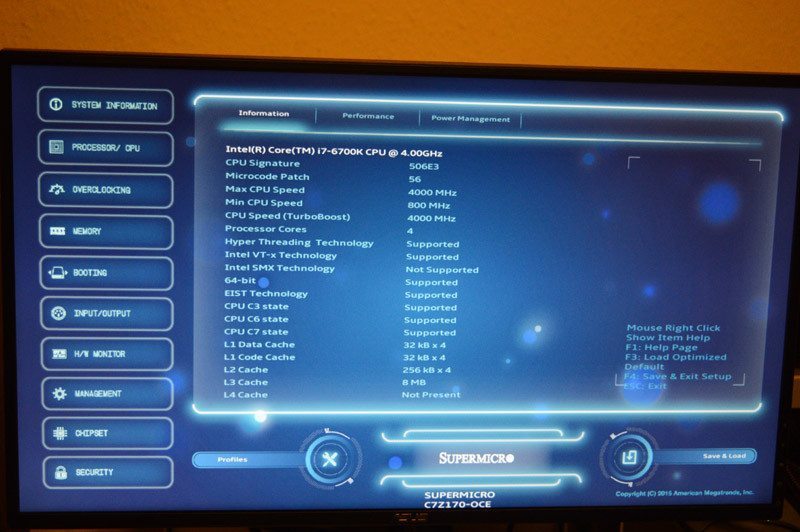
If you require a more comprehensive specification of the CPU, the next section has an unbelievable array of facts. This ranges from the CPU’s maximum multiplier to a number of embedded power saving techniques.
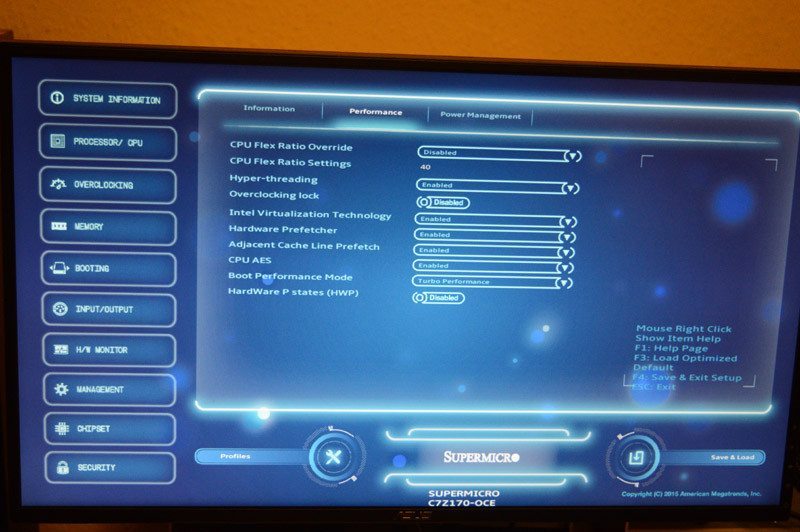
The Performance tab allows you to adjust the CPU Flex Ratio, enable/disable Hyper-Threading, and manually tweak other integral settings. This is quite demanding if you’re not overly versed with the technical side of CPUs and might be daunting to novice users. Please note, if you’re struggling to understand the impact of these variables, leave them on their default settings. To be fair, some of these might even confuse many seasoned PC builders, so there’s no shame in feeling a little bit overwhelmed. On the other hand, any advanced users will love the flexibility the BIOS provides.
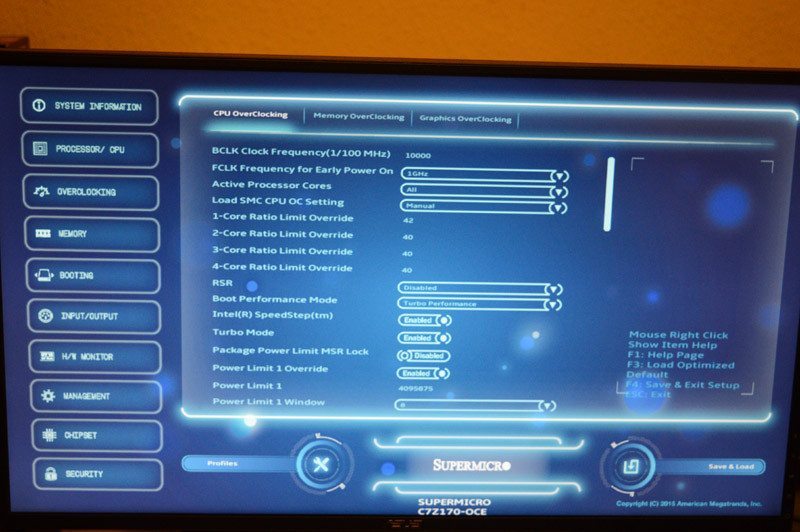
Speaking of complex functionality, the CPU overclocking section is absolutely packed full of features. Here, you can adjust the BCLK frequency, and even set the multiplier for each core. The Reliability Stress Restrictor is deployed to prolong the CPU’s lifespan by monitoring power consumption and CPU utilization. Clearly, you want to keep this off to maintain stability on a hefty overclock.
Slightly further down the menu, it’s possible to tweak the CPU’s core voltage via Adaptive or a manual mode and make a whole host of other refinements. For a basic overclock, there’s no real need to stray from the default setup too much. However, professional overclockers and extreme tweakers will love the freedom to eke out every last bit of frequency from the CPU.

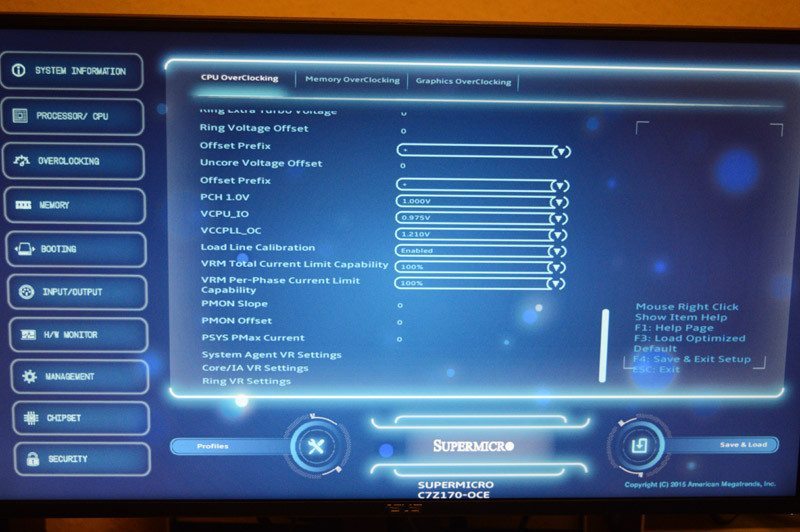
This is the final section when it comes to CPU overclocking and includes the ability to set a Uncore Voltage Offset, adjust PCH 1.0V, VCPU_IO voltages and make a raft of changes to find the perfect overclock. You can also perform memory overclocking by clicking on the appropriate tab. While there is a graphics overclocking menu, I wouldn’t really spend too long on it as it’s not going to be useful when applying manual boosts on a discrete GPU.
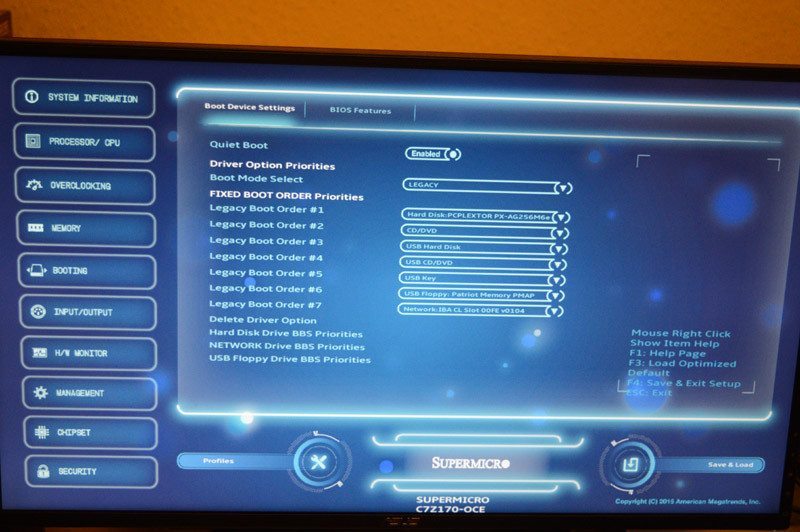
The booting tab is an essential addition which allows you change the current boot order and prioritize the operating system drive. You can even change the boot mode from LEGACY to UEFI, but this really isn’t necessary.
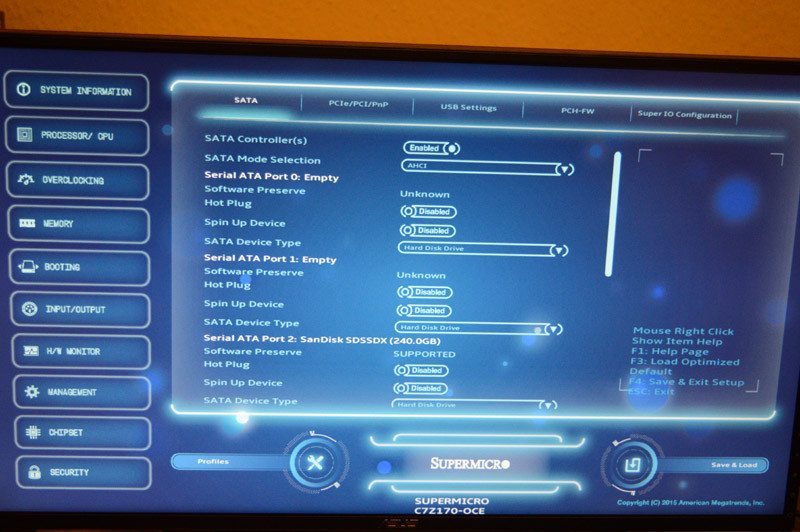
Next up is the Input/Output tab which lists a number of key features including SATA mode per drive. As you can see from the image, this section also covers the PCIe configuration, PCH-FW, Super IO and USB settings. There’s more than enough here to customize your system’s behaviour and ensure every aspect is completely stable.
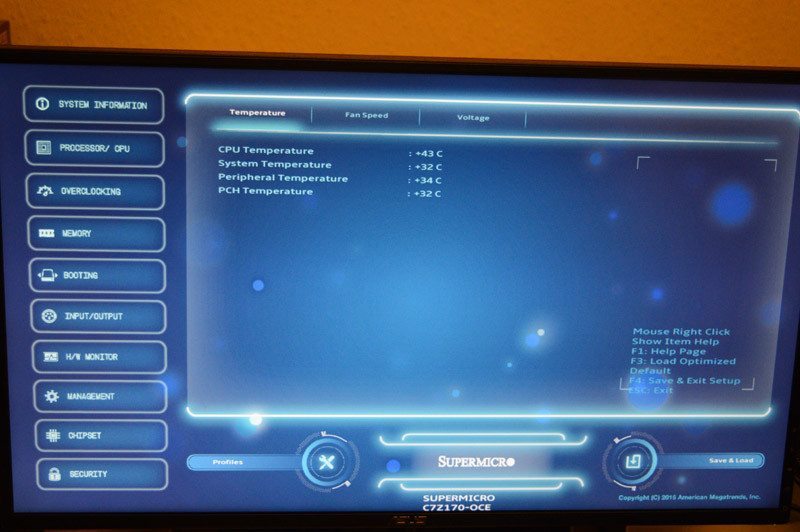
The hardware monitor displays vital information regarding CPU temperature, fan speed values and the current core voltage. I was surprised to see the CPU’s temperature ramp up to 42C in the BIOS and initially became concerned about the closed-looped cooler’s pump. Thankfully, the root cause was down to the BIOS using 1.288 volts. This is more than I expected although it shouldn’t cause any problems barring an increased core temperature or louder fan profile. Thankfully once you boot into Windows, the core voltage is significantly reduced during idle states, and manages to report a respectable temperature between 23-25 degrees.
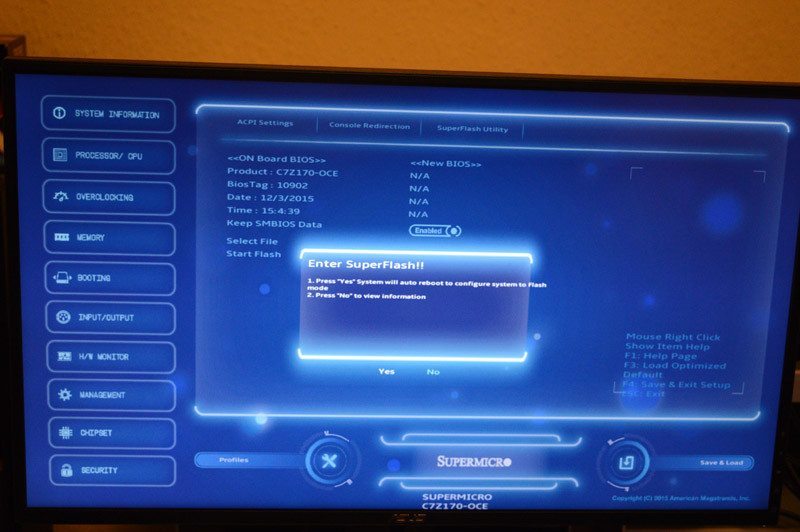
On the management tab, you can tweak your system’s ACPI settings view the current BIOS version. Also, the SuperFlash utility makes BIOS updates a straightforward procedure.
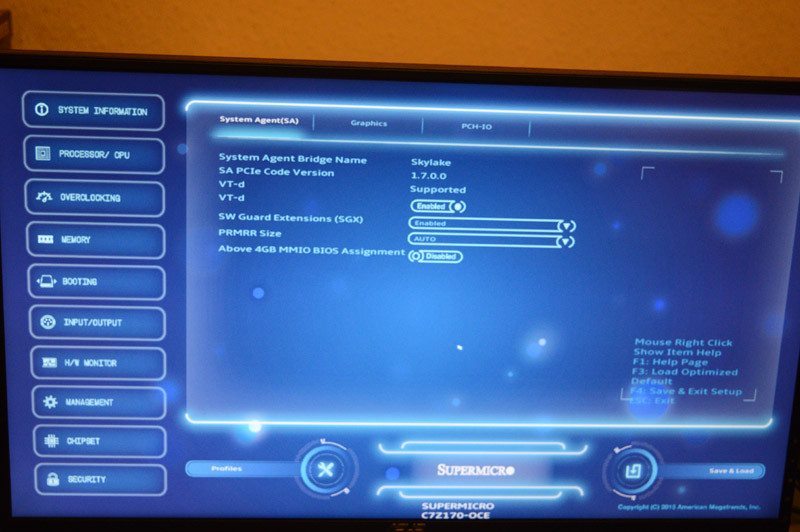
For the more technically minded users, it’s possible to make changes to the System Agent, integrated graphics configuration and PCH-IO. Once again, I wouldn’t recommend changing these variables unless you have very specific requirements and familiar with SuperMicro’s BIOS.
The final page is useful to set an administrator password and prevent other computer users from making changes. This is essential when you consider the amount of options contained within the BIOS which in the wrong hands has the potential to cause hardware failure. Overall, the BIOS is absolutely astonishing if you have the expertise and patience to understand the effect of each setting. Granted, there are a lot of options here, and I honestly believe with the spare screen space on the right side, it would be so advantageous to add some tips.

Overclocking
The overclocking process is undoubtedly more difficult than competing mainstream motherboards due to staggering array of options at your disposal. Instead of simply increasing the multiplier, and core voltage, you have to spend a great deal of time navigating through each section to determine which aspects are required to maintain a stable frequency boost. The counter argument is, the BIOS provides unrivalled flexibility for experts trying to set benchmarking records. While it can be extremely overwhelming, the motherboard’s BIOS is incredible for anyone who loves to learn how technology works, and the impact of very minute changes. Furthermore, once you’ve learnt which settings contribute to a basic multiplier increase, it’s fairly quick to apply any alternations due to environmental thermal variation or evolution of the CPU’s core.
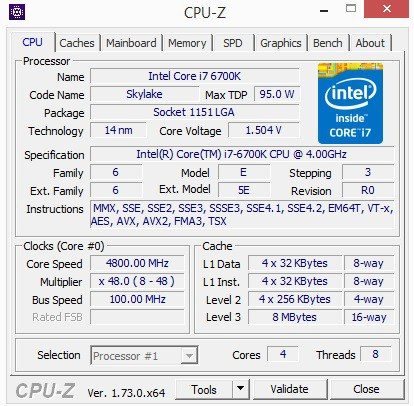
During the stress testing, I managed to attain 4.8GHz via a core voltage reading of 1.504v. Please note this is the maximum frequency the CPU is capable of across a wide range of motherboards. However, the C7Z170-OCE was tantalizingly close to 4.9GHz and managed to remain stable during the first phase of heavy CPU utilization. This is the only time I’ve managed to get 4.9GHz to post which demonstrates the motherboard’s superb electronics and overclocking prowess.