Synology DiskStation DS215+ 2-Bay NAS Review
Bohs Hansen / 9 years ago
Setup – Initialization & Storage
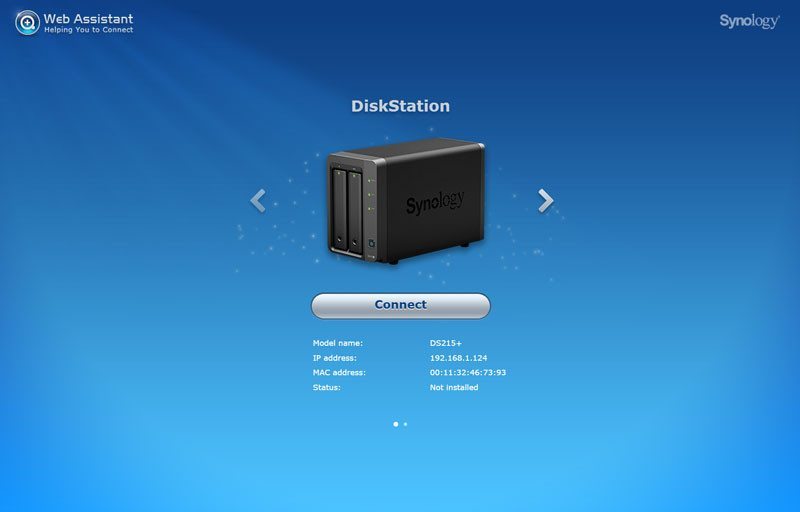
Initialization of a Synology NAS is as easy as it could be. Within your NAS package you found the Quick Installation Guide that contains two links, either of these will work. Alternative, if you got network discovery turned on, your network surroundings in Windows should display the new NAS. Just right click and connect to the web interface to get started.
Initialization
I used the URLs from the manual to get started and it instantly found my not-installed Synology DS215+ NAS. You can quickly get a view of the device and make sure it’s the right one, in the case that you should run multiple Synology devices on your network.
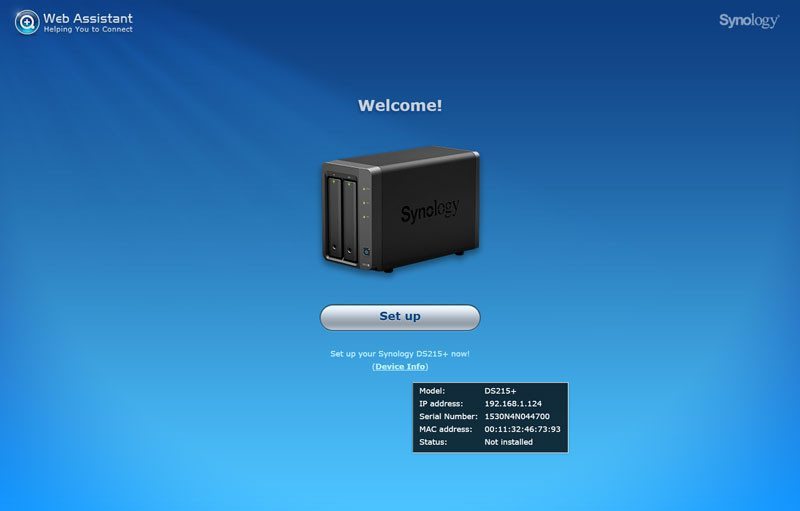
To install the NAS, you’ll need the operating system. You can download that from the official website and the installation provides you with the link for this. Just click it, make sure you download the OS for the right device, and you’re ready to install.
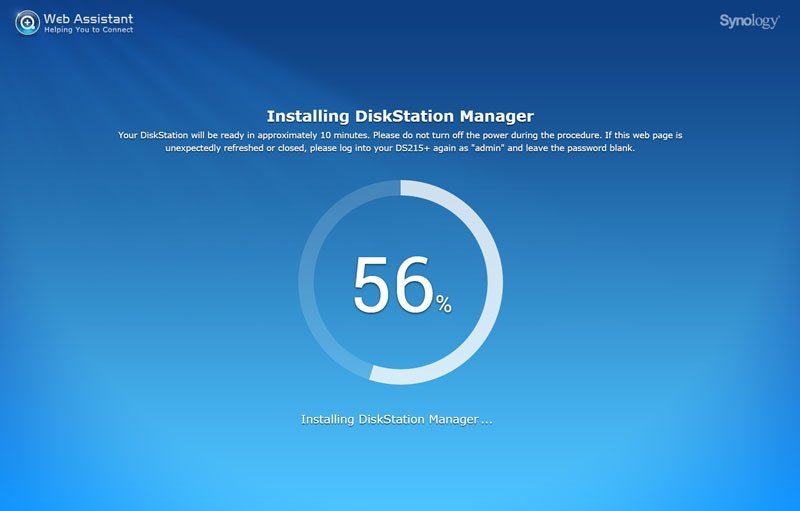
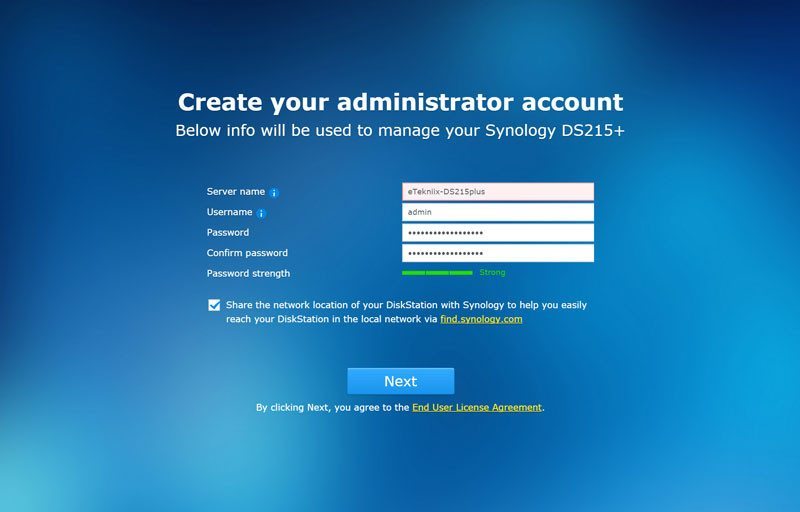
Your hard drives are now initialized and the system installed, but you still need to provide a couple basic information before it is ready.
The NAS needs a name itself and you’ll also need to specify a admin account name as well as a password for it.
It is highly recommended to select auto-update. There is a good chance that you won’t visit the control panel often once it is set up and you wouldn’t want to miss important security updates, not to mention new and improved features.

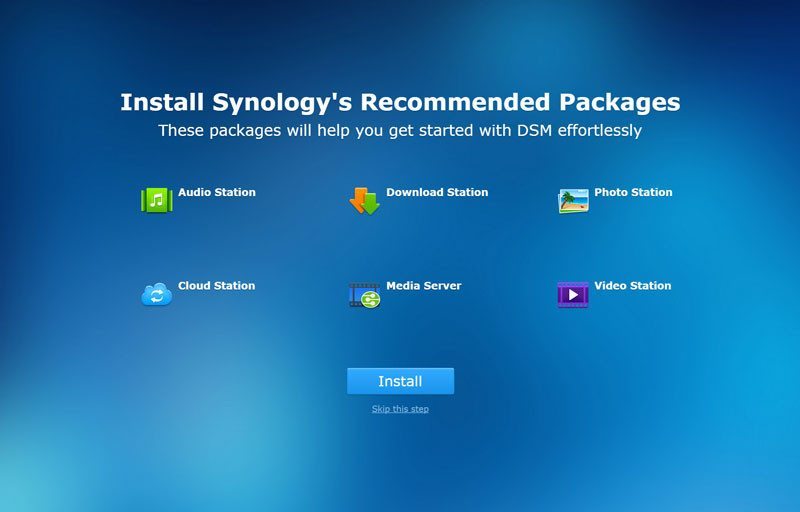
The basic add-on packages that most people will want can also be installed right away, but it is optional. You can always change that later, add and remove as it pleases you. Either Install or skip it.
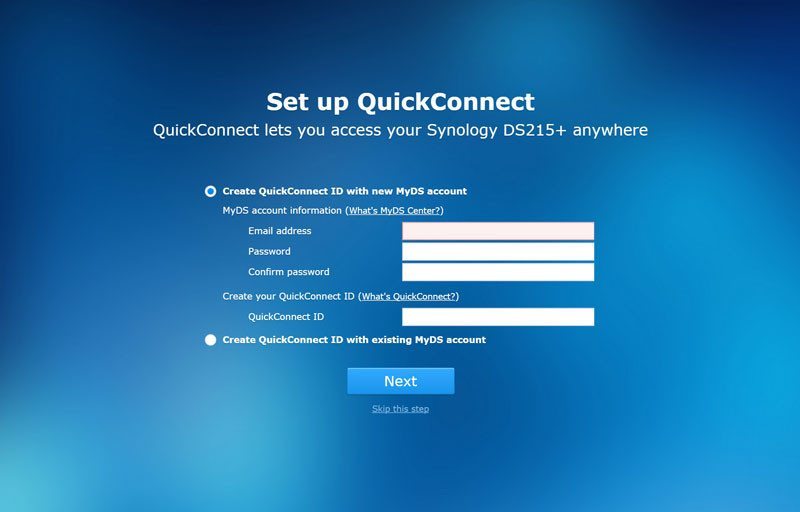
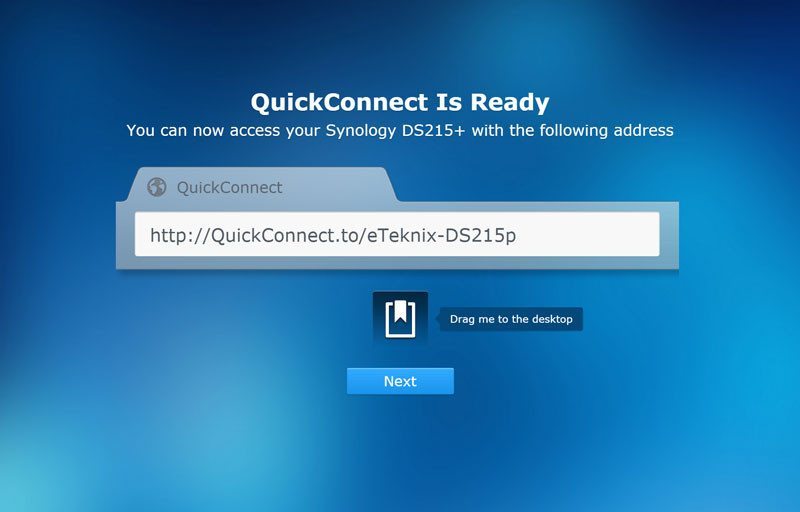
The QuickConnect allows you to easily connect to your NAS, no matter where you are and from what device you connect. You can either connect to an existing ID or create a new.
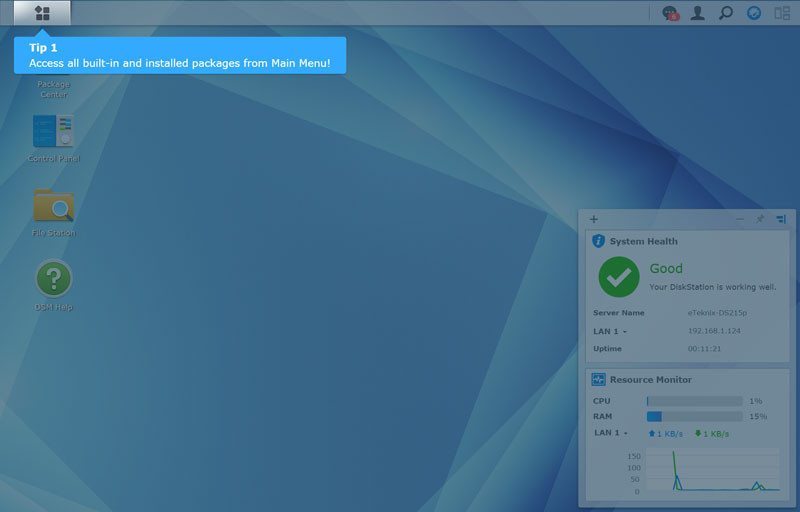
And that was all, the NAS is ready to rock and we can continue with our basic setup.

The first time you enter the DSM dashboard, you’ll be greeted with a welcome guide that explains the basics on the system, where you’ll find what and how it all works. It is only a few clicks and you should pay attention to it if you’re a new Synology user.
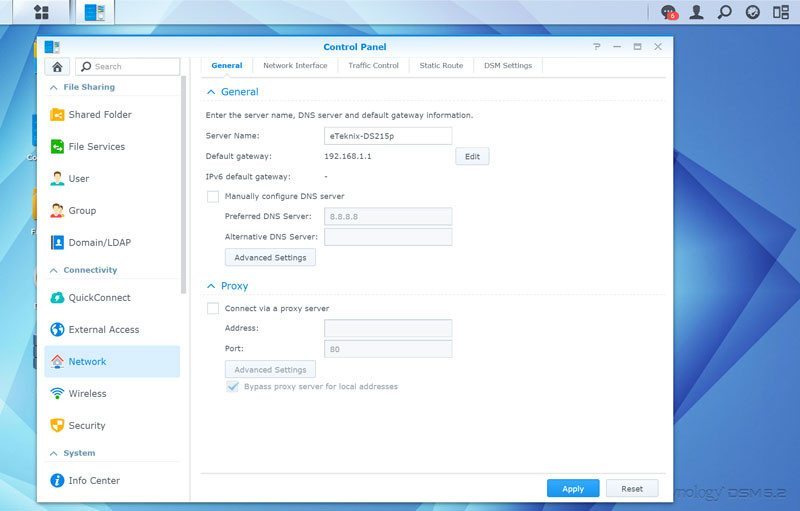
Network
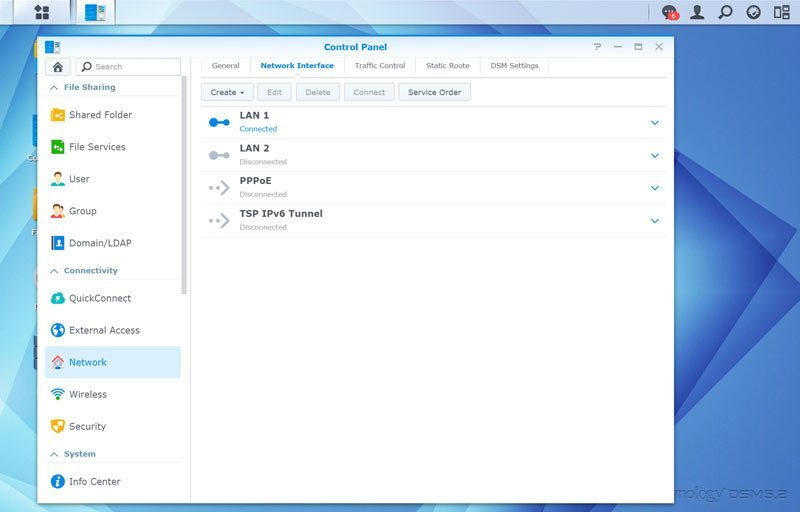
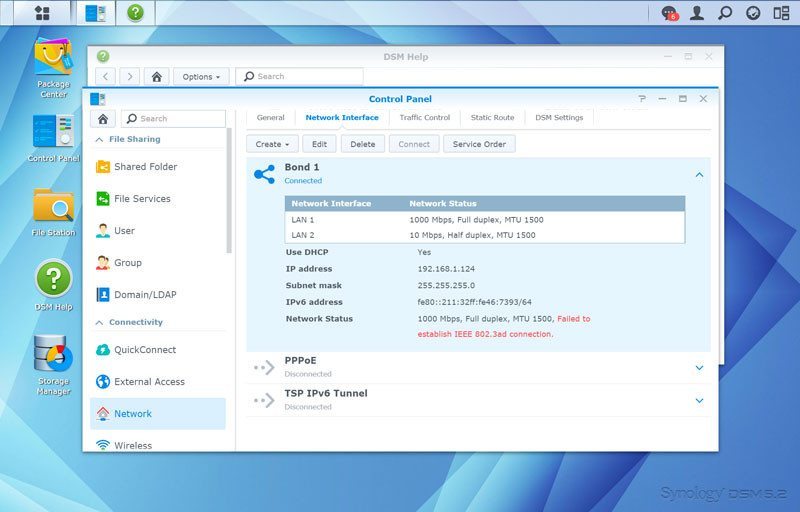
One of the first things I want to set up is the network. The DS215+ has two LAN ports and I’ll of course want the best performance and security. So I’ll be setting up the two ports as a IEEE 802.3ad dynamic link aggregation.
To set up the connection, we switch to the next pane and create a new bond.
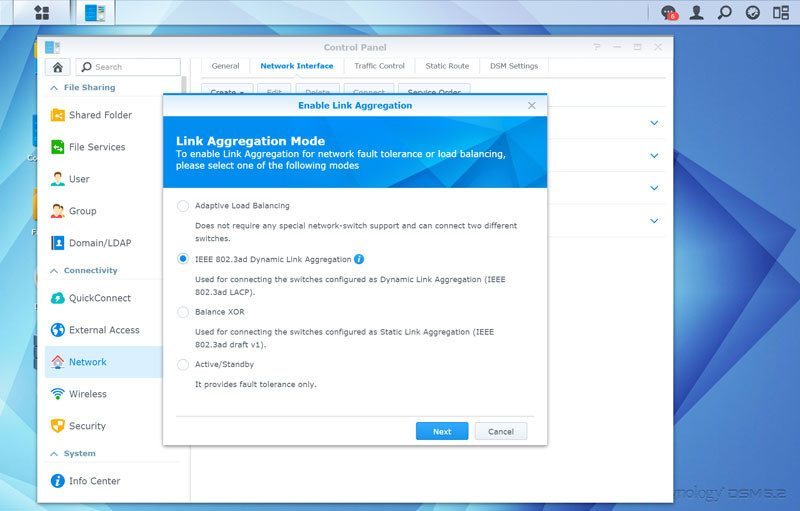
There are several modes that you can choose between, but in this case we’ll want the Dynamic Link Aggregation.
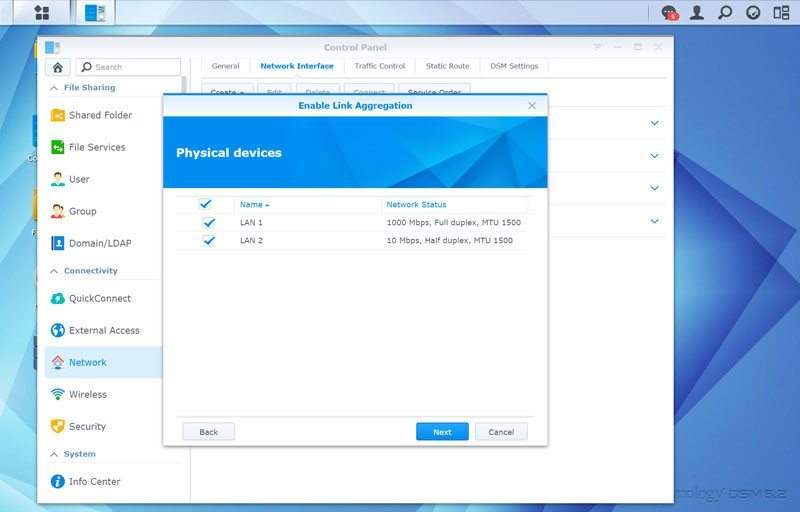
We only have two LAN ports on this device, so the choices are pretty simple. We select them all.
You’ll also get the chance to set the IP configurations as well as Jumbo frames and VLAN before you finish your setup.

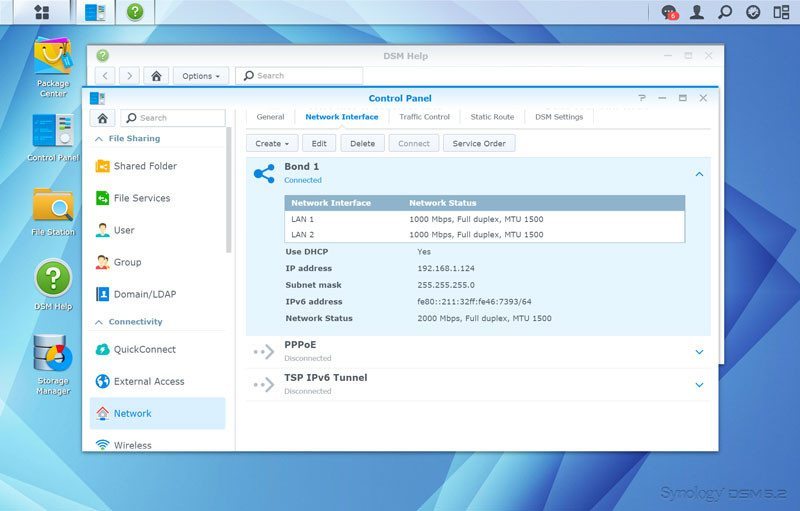
Synology’s DSM will check whether your connection actually supports the setup you created, if it doesn’t it will show you in red text as you can see below.
And if the connection works as it should and following your setup, then it should like it does below. A 2000 Mbps connection to your beautiful new DiskStation DS215+.
Shares
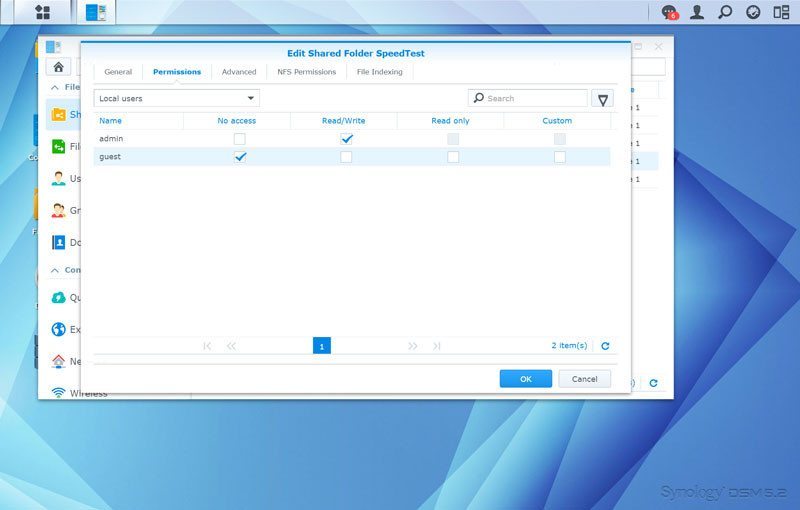
Now that we got our network setup, we’ll want some shares. After all we need a place to put all our files. What you create and call it, that is totally your choice and depends on your needs and usage scenario.
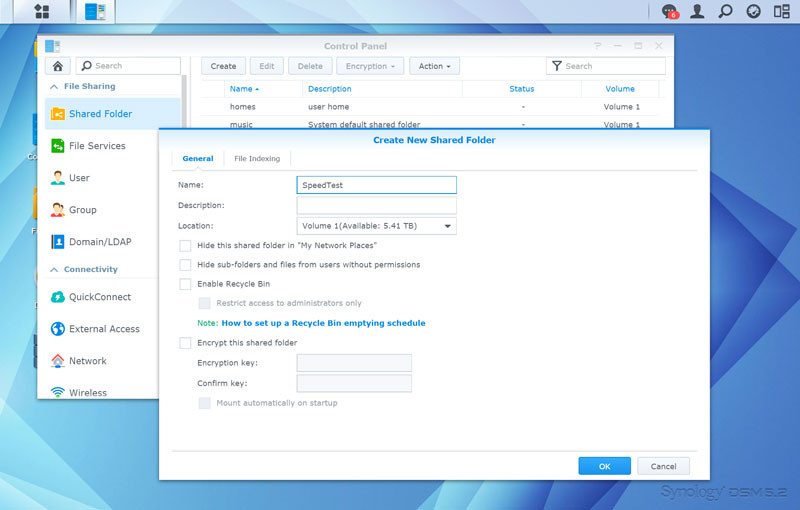
User rights can be set right away when you create the share, but since we haven’t created any users yet, we only have the admin account here.