Synology DiskStation DS216play NAS Review
Bohs Hansen / 8 years ago
Setup – Initialization & Storage
Setting the DS216play NAS up and initializing is as easy as it could be and all you have to do once you have connected it to your network is to connect to diskstation:5000 in your browser. A quick initialization guide will help you through the basic setup before you can continue with the creation of your users and shares.
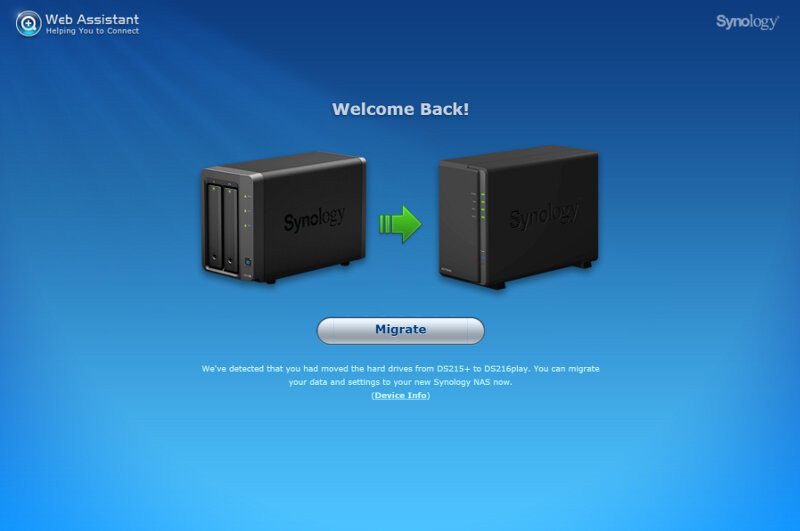
Coincidence will have it that I used the two drives I installed in the DS216play in another Synology NAS as last, and the initialization can detect that. Users that switch to this NAS from an older NAS can migrate the data and setup to the new NAS automatically.
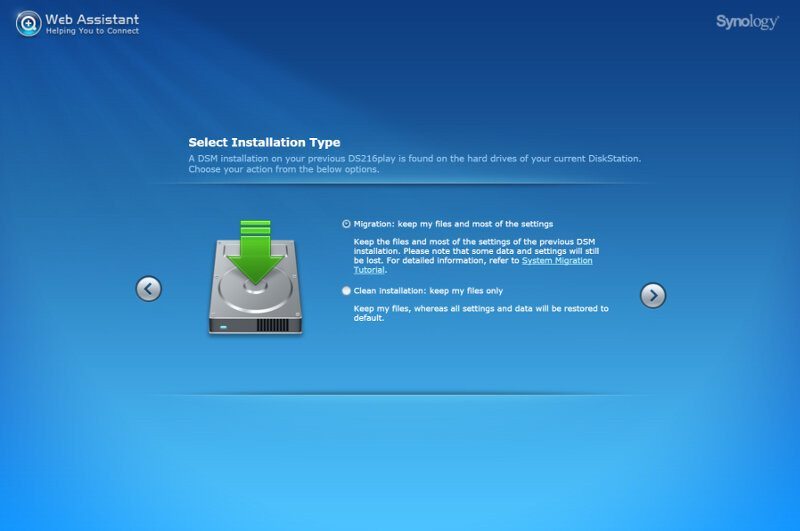
The page below is really the only difference to a normal and clean initialization, where it lets you chose what to keep. If you want to keep settings and files or just want to keep the files on the drive and otherwise make a clean installation. Should you make a clean install, this page won’t be shown.
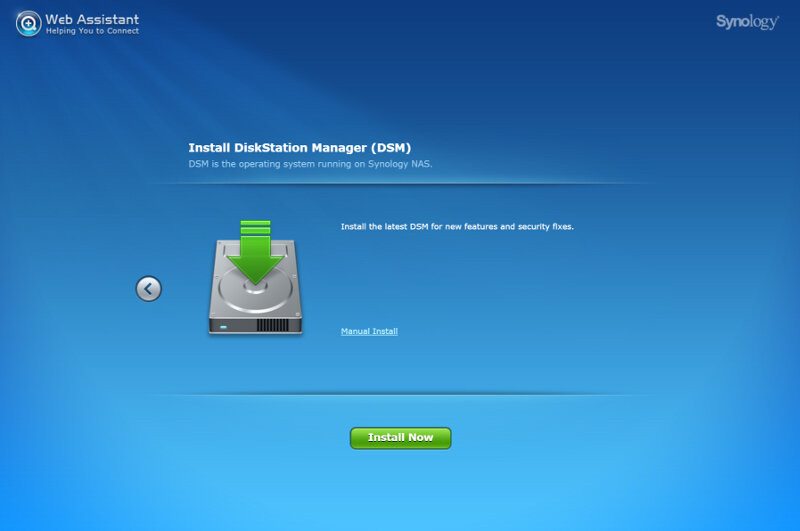
On a clean installation, this would be the first page and it would let you select whether you want to install the operating system manually from a local file or online via Synology. You should always keep your NAS updated to the latest version for security reasons.
The installation will take about 10 minutes, depending on your internet download speed for the operating system and the installed drives speed.

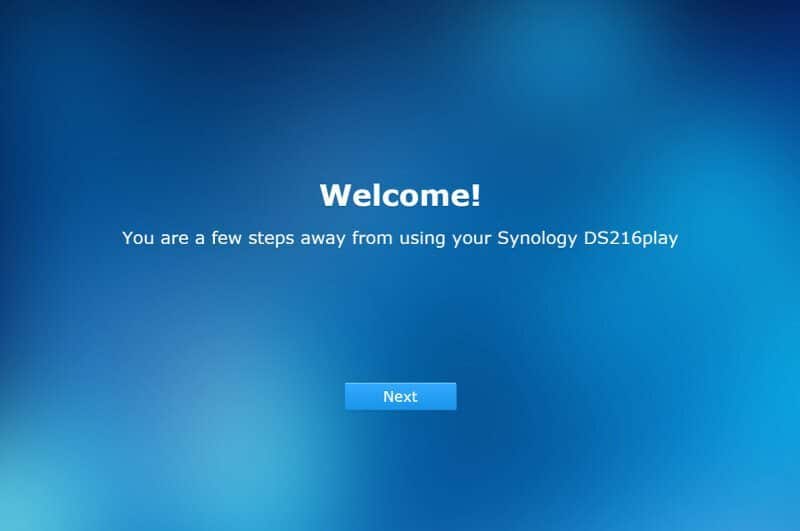
As the setup is telling us, we’re just a few steps away from being ready to use our DS216play NAS now.
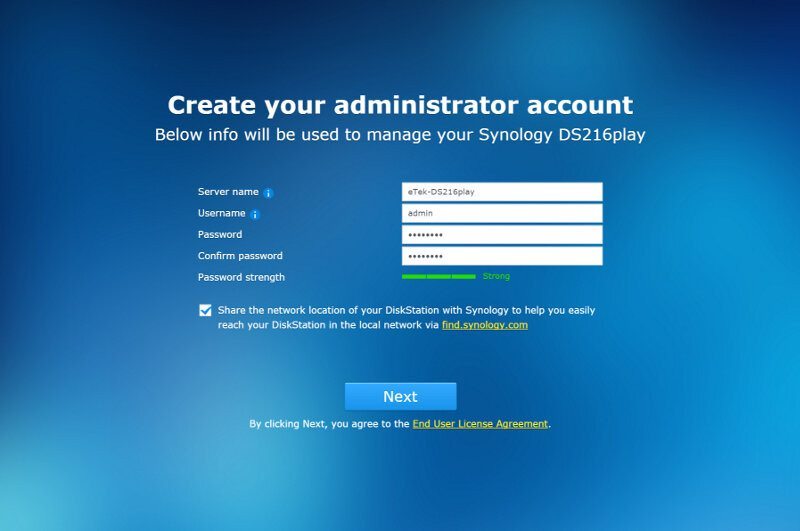
We need to specify a name for the NAS, allowing us to easily recognize it in our network neighborhood and streaming players and we also need to define the administrators username and password.
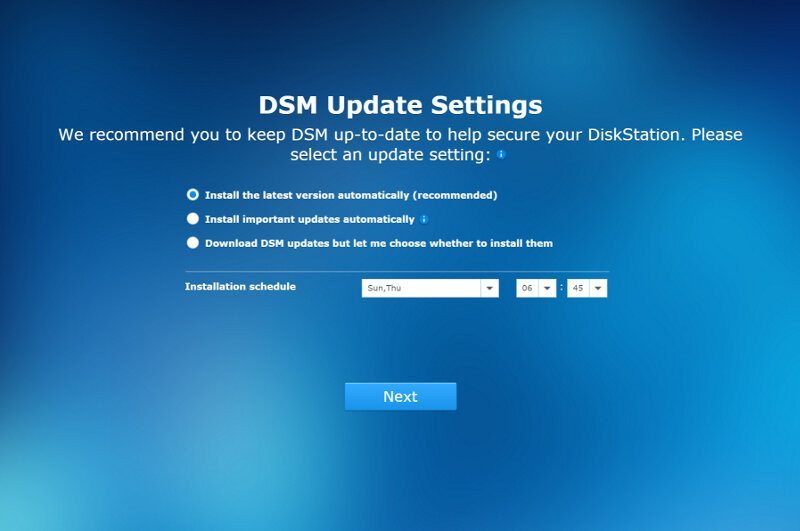
Which update settings you chose is of course down to you, my recommendation is to turn them on automatically.
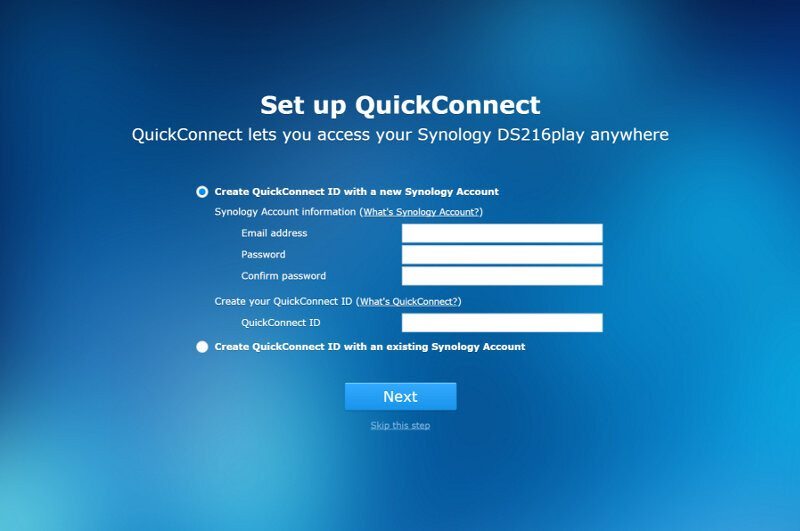
QuickConnect is Synology’s version of an easy dynamic DNS service, allowing you to reach your NAS no matter where you are in the world in relation to the NAS. All it requires is both parts being connected to the internet.
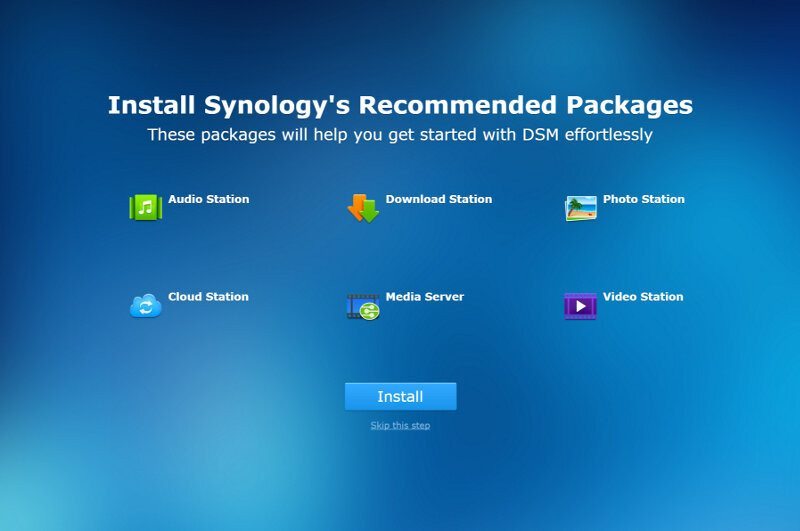
You can choose to install the basic app package right away. Audio Station, Photo Station, and Video Station are cornerstones at creating an entertainment hub in your own home while Download Station and Cloud Station allow you to use your NAS for more than just storage.
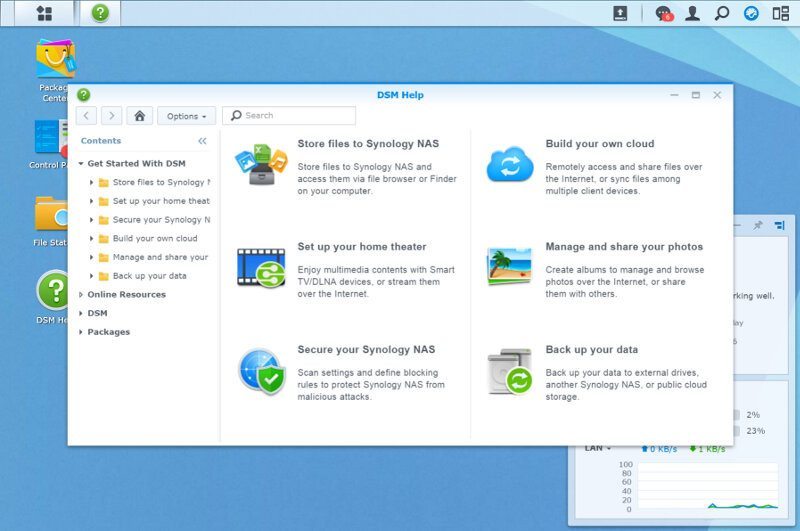
After having installed, or skipped, the package installation, we’re greeted with a welcome guide that explains the basic features and where to find things in DSM.
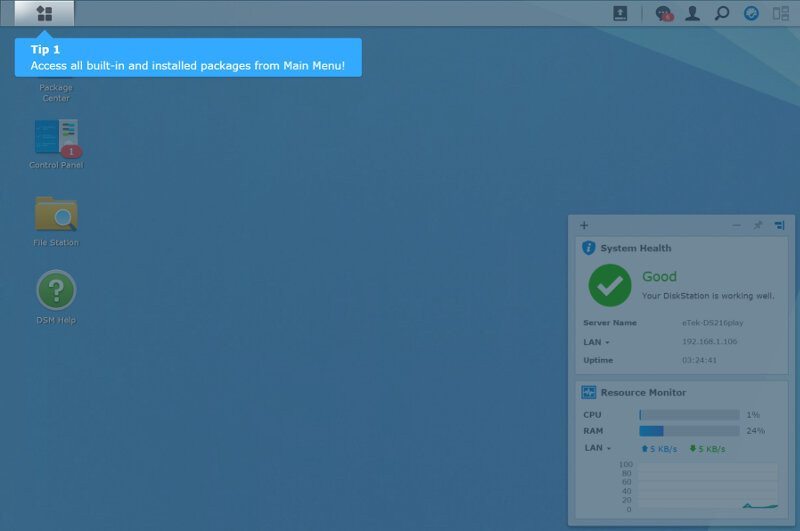
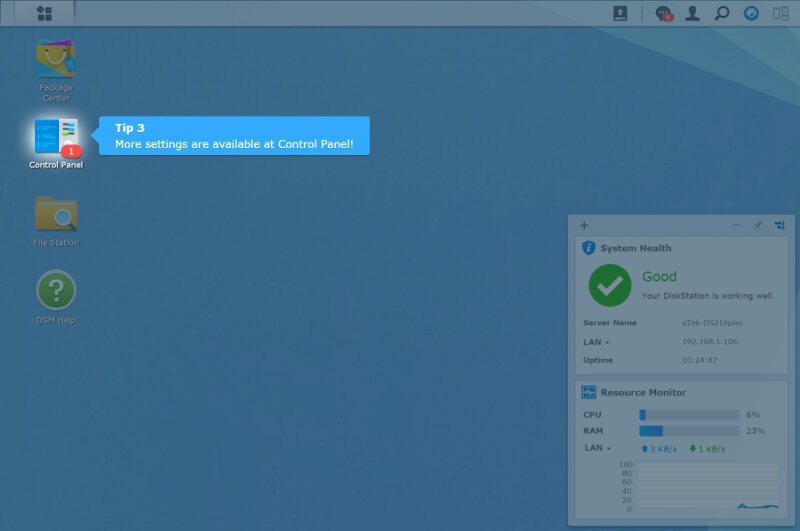
The little guide is followed by the popup of DSM help in case you want to know more right away.
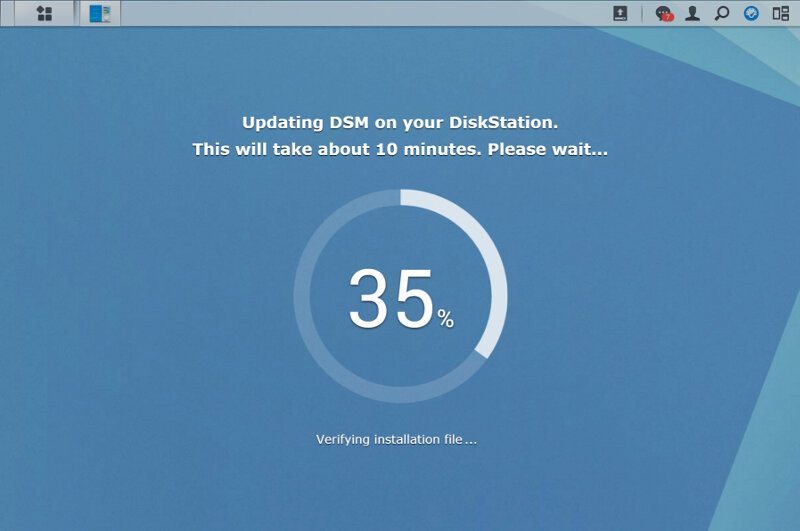
The first thing we’ll want to do after logging in is to update DSM. There will be a notification in the top right corner right away should there be an update, and in this case, there was.

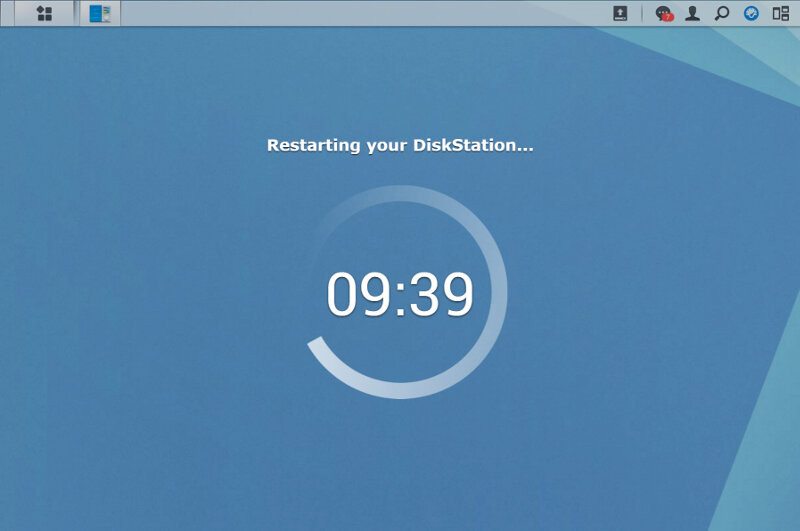
The NAS will first download the update and then wait for you to press the install button. The installation requires the NAS to reboot, which is why it’s a great idea to do it right away. Get it out of the way.
And that is all. Our Synology DS216play NAS is now ready for usage and we can continue to create our users and shares as well as install more apps and services.
Storage Setup
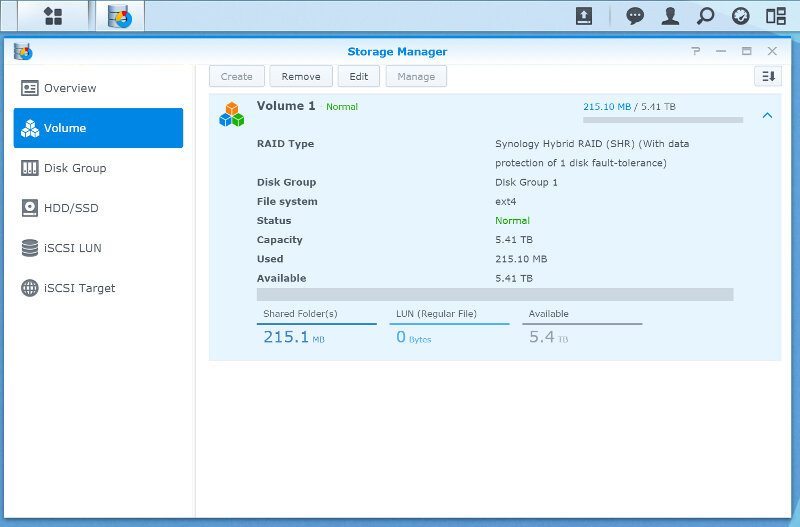
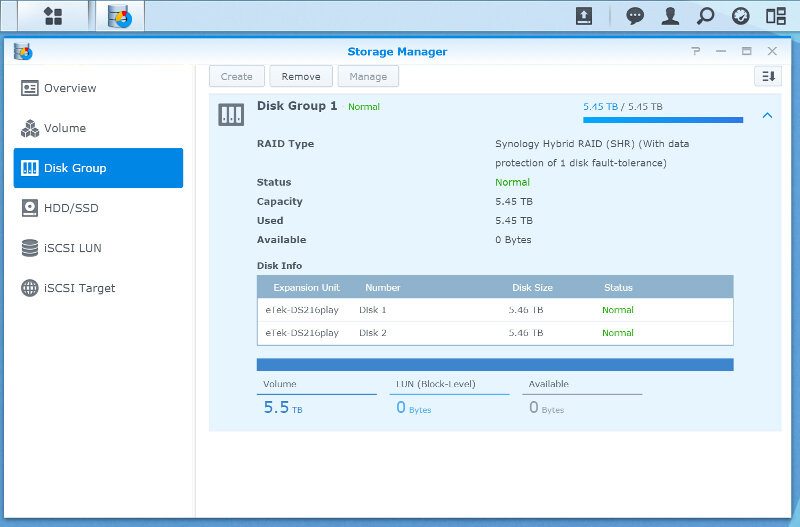
Synology’s DiskStation Manager creates an SHR setup initially and that might not be the one that you were planning to use on your NAS. The storage manager can quickly change that and this is naturally one of the things you should change first and before you start to load the NAS with files. Those who don’t wish to change it can still enter the Storage Manager to get a quick view on the NAS’ storage status.
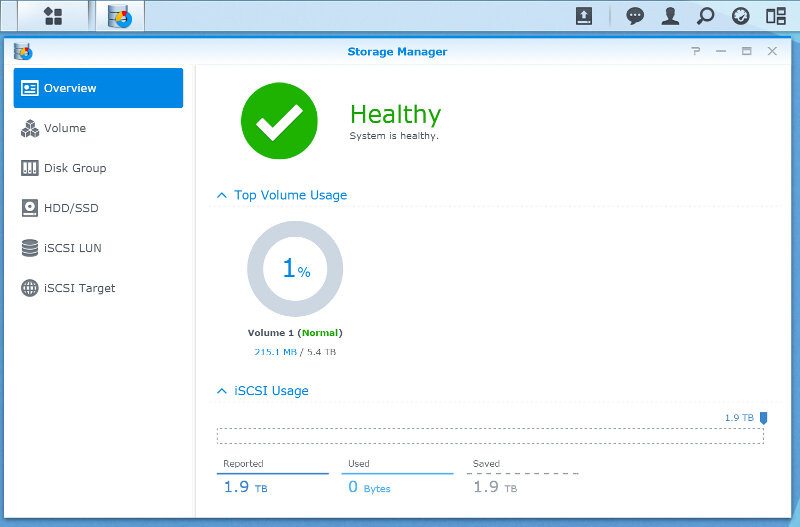
Synology DSM can create Volumes directly and handle the disk group itself or you can create the Disk Group and Volume independently for more advanced setups.
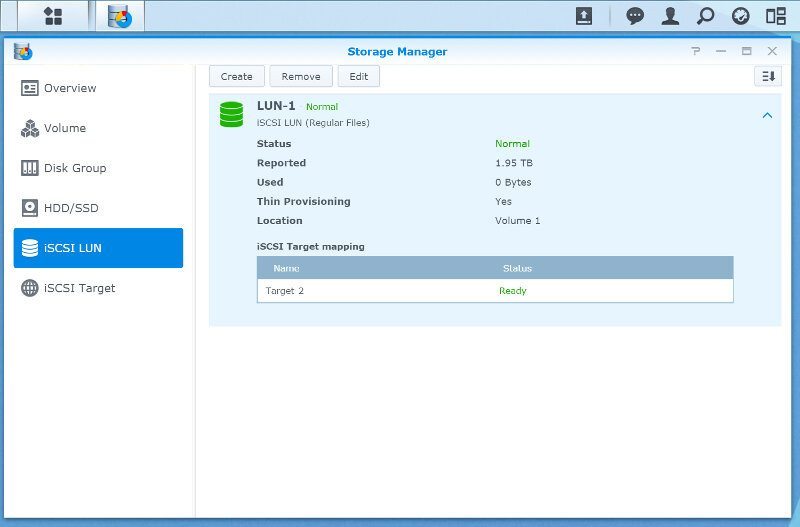
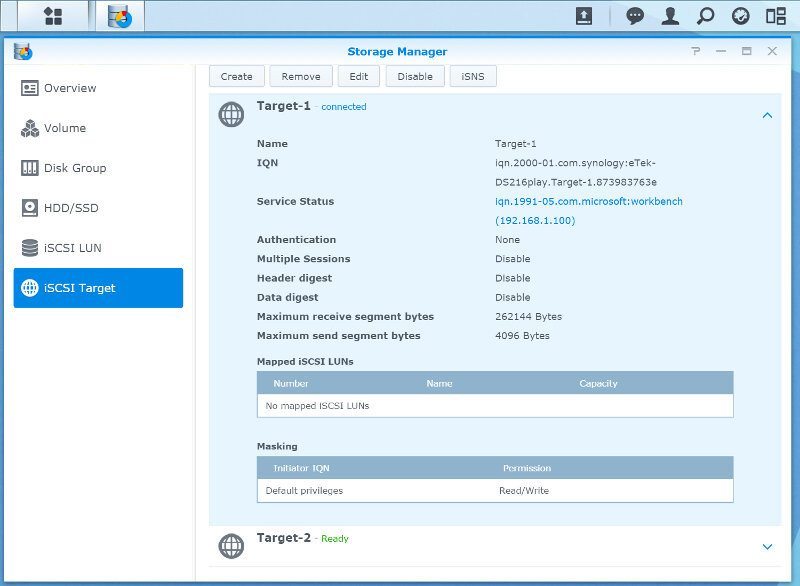
The DS216play also supports iSCSI LUNs and targets which are great and nice to see in the smaller NAS too. All modern operating systems have iSCSI initiators built-in, making it a great choice for network shared storage.